
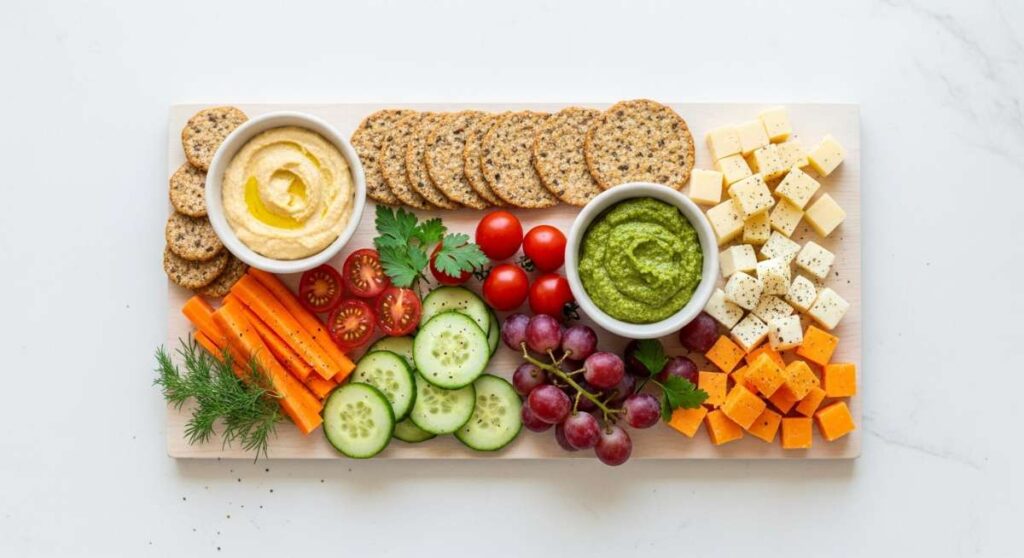
Why Everyone is Obsessed with This Simple Viral Food Board Trend
There is something inherently magical about gathering around a table where the food isn’t just a meal, but a visual masterpiece that invites everyone to linger. We’ve all seen them scrolling through our feeds—those stunning, overflowing boards that turn simple ingredients into a communal experience. It’s more than just a trend; it’s a shift toward a more relaxed, tactile way of eating that celebrates the beauty of raw textures, vibrant colors, and the joy of sharing. Whether it’s the way a sprig of rosemary catches the light or the satisfying sound of a crisp cracker snapping over a bowl of creamy dip, these boards tap into a sensory nostalgia we didn’t know we were missing.
The beauty of the ‘Viral Simple Food Board’ is its accessibility. You don’t need a culinary degree to create a spread that looks like it belongs in a high-end lifestyle magazine. It’s about the art of assembly, the thoughtful pairing of flavors, and the intentional slow-down of our busy lives. When we lay out a board, we are inviting our guests—and ourselves—to pick, choose, and customize every bite. It’s a celebration of abundance and simplicity that transforms any ordinary afternoon into an occasion worth remembering. Let’s dive into the different ways you can master this art for every summer occasion.
7 Easy Ways to Slow Cook Summer Dinners (Step-by-Step Guide)
Why we love this
Slow cooking in the summer is the ultimate kitchen hack for keeping the house cool while achieving that deeply tender, melt-in-your-mouth texture that usually requires hours over a hot stove. Imagine the aroma of garlic-rubbed pork shoulder or herb-infused chicken thighs wafting through your home as you spend the day in the sun. The resulting meat is so succulent it practically falls apart under a fork, providing a rich, savory base that anchors a food board beautifully when paired with fresh, crunchy garnishes and soft rolls. It’s a hearty, soul-warming centerpiece that feels indulgent yet effortless.
Ingredients
- 3-4 lbs of meat (Pork shoulder, beef chuck, or chicken thighs)
- 2 cups of low-sodium broth or stock
- 1 large onion, sliced into thick rings
- 4 cloves of garlic, smashed
- Spice rub (smoked paprika, brown sugar, salt, black pepper, onion powder)
- 2 tbsp apple cider vinegar
- Fresh herbs (thyme or rosemary)
How to make it
- Prepare the meat by patting it completely dry with paper towels; this ensures the spice rub adheres properly and helps in building a better crust even in the slow cooker.
- Apply a generous layer of your spice rub to all sides of the meat, pressing it firmly into the flesh to create a flavorful bark.
- Place the onion rings and smashed garlic at the very bottom of the slow cooker insert to act as a natural trivet, preventing the meat from sitting directly in the liquid and becoming mushy.
- Nestle the seasoned meat on top of the onions, then carefully pour the broth and apple cider vinegar around the sides so you don’t wash off the spices.
- Set the slow cooker to the ‘Low’ setting for 8-10 hours; cooking at a lower temperature for a longer period is crucial for breaking down the tough connective tissues without drying out the fibers.
- Once the meat is fork-tender (it should offer no resistance when pulled), remove it from the cooker and let it rest on a cutting board for at least 15 minutes to allow the juices to redistribute.
- Shred the meat using two forks and toss it with a small amount of the remaining cooking liquid to keep it moist before arranging it on your serving board.
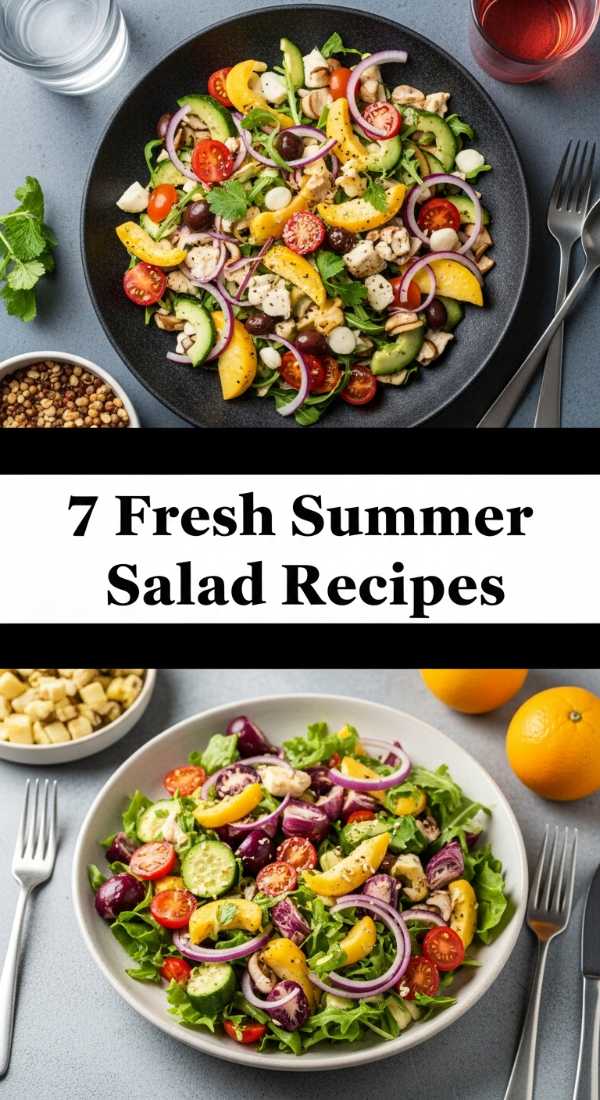
5 Easy Ways to Toss Summer Salads (Step-by-Step Guide)

Why we love this
A perfectly tossed summer salad is a symphony of textures and temperatures, bringing together the cool crunch of garden-fresh greens with the zesty, acidic snap of a homemade vinaigrette. There’s a specific joy in seeing vibrant heirloom tomatoes, creamy wedges of avocado, and ribbons of sharp parmesan come together on a large wooden board. The aroma is purely elemental—the scent of bruised basil and citrus zest—making it the most refreshing element of any outdoor feast. It’s light, hydrating, and provides the perfect acidic balance to grilled meats or rich cheeses.
Ingredients
- 4 cups of mixed greens (arugula, butter lettuce, or kale)
- 1 cup of heirloom cherry tomatoes, halved
- 1 cucumber, thinly sliced into rounds
- 1/2 red onion, shaved paper-thin
- 1/2 cup of toasted nuts or seeds (sunflower or pepitas)
- Dressing: 1/3 cup extra virgin olive oil, 2 tbsp lemon juice, 1 tsp Dijon mustard, salt, and pepper
How to make it
- Start by chilling your serving board or bowl in the refrigerator for 20 minutes; a cold vessel helps keep the delicate greens from wilting during the assembly process.
- Whisk your dressing ingredients in a small jar until fully emulsified; you’ll know it’s ready when the oil and lemon juice have merged into a thick, opaque golden liquid.
- Place your sturdier vegetables like cucumbers and onions at the bottom of a large mixing bowl and toss them with just one tablespoon of dressing to let them marinate slightly.
- Add the greens on top of the marinated vegetables, but do not toss yet; this prevents the weight of the greens from bruising the softer ingredients.
- Just before serving, drizzle the remaining dressing over the greens and use your clean hands or large wooden spoons to gently lift and fold from the bottom up, ensuring every leaf is thinly coated.
- Scatter the toasted nuts and delicate heirloom tomatoes over the top last so they don’t sink to the bottom and lose their visual impact.
- Transfer the salad to your presentation board, garnishing with a final crack of black pepper and a sprinkle of sea salt.
8 Easy Ways to Serve Cookout Sides (Step-by-Step Guide)
Why we love this
Cookout sides are the unsung heroes of the summer table, providing a comforting, familiar contrast to the smoky char of the grill. When served on a communal board, classic sides like creamy potato salad or charred corn on the cob become a colorful tapestry that invites guests to sample a bit of everything. The scent of sweet corn mingling with tangy vinegar and creamy dressings creates an atmosphere of pure Americana. It’s about the textures—the velvety smoothness of mashed potatoes versus the snap of a pickled green bean—that make these boards so addictive.
Ingredients
- 3 lbs red potatoes, cubed
- 4 ears of corn, husks removed
- 1 jar of high-quality pickles or pickled red onions
- 1 cup mayonnaise or Greek yogurt base
- 2 tbsp fresh dill, chopped
- 1 tbsp smoked paprika
- Salt and cracked black pepper to taste
How to make it
- Boil the cubed potatoes in heavily salted water until they are tender but still hold their shape; testing with a paring knife should reveal a soft center with no crunch.
- Drain the potatoes and, while still warm, drizzle with a splash of pickle juice; this allows the acidity to penetrate the potato for a deeper flavor profile.
- Grill the corn over medium-high heat until slightly charred on all sides, then cut the kernels off the cob or leave them whole for a more rustic look on the board.
- In a separate bowl, mix your cream base (mayo or yogurt) with the fresh dill and smoked paprika until the color is consistent and the herbs are evenly distributed.
- Fold the cooled potatoes into the cream mixture gently, being careful not to over-mix and turn the salad into a mash.
- Arrange the potato salad in a low, wide bowl and place it in the center of your board, surrounding it with the charred corn, pickles, and additional sprigs of dill.
- Add small bowls of extra seasonings like sea salt flakes or chili lime powder so guests can customize their portions.
- Keep the board at room temperature for serving, ensuring it is consumed within two hours for optimal freshness and safety.
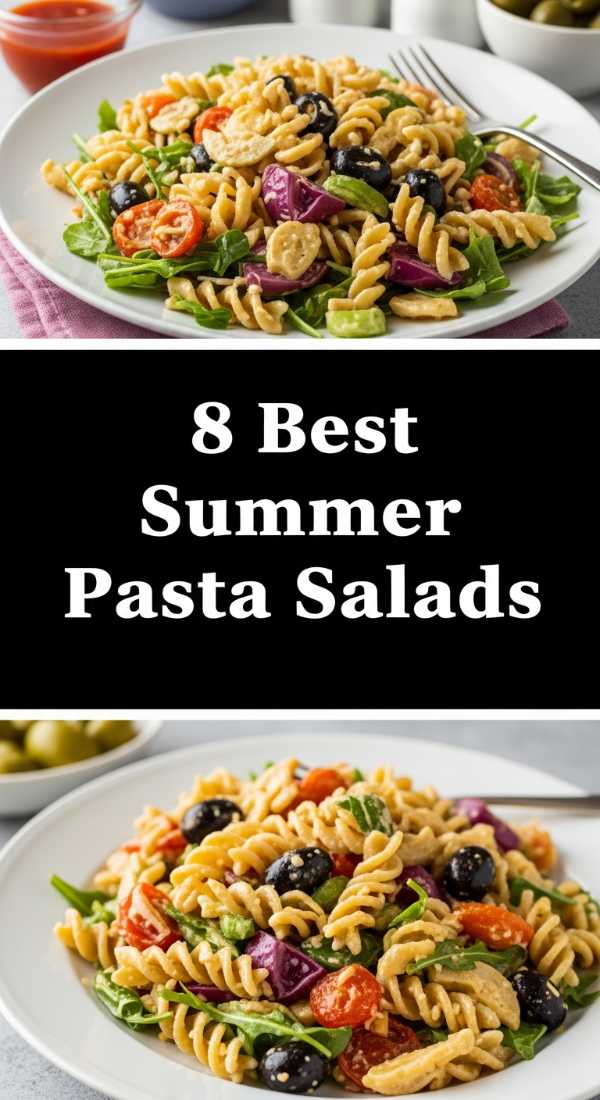
6 Easy Ways to Make Pasta Salad (Step-by-Step Guide)

Why we love this
Pasta salad is the ultimate versatile canvas for summer flavors, offering a satisfying bite that holds up perfectly for hours on a serving board. We love the way the nooks and crannies of fusilli or farfalle trap the herb-infused oils and tiny bits of salty feta. The aroma of sun-dried tomatoes and fresh parsley is instantly evocative of Mediterranean afternoons. It’s a dish that feels both substantial and light, providing a chewy, savory texture that bridges the gap between a side dish and a main course.
Ingredients
- 1 lb short pasta (fusilli, rotini, or bowties)
- 1/2 cup sun-dried tomatoes, chopped
- 1/2 cup kalamata olives, pitted
- 1 cup fresh mozzarella pearls
- 1/4 cup fresh basil, julienned
- Dressing: 1/2 cup balsamic vinaigrette or pesto oil
How to make it
- Cook the pasta in a large pot of boiling water that has been salted as heavily as the sea; cook until ‘al dente,’ which usually means one minute less than the package instructions.
- Drain the pasta and immediately rinse it under cold running water; this stops the cooking process and washes away excess starch that would otherwise make the salad gummy.
- Toss the cold pasta with a small amount of olive oil to prevent the pieces from sticking together while you prepare the remaining ingredients.
- In a large bowl, combine the pasta with sun-dried tomatoes, olives, and mozzarella pearls, ensuring an even distribution of colors and shapes.
- Pour your chosen dressing over the mixture and toss thoroughly; if using pesto, ensure you thin it out with a little extra oil for a silky coating.
- Let the salad sit in the refrigerator for at least 30 minutes; this ‘marinating’ phase allows the pasta to absorb the flavors of the dressing.
- Just before serving, fold in the fresh basil; adding it too early will cause the leaves to turn black from the acid in the dressing.
9 Easy Ways to Prep Healthy Meals (Step-by-Step Guide)

Why we love this
Healthy meal prepping on a board is a visual reminder of the nourishment we are giving our bodies. It’s a rainbow of raw energy—vibrant bell peppers, dark leafy greens, and lean proteins arranged with geometric precision. The clean, crisp scent of sliced cucumbers and the earthy aroma of roasted chickpeas create a refreshing sensory experience. This approach turns the ‘chore’ of healthy eating into an art form, making you more likely to reach for a nutrient-dense snack when it’s presented with such care and beauty.
Ingredients
- 2 cups of quinoa or brown rice, cooked
- 1 bunch of kale, massaged with olive oil
- 2 roasted chicken breasts, sliced
- 1 cup steamed broccoli florets
- 1/2 cup hummus or tahini dressing
- Assorted raw veggies (carrots, radishes, snap peas)
How to make it
- Batch-cook your grains (quinoa or rice) and allow them to cool completely before portioning; fluffing them with a fork while cooling prevents clumping.
- Prepare the kale by removing the tough stems and ‘massaging’ the leaves with a drop of olive oil for 2 minutes until they turn dark green and soften in texture.
- Roast your protein at a high temperature (400°F) to lock in moisture, then slice into uniform strips that are easy to grab and eat.
- Blanch your green vegetables like broccoli or snap peas in boiling water for 60 seconds, then immediately plunge them into an ice bath to preserve their bright green color and snap.
- Section off your board using small glass containers for wet items like hummus or dressings to prevent them from soaking into the dry ingredients.
- Arrange the ingredients in ‘zones’—grains in one corner, proteins in another, and a central area for the vibrant raw vegetables.
- Garnish the entire board with a sprinkle of hemp seeds or microgreens for an extra boost of nutrients and a professional finish.
- Store individual portions in airtight containers if you aren’t serving the board immediately, ensuring you keep the dressing separate until mealtime.
10 Easy Ways to Bake Summer Desserts (Step-by-Step Guide)

Why we love this
There is nothing quite like the scent of bubbling berries and buttery pastry filling a warm summer kitchen. A dessert board centered around a rustic fruit galette or a batch of lemon bars is the ultimate way to end a meal. The textures are a delightful contrast: the flaky, golden crust of a tart against the soft, yielding sweetness of macerated peaches. It’s a decadent, sugary experience that feels lightened by the presence of fresh, seasonal fruit, making every bite feel like a celebration of the harvest.
Ingredients
- 2 cups seasonal fruit (blueberries, peaches, or strawberries)
- 1 sheet of pre-made pie crust or puff pastry
- 1/4 cup granulated sugar
- 1 tsp vanilla extract
- 1 egg (for egg wash)
- Fresh mint for garnish
- Whipped cream or vanilla bean gelato
How to make it
- Preheat your oven to 400°F (200°C) and line a flat baking sheet with parchment paper to ensure easy removal and a crisp bottom crust.
- In a bowl, toss your sliced fruit with sugar and vanilla; let it sit for 10 minutes to draw out the natural juices and create a syrup.
- Roll out your pastry on the parchment paper and pile the fruit into the center, leaving a 2-inch border of dough all the way around.
- Fold the edges of the dough over the fruit, pleating as you go to create a rustic, circular shape (a galette); don’t worry about perfection, as the irregularities add to the charm.
- Brush the exposed crust with a beaten egg and sprinkle with a little extra sugar; this creates that iconic, shiny golden-brown finish during baking.
- Bake for 20-25 minutes until the crust is deeply golden and the fruit juices are bubbling and slightly thickened.
- Allow the dessert to cool for at least 15 minutes before placing it on your serving board; if it’s too hot, it will release steam and make the other board elements soggy.
- Surround the pastry with fresh berries, sprigs of mint, and a small bowl of whipped cream for guests to add as they please.
5 Easy Ways to Mix Party Dips (Step-by-Step Guide)

Why we love this
Dips are the social glue of any food board, providing the creamy, savory, or spicy landing spot for every cracker and vegetable. We love the ritual of the ‘perfect scoop’—the way a sturdy pita chip holds a generous dollop of roasted garlic hummus or spicy whipped feta. The aromas are bold and inviting, often featuring the sharp tang of Greek yogurt or the smokiness of roasted peppers. A dip-focused board is interactive and playful, encouraging guests to experiment with different flavor combinations and textures.
Ingredients
- 1 can chickpeas, drained and rinsed
- 1/2 cup tahini
- 2 cloves roasted garlic
- 2 tbsp lemon juice
- 1/4 cup extra virgin olive oil
- Toppings: Paprika, pine nuts, or a drizzle of chili oil
How to make it
- For the smoothest hummus, boil your canned chickpeas in water with a pinch of baking soda for 10 minutes until they are falling apart; this softens the skins.
- Process the tahini and lemon juice in a high-speed blender or food processor for one full minute before adding anything else; this aerates the tahini and makes the dip fluffy.
- Add the softened chickpeas and roasted garlic to the processor and blend until thick and mostly smooth.
- While the motor is running, slowly drizzle in the olive oil and 2-3 tablespoons of ice-cold water; the cold water is a secret tip that turns the dip a pale, creamy white.
- Taste and adjust with salt; the flavors will develop further as the dip sits, so don’t be afraid to season boldly.
- Spread the dip onto a shallow bowl using the back of a spoon to create ‘swirls’ and ‘valleys’ that can hold the toppings.
- Fill those valleys with olive oil, a sprinkle of paprika, and toasted pine nuts for a professional aesthetic.
- Place the bowl in the center of your board and surround it with a variety of ‘dippers’ like toasted pita, cucumber spears, and radishes.
7 Easy Ways to Shake Summer Drinks (Step-by-Step Guide)

Why we love this
A drink board is a brilliant way to handle summer hydration, turning the act of pouring a glass into a customizable experience. There’s something so refreshing about the sight of condensation on a crystal-clear pitcher filled with ice, citrus rounds, and floating herbs. The scent is bright and effervescent—pure sunshine in a glass. Whether it’s a spicy ginger mocktail or a classic herb-infused lemonade, these drinks provide the crisp, cold snap needed to cut through the heat of a summer afternoon.
Ingredients
- 1 cup fresh lemon or lime juice
- 1/2 cup simple syrup (equal parts water and sugar dissolved)
- 2 cups sparkling water or club soda
- Fresh herbs (basil, mint, or thyme)
- Fresh fruit slices (cucumber, strawberry, or grapefruit)
- Plenty of ice
How to make it
- Prepare your ‘aromatics’ by lightly slapping your fresh herb sprigs between your palms; this ‘wakes up’ the essential oils without bruising the leaves into a bitter mess.
- In a large pitcher, combine the citrus juice and simple syrup, stirring vigorously until they are completely integrated.
- Fill highball glasses or a large glass dispenser with fresh ice cubes—using large cubes ensures the drink doesn’t dilute too quickly in the summer heat.
- Pour the citrus base over the ice, then top with sparkling water; do this slowly to preserve the carbonation and bubbles.
- Stir gently with a long spoon to ensure the syrup hasn’t settled at the bottom.
- Add your fruit slices and the prepared herbs directly into the pitcher or glasses for a beautiful visual garnish.
- Place the drinks on a tray or board lined with a linen napkin to catch any condensation drips.
- Provide a small bowl of extra citrus wedges and herb sprigs so guests can adjust the ‘brightness’ of their own drinks.
8 Easy Ways to Grill Summer Kabobs (Step-by-Step Guide)
Why we love this
Kabobs bring a primal, smoky energy to the food board, offering charred, bite-sized portions of protein and veg that are as fun to look at as they are to eat. The aroma of woodsmoke and caramelized marinade is the quintessence of summer. We love the textural variety—the snap of a slightly charred bell pepper next to the juicy, tender bite of marinated steak or shrimp. Arranged on a board, they look like colorful skewers of edible art, ready to be grabbed and enjoyed without the need for heavy silverware.
Ingredients
- 2 lbs protein (steak, chicken, or shrimp), cut into 1-inch cubes
- 2 bell peppers, cut into chunks
- 1 red onion, cut into wedges
- 1 cup zucchini rounds
- Marinade: 1/4 cup soy sauce, 2 tbsp honey, 1 tsp grated ginger, 2 cloves minced garlic
How to make it
- If using wooden skewers, soak them in water for at least 30 minutes before grilling to prevent them from catching fire over the open flame.
- Whisk your marinade ingredients together and toss with your protein in a sealed bag; marinate in the fridge for at least 1 hour for chicken/beef, but only 20 minutes for shrimp.
- Thread the ingredients onto the skewers, alternating between protein and vegetables; ensure the pieces are touching but not packed too tightly, which allows heat to circulate.
- Preheat your grill to medium-high heat (about 400°F) and lightly oil the grates using a folded paper towel dipped in vegetable oil.
- Place the kabobs on the grill and cook for 3-4 minutes per side; you should see distinct grill marks and the vegetables should be slightly softened.
- Baste the kabobs with any remaining (fresh, not used for raw meat) marinade during the last 2 minutes of cooking to create a sticky, flavorful glaze.
- Remove from the grill and let them rest for 3 minutes; this allows the juices to settle so they don’t run out the moment someone takes a bite.
- Lay them in a fan pattern on your serving board, garnishing with sesame seeds or chopped scallions for a pop of color.
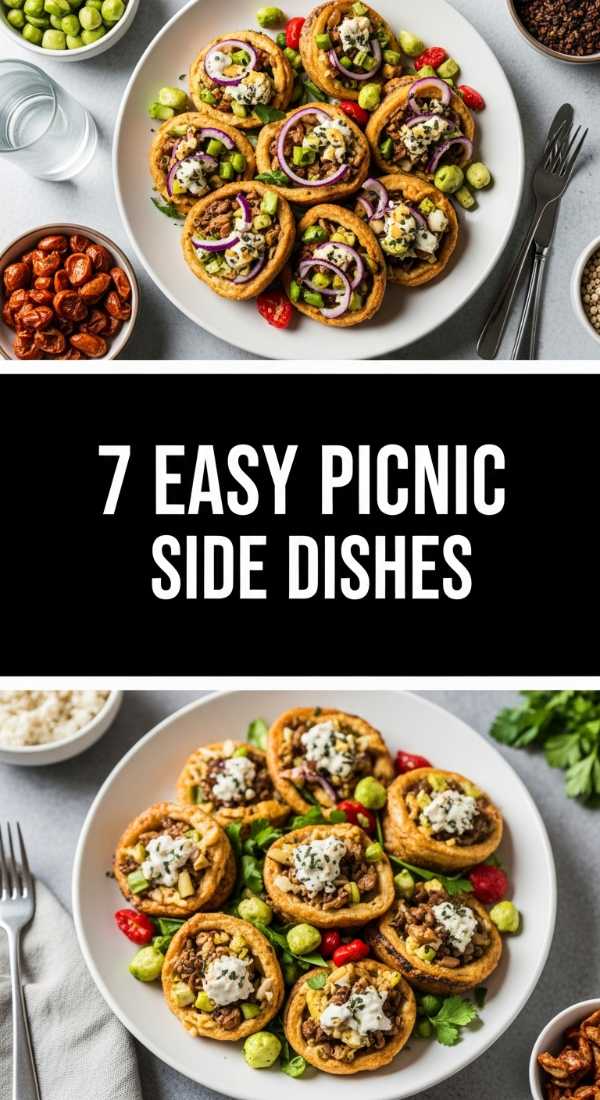
6 Easy Ways to Pack Picnic Sides (Step-by-Step Guide)
[IMAGE_10]
Why we love this
Picnic sides are all about portability and the joy of ‘al fresco’ dining. When these are arranged on a portable board, they turn a simple patch of grass into a five-star dining room. We love the earthy, fresh scents of a picnic—the smell of sun-warmed bread and the salty tang of olives. The textures are designed to be enjoyed at room temperature, featuring sturdy crackers, firm cheeses, and crisp grapes that provide a refreshing burst of sweetness. It’s a relaxed, unstructured way of eating that perfectly matches the rhythm of a summer day.
Ingredients
- 1 baguette, sliced into rounds
- 1/2 lb firm cheese (cheddar, manchego, or gouda)
- 1 cup green or red grapes
- 1/2 cup roasted almonds or walnuts
- 1 small jar of fig jam or honey
- Salami or prosciutto rosettes
How to make it
- Select a board with a slight lip or edge; this is essential for portability, ensuring that grapes and nuts don’t roll off while you’re carrying it to the park.
- Slice your baguette into even rounds and toast them lightly in the oven at 350°F for 5 minutes; this makes them sturdy enough to hold heavy toppings without bending.
- Cut your cheese into different shapes—cubes, slices, and wedges—to create visual interest and different ‘mouthfeels.’
- Create ‘meat rosettes’ by folding slices of salami in half and then in half again, tucking them closely together on the board so they hold their shape.
- Wash and thoroughly dry your grapes; moisture is the enemy of a picnic board as it will make the crackers and nuts soggy.
- Place your jam or honey in a small, lidded jar; keep the lid on until you arrive at your destination to prevent spills and keep insects away.
- Fill in any ‘white space’ on the board with the roasted nuts and dried fruit, ensuring the board looks abundant and full.
- Wrap the entire board tightly in beeswax wrap or plastic wrap for transport, keeping it level in your picnic basket or bag.
The Magic of the Shared Board
As we’ve seen, the viral food board trend isn’t just about the food itself—it’s about the atmosphere it creates. Whether you’re slow-cooking a savory dinner or shaking up a batch of summer drinks, the goal is to bring people together in a way that feels easy, beautiful, and deeply satisfying. These boards encourage us to linger longer, talk more, and truly enjoy the seasonal bounty. So, grab a board, pick a theme, and start creating your own viral-worthy spread today.