
Why Everyone is Obsessed with This Simple Food Board Trend
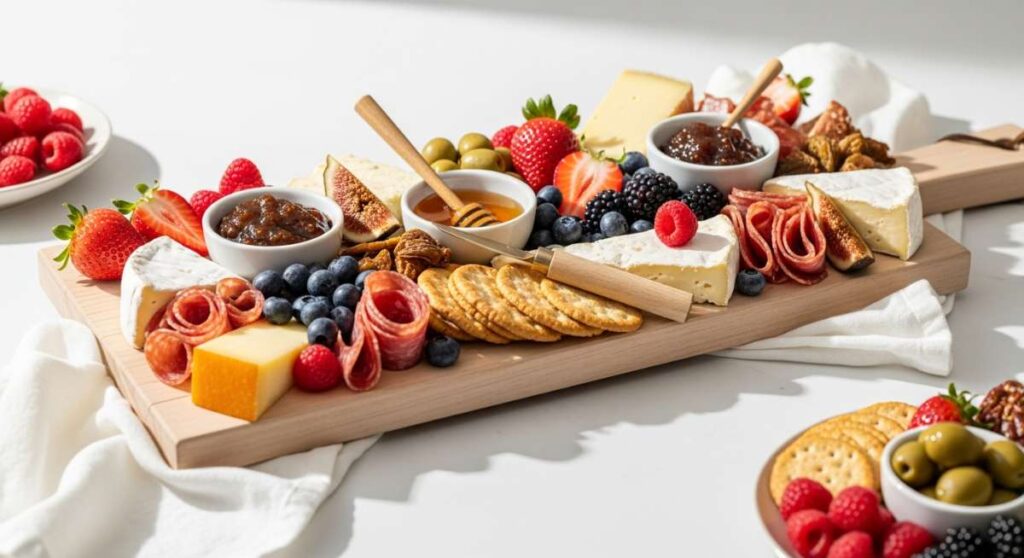
There is something inherently soul-soothing about a beautifully arranged spread of food, isn’t there? Lately, my Instagram feed and my actual kitchen table have been taken over by the ‘Simple Food Board’ trend, and honestly, I’m not mad about it. It’s a return to slow living—a rejection of complicated, three-hour recipes in favor of assembly, color, and high-quality ingredients that speak for themselves. Whether it’s a solo lunch or a gathering of your favorite people, these boards turn a mundane meal into a ritual of connection and joy.
The magic lies in the tactile nature of the experience. We spend so much time behind screens that the act of reaching for a crisp cracker, a slice of sharp cheddar, or a sun-ripened grape feels like a grounding exercise. It’s about creating a landscape of flavors that allows everyone to be their own chef, mixing and matching bites as they please. Today, I’m sharing how this effortless aesthetic can be applied to every corner of your life, from beach days to date nights.
How to pack aesthetic picnics

Why we love this
An aesthetic picnic is more than just eating outdoors; it is an immersive sensory experience that feels like stepping into a classic painting. We love the way the sunlight filters through a linen umbrella to highlight the soft textures of artisanal sourdough and the vibrant, jewel-toned hues of fresh berries. There is an unmistakable aroma of crushed grass mixed with sweet peach nectar that instantly lowers your cortisol levels. It transforms a simple lunch into a curated moment of peace that honors both the food and the environment around you.
Ingredients
- Woven wicker basket with leather straps
- Linen or cotton neutral-toned picnic blanket
- Small wooden cutting board
- Assorted hard and soft cheeses (Brie, Manchego)
- Fresh baguette and rosemary crackers
- Seasonal fruits like figs, grapes, and strawberries
- Chilled sparkling water or rosé in glass bottles
How to make it
- Begin by choosing a flat, shaded area to ensure your board and drinks remain stable and cool. Lay down your linen blanket, smoothing out any wrinkles to create a clean, minimalist canvas.
- Place your wooden board in the center as the focal point. Arrange your cheeses first, spacing them out to allow for ‘breathing room’ between different textures.
- Nestle the baguette slices and crackers in organic curves around the cheese. Do not aim for perfect symmetry; a slightly undone, effortless look is the key to the aesthetic picnic vibe.
- Fill the remaining gaps with clusters of fruit. Use small bowls for any wet items like olives or honey to protect the linen from stains.
- Invert a wine glass or use a small ceramic vase to hold a few wildflowers foraged from the area to tie the entire setup into the natural landscape.
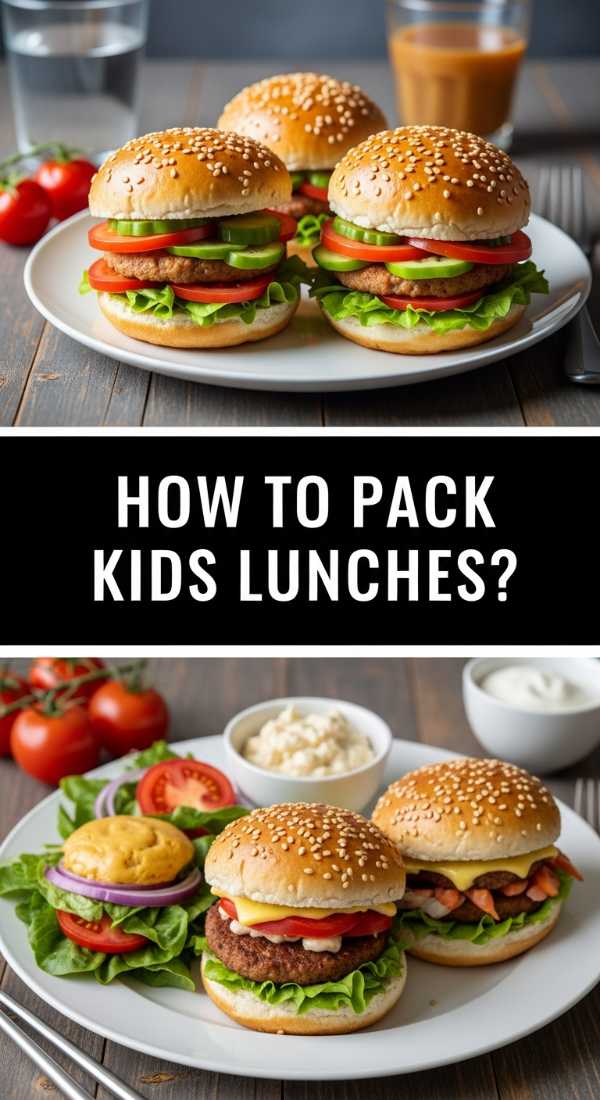
How to pack kids lunches
Why we love this
We adore this method because it turns the daily chore of packing lunch into a creative ‘snackle-box’ adventure that kids actually want to eat. By breaking down a meal into bite-sized, colorful components, you eliminate the intimidation of a large sandwich and replace it with variety. The crunch of baby carrots, the sweetness of apple slices, and the savory satisfaction of rolled turkey breast provide a balanced nutritional profile that feels like a treat. It’s about giving children autonomy over their food while ensuring every bite is packed with goodness and fun textures.
Ingredients
- Multi-compartment bento box or ‘snackle-box’
- Thinly sliced deli turkey or ham
- Cheddar cheese cubes or string cheese
- Snap peas and baby carrots
- Apple slices with a lemon juice spritz (to prevent browning)
- Small handful of pretzels or whole-grain crackers
- A few dark chocolate chips or yogurt-covered raisins
How to make it
- Select a bento box with at least 4-5 small compartments to keep flavors and textures from mixing, which is often a dealbreaker for picky eaters.
- Roll the deli meat tightly into ‘cigars’ and stand them vertically in one compartment. This makes them easy for small hands to grab and prevents the meat from getting slimy.
- Place the cheese cubes next to the meat. If using string cheese, cut it into 1-inch rounds to maintain the bite-sized theme of the board-style lunch.
- Fill the largest compartment with a mix of colorful vegetables. Pro tip: blanch the snap peas for 30 seconds in boiling water then shock in ice water to make them extra vibrant and slightly softer for younger kids.
- Add the fruit and crackers to the remaining sections. Ensure the crackers are tucked away from any moisture-rich items like the apples to maintain their crunch.
How to plan date picnics

Why we love this
Date picnics are the ultimate romantic gesture because they prioritize intimacy and conversation without the distractions of a loud restaurant. There is something incredibly special about sharing a board of curated bites under a setting sun, where the air smells of blooming jasmine and aged balsamic. The shared experience of ‘building’ the perfect bite—pairing a sharp cheese with a dollop of fig jam—creates a playful, interactive atmosphere. It’s romantic, thoughtful, and allows for hours of uninterrupted quality time in a beautiful setting.
Ingredients
- Large slate or marble serving board
- Prosciutto di Parma or spicy salami
- Burrata cheese with a drizzle of truffle oil
- Caramelized onion jam or honey
- Walnuts and marcona almonds
- Sliced pear or crisp green apple
- Bottle of chilled Prosecco or a craft non-alcoholic cider
How to make it
- Start with the Burrata as your centerpiece. Place it in a shallow bowl on the board and break the skin slightly so the creamy interior is visible, then top with oil and sea salt.
- Fold the prosciutto into ‘ribbons’ or small mounds rather than laying them flat. This adds height and visual interest to the board, making it look professionally styled.
- Position the fruit and nuts in the spaces between the proteins. The sweetness of the pear perfectly balances the saltiness of the cured meats.
- Place the jam in a small ramekin with a dedicated spreader. Keeping the sticky elements contained ensures the board remains easy to navigate during a deep conversation.
- Pack cloth napkins and real glassware. The weight of real glass and the softness of fabric instantly elevate the picnic from ‘eating outside’ to a ‘fine dining’ experience.
How to make easy wraps

Why we love this
Wraps are the unsung heroes of the food board world because they offer a complete, handheld meal that is both refreshing and filling. We love the contrast between a soft, pliable flour tortilla and the crisp, cool snap of fresh romaine lettuce and cucumbers inside. When sliced into pinwheels, they reveal a beautiful spiral of colors—creamy white dressings, vibrant greens, and pink proteins. They are portable, mess-free, and provide that perfect satisfying ‘chew’ that keeps you energized for an afternoon of outdoor activities.
Ingredients
- Large spinach or flour tortillas
- Cream cheese or hummus (as a moisture barrier)
- Smoked turkey or roasted chicken strips
- Thinly sliced cucumber and bell peppers
- Shredded carrots and baby spinach
- Parchment paper and kitchen twine
How to make it
- Lay the tortilla flat and spread a thin, even layer of cream cheese or hummus across the entire surface, leaving a half-inch border. This acts as a ‘glue’ to keep the wrap together and prevents the bread from getting soggy.
- Layer your greens and proteins in the bottom third of the tortilla. Keep the layers thin and flat; stacking them too high will make the wrap difficult to roll tightly.
- Fold the left and right sides of the tortilla inward about two inches. This seals the ends so the fillings don’t fall out when you take a bite.
- Starting from the bottom, roll the tortilla upward as tightly as possible, using your fingers to tuck the fillings in as you go.
- Wrap the finished cylinder tightly in parchment paper and tie it with twine. Use a very sharp serrated knife to slice the wrap in half diagonally through the paper. The paper holds everything in place until you’re ready to eat!
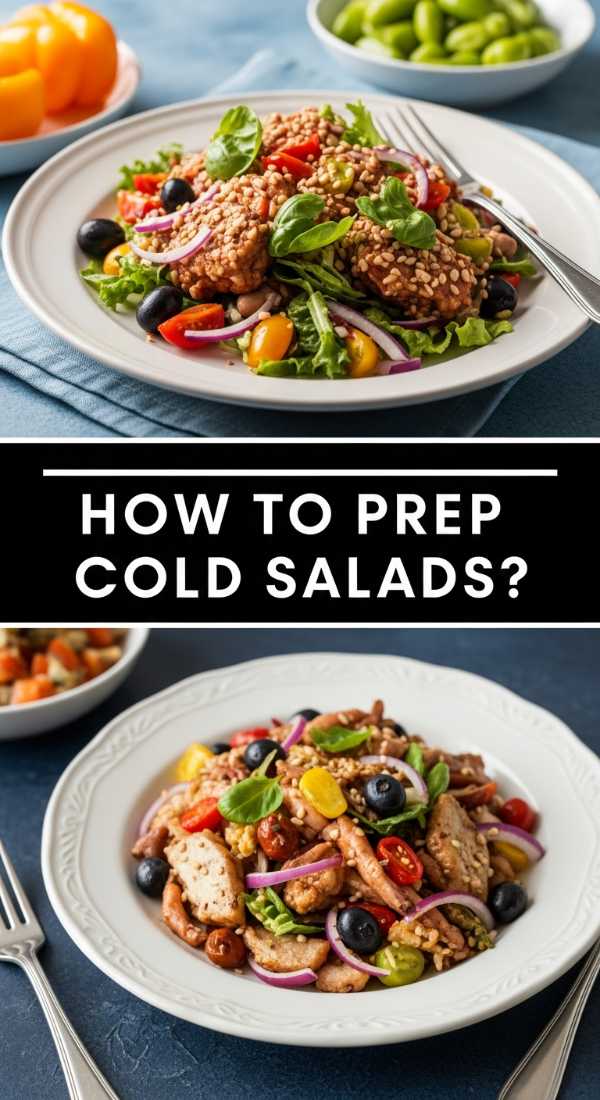
How to prep cold salads
Why we love this
Cold salads are the backbone of a great outdoor food board because they provide a bright, acidic counterpoint to rich cheeses and meats. We love the way a well-chilled pasta or grain salad absorbs the herb-infused vinaigrette, resulting in a burst of flavor with every forkful. The texture is key here—the al dente bite of orzo or the pop of quinoa paired with crunchy red onion and juicy cherry tomatoes. It feels nourishing and clean, leaving you refreshed rather than weighed down in the summer heat.
Ingredients
- Cooked and cooled orzo, quinoa, or chickpeas
- Diced cucumbers, cherry tomatoes, and red onion
- Feta cheese crumbles or mini mozzarella pearls
- Fresh herbs (parsley, mint, or basil)
- Dressing: Olive oil, lemon juice, garlic, and dried oregano
- Mason jars for transport
How to make it
- Whisk your dressing ingredients in a large bowl first. Use a 3-to-1 ratio of oil to acid (lemon juice) to ensure it isn’t too tart.
- Add the cooked grains or beans to the dressing while they are still slightly warm. This allows the starch to absorb the flavors much more deeply than if they were completely cold.
- Once the grains have reached room temperature, toss in the chopped vegetables and herbs. This prevents the heat from the grains from wilting the delicate greens.
- Transfer the salad into glass Mason jars. If you aren’t eating immediately, put the dressing at the very bottom, followed by the grains, and the vegetables on top to keep everything crisp.
- Chill in the refrigerator for at least two hours before serving. This ‘marinating’ time is crucial for the flavors to meld and develop that signature zesty profile.
How to eat healthy outdoors

Why we love this
Eating healthy outdoors doesn’t have to mean boring salads; it’s about celebrating the natural bounty of the season in its purest form. We love the vibrant palette of raw vegetables—deep purple radishes, bright orange peppers, and emerald snap peas—arranged in a way that looks like a garden on a board. The crunch is incredibly satisfying, and when paired with a protein-rich dip like Greek yogurt tzatziki, it provides a slow-release energy that avoids the post-picnic slump. It’s food that makes you feel as good as the sunshine on your skin.
Ingredients
- Rainbow carrots (peeled and halved)
- Watermelon radishes (thinly sliced)
- Snap peas and blanched broccoli florets
- Hard-boiled eggs (halved with a sprinkle of paprika)
- Greek yogurt based dip or classic hummus
- Handful of raw almonds or walnuts
How to make it
- Prepare your vegetables by cutting them into uniform, easy-to-dip batons. For the radishes, use a mandoline to get paper-thin slices that look like stained glass when held to the light.
- Hard-boil your eggs by placing them in cold water, bringing to a boil, and then removing from heat to sit for exactly 9 minutes. Shock them in ice water immediately for a perfectly creamy, yellow yolk without the gray ring.
- Place your dip in the center of the board in a ceramic bowl. Garnish the dip with a drizzle of olive oil and a few microgreens to make it look artisanal.
- Group the vegetables by color around the dip, creating a ‘gradient’ effect. This visual organization makes the healthy options more enticing.
- Keep the board in a cooler bag with ice packs until the moment you are ready to eat. The ‘snap’ of a cold vegetable is far more satisfying than a room-temperature one.
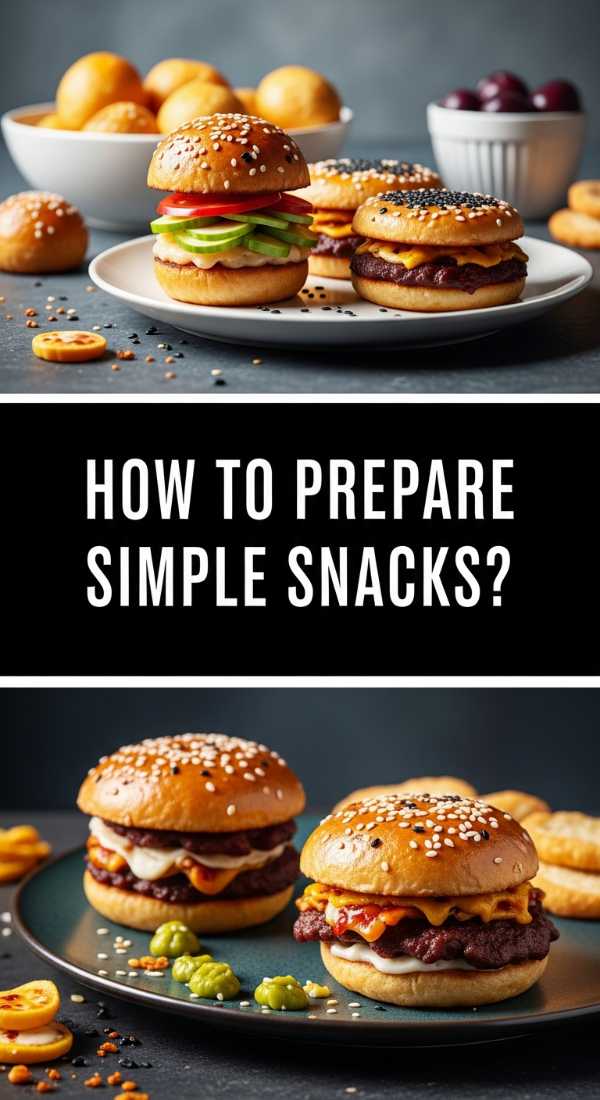
How to prepare simple snacks
Why we love this
Simple snacks are the heart of the food board trend because they require zero cooking but offer maximum satisfaction. We love the mix of ‘salty, sweet, and crunchy’—the trifecta of snacking perfection. There is a nostalgic comfort in a handful of high-quality olives or a piece of dark chocolate. These small bites allow for ‘grazing,’ which is the most relaxed way to eat, letting you snack slowly while reading a book or chatting with friends. It’s about elevating the everyday pantry items into something that feels like a curated feast.
Ingredients
- Assorted olives (Kalamata and Castelvetrano)
- Dry-roasted nuts with sea salt
- Dried apricots or dates
- High-quality dark chocolate squares
- Mini rice cakes or multi-grain crackers
- Small bunch of cold grapes
How to make it
- Start by selecting a variety of textures. You want at least one item that is crunchy, one that is chewy, and one that is soft.
- Drain the olives well and pat them dry with a paper towel. This prevents the brine from leaking into your nuts and crackers, which would make them soggy.
- Arrange the items in small clusters on a plate or board. Use the larger items, like the bunch of grapes, to create boundaries between the different snacks.
- If using dates, slice them halfway open and tuck a single almond inside for a ‘stuffed’ snack that feels much fancier than it actually is.
- Sprinkle a tiny pinch of flaky sea salt over the chocolate and the nuts right before serving to make the flavors pop and add a professional finishing touch.
How to pack beach snacks
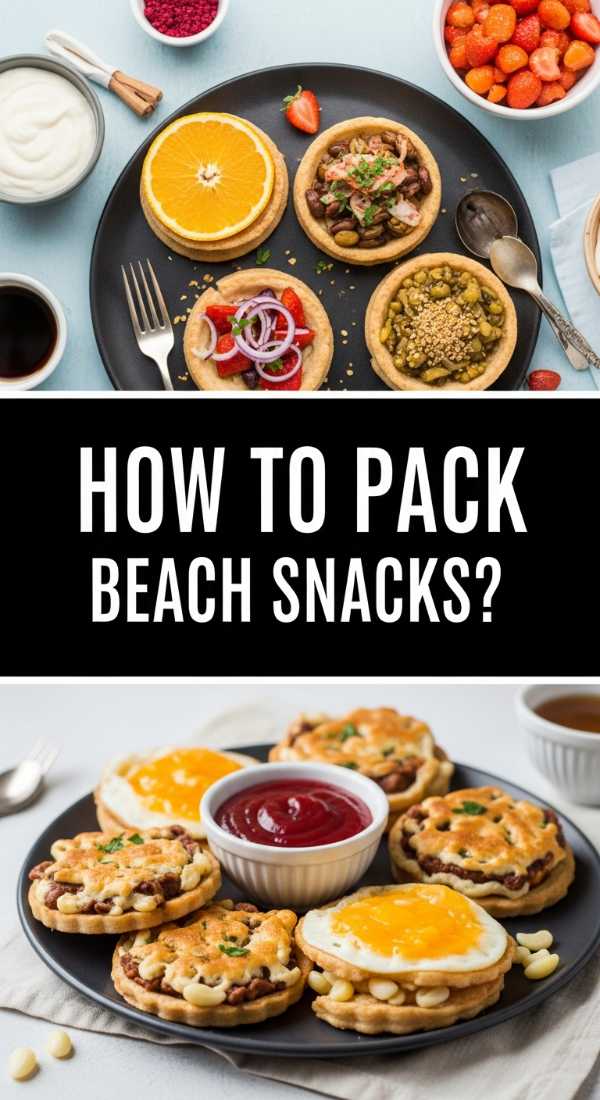
Why we love this
Beach snacking is an art form because it requires food that can stand up to heat and keep you hydrated under the sun. We love the refreshing explosion of a frozen grape or a slice of juicy watermelon when the salt air is in your hair. These snacks are designed to be sand-resistant and easy to eat with one hand while you’re relaxing in a lounge chair. They provide that much-needed hydration and salt replenishment without being heavy, making them the perfect companion for a day by the waves.
Ingredients
- Frozen grapes and berries
- Watermelon wedges (keep the rind on for a ‘handle’)
- Individual bags of popcorn or pretzels
- String cheese or babybel wheels (wax-wrapped for protection)
- Bottled coconut water or electrolyte drinks
How to make it
- Freeze your grapes and berries the night before. This serves a double purpose: they act as edible ice packs to keep other food cold, and they taste like mini sorbet bites as they slightly thaw.
- Cut the watermelon into triangles but leave the green rind on. This gives you a clean way to hold the fruit without getting sticky juice all over your hands—and subsequently, the sand.
- Use airtight, screw-top containers rather than open bags. Sand has a way of getting everywhere, and a sealed container is the only way to guarantee a crunch-free meal.
- Pack your cooler with the heaviest items and ice packs at the bottom, and the delicate fruits and snacks on top to prevent crushing.
- Place a damp cloth in a separate Ziploc bag in the cooler. Use this to wipe your hands of salt and sand before you reach into your snack container.
How to make picnic sandwiches
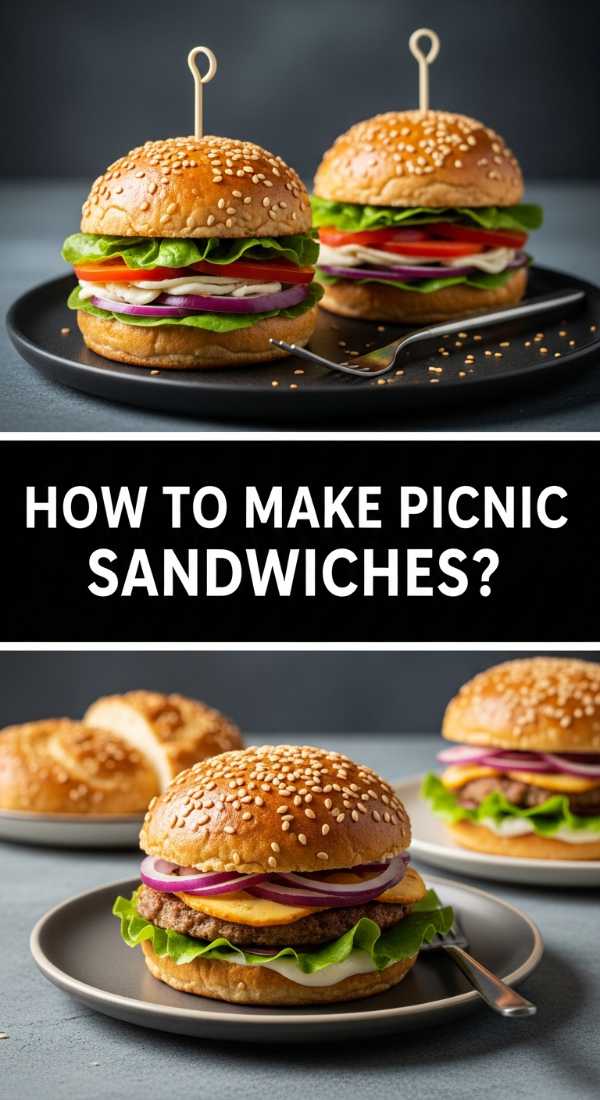
Why we love this
A classic picnic sandwich is pure comfort food, offering a hearty, satisfying core to any food board. We love the architecture of a well-made sandwich—the way a crusty ciabatta or baguette holds up against layers of savory meats and crisp greens. There is a satisfying ‘crunch’ as you bite through the crust into the soft, flavorful interior. Unlike a soggy desk sandwich, a picnic sandwich is built to last, often tasting even better after the flavors have had an hour to meld together in the basket.
Ingredients
- Crusty baguette or Ciabatta rolls
- Salted butter or pesto (as a moisture barrier)
- Sliced roast beef, ham, or turkey
- Provolone or Swiss cheese
- Arugula or sturdy romaine lettuce
- Thinly sliced tomatoes (patted dry)
How to make it
- Choose a bread with a sturdy crust. Soft white bread will compress and become gummy; a baguette or ciabatta provides the structural integrity needed for travel.
- Apply a generous layer of butter or a thick pesto to both sides of the bread. This fat layer prevents the juices from the meat and vegetables from soaking into the bread fibers.
- Layer the cheese directly against the buttered bread. The cheese acts as a secondary shield against moisture.
- Place the meat in the middle, and make sure to pat your tomato slices with a paper towel to remove excess water before adding them.
- Wrap the sandwich tightly in butcher paper or parchment. This allows the bread to ‘breathe’ so it doesn’t get soggy, while keeping the contents compressed and easy to eat.
How to make fruit platters
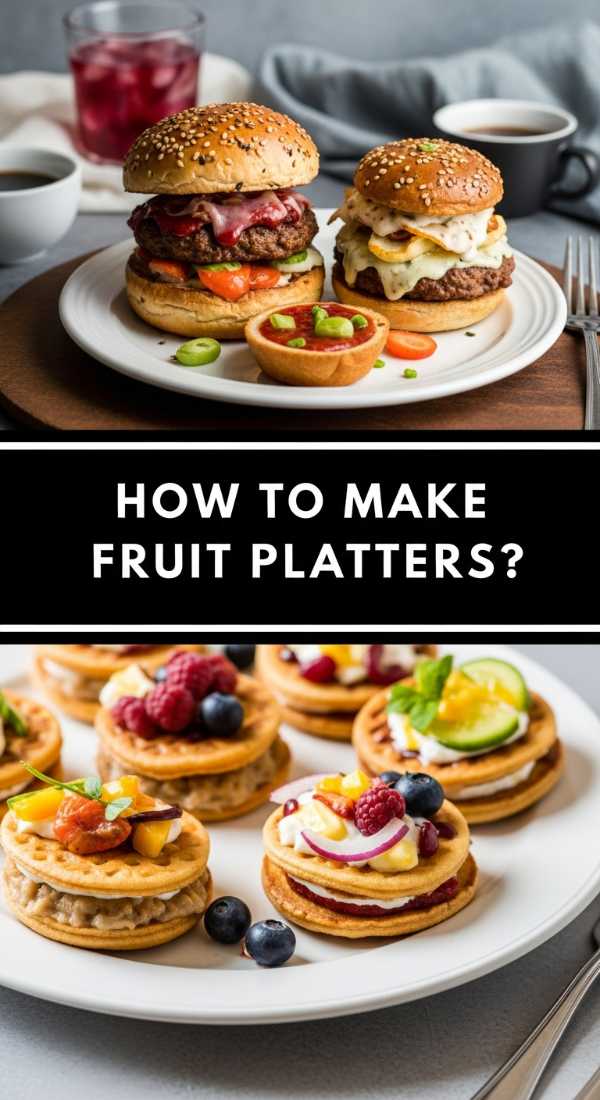
Why we love this
Fruit platters are the ‘crown jewel’ of the food board trend, offering a natural sweetness and vibrant beauty that no processed dessert can match. We love the cooling sensation of chilled melon and the tart pop of citrus against a backdrop of sweet berries. It’s a celebration of color—from the deep blues of blackberries to the sunny yellows of pineapple. A fruit platter feels like a celebration; it’s light, healthy, and provides a refreshing finish to a meal that leaves everyone feeling energized and satisfied.
Ingredients
- Pineapple, cantaloupe, and honeydew melon
- Strawberries, blueberries, and raspberries
- Kiwi slices and starfruit (for visual flair)
- Fresh mint leaves for garnish
- Greek yogurt or honey for dipping
How to make it
- Cut the larger melons into uniform cubes or use a melon baller for a whimsical, rounded look. Consistency in size makes the board look more professional.
- Arrange the largest fruit items first, creating ‘islands’ of color across the board. This creates the foundation for your design.
- Fill the gaps between the melon islands with clusters of smaller berries. Overlap the colors to create a ‘gradient’ or ‘rainbow’ effect, which is incredibly pleasing to the eye.
- Peel and slice the kiwi into rounds or ‘star’ shapes to add a tropical, high-end feel to the display.
- Tear fresh mint leaves and scatter them over the fruit. The aromatic oils from the mint will lightly scent the fruit, making it taste and smell incredibly fresh.
Conclusion
Whether you’re packing a bento box for your little one or setting the stage for a romantic sunset date, the simple food board trend is all about intentionality. It’s a reminder that we don’t need elaborate recipes to create a memorable meal; we just need good ingredients, a little bit of styling, and the desire to slow down and savor the moment. So, grab a board, head outside, and start creating your own edible masterpiece today!