
Why Everyone is Obsessed with This Easy 5-Minute Snack Board
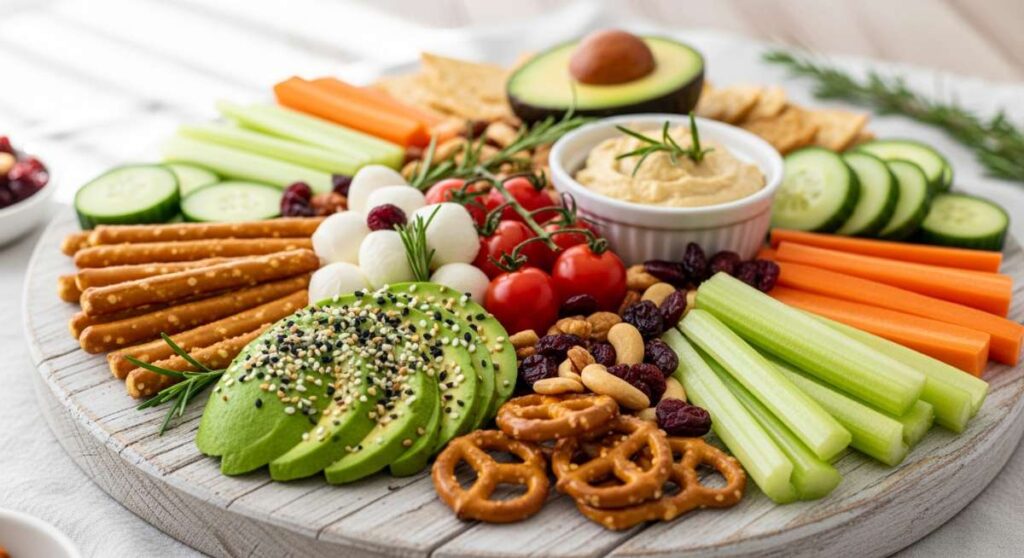
There is something almost magical about the moment you set a sprawling, colorful snack board in the center of a crowded table. Whether it is a lazy Sunday afternoon with the family or a high-energy gathering with friends, the ‘snack board’ has become the ultimate symbol of effortless hospitality. It’s not just about the food; it’s about the permission to graze, the variety of textures, and the way it turns a simple meal into a shared experience where everyone finds exactly what they’re craving.
Lately, my kitchen has been the laboratory for the perfect ‘viral’ board—one that balances salty, sweet, crunchy, and creamy without requiring hours over a hot stove. I’ve realized that the secret isn’t just in the assembly, but in the small, curated dishes we tuck into the corners of the board. Today, I’m sharing the absolute essentials that make these boards legendary, from the dips that disappear in seconds to the refreshing drinks that wash it all down.
How to make creamy rotel dip?

Why we love this
Imagine a velvety, molten river of golden cheese infused with the zesty kick of diced tomatoes and green chilies. This dip is the ultimate comfort food, offering a rich, savory aroma that fills the room the moment it starts bubbling. Each scoop provides a satisfying contrast between the smooth, thick cheese and the hearty texture of browned sausage, making it a crowd-favorite that feels like a warm hug in a bowl.
Ingredients
- 1 lb Ground Breakfast Sausage
- 1 block (16 oz) Velveeta Cheese, cubed
- 2 cans (10 oz each) RoTel Diced Tomatoes and Green Chilies
- 1/2 cup Whole Milk (optional for desired consistency)
- Fresh Cilantro for garnish
How to make it
- Begin by browning your breakfast sausage in a large skillet over medium-high heat. Use a wooden spoon to break the meat into small, uniform crumbles to ensure an even distribution throughout the dip.
- Cook the sausage until it is completely browned and no pink remains, which usually takes about 7 to 9 minutes. Drain the excess grease thoroughly to prevent the dip from becoming oily.
- Reduce the heat to low and add the cubed Velveeta cheese. It is crucial to use low heat here to prevent the cheese from scorching or becoming grainy.
- Pour in both cans of RoTel, including the juices. Stir constantly as the cheese melts, ensuring the sausage and tomatoes are fully integrated into the creamy base.
- If the dip feels too thick, whisk in the milk one tablespoon at a time until you reach a silky, pourable consistency. Serve immediately while hot and bubbling.
How to make summer pasta salad?

Why we love this
This salad is like a garden party in a bowl, bursting with the vibrant colors of crisp bell peppers, juicy cherry tomatoes, and sharp red onions. Every bite is an explosion of Mediterranean flavors, where the tang of red wine vinegar meets the salty punch of feta cheese. The texture is a delightful mix of chewy, al dente pasta and the crunch of fresh vegetables, all coated in a herby dressing that smells of dried oregano and fresh garlic.
Ingredients
- 1 lb Rotini or Fusilli Pasta
- 1 cup Cherry Tomatoes, halved
- 1 Cucumber, diced
- 1/2 cup Kalamata Olives, sliced
- 1/2 cup Feta Cheese crumbles
- Dressing: 1/2 cup Olive Oil, 1/4 cup Red Wine Vinegar, 1 tsp Oregano, Salt, and Pepper
How to make it
- Bring a large pot of heavily salted water to a rolling boil. Add your pasta and cook according to the package directions, but aim for exactly ‘al dente’—usually 1-2 minutes less than the full cook time—so the pasta holds its shape when tossed.
- Drain the pasta and immediately rinse it under cold running water. This stops the cooking process and removes excess starch, preventing the noodles from sticking together.
- In a small glass jar or bowl, whisk together the olive oil, red wine vinegar, oregano, salt, and pepper until the dressing is emulsified and slightly thickened.
- In a large mixing bowl, combine the cooled pasta with the tomatoes, cucumbers, olives, and red onion. Pour the dressing over the top and toss gently with large spoons.
- Fold in the feta cheese last to keep the crumbles intact. Refrigerate for at least 30 minutes before serving to allow the flavors to meld and the pasta to absorb the herb-infused dressing.
How to grill juicy kebabs?

Why we love this
There is nothing quite like the smoky, charred aroma of meat and vegetables sizzling over an open flame. These kebabs offer a beautiful visual of vibrant peppers and onions interspersed with succulent, marinated protein. When done right, the exterior has a crisp, caramelized crust while the inside remains incredibly tender and bursting with savory juices that drip onto the plate with every bite.
Ingredients
- 1.5 lbs Sirloin Steak or Chicken Breast, cut into 1-inch cubes
- 2 Bell Peppers, cut into chunks
- 1 Red Onion, cut into wedges
- 1/2 cup Soy Sauce
- 1/4 cup Olive Oil
- 3 cloves Garlic, minced
- 1 tsp Smoked Paprika
How to make it
- In a large bowl, whisk together the soy sauce, olive oil, minced garlic, and smoked paprika. Add your meat cubes and toss to coat thoroughly. Marinate in the refrigerator for at least 2 hours (4-6 hours for steak) to break down fibers and infuse flavor.
- If using wooden skewers, soak them in water for at least 30 minutes prior to assembly to prevent them from catching fire on the grill.
- Thread the marinated meat onto the skewers, alternating with chunks of bell pepper and red onion. Do not pack them too tightly; leaving a tiny bit of space ensures the heat can circulate and cook the sides of the meat.
- Preheat your grill to medium-high (about 400°F). Lightly oil the grates to prevent sticking. Place kebabs on the grill and sear for about 3-4 minutes per side.
- Use a meat thermometer to check for doneness (145°F for medium-rare steak, 165°F for chicken). Once reached, remove from the grill and let the kebabs rest for 5 minutes to lock in the juices before serving.
How to brew perfect sun tea?

Why we love this
Sun tea is the ultimate slow-living beverage, capturing the gentle heat of a summer afternoon in a glass jar. The result is a tea that is remarkably smooth and mellow, lacking the bitterness that sometimes comes from boiling water. It has a nostalgic, honey-hued glow that looks stunning on a picnic table, and the flavor is pure and clean, especially when garnished with a sprig of fresh mint or a slice of lemon.
Ingredients
- 8-10 Black Tea bags (or Green Tea)
- 1 gallon Purified Water
- Fresh Mint sprigs
- Lemon slices
- Honey or Agave for sweetening
How to make it
- Sterilize a one-gallon glass jar thoroughly with hot, soapy water. Using a glass jar is essential as it absorbs the sun’s heat more effectively than plastic and won’t leach flavors.
- Fill the jar with room-temperature purified water. Do not use hot water; the goal is a slow extraction.
- Place the tea bags into the water, draped over the edge of the jar, and secure the lid. Set the jar in a spot that receives direct, uninterrupted sunlight for 3 to 5 hours.
- Observe the color; once it reaches a deep, golden amber, the tea is ready. Do not leave it out for more than 5 hours to avoid bacterial growth.
- Remove the tea bags and refrigerate the tea immediately. Serve over plenty of ice, adding your sweetener of choice and fresh lemon slices for a crisp finish.
How to make refreshing lemonade?

Why we love this
Fresh-squeezed lemonade is the quintessential thirst-quencher, offering a sharp, bright citrus punch that cuts through the heat of any day. The aroma of zesty lemon rinds and the visual of cloudy, ice-cold liquid in a tall pitcher are instantly cooling. It strikes that perfect, nostalgic balance between tart and sweet, leaving a clean and refreshing aftertaste that bottled versions simply cannot replicate.
Ingredients
- 1.5 cups Freshly Squeezed Lemon Juice (about 6-8 lemons)
- 1.25 cups Granulated Sugar
- 6 cups Cold Water
- Lemon slices and Mint for garnish
How to make it
- Create a ‘simple syrup’ by combining 1 cup of the sugar and 1 cup of water in a small saucepan over medium heat. Stir constantly until the sugar is completely dissolved and the liquid is clear. Let this cool to room temperature.
- While the syrup cools, juice your lemons. Roll them on the counter first with firm pressure to break the membranes, which helps yield more juice. Strain out any seeds or large pulp.
- In a large pitcher, combine the fresh lemon juice and the cooled simple syrup. Stir vigorously to integrate.
- Add the remaining 5 cups of cold water. Taste the mixture; if it’s too tart, add the remaining 1/4 cup of sugar or more water depending on your preference.
- Chill in the refrigerator for at least an hour. Serve in glasses filled to the brim with ice, garnished with thin lemon wheels and a sprig of mint to enhance the citrus aroma.
How to cook best picnic sides?

Why we love this
A great picnic side, like a classic creamy coleslaw, provides the essential crunch and tang needed to balance out savory grilled meats. It’s all about that satisfying ‘snap’ of fresh cabbage against a silky, slightly sweet dressing. The scent of vinegar and celery seed is classic and inviting, making it the kind of side dish that people keep coming back to for ‘just one more spoonful’ while lounging on a picnic blanket.
Ingredients
- 1 bag (16 oz) Shredded Cabbage/Coleslaw mix
- 1/2 cup Mayonnaise
- 2 tbsp Apple Cider Vinegar
- 1 tbsp Sugar
- 1/2 tsp Celery Seed
- Salt and Pepper to taste
How to make it
- In a large mixing bowl, prepare the dressing by whisking together the mayonnaise, apple cider vinegar, sugar, and celery seed. Ensure the sugar is fully dissolved into the mayo for a smooth texture.
- Taste the dressing and adjust the seasoning with salt and pepper. A good slaw dressing should have a distinct balance of creamy, sweet, and acidic notes.
- Add the shredded cabbage mix to the bowl. Use tongs to toss the cabbage, ensuring every strand is thoroughly and evenly coated in the dressing.
- If you have time, finely mince a small amount of green onion or parsley to add a pop of color and a fresh herbal note.
- Cover the bowl and refrigerate for at least 1 hour. This resting period is vital as it allows the cabbage to soften slightly and the flavors to develop. Toss once more just before serving.
How to bake fresh summer desserts?

Why we love this
A fresh berry galette is the epitome of summer baking—rustic, beautiful, and bursting with the juices of seasonal fruit. The smell of buttery, flaky pastry mingling with bubbling strawberries and blueberries is intoxicating. It’s a dessert that celebrates imperfection; the folded edges of the crust hold in a jammy, sweet filling that pairs perfectly with a melting scoop of cold vanilla bean ice cream.
Ingredients
- 1 refrigerated Pie Crust (or homemade)
- 3 cups Mixed Berries (Blueberries, Raspberries, Strawberries)
- 1/4 cup Sugar
- 1 tbsp Cornstarch
- 1 Egg (for egg wash)
- 1 tbsp Turbinado Sugar (for topping)
How to make it
- Preheat your oven to 400°F (200°C) and line a large baking sheet with parchment paper to prevent the fruit juices from sticking.
- In a medium bowl, gently toss the mixed berries with 1/4 cup sugar and cornstarch. The cornstarch is essential as it thickens the juices as they bake, preventing a soggy crust.
- Roll out the pie crust on the parchment paper until it’s about 12 inches in diameter. Pile the berry mixture into the center, leaving a 2-inch border around the edges.
- Carefully fold the edges of the crust up over the fruit, pleating the dough as you go. The center should remain open, showing off the vibrant berries.
- Brush the crust with a beaten egg and sprinkle with turbinado sugar for a professional, crunchy finish. Bake for 25-30 minutes until the crust is a deep golden brown and the fruit is bubbling.
How to make cold coffee drinks?

Why we love this
There is a specific luxury in a perfectly layered iced coffee, where the dark, bold espresso slowly marbles into creamy, cold milk. It’s a visual and sensory treat that provides a smooth, caffeinated kick without the acidity of hot coffee. The feel of the cold glass and the sound of ice clinking are the sounds of a productive morning or a relaxing afternoon pick-me-up.
Ingredients
- 1 cup Cold Brew Coffee concentrate
- 1/2 cup Milk of choice (Oat, Almond, or Dairy)
- 1 tbsp Vanilla Syrup
- Ice cubes
How to make it
- Start with high-quality cold brew concentrate. If making your own, steep coarse coffee grounds in cold water for 12-18 hours and strain carefully through a fine-mesh filter.
- Fill a tall glass to the top with large ice cubes. Using large cubes instead of crushed ice prevents the coffee from diluting too quickly.
- Pour the vanilla syrup over the ice, followed by the cold brew coffee concentrate. Stir briefly to distribute the sweetener.
- Slowly pour the milk over the top. For a ‘viral’ aesthetic effect, pour the milk over the back of a spoon to create beautiful cascading swirls in the coffee.
- For an extra touch, use a handheld milk frother to foam up a small amount of milk and dollop it on top before serving with a reusable straw.
How to make easy spring dinners?

Why we love this
A sheet-pan lemon herb salmon is the ultimate easy dinner that feels like a five-star meal. The aroma of roasting lemon slices and fresh dill creates a light, airy kitchen atmosphere. The salmon comes out flaky and tender, while the surrounding asparagus retains a perfect crisp-tender snap, all infused with a bright, buttery citrus glaze that screams springtime freshness.
Ingredients
- 2 Salmon Fillets
- 1 bunch Asparagus, trimmed
- 2 tbsp Olive Oil
- 1 Lemon, thinly sliced
- 2 cloves Garlic, minced
- Fresh Dill, Salt, and Pepper
How to make it
- Preheat your oven to 400°F (200°C). Line a rimmed sheet pan with parchment paper or foil for easy cleanup.
- Place the salmon fillets in the center of the pan and surround them with the trimmed asparagus spears. Ensure the asparagus is in a single layer to allow for even roasting.
- Drizzle the olive oil over both the fish and the vegetables. Sprinkle with minced garlic, salt, pepper, and chopped fresh dill.
- Lay the thin lemon slices directly on top of the salmon fillets. As they bake, the lemon juice will infuse the fish, keeping it moist and adding a bright acidity.
- Roast for 12-15 minutes. The salmon is done when it flakes easily with a fork and reaches an internal temperature of 145°F. Serve immediately directly from the pan for a rustic feel.
How to prepare healthy beach snacks?
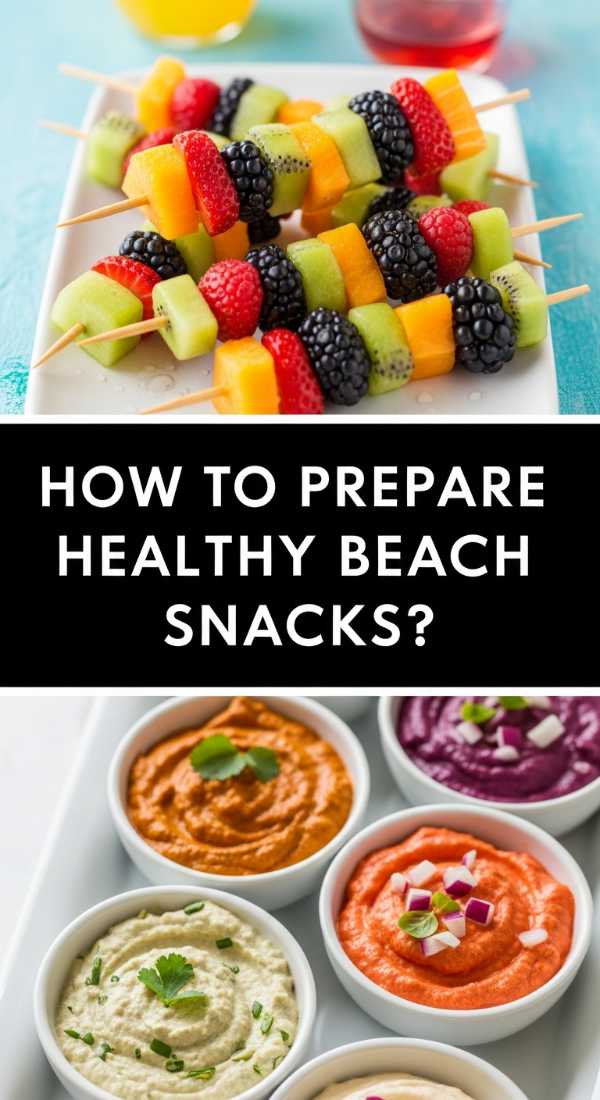
Why we love this
Beach snacks need to be hydrating, refreshing, and easy to eat with your hands, and chilled fruit skewers with a hint of lime are the perfect solution. The vibrant colors of melon, pineapple, and grapes look beautiful against the backdrop of the ocean. Each bite is a cool burst of natural sweetness, enhanced by a tiny pinch of sea salt that makes the fruit flavors pop while you enjoy the sun.
Ingredients
- 1 cup Watermelon chunks
- 1 cup Pineapple chunks
- 1 cup Green Grapes
- 1 Lime, juiced
- Fresh Mint leaves
- Wooden skewers
How to make it
- Prepare your fruit by cutting the watermelon and pineapple into uniform 1-inch cubes. Keeping the sizes consistent makes the skewers look professional and easy to stack.
- Thread the fruit onto the wooden skewers in a repeating pattern: watermelon, pineapple, grape, and a folded mint leaf. The mint leaf provides a refreshing herbal aromatic with every bite.
- Once the skewers are assembled, squeeze fresh lime juice over the fruit. The acidity helps keep the fruit looking fresh and prevents browning.
- For a gourmet twist, sprinkle a very fine dusting of Tajin or sea salt over the watermelon pieces to contrast the sweetness.
- Store the skewers in a chilled, airtight container or a cooler filled with ice. These are best served bone-chillingly cold while sitting in the sand.
Conclusion
Creating the perfect snack board is truly an art form that anyone can master. It’s about more than just food; it’s about the joy of gathering and the ease of a meal that requires minimal cleanup and maximum enjoyment. By incorporating these curated dips, salads, and drinks, you ensure that your next hosting gig is as stress-free as it is delicious. Now, go grab a board and start building!