
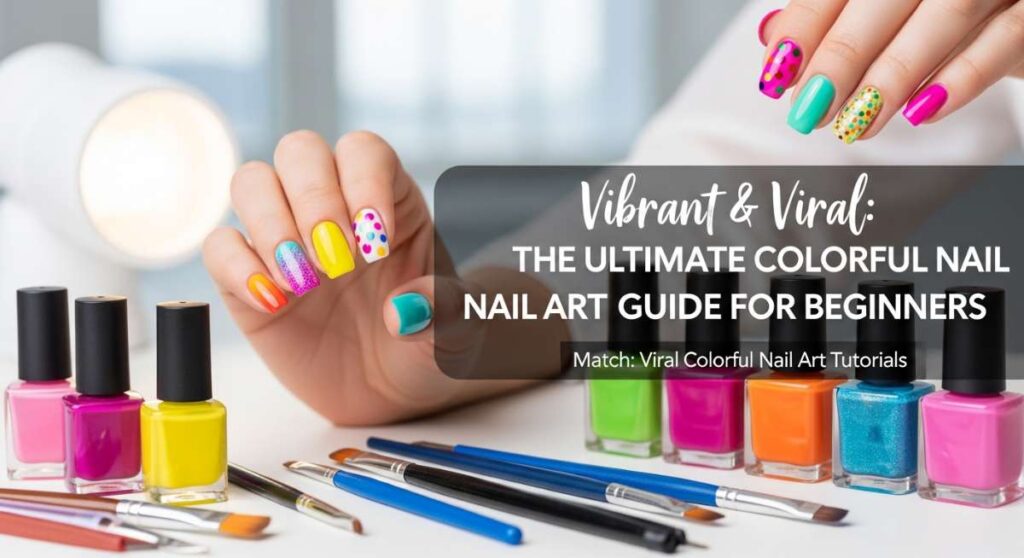
Vibrant & Viral: The Ultimate Colorful Nail Art Guide for Beginners
Hello, my sweetest loves! There is something so magical about looking down at your hands and seeing a rainbow staring back at you. In a world that can sometimes feel a little gray, your nails are like a tiny, sparkling canvas where you get to paint your joy, your mood, and your beautiful soul. I’ve always believed that a fresh manicure is more than just a beauty routine—it’s a cloud-soft embrace for your spirit, a way to whisper to yourself that you deserve to shine.
Today, I am so excited to walk hand-in-hand with you through the vibrant world of viral nail art. Whether you are a total beginner or a seasoned polish lover, these tutorials are designed to be your gentle guide. We’re going to play with colors, textures, and shapes until your fingertips feel like a masterpiece. So, grab your favorite tea, find a cozy spot, and let’s start this colorful journey together.
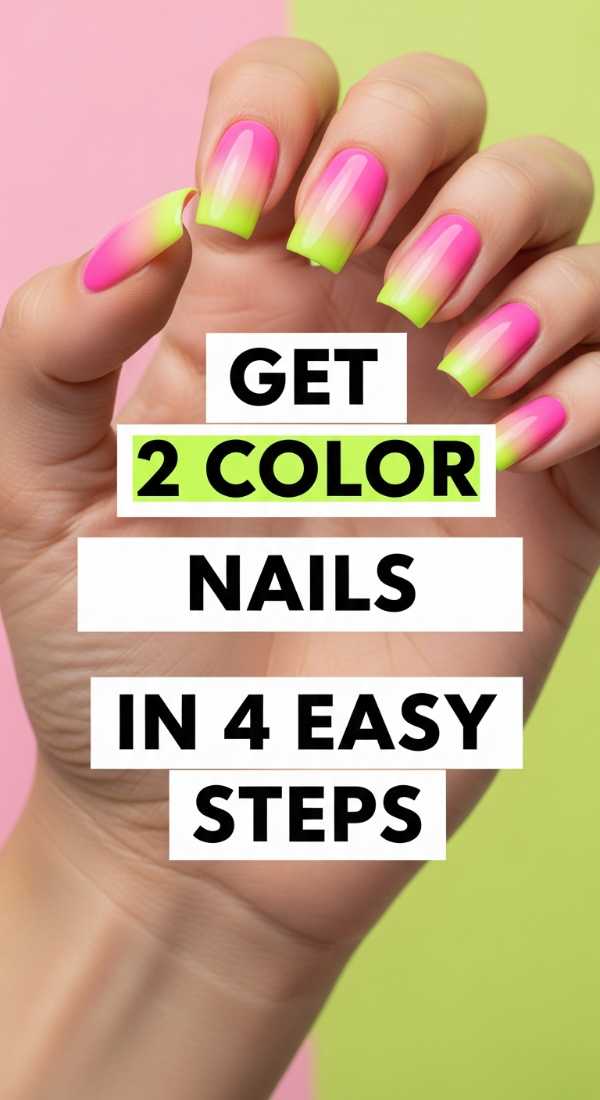
Get 2 Color Nails in 4 Easy Steps
Why to love this recipe:
This is the perfect ‘quiet morning’ look—simple, elegant, and so satisfying. Combining two complementary shades creates a sophisticated depth without the stress of complicated patterns. It’s like a soft hug for your hands.
Essential Ingredients:
- Base coat
- Two contrasting polish colors (e.g., lavender and cream)
- Top coat
- Nail tape or a steady hand
How to Prepare:
- Apply your base coat to protect your natural nails.
- Paint the entire nail with your lighter base color and let it dry completely.
- Apply a strip of tape vertically or paint the second color on just one half of the nail.
- Seal the look with a high-gloss top coat for that viral shine.
Budget Range
- Essie Glossy Shine Top Coat ($9)
- Sally Hansen Insta-Dri Polishes ($5 each)
- Washi tape or masking tape ($2)
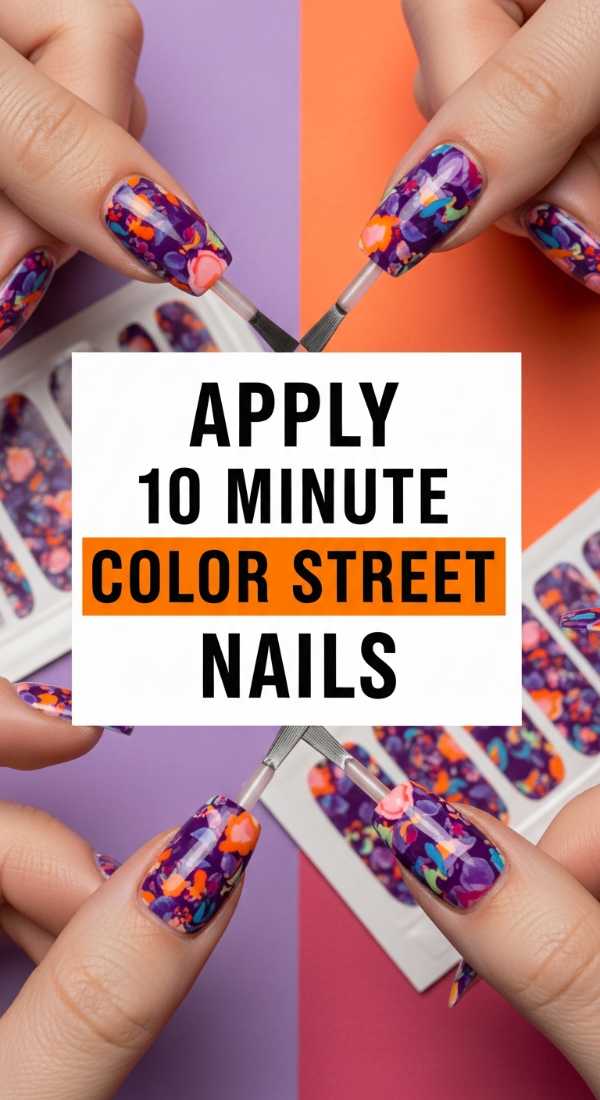
Apply 10 Minute Color Street Nails Perfectly
Why to love this recipe:
For my busy darlings who still want to sparkle, this is a total game-changer. These real-polish strips give you that professional salon finish in the time it takes to brew a pot of coffee.
Essential Ingredients:
- Color Street nail strip pack
- Alcohol prep pad
- Nail file
- Cuticle pusher
How to Prepare:
- Cleanse your nails thoroughly with the alcohol pad to remove oils.
- Push back your cuticles gently to create a clean canvas.
- Peel the strip, center it on your nail, and press firmly from the center outwards.
- Gently file off the excess in a downward motion for a seamless edge.
Budget Range
- Color Street Set ($12-$14)
- Glass Nail File ($7)
- Cuticle Pusher Tool ($4)
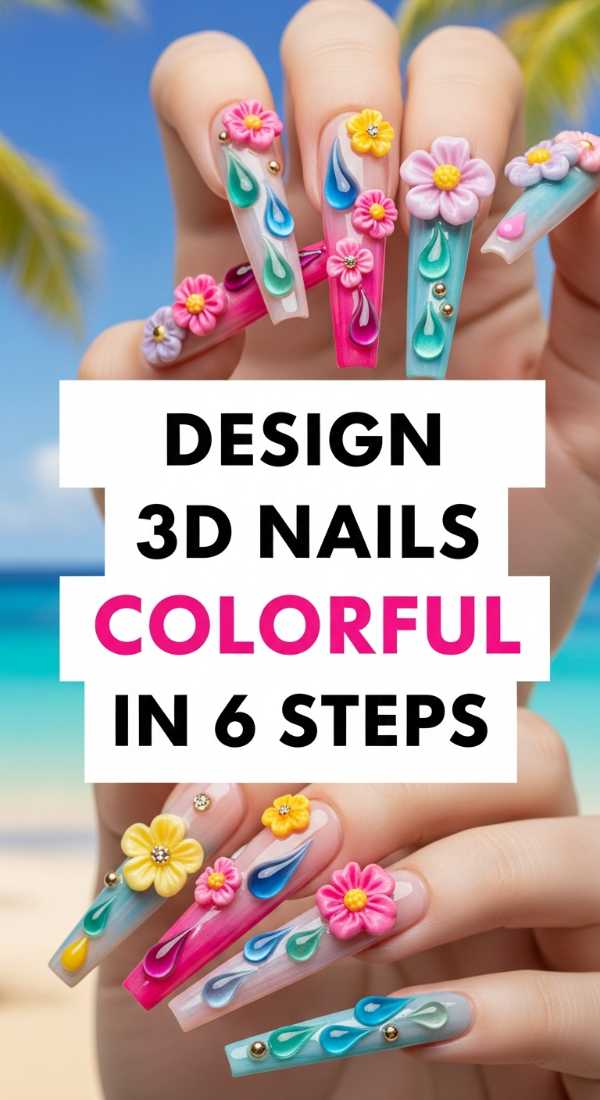
Design 3D Nails Colorful in 6 Steps
Why to love this recipe:
Sometimes we just need a little extra dimension in our lives! 3D nails are playful, tactile, and incredibly viral right now. Adding charms makes every gesture feel like a celebration.
Essential Ingredients:
- Nail glue or thick builder gel
- Colorful rhinestones or charms
- Tweezers
- Base color polish
How to Prepare:
- Apply your base color and let it dry or cure.
- Decide on your placement—clusters or single accents look best!
- Apply a small dot of glue or gel where you want the charm.
- Pick up the charm with tweezers and press it into the glue.
- Hold for 10 seconds to ensure it’s secure.
- Cure or let dry, then add top coat only around the base of the charm.
Budget Range
- Nail Art Rhinestone Kit ($10)
- Professional Nail Glue ($6)
- Precision Tweezers ($5)
Create Multicolor Nails with 3 Easy Techniques
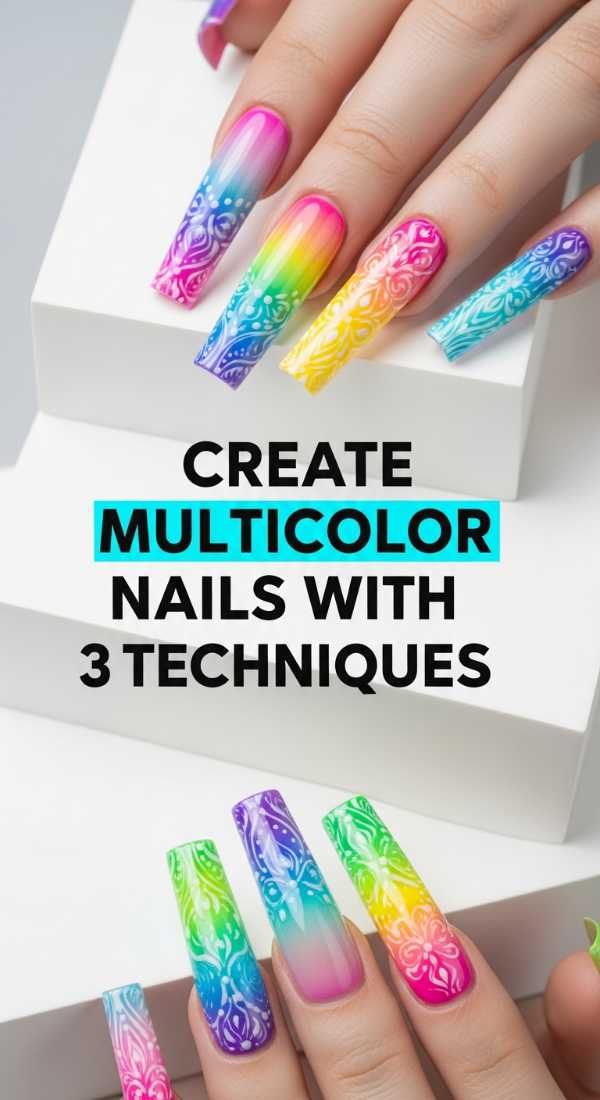
Why to love this recipe:
This technique is all about freedom, my loves. There are no mistakes here, only happy little accidents that turn into a rainbow. It’s the ultimate way to express a vibrant personality.
Essential Ingredients:
- 3-5 different bright polishes
- Makeup sponge
- Dotting tool or toothpick
- Clean-up brush and acetone
How to Prepare:
- Technique 1: Gradient – Sponge two colors onto the nail for a soft blend.
- Technique 2: Dotted – Use a toothpick to place different colored dots over a white base.
- Technique 3: Skittle – Simply paint every finger a different, coordinating color.
Budget Range
- Makeup Sponges ($3 pack)
- Nail Art Dotting Tools ($6)
- OPI Brights Collection ($11 per bottle)
Find 15 Colorful Nail Inspo Ideas Today
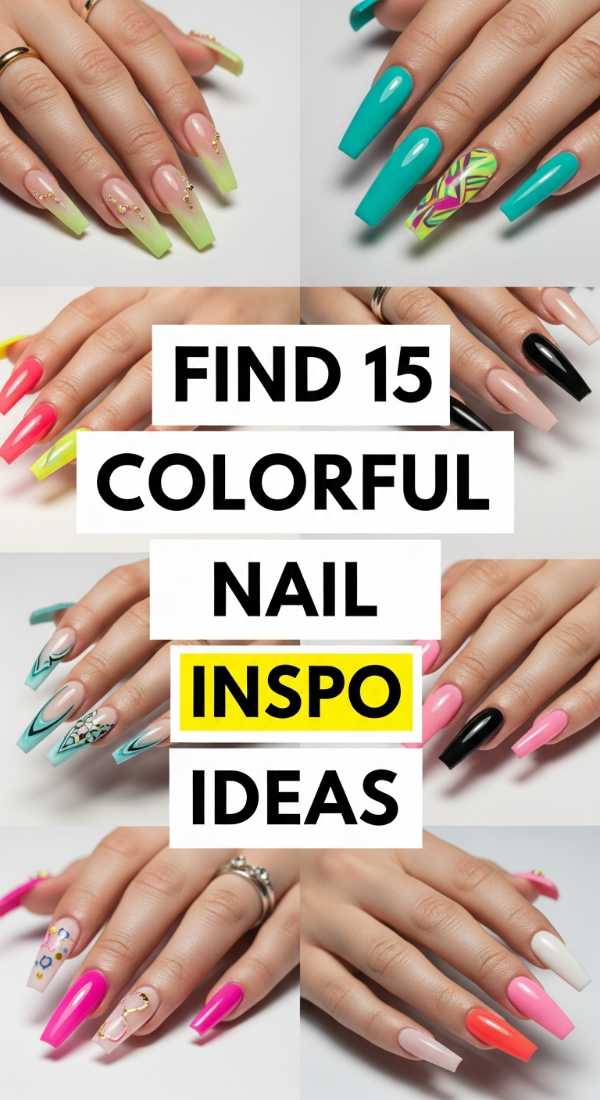
Why to love this recipe:
Finding inspiration is like opening a window to a garden of possibilities. This isn’t just about looking at pictures; it’s about finding the mood that resonates with your heart today.
Essential Ingredients:
- Pinterest or Instagram access
- A ‘Nail Inspo’ folder
- Your favorite aesthetic keywords
How to Prepare:
- Search for ‘Pastel Aura Nails’ or ‘Neon French Tips’.
- Save 15 images that make you smile instantly.
- Identify common themes—are you loving greens or maybe stars?
- Choose one ‘hero’ image to recreate this week.
Budget Range
- Free Apps (Pinterest/Instagram)
- Phone or Tablet
Build Colourful Acrylic Nails in 7 Simple Steps
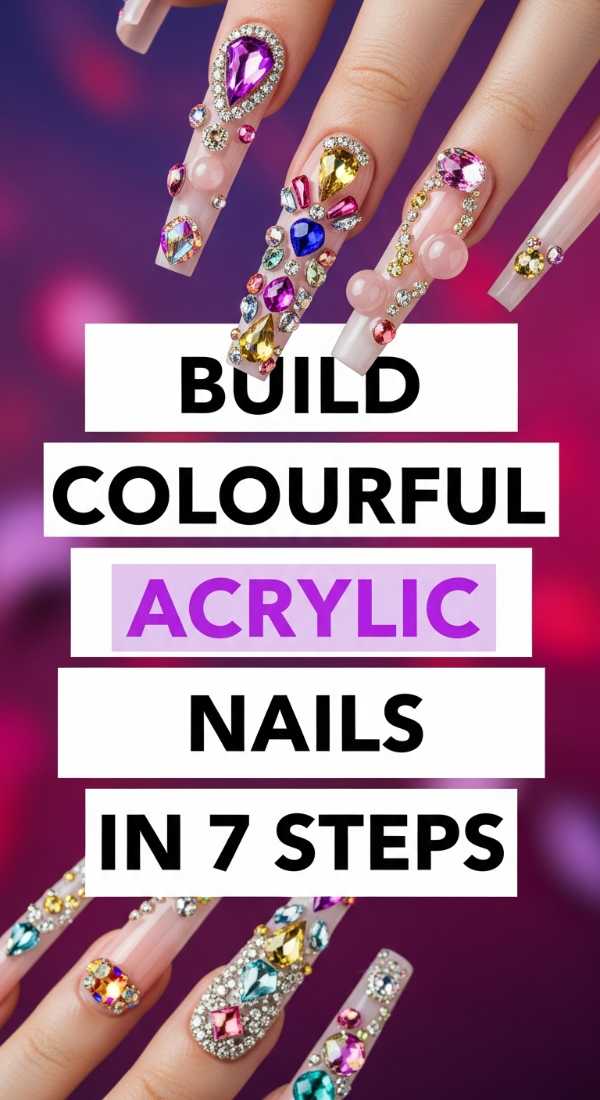
Why to love this recipe:
Acrylics are for when you want that extra length and strength. Building them yourself is so empowering—it’s like sculpting your own confidence from scratch.
Essential Ingredients:
- Acrylic powder (colored)
- Liquid monomer
- Acrylic brush
- Nail forms or tips
How to Prepare:
- Prep the natural nail by buffing and dehydrating.
- Apply the nail form or glue on the tip.
- Dip your brush into the monomer, then the colored powder to create a bead.
- Place the bead at the center and pat it toward the edges.
- Build the apex for strength.
- Let it air dry until it ‘clicks’ when tapped.
- File and shape to perfection.
Budget Range
- Mia Secret Acrylic Starter Kit ($25)
- Kolinsky Acrylic Brush ($15)
- Colorful Acrylic Powder Set ($12)
Shape Colorful Stiletto Nails in 5 Pro Tips
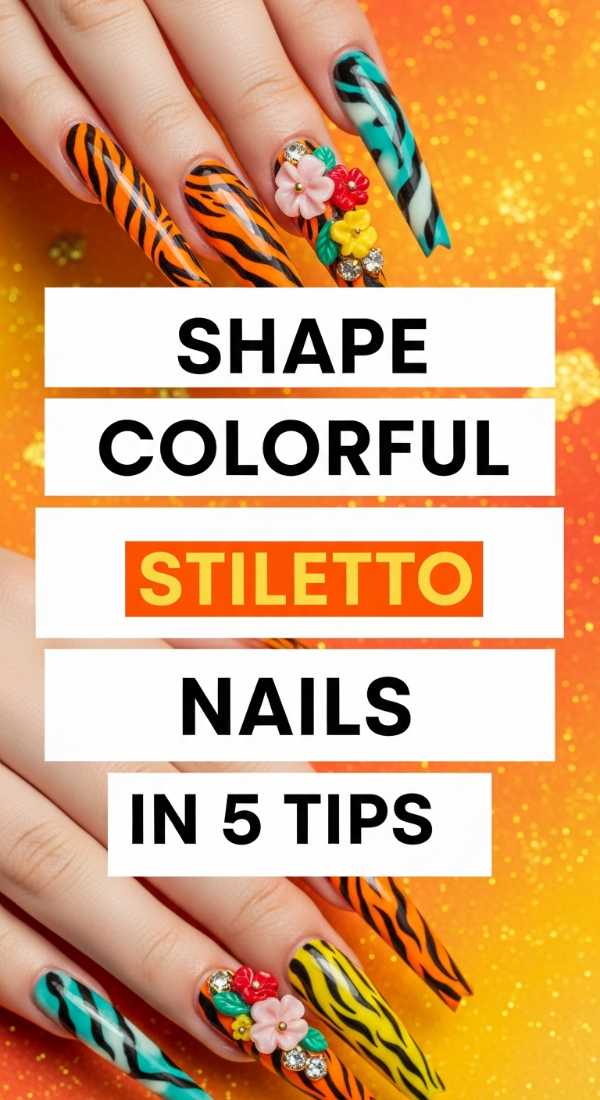
Why to love this recipe:
Stiletto nails are bold, fierce, and oh-so-glamorous. Shaping them correctly ensures you feel like a queen while keeping your nails strong and functional.
Essential Ingredients:
- Coarse grit nail file (100/180)
- Nail clippers
- Buffing block
How to Prepare:
- Find the exact center point of your nail tip.
- Clip the sides at an angle toward that center point.
- File in one direction from the sidewall to the tip.
- Ensure both sides are symmetrical by looking at your hand upside down.
- Smooth the edges with a buffer to prevent snagging.
Budget Range
- Large Grit Nail File Pack ($5)
- Professional Nail Clippers ($8)
- Buffing Block ($2)
Finish 2 Color Nails in 3 Fast Minutes
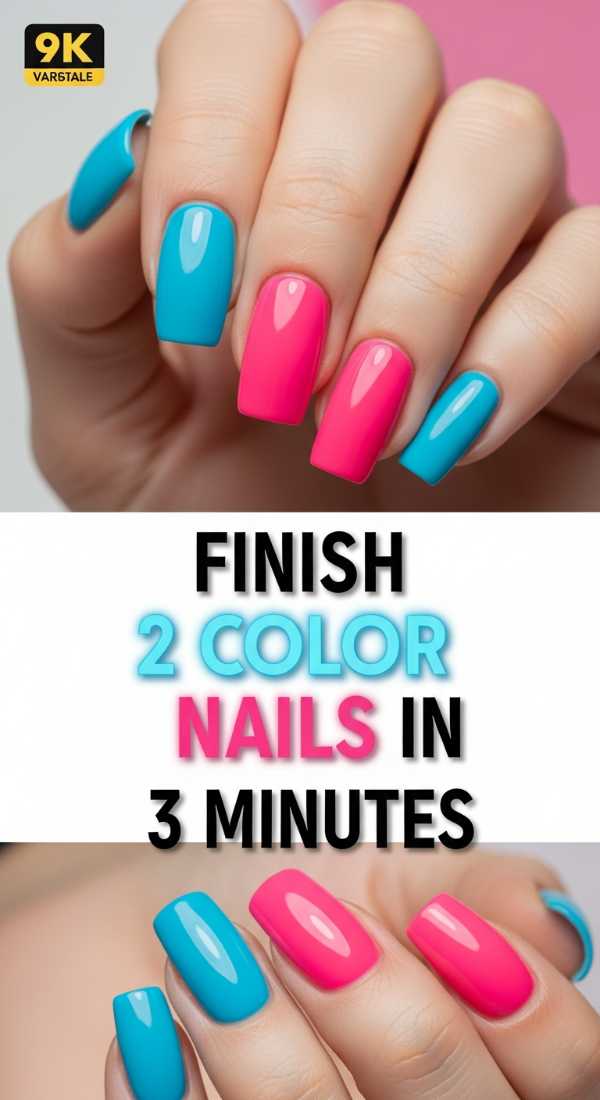
Why to love this recipe:
We are all on the go, but that shouldn’t mean our nails suffer! This quick-finish method ensures your duo-tone look is set before you can even finish your favorite song.
Essential Ingredients:
- Quick-dry top coat
- Drying drops
- Cold water bowl
How to Prepare:
- Apply a thin layer of a fast-acting top coat.
- Wait 60 seconds, then apply one ‘magic’ drying drop to each nail.
- Dip your hands in a bowl of ice-cold water for 30 seconds to flash-set the polish.
Budget Range
- Seche Vite Dry Fast Top Coat ($10)
- Nicole by OPI Drying Drops ($8)
- Ice cubes from your freezer (Free!)
Make Colourful Acrylic Nails Pop in 4 Steps
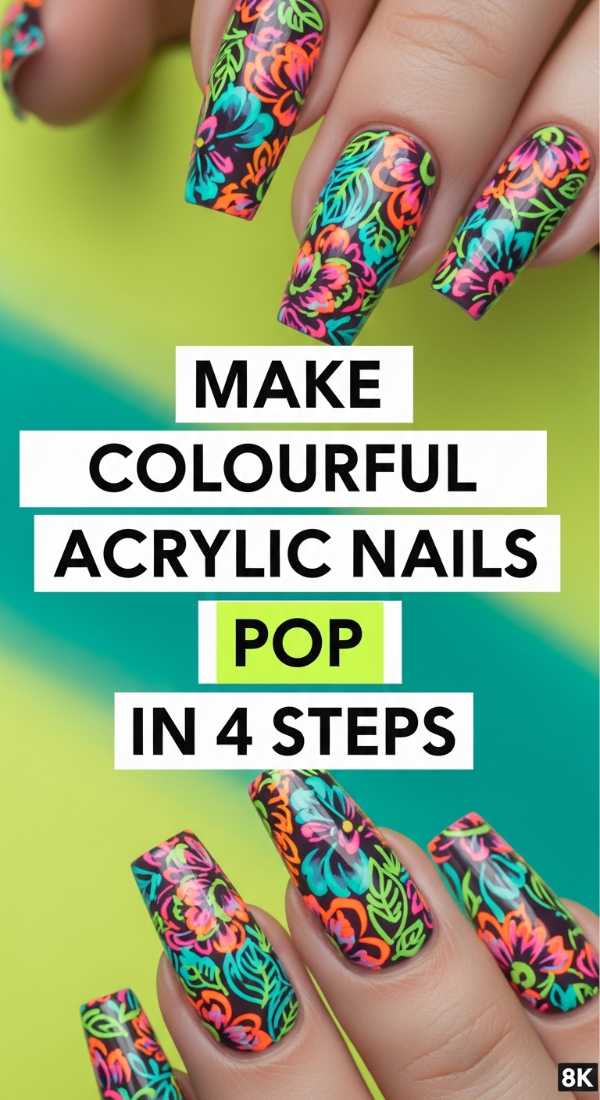
Why to love this recipe:
After all that hard work building your acrylics, you want them to scream ‘look at me!’ This is all about that high-definition finish that looks incredible in photos.
Essential Ingredients:
- High-shine gel top coat
- UV/LED Lamp
- Cuticle oil
- Lint-free wipes
How to Prepare:
- Buff the acrylic surface until it is completely smooth.
- Apply a generous layer of ‘No-Wipe’ gel top coat.
- Cure under the lamp for 60 seconds.
- Massage a drop of floral cuticle oil to make the skin look as fresh as the nails.
Budget Range
- SunUV LED Lamp ($22)
- Beetles No Wipe Top Coat ($7)
- Sweet Almond Cuticle Oil ($6)
Style Multicolor Nails for Summer in 6 Steps

Why to love this recipe:
Summer is the season of sun-kissed skin and neon dreams. This styling guide helps you pick the shades that will glow during those golden hour beach walks.
Essential Ingredients:
- Neon polish set
- White base polish (to make neons pop)
- Matte top coat (optional for a trendy look)
How to Prepare:
- Apply a coat of white polish first—this acts as a primer for neon colors.
- Pick a different neon for each finger.
- Add a tiny summer-themed sticker (like a palm tree or sun).
- Apply your top coat.
- Take your photos in natural sunlight!
- Pair with your favorite colorful rings.
Budget Range
- Neon Nail Polish Set ($15)
- White ‘Alpine Snow’ Polish ($11)
- Summer Nail Decals ($4)
Conclusion: Shine Bright, My Loves
I hope this guide fills your heart with as much color as it does your nails! Remember, sweet soul, nail art isn’t about perfection; it’s about the joy of creating something that feels like you. Whether you’re rocking 3D charms or a simple two-tone look, wear it with your head held high. You are a masterpiece in progress, and your hands are just one way to show the world the beauty you hold inside. Go forth and sparkle!