
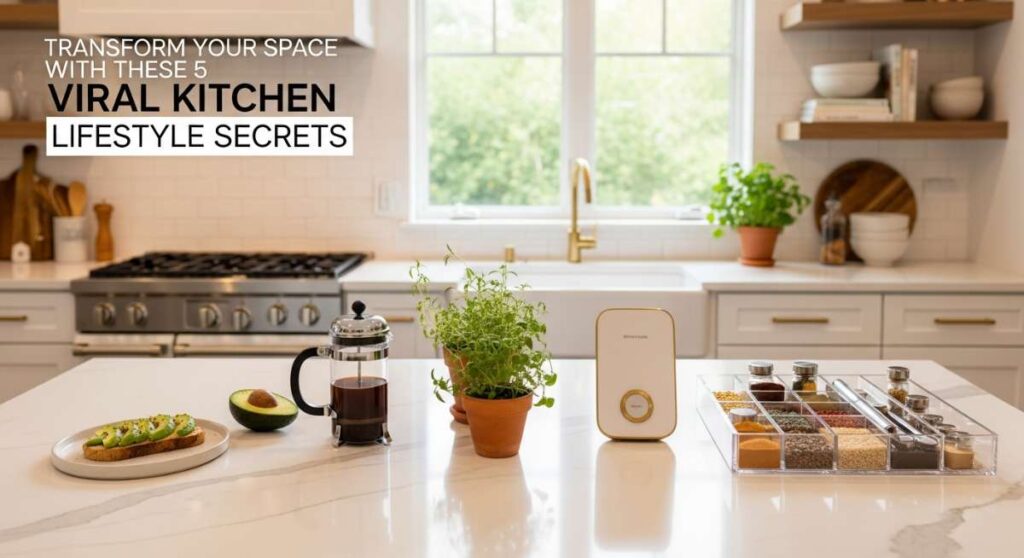
Transform Your Space with These 5 Viral Kitchen Lifestyle Secrets
There is a special kind of magic that happens in the kitchen when the morning sun hits the countertop just right, and the scent of freshly ground coffee beans begins to fill the air. It is more than just a place to prepare meals; it is the sanctuary where we start our days, share our secrets over a glass of wine, and find comfort in the rhythmic chopping of vegetables. We’ve all felt that spark of inspiration while scrolling through social media, seeing those perfectly curated kitchens that seem both effortlessly chic and deeply lived-in.
Today, we are peeling back the curtain on how to achieve that viral lifestyle aesthetic without needing a celebrity budget. Transforming your kitchen is about more than just a renovation; it is about intentionality, layering textures, and creating a space that breathes life back into your daily routines. Whether you’re working with a tiny apartment nook or a sprawling farmhouse island, these secrets will help you cultivate an environment that feels like a warm hug every time you walk through the door.
How to Achieve Farmhouse Kitchen Charm for a Cozy Family Atmosphere
Why we love this
There is something inherently soul-soothing about the farmhouse aesthetic that turns a kitchen from a mere room into the heartbeat of the home. We love the way the tactile grit of a farmhouse sink feels under your palms and how the scent of fresh-baked bread seems to cling to the heavy, reclaimed wood beams. It evokes memories of slow Sunday mornings, the steam from a ceramic mug of tea rising to meet the warm morning light, and the gentle creak of floorboards that tell a story of generations of family gatherings and shared laughter.
Essential Elements:
- Apron-front ceramic or stone sink
- Reclaimed wood accents (shelves or ceiling beams)
- Natural linen dish towels
- Vintage-inspired hardware in brass or matte black
- Large wooden cutting boards displayed leaning against the backsplash
How to make it
- Assess your surfaces: Begin by introducing natural wood elements. If you can’t install beams, opt for a large, thick butcher block cutting board to live permanently on your counter.
- Swap the hardware: Remove your existing cabinet pulls and replace them with cup pulls or heavy knobs in an antiqued brass finish. This provides an immediate vintage feel with minimal effort.
- Install an apron sink: If you are doing a minor renovation, select a deep fireclay apron-front sink. Ensure the cabinet below is reinforced, as these units are significantly heavier than stainless steel.
- Layer your textiles: Hang high-quality, wrinkled linen towels from hooks. The imperfection of the fabric adds to the lived-in, cozy charm.
- Incorporate greenery: Place a few sprigs of eucalyptus or dried lavender in a stoneware pitcher to bring an organic, earthy scent and texture to the space.
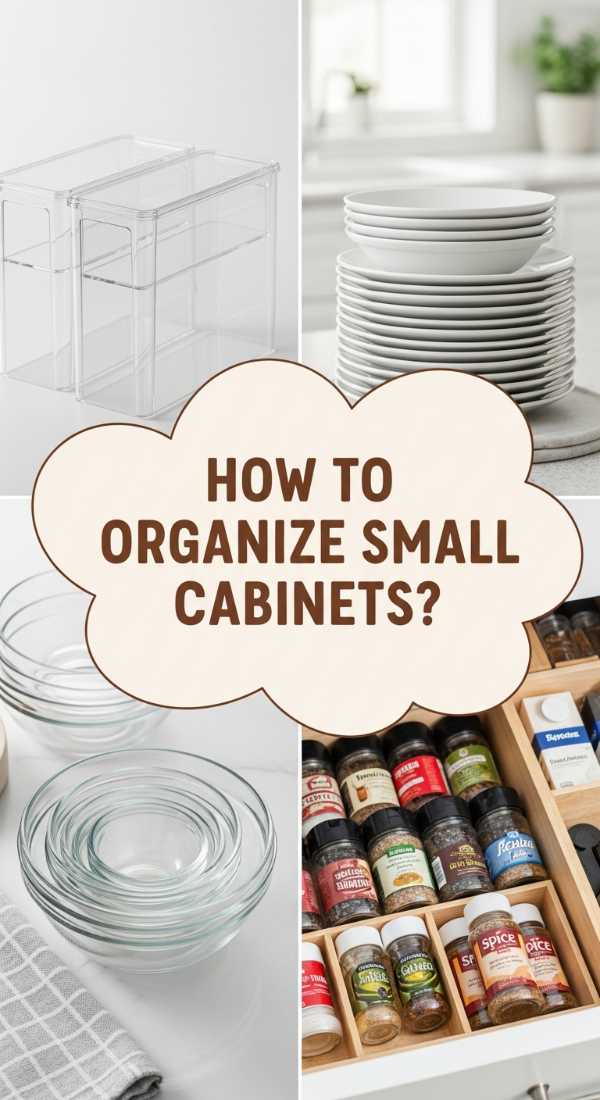
How to Organize Small Kitchen Cabinets for Maximum Storage Efficiency

Why we love this
Nothing brings a sense of inner peace like opening a cabinet door to find everything exactly where it belongs, perfectly aligned and accessible. We love the satisfying ‘click’ of a well-organized drawer and the visual serenity of seeing your favorite mugs stacked by color. It transforms the chaotic scramble for a lid or a spice jar into a fluid, graceful dance, making the act of cooking feel less like a chore and more like a meditative practice in a space that truly works for you.
Essential Elements:
- Acrylic shelf risers
- Pull-out drawer organizers
- Adhesive hooks for cabinet doors
- Uniform glass jars for dry goods
- Lazy Susans for corner storage
How to make it
- Empty and Purge: Start by removing every single item from your cabinets. Wipe down the interiors with a damp microfiber cloth to create a clean slate.
- Categorize by Frequency: Place items you use daily (plates, mugs) on the lowest, easiest-to-reach shelves. Seasonal items like holiday platters go to the very top.
- Utilize Vertical Space: Install acrylic shelf risers. This technique literally doubles your storage capacity by allowing you to stack bowls or plates without them becoming a heavy, unmanageable pile.
- Optimize Door Backs: Apply heavy-duty adhesive hooks to the inside of cabinet doors to hang measuring spoons or pot lids, freeing up valuable shelf and drawer real estate.
- Containerize: Transfer bulky packaging into clear, stackable containers. Ensure you leave a ‘finger width’ of space between containers so they are easy to grab without knocking others over.
How to Create Modern Kitchen Aesthetics for an Elegant Culinary Experience
Why we love this
The modern kitchen is a masterclass in the beauty of restraint, focusing on high-quality materials and sharp, clean lines that lead the eye through the space. We love the cool touch of polished marble under our fingertips and the way light reflects off minimalist surfaces, creating an atmosphere of sophisticated calm. It’s an environment that encourages precision and creativity, making every meal feel like a gourmet experience curated in a high-end studio where every detail is intentional.
Essential Elements:
- Monochromatic color palette (white, gray, or black)
- Integrated appliances for a seamless look
- Waterfall-edge countertops
- Minimalist pendant lighting
- Hidden or handle-less cabinetry
How to make it
- Simplify the Palette: Choose one dominant color and use varying shades of it for the cabinets, walls, and backsplash to create a seamless, expansive visual effect.
- Hide the Clutter: Use an ‘appliance garage’ or dedicated pantry space to keep small appliances like toasters and blenders off the counters. A modern kitchen requires vast, empty surfaces.
- Select Statement Lighting: Install one or two large, geometric pendant lights over the island. Position them so the bottom of the fixture sits exactly 30-36 inches above the counter for optimal visual balance.
- Focus on Texture: Since color is limited, use materials like honed marble or matte-finished cabinetry to add depth and interest without adding visual noise.
- Incorporate Metal Accents: Use polished chrome or matte black faucets to act as the ‘jewelry’ of the kitchen, providing a sharp contrast to the soft stone or wood surfaces.
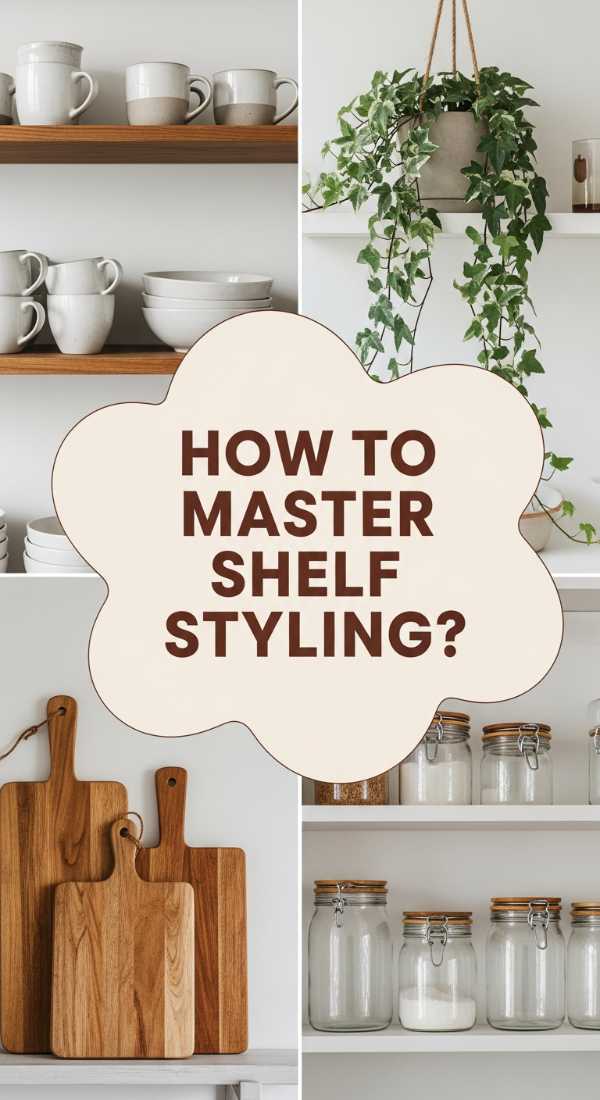
How to Master Open Shelf Styling for a Curated Gallery Look
Why we love this
Open shelving is an invitation to tell your personal story through the objects you use every day, turning functional items into works of art. We love the rhythmic arrangement of matte ceramic bowls and the way a stack of vintage cookbooks adds a pop of soul and history to the wall. It creates an airy, breathable feeling in the kitchen, making the room feel larger and more welcoming, as if every plate and glass is a curated part of a living gallery.
Essential Elements:
- Floating wooden or metal shelves
- Coordinated ceramic dishware
- Glass canisters for grains and pasta
- Small art pieces or framed photos
- Potted trailing plants (like Pothos)
- Decorative bowls for fruit
How to make it
- Start with Large Items: Place your heaviest or largest items, like stacks of dinner plates or large mixing bowls, on the bottom shelf to provide a visual ‘anchor.’
- Create ‘Triangle’ Groupings: When placing items of the same color or material, arrange them in a triangle pattern across different shelves to lead the eye through the display.
- Layer Depths: Don’t just line things up. Lean a beautiful small painting or a wooden cutting board against the back wall, then place a smaller jar or glass in front of it.
- Add Life: Place a trailing plant on the highest shelf. Allow the vines to drape down naturally, breaking up the hard horizontal lines of the shelving.
- Maintain Negative Space: Avoid the temptation to crowd the shelves. Leave small gaps between groupings to allow the eye to rest, ensuring the look remains curated rather than cluttered.
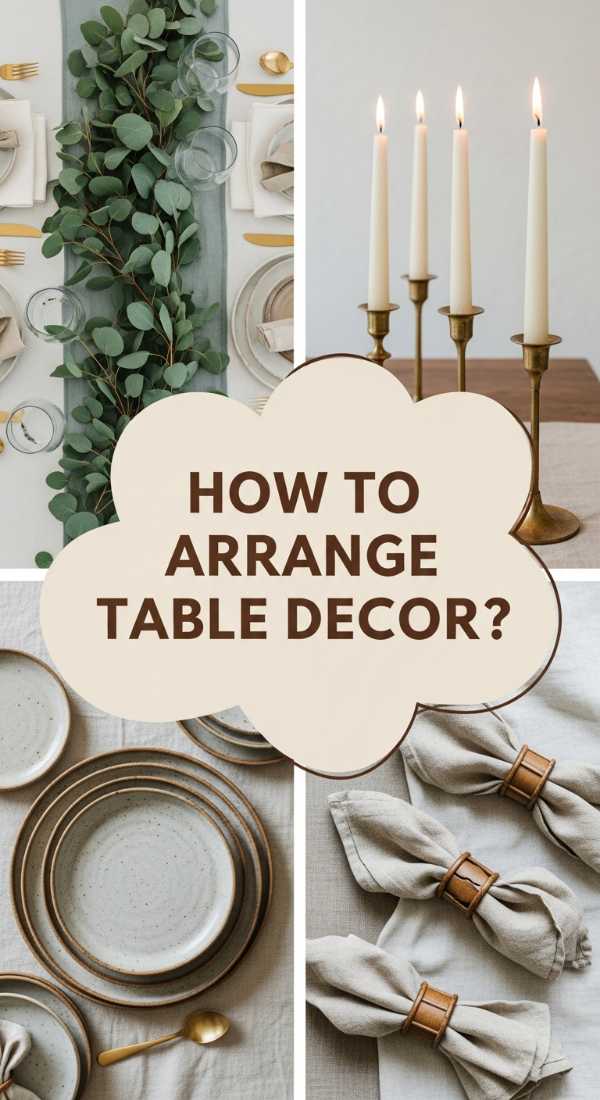
How to Arrange Dining Table Decor for the Ultimate Hosting Success
Why we love this
A beautifully set table is a silent invitation to linger longer, talk deeper, and savor the meal with all your senses. We love the way flickering candlelight dances across polished glassware and the soft rustle of a linen napkin being unfolded in a guest’s lap. It’s about creating an atmosphere where the decor acts as a backdrop for connection, making even a simple midweek pasta dinner feel like a grand celebration of friendship and family.
Essential Elements:
- Natural fiber table runner
- Taper candles in varying heights
- Fresh seasonal floral centerpiece
- Cloth napkins with decorative rings
- Layered place settings (charger, dinner plate, salad plate)
How to make it
- Lay the Foundation: Start with a clean, ironed table runner. For a viral look, choose a neutral tone like oatmeal or charcoal and let it drape slightly off the ends of the table.
- Build Height: Use taper candles in slender holders. Place them in the center but stagger their heights to create visual interest and a warm, glowing ‘canopy’ of light.
- Create the Centerpiece: Use low-profile floral arrangements so guests can easily see each other across the table. Incorporate seasonal textures like berries in autumn or peonies in spring.
- Layer the Plates: Place a large charger plate down first, then the dinner plate, and top it with a smaller salad plate or bowl. This layering adds a professional, high-end restaurant feel.
- Add a Personal Touch: Place a small sprig of rosemary or a hand-written name card on top of each napkin. It shows your guests they were expected and are truly welcome.
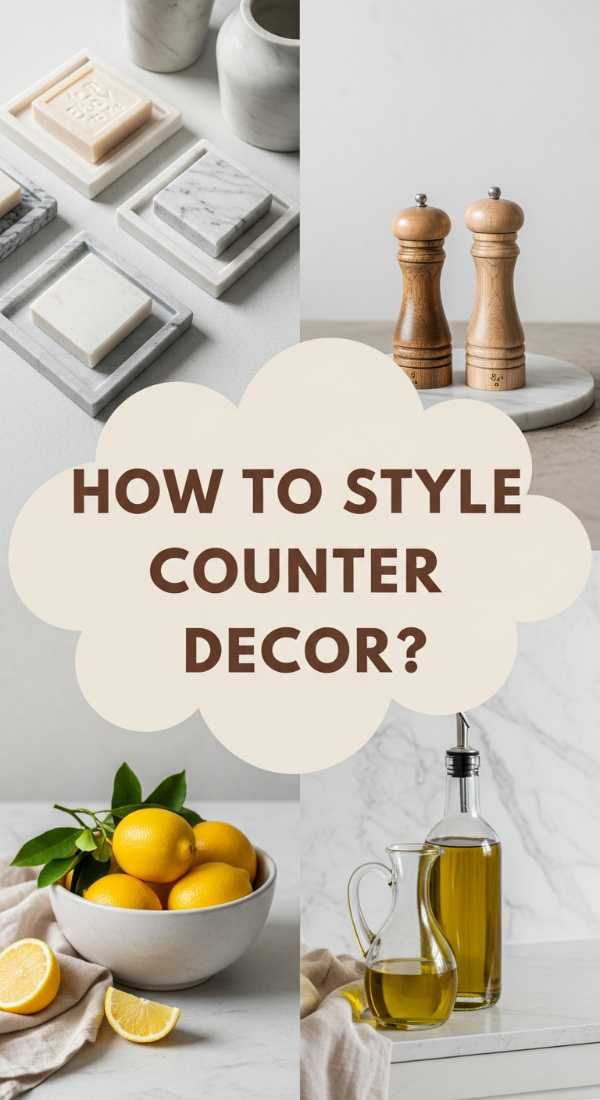
How to Style Kitchen Counter Decor for a Clean Minimalist Vibe
Why we love this
Minimalism on the kitchen counter is like a deep, cleansing breath for the home; it clears the mental clutter and allows the beauty of the architecture to shine. We love the way a single, perfectly placed bowl of citrus can provide a vibrant pop of color against a clean stone surface. It creates a space that is incredibly easy to maintain, where the absence of ‘stuff’ creates room for focus, calm, and the simple joy of a clear workspace.
Essential Elements:
- Large decorative wooden or marble tray
- Uniform soap dispenser set
- Single, large sculptural bowl
- One high-quality candle
- Minimalist salt and pepper grinders
How to make it
- The Rule of Three: Group items in threes. For example, place a tray, a candle, and a small vase together. Odd numbers are more aesthetically pleasing to the human eye.
- Contain the Essentials: Use a beautiful tray to ‘corral’ items like olive oil, salt, and pepper. This turns several small pieces of clutter into one intentional design element.
- Uniformity is Key: Replace mismatched dish soap and hand soap bottles with a matching set of amber glass or ceramic dispensers. This immediately elevates the sink area.
- Choose One Statement Piece: Instead of many small decorations, choose one large, high-quality item, like a massive wooden dough bowl filled with green apples.
- Clear the Perimeter: Keep the edges of your counters completely clear. Push any necessary items toward the back corners to maximize the feeling of open, usable space.
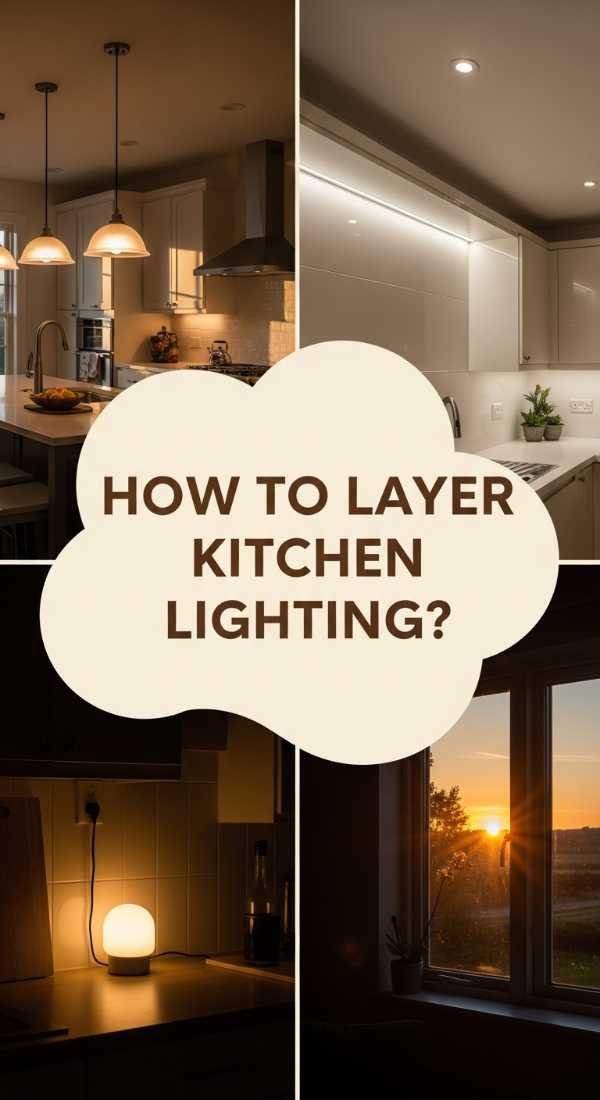
How to Layer Kitchen Lighting for a Warm Evening Glow
Why we love this
Lighting is the secret ingredient that transforms a kitchen from a bright, functional workspace into a cozy, intimate retreat as the sun goes down. We love the way a soft golden glow can soften the hard edges of marble and metal, making the room feel warm and inviting. It’s that magical ‘golden hour’ feeling captured indoors, where the right combination of lights makes every evening feel like a special occasion tucked away from the rest of the world.
Essential Elements:
- Under-cabinet LED strips
- Pendant lights with warm-toned bulbs
- A small lamp for the countertop
- Dimmer switches for all main lights
- Toe-kick lighting for subtle ambiance
How to make it
- Prioritize Task Lighting: Install bright LED strips under your upper cabinets. This provides clear, shadow-free light for chopping and food prep without needing the harsh overheads.
- Introduce a Countertop Lamp: This is the ultimate viral secret. Place a small, stylish lamp in a corner or on the island. It adds an unexpected living-room-like coziness to the kitchen.
- Select the Right Color Temperature: Use bulbs labeled ‘Warm White’ (2700K to 3000K). Avoid ‘Daylight’ bulbs, which can feel clinical and blue in a home setting.
- Install Dimmers: Replace your standard switches with dimmers. This allows you to transition from high-energy cooking light to low-energy dining light instantly.
- Add Accent Light: If you have glass-front cabinets, install small puck lights inside them to highlight your glassware and add depth to the room’s perimeter.
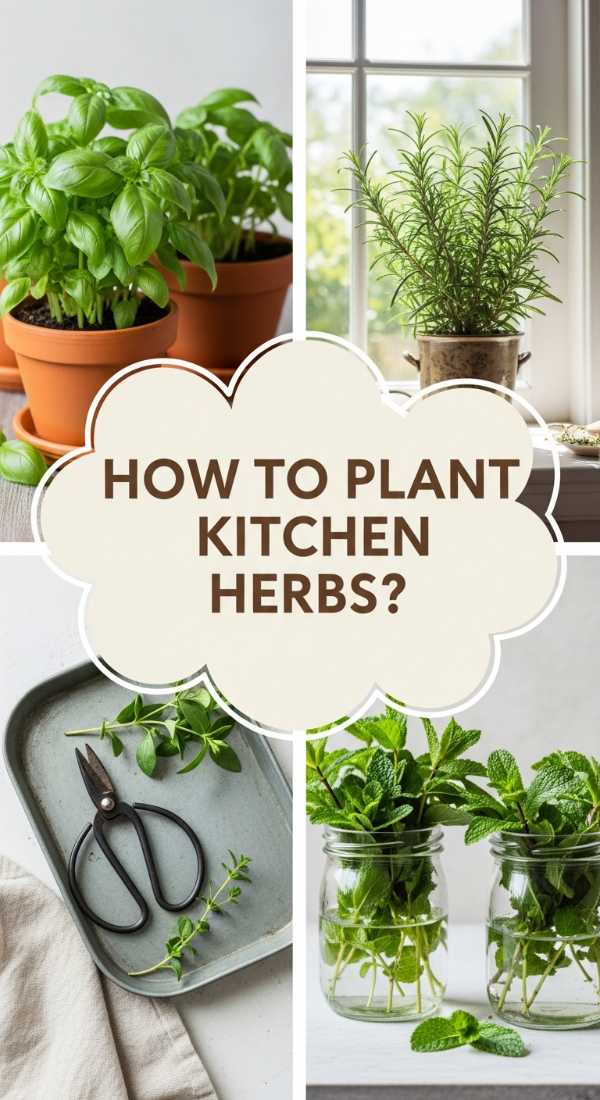
How to Plant a Kitchen Herb Garden for Fresh Flavor Daily
Why we love this
There is nothing quite as satisfying as reaching over to a sunny windowsill and snipping a few sprigs of vibrant green basil to finish a homemade Margherita pizza. We love the earthy, fresh aroma that fills the kitchen when the leaves are brushed and the way a row of terra cotta pots brings a burst of life to the decor. It connects us to the seasons and the soil, making the process of cooking feel like a true farm-to-table experience right in your own home.
Essential Elements:
- Matching ceramic or terra cotta pots
- High-quality potting mix
- Basil, mint, rosemary, and thyme starts
- Small watering can with a thin spout
- A sunny windowsill (south-facing is best)
How to make it
- Select Your Vessels: Choose pots with drainage holes at the bottom to prevent root rot. Matching pots in different sizes create a more curated, intentional look than mismatched ones.
- Prepare the Soil: Fill the pots with a lightweight potting mix specifically designed for containers. Leave about an inch of space at the top to allow for watering.
- Plant with Care: Gently loosen the roots of your herb starts before placing them in the soil. Firm the dirt around the base and water immediately until it runs out the bottom.
- Monitor the Sunlight: Ensure your herbs receive at least 6 hours of sunlight. If your kitchen is dark, consider a small, sleek LED grow light that clips onto the shelf.
- Harvest Regularly: Don’t be afraid to snip! Regular harvesting encourages the plants to grow bushier rather than leggy. Always cut just above a leaf node for the best regrowth.
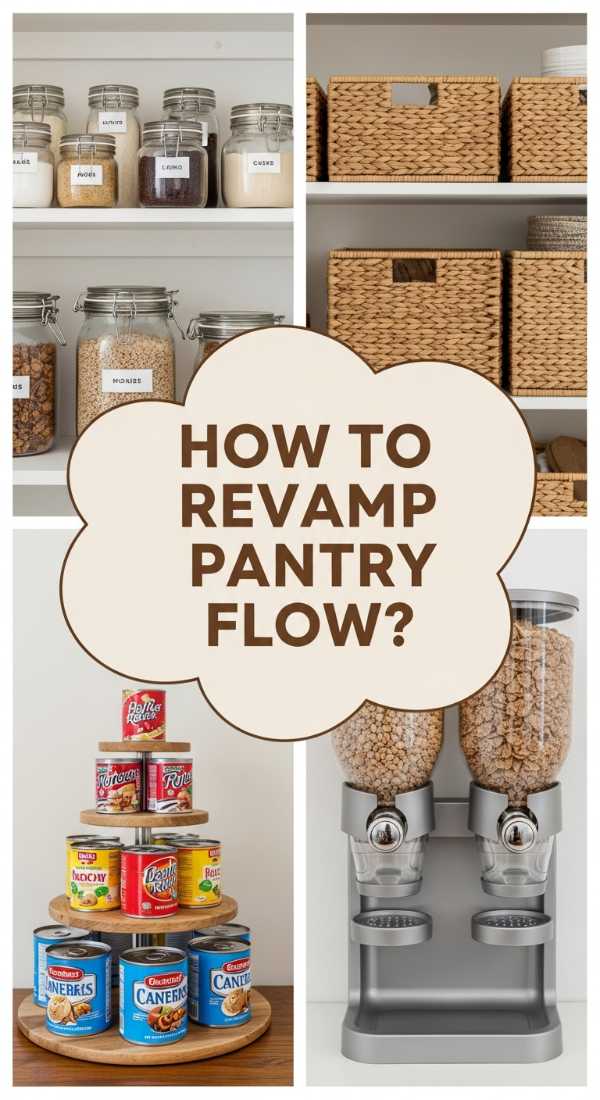
How to Revamp Pantry Organization for Stress Free Morning Routines
Why we love this
An organized pantry is the ultimate gift to your future self, especially during the frantic rush of a Monday morning. We love the visual harmony of identical jars lined up like soldiers and the ease of knowing exactly when you’re running low on oats or flour. It turns a chaotic pantry hunt into a streamlined, effortless experience, allowing you to move through your morning routine with a sense of calm and control that sets a positive tone for the entire day.
Essential Elements:
- Airtight glass or plastic canisters
- Custom labels or a label maker
- Tiered ‘stadium’ shelving for cans
- Woven baskets for bagged snacks
- Lazy Susans for oils and vinegars
How to make it
- Decant Everything: Transfer dry goods (flour, sugar, pasta, cereal) into matching airtight containers. This eliminates the visual noise of colorful, mismatched cardboard packaging.
- Group by ‘Zone’: Create a ‘Breakfast Zone’ with all your coffee, tea, and oats together. Create a ‘Baking Zone’ and a ‘Quick Snack Zone’ for kids or easy access.
- Label Clearly: Use a consistent labeling style. Place the labels at the same height on every jar for a clean, professional appearance that makes finding items instant.
- Utilize Floor Space: Use large, sturdy woven baskets on the pantry floor for heavy items like potatoes, onions, or back-stock paper towels.
- The First-In, First-Out Rule: When restocking, move the older jars to the front and the newer ones to the back to ensure everything stays fresh and nothing goes to waste.
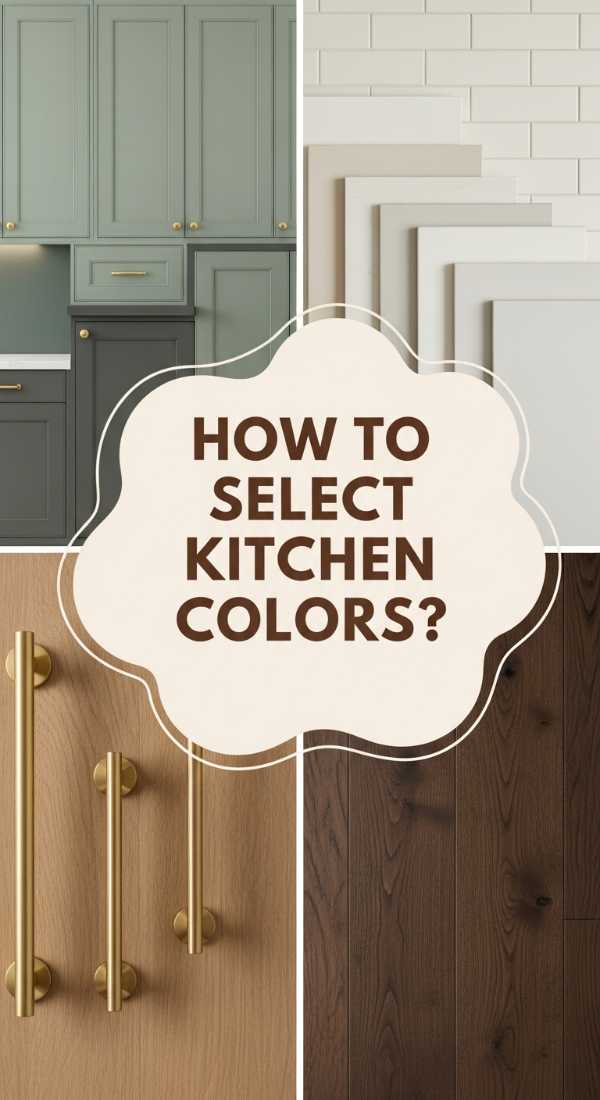
How to Select Kitchen Color Palettes for a Timeless Sophisticated Home
[IMAGE_10]
Why we love this
The right color palette acts as the soul of the kitchen, setting the emotional tone for every moment spent within its walls. We love the way a sophisticated sage green can bring a sense of nature indoors, or how a warm, creamy white makes a space feel expansive and full of light. It’s about choosing hues that resonate with your personal style while maintaining a timeless elegance that will look just as beautiful in ten years as it does today.
Essential Elements:
- Large paint swatches for testing
- Natural light assessment
- Accent color for hardware/decor
- Neutrals for large surfaces (cabinets/walls)
- Texture samples (wood, stone, metal)
How to make it
- Follow the 60-30-10 Rule: 60% of the room should be a dominant neutral (usually walls/cabinets), 30% a secondary color (island or backsplash), and 10% an accent (hardware or decor).
- Test in All Lights: Paint large swatches on different walls. Observe how the color changes from the bright morning sun to the warm glow of your evening lamps.
- Consider the Undertones: Be careful with whites and grays. Look for warm undertones (yellow/pink) for a cozy feel, or cool undertones (blue/green) for a crisp, modern look.
- Bridge the Gap with Natural Wood: Regardless of your color choice, incorporate natural wood tones to prevent the palette from feeling too ‘flat’ or sterile.
- Connect to the Rest of the Home: Ensure the kitchen palette flows into the adjacent rooms. Use a common trim color or a similar floor stain to create a cohesive whole-house feel.
Creating Your Dream Kitchen Lifestyle
Transforming your kitchen into a viral-worthy sanctuary doesn’t happen overnight, but by focusing on these intentional details, you can create a space that truly reflects the life you want to lead. From the glow of perfect lighting to the scent of fresh herbs on the sill, every small change contributes to a home that is both beautiful and deeply functional. Remember, the best kitchens are the ones that are not only stylish but are also the backdrop for your most cherished memories.