
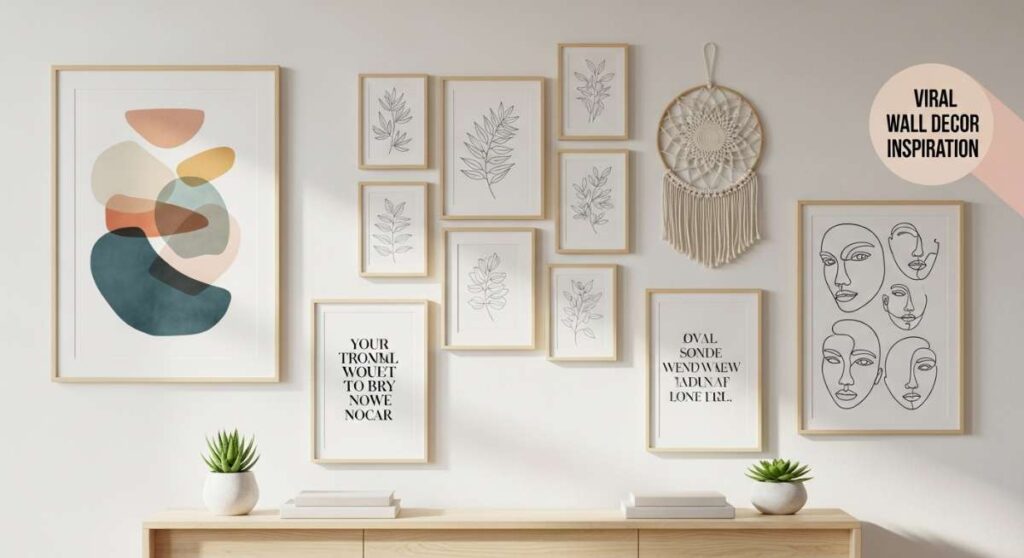
Have you ever walked into a room and felt an immediate sense of ‘home’? It’s that magical, unquantifiable feeling where the walls whisper stories and every corner reflects a piece of your soul. We often focus on furniture and rugs, but the true heartbeat of a room lies in its vertical space. Your walls are a blank canvas waiting to be transformed into a viral-worthy aesthetic that captures your unique journey and style.
In today’s fast-paced world, our homes have become our sanctuaries, our offices, and our creative studios. Curating a space that inspires you isn’t just about following trends; it’s about creating an atmosphere that nourishes your spirit every time you catch a glimpse of a favorite photo or a hand-woven tapestry. Let’s dive into the ultimate guide to wall art that will not only elevate your home but might just break the internet with its beauty.
How to Curate Outdoor Wall Decor for a Serene Garden Retreat
Why we love this
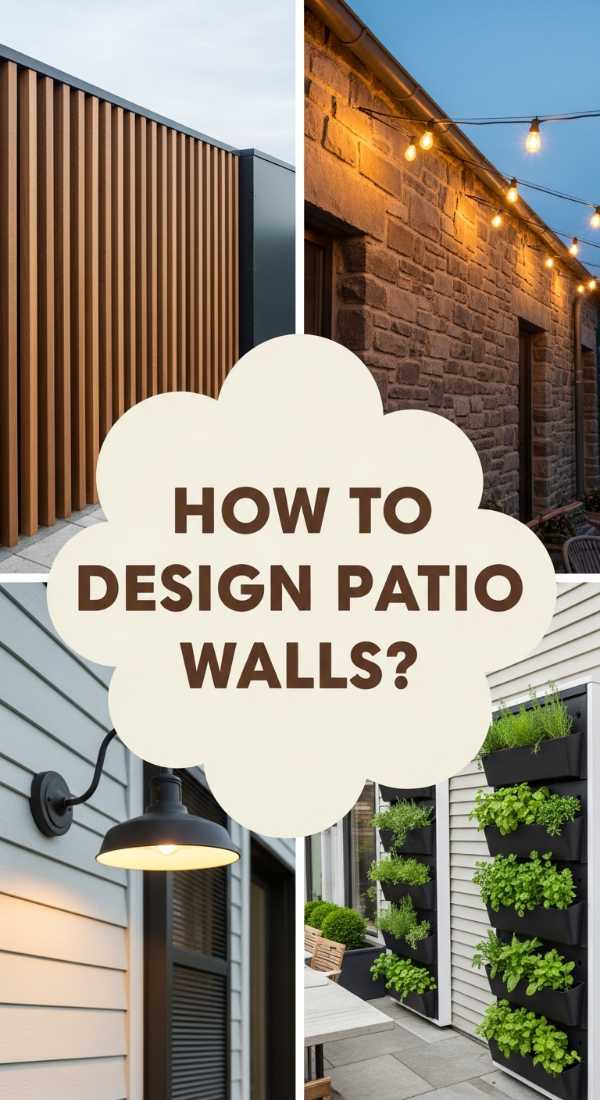
There is something deeply grounding about bringing art into the open air, where the scent of blooming jasmine mingles with the sight of curated textures. This approach transforms a simple fence or stone wall into a living gallery that feels like a hidden Mediterranean courtyard. We love the way weather-worn wood and oxidized copper catch the golden hour light, creating a tactile experience that invites you to slow down, sip a herbal tea, and listen to the rustle of the leaves against your decor.
Essential Elements:
- Weather-resistant cedar or reclaimed wood frames
- Vertical succulent planters or ‘living wall’ pockets
- Oxidized metal wall sculptures (birds, leaves, or abstract shapes)
- Outdoor-rated battery-operated sconces
- Terracotta wall pots with drainage
How to make it
- Begin by assessing your outdoor surface; if it is masonry, you will need a masonry drill bit and anchors, whereas wood fences require simple galvanized screws to prevent rusting.
- Select a focal point at eye level—usually 57 to 60 inches from the ground—to serve as the anchor for your garden gallery.
- Before drilling, seal any wooden elements with a high-quality UV-resistant outdoor sealant to prevent warping and graying from sun exposure.
- Install your heavy items first, ensuring you use a level to compensate for any unevenness in the ground or fence line.
- Integrate ‘living’ elements by mounting vertical planters and filling them with a lightweight potting mix specifically designed for moisture retention.
- Finalize the look by weaving solar-powered fairy lights around the perimeter of the art to ensure the retreat remains magical well after sunset.
How to Transform Patio Wall Decor for the Ultimate Summer Gathering
Why we love this
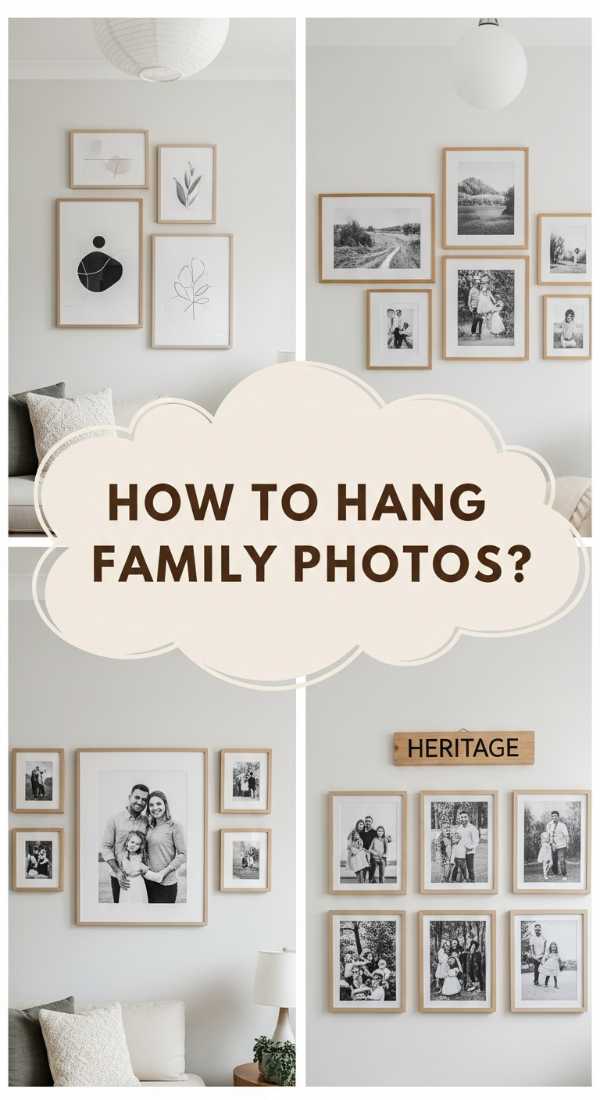
A patio should feel like an extension of your living room, filled with the aroma of grilled citrus and the sound of laughter. By elevating your patio wall decor, you create an inviting ‘room’ outdoors that beckons guests to stay a little longer. We adore the play of shadows cast by oversized lattice and the way a well-placed outdoor clock or mirror can make a small balcony feel like a sprawling terrace, especially when paired with the soft glow of Edison bulbs against a twilight sky.
Essential Elements:
- Oversized decorative outdoor clock
- Weatherproof resin wicker wall hangings
- String lights with shatterproof Edison bulbs
- Faux-boxwood greenery panels for a lush backdrop
- Decorative iron wall grilles
How to make it
- Clean the patio wall thoroughly using a power washer or stiff brush to remove dust and cobwebs, ensuring a pristine surface for mounting.
- Layout your string lights first, using screw-in hooks spaced every 24 inches to prevent sagging; ensure the plug is near a GFCI-protected outlet.
- Mount the heavy focal piece—like an iron grille or large clock—using heavy-duty exterior mounting tape or stainless steel screws for maximum security against wind.
- Layer in your greenery panels by zip-tying them to a pre-installed lattice or direct-mounting them to create a ‘green’ accent wall that absorbs sound.
- Check the balance of your arrangement from the seating area, adjusting the height of items so they are visible even when guests are sitting down.
- Test your lighting at dusk to ensure no harsh shadows are cast over the dining or lounging zones.
How to Arrange Family Photos Wall Decor for a Heartfelt Home Atmosphere

Why we love this
Nothing warms a home like a gallery wall that documents your favorite milestones and the quiet, candid moments in between. The sight of grainy black-and-whites mixed with vibrant modern prints evokes a sense of continuity and belonging. We love the physical texture of matted frames and the way a hallway can turn into a walk down memory lane, smelling faintly of furniture polish and the scent of the family’s favorite Sunday roast wafting through the house.
Essential Elements:
- Uniform frames in black, white, or natural oak for a cohesive look
- Acid-free white mats to give photos a professional, gallery feel
- High-resolution printed photos (mix of portraits and landscapes)
- Level, measuring tape, and painter’s tape
- Picture hanging strips or nails
How to make it
- Curate your collection by selecting photos with a similar color palette or converting them all to black and white for a timeless, viral aesthetic.
- Lay all your framed photos on the floor in front of the intended wall to experiment with the arrangement without making unnecessary holes.
- Cut out kraft paper templates the size of each frame and tape them to the wall using painter’s tape to visualize the final spacing (aim for 2-3 inches between frames).
- Hammer your nails or apply adhesive strips directly through or over the paper templates to ensure perfect placement.
- Remove the templates and hang the frames, using a spirit level on top of each one to ensure they are perfectly horizontal.
- Wipe down the glass with a microfiber cloth to remove fingerprints, ensuring the light hits the photos clearly without glare.
How to Embrace Mexican Wall Decor for a Vibrant Cultural Sanctuary
Why we love this
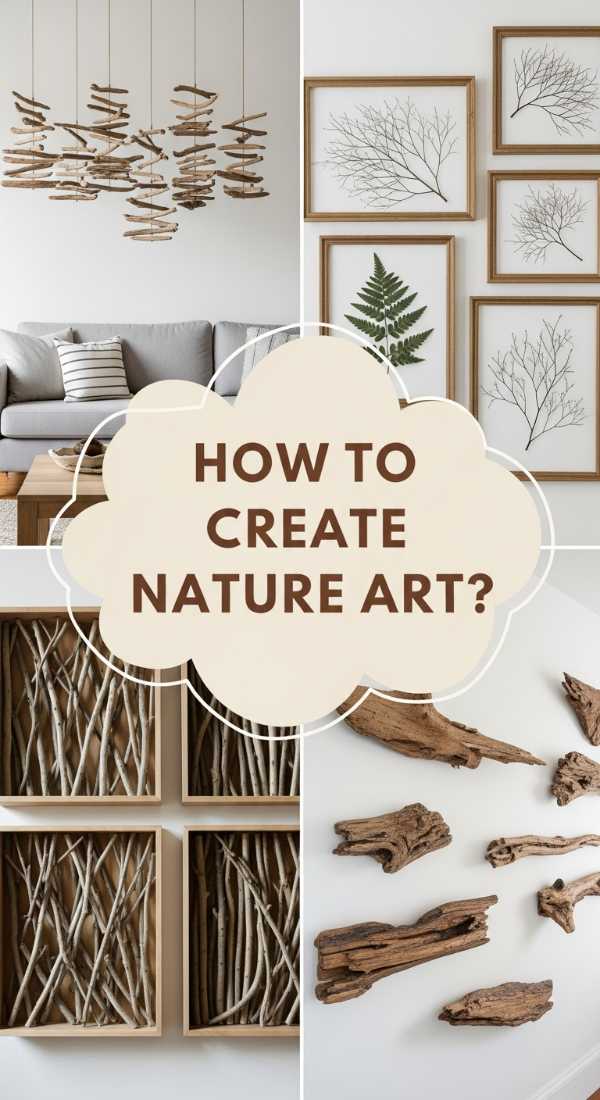
This style is a feast for the senses, bringing the heat of the sun and the vibrancy of a bustling mercado into your home. The hand-painted Talavera tiles feel cool to the touch, while the bright pigments of cobalt, terracotta, and sunshine yellow invigorate the spirit. We love how these pieces tell a story of craftsmanship and tradition, filling the room with a joyful energy that pairs perfectly with the sound of Spanish guitar and the smell of fresh cilantro and lime.
Essential Elements:
- Hand-painted Talavera ceramic plates
- Ornate punched-tin mirrors (Hojalata)
- Woven Otomi textile hangings
- Traditional wood-carved masks or Alebrijes
- Wrought iron sconces for candles
How to make it
- Select a ‘hero’ piece, such as a large punched-tin mirror, to serve as the center of your cultural sanctuary.
- Use plate hangers that grip the edges of ceramic dishes, ensuring they are tension-tight before attempting to hang them on the wall.
- Create a ‘cluster’ effect by grouping smaller ceramic pieces around the central mirror, varying the heights and colors to mimic a traditional Mexican courtyard.
- If hanging textiles like Otomi fabrics, use a wooden dowel threaded through a sleeve or clips to prevent the fabric from sagging or tearing.
- Ensure you use heavy-duty wall anchors for ceramic and iron pieces, as these materials are significantly heavier than standard canvas.
- Add small votive candles to the tin sconces, lighting them in the evening to watch the light flicker through the punched patterns.
How to Craft Tree Branch Wall Decor for a Rustic Natural Aesthetic
Why we love this
There is a raw, sculptural beauty in bringing the outdoors in. A single, weathered branch can look like a piece of high-end art, providing a tactile connection to the forest. We love the earthy scent of dried wood and the way the organic curves of the branch soften the sharp lines of modern furniture. It feels like a breath of fresh air, turning your living room into a serene, rustic cabin retreat where you can almost hear the wind through the pines.
Essential Elements:
- A large, dried, and cleaned branch (birch, driftwood, or oak)
- Natural jute twine or leather cord
- Clear matte polyurethane sealant
- Sandpaper (fine grit)
- Invisible hanging wire or heavy-duty ‘L’ brackets
How to make it
- Source a fallen branch and let it dry indoors for at least two weeks to ensure no moisture is trapped inside which could lead to mold.
- Sand the branch thoroughly to remove loose bark and sharp edges, then wipe it down with a damp cloth to remove all dust.
- Apply two coats of clear matte sealant to preserve the wood and prevent it from shedding over time, allowing 24 hours of drying time between coats.
- Decide on your hanging method: wrap twine around the ends for a swing-like look, or use ‘L’ brackets hidden behind the thickest parts of the wood for a floating effect.
- If using twine, secure it to the wall using sturdy hooks driven into studs, as a solid branch can be surprisingly heavy.
- Personalize the branch by hanging small air plants or lightweight dried flower bouquets from the smaller twigs using clear fishing line.
How to Master Wall Decoration Ideas for a Sophisticated Living Space

Why we love this
Sophistication is found in the balance between boldness and restraint. A sophisticated living space uses wall art to create a ‘wow’ factor that feels expensive and curated. We love the smooth, cool surface of oversized canvas and the sharp, clean lines of metallic accents. This style feels like an upscale gallery opening—elegant, hushed, and deeply intentional, where the faint scent of expensive candles and the texture of velvet upholstery meet world-class design.
Essential Elements:
- Large-scale abstract canvas art
- Picture lights (brass or matte black)
- Minimalist geometric metal wall art
- High-quality floating frames
- Neutral color palette with metallic accents
How to make it
- Choose one oversized piece of art that covers roughly 60-75% of the available wall space above your sofa or sideboard to create a high-end ‘focal’ impact.
- Measure the exact center of the wall and mark it; your art’s midpoint should sit at 58 inches high, which is standard museum height.
- Install a battery-operated or hardwired picture light above the frame to highlight the brushstrokes and add a warm, luxurious glow to the room.
- If using multiple pieces, keep the spacing tight (1.5 to 2 inches) to make them read as one large, sophisticated installation.
- Ensure the frames match the hardware in the rest of your room (e.g., if your lamps are brass, use brass-edged frames) for a cohesive, professional look.
- Step back and check the lighting; adjust the angle of the picture light to eliminate hot spots on the canvas surface.
How to Personalize Dorm Wall Decor for a Cozy Study Haven

Why we love this
Dorm life is about making a small, sterile space feel like your own little universe. We love the eclectic mix of textures—soft tapestries, glossy Polaroids, and the glow of fairy lights that make late-night study sessions feel cozy rather than draining. It’s a space that smells like vanilla lattes and new books, where every inch of wall is a mood board for your dreams and a gallery of your favorite people.
Essential Elements:
- Removable adhesive hooks and strips (damage-free)
- Woven wall tapestries or fabric banners
- String lights with photo clips
- Cork tiles or grid panels for notes and photos
- Inspirational typography prints
How to make it
- Clean the dorm walls with rubbing alcohol to remove any oils, which ensures the adhesive strips bond properly to the textured paint.
- Hang a large fabric tapestry first to cover the maximum amount of ‘dorm beige’ wall; use clips or Command strips at the top corners to keep it taut.
- Layer your string lights over the tapestry or along the ceiling line, using clear mini-hooks every 12 inches to keep the wire from sagging.
- Create a ‘memory zone’ by mounting a wire grid panel; use mini clothespins to attach photos, concert tickets, and reminders.
- Use lightweight unframed posters or cardstock prints to avoid the need for heavy frames that might fall or damage the wall.
- Add a battery-powered LED neon sign for a viral ‘TikTok’ aesthetic that serves as both decor and a secondary light source for late-night reading.
How to Display Skateboard Wall Decor for an Edgy Urban Loft

Why we love this
Skateboard decks are modern masterpieces of graphic design. In an urban loft setting, they bring a sense of movement and street-culture energy that feels authentically cool. We love the smooth, laminated maple wood and the pop of vibrant colors against exposed brick or concrete. It’s an aesthetic that feels edgy and youthful, evoking the sound of wheels on pavement and the industrial-chic vibe of a city that never sleeps.
Essential Elements:
- Graphic skateboard decks (new or vintage)
- Skateboard wall mount brackets (vertical or horizontal)
- Heavy-duty drywall anchors
- Hex key and screwdriver
- Level
How to make it
- Determine the orientation: vertical displays save space and look like columns of art, while horizontal displays highlight the full graphic better.
- Hold the deck against the wall and mark the truck holes; these are the points where your wall mount will attach.
- Drill pilot holes into the wall at your marks and insert heavy-duty anchors, as the torque of a heavy deck requires a secure hold.
- Screw the mounting bracket into the wall, ensuring it is perfectly level before tightening all the way.
- Slide the skateboard deck onto the mount (most mounts use the existing truck holes) and secure the nuts or pins provided with the mounting kit.
- Space multiple boards exactly 4 inches apart for a ‘collector’s’ look that feels curated rather than cluttered.
How to Install Fan Wall Decor for a Breezy Bohemian Parlor
Why we love this
There is a rhythmic, hypnotic beauty in a wall adorned with woven fans. The natural fibers like raffia, seagrass, and bamboo bring an organic texture that feels incredibly soothing. We love the breezy, tropical vibe it creates, making your parlor feel like a colonial-style retreat in the Caribbean. It’s a tactile look that pairs beautifully with oversized indoor palms, the scent of coconut, and the feeling of a warm summer breeze through an open window.
Essential Elements:
- Assorted woven hand fans (various sizes and weaves)
- Finishing nails (very thin)
- Hammer
- Clear monofilament (fishing line)
- Woven baskets (to mix in for depth)
How to make it
- Gather a variety of fans in different sizes and shades of natural straw to create a sense of depth and visual interest.
- Lay the fans on the floor in a semi-circle or ‘exploding’ pattern, overlapping the edges slightly to create a cohesive, flowing shape.
- Start hanging from the bottom-most fan and work your way up; this allows you to layer the fans naturally as you go.
- Use a single finishing nail per fan, hidden behind the thickest part of the weave or through the handle loop.
- If a fan won’t sit flush, tie a small loop of fishing line to the back and hang it from the nail to allow it to tilt slightly forward.
- Incorporate one or two flat-bottomed woven baskets into the arrangement to add 3D depth and a change in texture.
How to Refine Bedroom Wall Decor Ideas for a Peaceful Dreamland
[IMAGE_10]
Why we love this
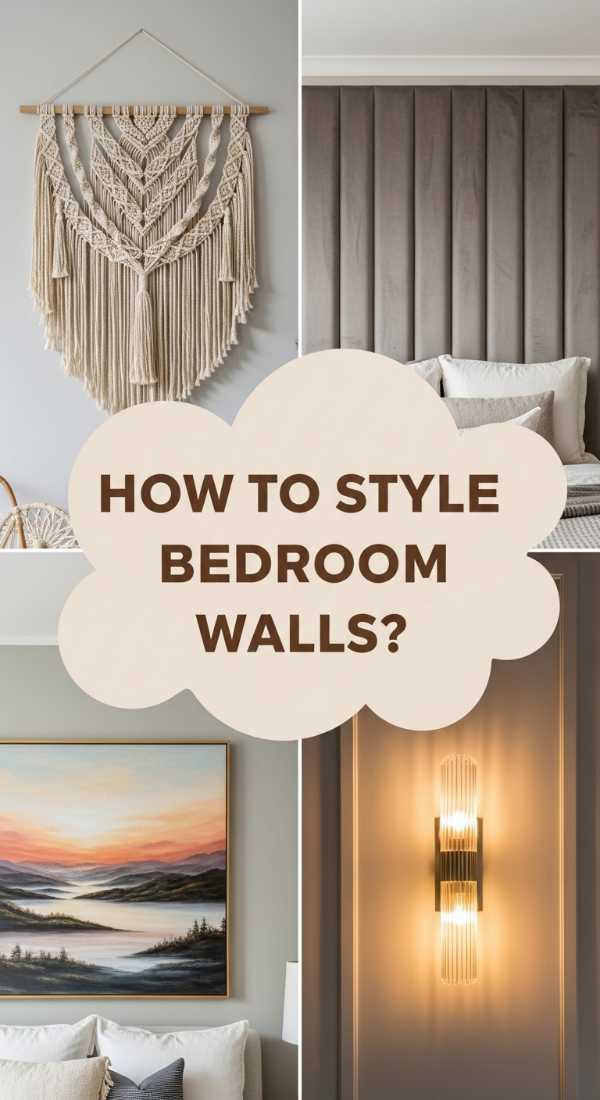
Your bedroom should be the ultimate escape, a place where the world falls away. We love wall decor that emphasizes softness and tranquility—muted watercolors, tactile macrame, and soft backlighting. The aesthetic is all about ‘hush’—the sound of soft linens, the scent of lavender on your pillow, and the sight of art that makes you take a deep, cleansing breath before you drift off into a peaceful slumber.
Essential Elements:
- Large-scale macrame wall hanging
- Framed textile art or linen-wrapped canvases
- Soft LED strip lights for behind-frame lighting
- Calming watercolor prints in soft blues or sage
- Decorative wall molding or trim
How to make it
- Choose a color palette that is proven to lower the heart rate, such as dusty blues, soft greens, or warm oatmeal tones.
- Hang a large macrame piece directly above the headboard; ensure it is wide enough to cover at least two-thirds of the bed’s width for visual balance.
- For framed art, use ‘museum glass’ or non-reflective acrylic to prevent harsh light reflections from disrupting the peaceful atmosphere.
- Install soft LED ‘bias’ lighting behind a large canvas to create a halo effect that serves as a gentle nightlight.
- Keep the arrangement symmetrical, as symmetry is naturally pleasing to the eye and promotes a sense of order and calm.
- Ensure all wall hangings are securely fastened with anchors, especially if they are hanging directly over where you sleep.
Creating Your Personal Gallery
Transforming your space is a journey of self-expression. Whether you are drawn to the edgy graphics of skateboard decks or the serene textures of woven fans, the key is to choose pieces that resonate with your personal story. Don’t be afraid to mix and match styles until you find the balance that makes your home feel like a viral-worthy masterpiece. Remember, the best aesthetic is the one that makes you feel most like yourself.