
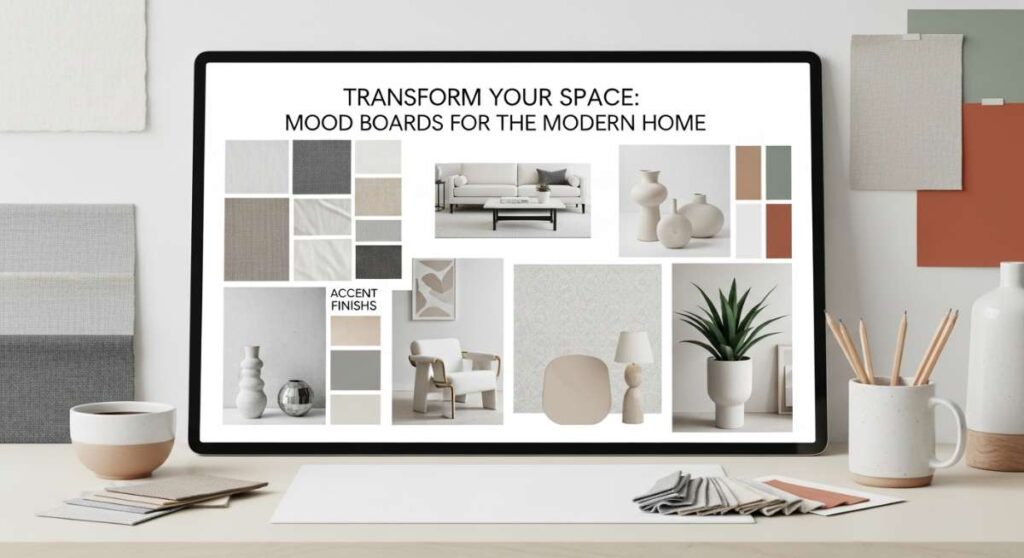
Transform Your Space: Mood Boards for the Modern Home
Have you ever walked into a room and felt an immediate sense of peace, as if the walls themselves were whispering a warm welcome? We often think of interior design as a series of expensive purchases, but the truth is much more soulful. It is about capturing a feeling—a memory of a sun-drenched afternoon or the cozy nostalgia of a childhood home—and weaving those emotions into the physical objects that surround us. Your home is the canvas of your life, and every corner should tell a part of your story.
Creating a mood board is the first step in this transformative journey. It allows you to visualize the synergy between colors, textures, and light before you ever pick up a paintbrush or move a single piece of furniture. It is an act of mindfulness that helps you filter out the noise of passing trends and focus on what truly resonates with your spirit. Today, we are exploring ten distinct aesthetics that will help you turn your living space into a personalized sanctuary that celebrates your unique lifestyle.
How to Achieve Rustic Mexican Charm for a Warm Inviting Entryway

Why we love this
There is something deeply grounding about the earthy, sun-baked tones of a rustic Mexican aesthetic. It evokes the scent of dried clay and blooming bougainvillea, wrapping your guests in a hug the moment they step through the door. This style thrives on the tactile beauty of hand-forged wrought iron and the vibrant, irregular textures of Saltillo tiles. It feels lived-in, honest, and incredibly festive, turning a simple transition space like an entryway into a bold statement of hospitality and heritage.
Essential Elements:
- Terracotta or Saltillo floor tiles
- Hand-painted Talavera ceramic accents
- Wrought iron wall sconces or mirrors
- Solid reclaimed wood console table
- Woven textiles in ochre, deep red, and cobalt blue
- Potted succulents or cacti in clay jars
How to make it
- Begin by establishing your base color palette. Focus on ‘burnt’ tones—sienna, terracotta, and warm ochre. Apply a textured plaster finish to the walls to give them an aged, stucco-like appearance, ensuring the ‘prep’ phase includes filling any cracks while leaving a slight organic unevenness.
- Select a focal point piece, such as a heavy, dark-stained pine console table. Position it against the main wall, ensuring there is a 2-inch gap to allow the wood to breathe and to prevent shadows from appearing too harsh under your lighting.
- Layer your textures by placing a hand-woven runner across the floor. Look for visual cues of ‘authenticity’ like slight fraying or color variations in the yarn, which signal a handmade quality over factory-produced items.
- Install lighting with a low ‘color temperature’ (around 2700K). This mimics the soft glow of candlelight against the iron fixtures, creating a dramatic interplay of light and shadow that enhances the rustic feel.
- Finalize the look by accessorizing with Talavera pottery. Group items in odd numbers—threes or fives—to create a natural visual flow that feels curated rather than cluttered.
How to Curate Summer Coastal Vibes for Endless Vacation Feelings

Why we love this
Imagine the feeling of a cool salt breeze lifting the weight off your shoulders after a long day. A summer coastal aesthetic isn’t just about seashells; it’s about the airy, ethereal quality of light reflecting off water and the soft, sandy textures underfoot. We love it because it prioritizes breathability and lightness, using a palette of crisp whites and watery blues to make even the smallest room feel expansive and serene. It transforms your home into a permanent retreat where the clock seems to slow down.
Essential Elements:
- Bleached wood or white-washed furniture
- Sheer linen curtains that catch the breeze
- Natural jute or sisal area rugs
- Accents of seaglass, driftwood, and smooth river stones
- Striped textiles in navy and cream
- Large-scale botanical prints of palms or ferns
How to make it
- Start with a ‘high-key’ lighting plan. Maximize natural light by removing heavy drapes and replacing them with sheer linen panels. The ‘visual cue’ for success here is a room that feels flooded with daylight without harsh glares.
- Choose a large-area jute rug to ground the space. The rough, organic texture of the jute serves as a beautiful contrast to smooth, white-washed furniture surfaces, providing that ‘beach-underfoot’ sensory experience.
- Incorporate ‘weathered’ elements. Source a piece of driftwood or a sun-bleached wooden tray. If the wood looks too new, you can apply a grey-wash stain, allowing it to cure for at least 24 hours to achieve that salt-air patina.
- Layer in soft blues through throw pillows and glass vases. Focus on ‘translucency’—using glass and light fabrics allows the eye to move through the room, maintaining the illusion of a vast, open horizon.
- Keep the scent fresh. Use eucalyptus or sea-salt diffusers to anchor the visual aesthetic with an olfactory layer that reinforces the vacation atmosphere.
How to Embrace Whimsical Quirky Accents for a Playful Creative Space
Why we love this
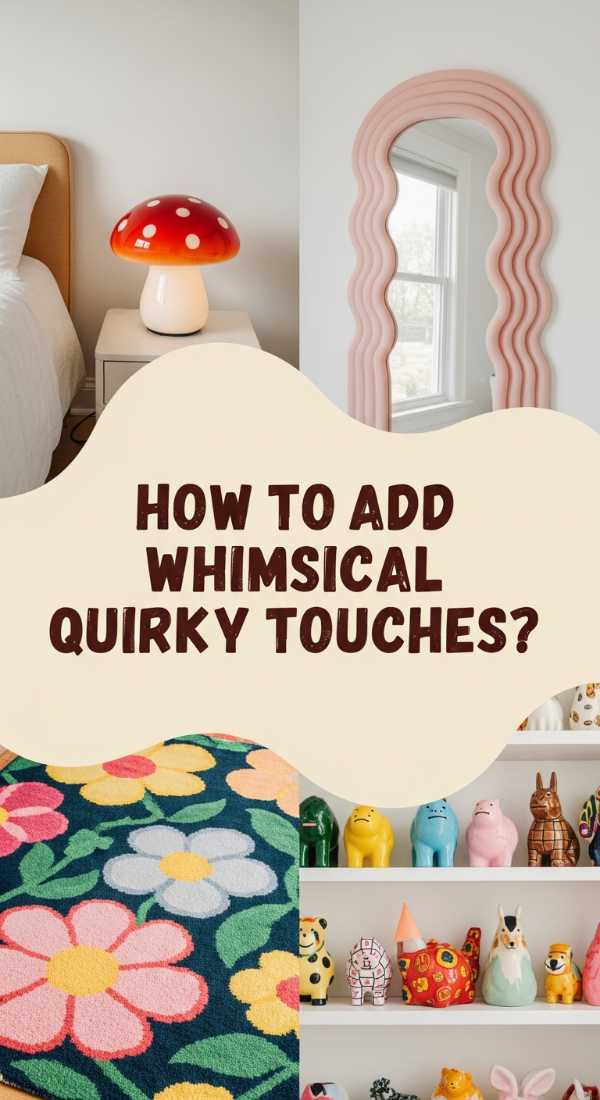
This style is a love letter to the inner child who never stopped dreaming. It’s a riot of color, unexpected shapes, and items that spark joy simply because they are delightfully odd. We love whimsical, quirky spaces because they break all the ‘rules’ of traditional design, allowing your personality to shine through neon signs, mismatched patterns, and sculptural furniture. It’s an energizing environment that fuels creativity and ensures that your home is never, ever boring.
Essential Elements:
- Bright, saturated color palette (pink, teal, lemon)
- Mismatched vintage frames in bold colors
- Unusual lighting fixtures, like mushroom lamps or neon words
- Pattern-clashing textiles (checkers with florals)
- Acrylic or colorful resin furniture
- Novelty ceramics and art toys
How to make it
- Identify your ‘hero’ color. This should be a vibrant shade that appears in at least three places around the room to create a cohesive ‘thread’ amidst the chaos.
- Practice the art of pattern mixing. Pair a large-scale graphic print, like a checkered rug, with a smaller-scale floral cushion. The professional tip here is to ensure they share at least one color in common to keep the mix from feeling jarring.
- Curate a ‘wonder wall.’ Collect art prints, postcards, and 3D objects. Lay them out on the floor first to find a balanced but asymmetrical arrangement before hammering a single nail.
- Add ‘interactive’ decor. Think of things like a disco ball near a sunny window or a kinetic sculpture. These elements create movement and changing light patterns, enhancing the ‘whimsical’ vibe throughout the day.
- Incorporate a ‘statement’ piece of lighting. Whether it’s a vintage neon sign or a DIY beaded chandelier, ensure it provides a warm, diffused glow that makes the bright colors pop without washing them out.
How to Incorporate Catholic Vintage Elements for a Soulful Serene Home

Why we love this
There is a profound sense of history and quietude in Catholic vintage aesthetics. This look leans into the ‘dark academia’ side of spirituality, utilizing tarnished silver, velvet textures, and classical iconography to create a space for reflection. We love it for its ability to feel both majestic and incredibly intimate. The aroma of frankincense, the weight of a heavy rosary, and the flicker of a votive candle all contribute to a home that feels like a sacred sanctuary away from the modern world’s frantic pace.
Essential Elements:
- Aged brass or silver crucifixes and icons
- Ornate gold-leaf frames with classical religious art
- Deep jewel-toned velvet (burgundy, forest green)
- Beeswax candles and vintage candle holders
- Antique wooden prayer benches or pedestals
- Hand-bound leather books and lace doilies
How to make it
- Establish a ‘low-light’ ambiance. This style thrives in shadows. Use heavy velvet curtains to control natural light, creating a ‘moody’ base layer that highlights the metallic accents in the room.
- Source authentic vintage icons or art. Look for pieces with a ‘patina’—minor scratches or fading that show age. This adds a layer of ‘soul’ and history that new replicas simply cannot provide.
- Create a ‘shrine’ or focal point. Arrange a collection of brass candlesticks and a vintage icon on a dark wood sideboard. Ensure the height of the candles varies to create a tiered, altar-like visual interest.
- Layer in soft, delicate textures like handmade lace or silk. Drape these over hard surfaces to soften the overall look and add a touch of old-world femininity and grace.
- Use scent to anchor the room. Burn high-quality resin incense or beeswax candles. The specific ‘technique’ here is to allow the scent to linger in the fabrics, creating a permanent, subtle aroma of a historic cathedral.
How to Transform Mobile Home Interiors for the Ultimate Boho Sanctuary

Why we love this
Mobile home living offers a unique opportunity to maximize charm in a compact footprint. The Boho Sanctuary approach turns ‘small’ into ‘cozy’ by layering textures and plants until the walls seem to disappear. We love this transformation because it celebrates freedom and nomadism. By using macramé, floor cushions, and an abundance of greenery, you can turn a standard interior into a lush, breathable jungle that feels like a secret garden on wheels.
Essential Elements:
- Macramé wall hangings and plant hangers
- Low-profile furniture and floor poufs
- Multi-layered rugs (cowhide over sisal)
- Climbing plants like Pothos or Monstera
- Rattan and wicker storage baskets
- String lights and Moroccan lanterns
How to make it
- Maximize your vertical space. Since floor space is at a premium in mobile homes, use ceiling hooks for macramé plant hangers. This draws the eye upward, creating a ‘visual cue’ of height and spaciousness.
- Opt for light, warm wood tones for any renovations. Lighter wood reflects more light, preventing the narrow hallways from feeling claustrophobic. Sand down existing trim and apply a clear matte sealant for a modern boho finish.
- Layer your textiles. Place a soft, patterned rug over the standard flooring. The ‘technique’ for a cozy boho look is ‘more is more’—stack floor cushions in a corner to create a dedicated reading nook.
- Incorporate ‘living’ decor. Plants are essential. Arrange them in clusters near windows. Tip: Use ‘self-watering’ pots to maintain high moisture levels without worrying about spills on small-space flooring.
- Use soft, warm string lighting instead of harsh overhead fluorescent bulbs. Wrap them around structural beams or drape them along the ceiling to create a starry, magical evening glow.
How to Reclaim Vintage Nineties Aesthetics for a Nostalgic Modern Living Room

Why we love this
The nineties were a decade of experimentation, blending tech-optimism with grunge and minimalism. Reclaiming this look today is a masterclass in nostalgia. We love the 90s aesthetic for its comfort and its playful ‘low-fi’ energy—think oversized slipcovered sofas, inflatable-inspired shapes, and a mix of primary colors and earth tones. It’s a style that doesn’t take itself too seriously, offering a perfect blend of high-concept design and total relaxation.
Essential Elements:
- Slouchy, oversized slipcovered sofas in white or denim
- Inflatable-style chairs or curved plastic furniture
- Primary color accents (red, yellow, blue)
- Glass-topped coffee tables with black metal legs
- CD towers or vinyl displays as decor
- Potted ferns and rubber plants
How to make it
- Select a ‘slouchy’ sofa as your anchor. The ‘visual cue’ for the 90s is comfort. A white cotton slipcover that is slightly wrinkled gives that quintessential relaxed, ‘Friends’-era vibe.
- Introduce ‘tech-noir’ lighting. Look for lamps with curved silhouettes or neon tubing. Position them near mirrors to double the light and create that slightly futuristic, pre-millennial glow.
- Add a pop of primary color. Choose one bold accessory, like a bright red telephone or a yellow clock. This breaks up the neutral tones and adds a ‘quirky’ 90s energy to the space.
- Decorate with ‘obsolete’ tech. Use old cameras or a stack of VHS tapes as bookends. This ‘prep’ involves cleaning vintage items with specialized plastic restorers to bring back their original luster without damaging the casing.
- Incorporate ‘minimalist’ geometry. Use a glass-top coffee table to keep the room looking open. The ‘technique’ here is to keep the styling on top of the glass very sparse—maybe just one oversized coffee table book.
How to Create Welcome Home Decorations for a Heartfelt Family Greeting

Why we love this
A ‘Welcome Home’ aesthetic is less about a specific era and more about the feeling of being known and loved. It’s the ultimate lifestyle goal: creating a home that acts as a soft landing for your family. We love this approach because it uses personalization—family photos, chalkboard messages, and seasonal wreaths—to create an atmosphere of belonging. It’s a sensory experience of baked goods, warm lighting, and a clutter-free mudroom that says, ‘I’m so glad you’re here.’
Essential Elements:
- Personalized family name signs
- Large-scale chalkboard for daily messages
- A dedicated ‘drop zone’ or mudroom bench
- Seasonal wreaths for the front door
- Framed gallery of candid family photos
- Soft, washable runners in high-traffic areas
How to make it
- Designate a ‘greeting’ zone right inside the door. Install a sturdy bench with baskets underneath for shoes. The ‘prep’ involves measuring the space to ensure the bench doesn’t obstruct the door’s swing radius.
- Create a ‘message center.’ Paint a section of a wall with magnetic chalkboard paint. Ensure you apply at least three coats, allowing 4 hours of drying time between each, to achieve a smooth, professional-grade surface.
- Lighting is crucial for a ‘warm’ welcome. Install a motion-sensor light outside the door that has a ‘soft-start’ feature, so it gradually brightens rather than flashing on harshly when family members arrive.
- Curate a ‘memory wall’ in the hallway. Use matching frames but different sizes to keep it cohesive. Tip: Level the center point of the gallery at 57 inches high, which is the standard ‘eye level’ in museums.
- Add a scent of ‘home.’ Simmer a pot of cinnamon and vanilla on the stove before family arrives, or use a high-quality candle that evokes ‘fresh linen’ or ‘baked apple’ to reinforce the emotional hook.
How to Infuse Whimsical Summer Florals for a Bright Cheerful Kitchen
Why we love this
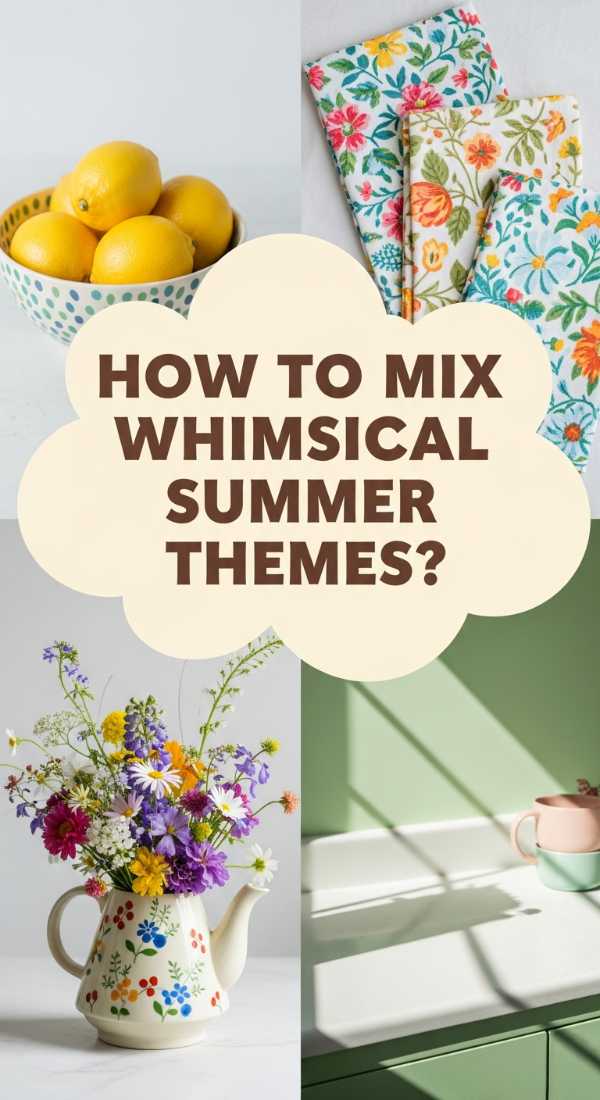
The kitchen is the heart of the home, and infusing it with whimsical summer florals makes every morning feel like a garden party. We love this look because it brings the outdoors in, using botanical prints and fresh blooms to break up the hard surfaces of appliances and countertops. It’s a cheerful, high-energy style that smells like jasmine and citrus, turning the mundane task of meal prep into a sensory delight surrounded by the beauty of nature.
Essential Elements:
- Floral patterned cafe curtains or tea towels
- Vintage botanical prints in simple frames
- Fresh flower arrangements in mismatched pitchers
- Herb garden on the windowsill in colorful pots
- Pastel-colored small appliances (mint, pink, butter yellow)
- Floral-stamped ceramic dinnerware
How to make it
- Start with your ‘live’ elements. Plant a windowsill herb garden with basil, mint, and rosemary. Ensure the pots have proper drainage to prevent root rot—a ‘visual cue’ for a healthy kitchen garden is vibrant, upright leaves.
- Introduce floral textiles. Replace plain dish towels with high-quality linen towels featuring wildflower prints. The ‘technique’ is to hang them prominently over the oven handle or a towel ring to act as a soft visual accent.
- Layer in ‘permanent’ florals. Use a floral-patterned wallpaper or a large-scale botanical mural on one ‘accent’ wall. If using peel-and-stick, ensure the surface is cleaned with rubbing alcohol first to guarantee a bubble-free application.
- Mix in pastel ceramics. Display floral-stamped plates on open shelving. Arrange them by color to create a ‘rainbow’ effect that enhances the whimsical, playful nature of the room.
- Incorporate ‘scent-scaping.’ Use floral-scented dish soap and surface cleaners. This ensures that even when the fresh flowers are out of season, the ‘aroma’ of a summer garden persists in the space.
How to Merge Rustic Boho Textures for a Grounded Peaceful Bedroom

Why we love this
The bedroom should be a sanctuary of stillness, and merging rustic and boho elements creates the perfect ‘grounded’ vibe. We love this combination because it balances the rugged, masculine feel of raw wood and leather with the soft, feminine textures of pampas grass and chunky knits. It’s an aesthetic that feels incredibly tactile—you want to run your hands over the grain of the wood and sink into the layers of linen. It’s designed for deep rest and peaceful mornings.
Essential Elements:
- Raw-edge wooden headboard
- Chunky knit throw blankets in neutral tones
- Pampas grass in oversized floor vases
- Leather or suede accent pillows
- Dimmable Edison bulb lighting
- Woven seagrass wall hangings
How to make it
- Choose a ‘raw’ wood element as your centerpiece. A headboard made from reclaimed barn wood or a live-edge slab provides the ‘rustic’ grounding. Treat the wood with a natural wax to enhance the grain without adding a shiny, artificial finish.
- Layer the bedding using a ‘tonal’ approach. Start with white linen sheets, add a flax-colored duvet, and top with a chunky, cream-colored knit throw. The ‘technique’ for a boho look is to fold layers back loosely rather than tucking them in tightly.
- Add height with pampas grass. Place three to five stems in a tall, textured ceramic vase in a corner. Tip: Spray the pampas grass lightly with hairspray to prevent shedding while keeping its soft, fluffy texture.
- Use ‘low-level’ lighting. Replace standard bedside lamps with hanging woven pendants that sit just above the nightstands. This creates a cozy, ‘enclosed’ feeling that signals the brain it’s time to sleep.
- Incorporate leather accents. A small leather stool or leather-bound books add a ‘weight’ to the room that balances out the lighter, airy boho fabrics.
How to Source Vintage Home Decor Ideas for a Unique Eclectic Gallery Wall

Why we love this
An eclectic gallery wall is a curated history of your travels, your interests, and your eye for beauty. We love this approach because it’s a ‘slow’ design process—you can’t buy a gallery wall in a day. It requires hunting through thrift stores and antique markets for that perfect, oddly shaped frame or a hand-drawn map of a city you love. It turns a blank wall into a conversation starter, showcasing a mix of textures, eras, and stories that are uniquely yours.
Essential Elements:
- A mix of frame styles (ornate gold, simple wood, black metal)
- Varied content (oil paintings, sketches, mirrors, 3D objects)
- Consistent ‘spacing’ between items
- Accent lighting, like a dedicated picture light
- A mix of matte and glossy finishes
- Small shelves for 3D vintage curios
How to make it
- Begin the ‘sourcing’ phase. Visit local flea markets with a tape measure and a ‘palette’ in mind. Look for ‘visual cues’ of quality in vintage frames, such as solid wood construction or hand-carved details.
- Lay out your collection on the floor. This is the ‘prep’ phase. Start with your largest piece in the center and build outwards. Aim for a 2-3 inch gap between every item to keep the ‘eclectic’ look from becoming a ‘cluttered’ mess.
- Mix your media. Don’t just hang flat art. Incorporate a vintage hand-mirror or a small brass wall planter. This adds ‘depth’ and texture, making the wall feel more like a curated collection than a simple photo display.
- Install your hardware correctly. For heavier vintage frames, use wall anchors or find a stud. The professional tip here is to use ‘museum putty’ on the bottom corners of frames to keep them perfectly level and prevent shifting over time.
- Add a ‘picture light’ at the top. This dedicated light source ‘washes’ the gallery in a warm glow, elevating the vintage finds and making the entire wall feel like a professional installation.
Creating Your Personal Sanctuary
As we’ve explored these diverse styles, from the sun-drenched tiles of Mexico to the nostalgic textures of the 90s, remember that the most beautiful home is the one that reflects you. Mood boarding isn’t about perfection; it’s about discovery. It’s about finding the courage to mix a vintage icon with a neon sign or a linen curtain with a raw wood headboard. Take your time, trust your intuition, and enjoy the process of building a space that nurtures your soul every single day. Happy decorating!