
Have you ever stepped out onto your back porch with a steaming mug of coffee, only to feel a pang of longing for something more than a patch of grass? I’ve been there—staring at a blank outdoor canvas, dreaming of a space that feels less like a chore and more like a sanctuary. There is something deeply restorative about digging your hands into the cool, damp earth and watching a tiny sprout reach for the sun; it’s a slow-motion magic that grounds us in a world that often moves far too fast.
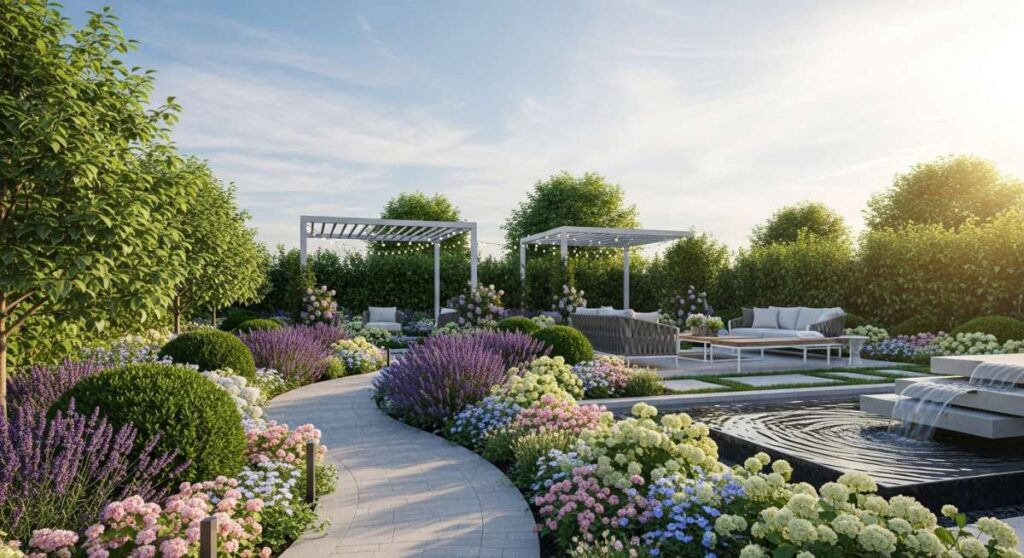
This weekend, I want to invite you to stop dreaming and start doing. We aren’t just talking about mowing the lawn; we are talking about creating a dreamy garden haven that reflects your soul and invites you to breathe a little deeper. From the tactile crunch of gravel paths to the sweet, heady scent of night-blooming jasmine, your backyard is waiting to become your favorite room in the house. Let’s roll up our sleeves and transform your space into the lush, peaceful retreat you deserve.
How to Spark Childlike Wonder with Joyful Outdoor Play

Why we love this
There is an undeniable magic in creating spaces that invite us to play, regardless of our age. We love this approach because it taps into the sensory joys of childhood: the tickle of tall grass against your shins, the whimsical sight of a hidden fairy door at the base of an oak, and the gentle creak of a classic tree swing. It transforms a static garden into a living, breathing playground where the air feels lighter and every corner holds a secret waiting to be discovered by a curious eye.
Essential Elements:
- A sturdy tree limb or heavy-duty A-frame swing set
- Natural hemp or soft-braided nylon rope
- Whimsical fairy garden miniatures (tiny ladders, pebble paths)
- Hollowed-out logs or willow tunnels
- Solar-powered twinkle lights for evening enchantment
How to make it
- Identify your focal point for play, whether it is a sprawling tree for a swing or a quiet corner for a miniature village. Ensure the ground is level and free of sharp debris.
- For a tree swing, select a branch at least 8 inches in diameter. Loop your rope using a double running bowline knot to prevent fraying and ensure the seat hangs exactly 18-24 inches from the ground for safety.
- Design a “secret path” using flat river stones spaced specifically for a child’s (or adult’s) stride. Surround these stones with soft moss or creeping thyme that releases a sweet fragrance when stepped upon.
- Construct a fairy dwelling by nesting small wooden structures into the roots of a tree. Use visual cues like a trail of glittery sea glass or polished pebbles to lead the eye toward the hidden scene.
- Finish the space by stringing low-voltage globe lights through the lower branches, creating a soft, amber glow that mimics the appearance of fireflies during the golden hour.
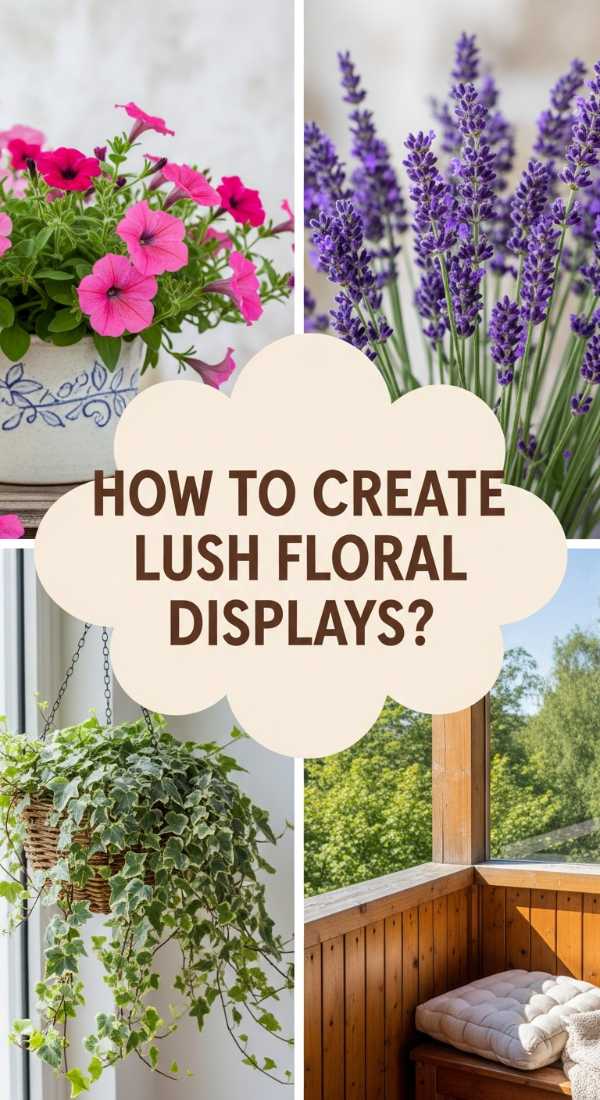
How to Create Lush Floral Displays for Tiny Balconies
Why we love this
Space should never be a barrier to beauty, and there is something incredibly chic about a balcony overflowing with vibrant life. We adore this because it brings the garden up to eye level, surrounding you with the velvet texture of pansy petals and the intoxicating aroma of potted lavender as you step outside. It turns a concrete slab into a vertical oasis where the colors are saturated, the bees come to visit, and your morning tea feels like an escape to a Parisian flat.
Essential Elements:
- Tiered metal or wooden plant stands
- Over-the-railing rectangular planters
- High-quality potting mix with perlite
- Trailing plants like Creeping Jenny or Lobelia
- Upright focal flowers like Geraniums or Fuchsias
How to make it
- Analyze your balcony’s light levels; track the sun’s path for a full day to determine if you have “Full Sun” (6+ hours) or “Part Shade” (3-6 hours) before buying plants.
- Select containers with adequate drainage holes. If using plastic liners, pierce them multiple times to prevent root rot, which is the most common cause of balcony garden failure.
- Use the “Thriller, Filler, Spiller” technique: Place a tall, vibrant plant (like a Canna Lily) in the center, surround it with mid-height “fillers” (like Petunias), and tuck “spillers” (like Ivy) around the edges to cascade over the sides.
- Water your balcony plants daily, as wind and heat at higher elevations dry out small pots significantly faster than ground-level gardens. Test soil moisture by inserting a finger two inches deep; if dry, water until it runs out the bottom.
- Deadhead (remove) spent blooms weekly by pinching the stem just above the first set of healthy leaves. This redirects the plant’s energy into producing new, lush flowers rather than seeds.
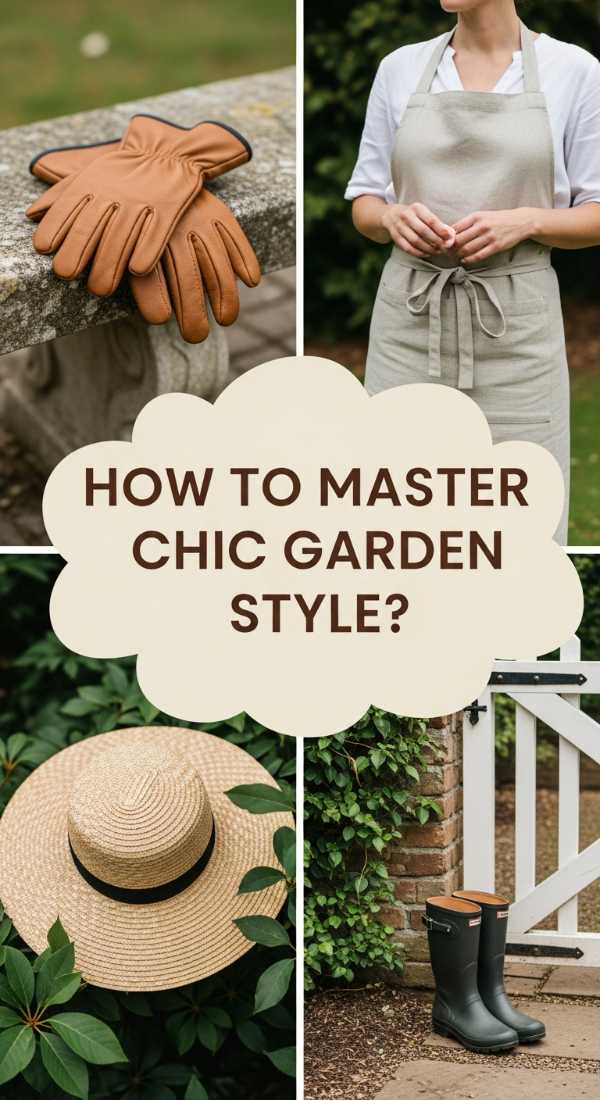
How to Master the Practical Yet Chic Garden Aesthetic
Why we love this
A garden should be as functional as it is beautiful, and we love the harmony of the “chic utility” look. Imagine a workspace where every tool has a place, where the weathered wood of a potting bench meets the cool, industrial sheen of galvanized steel. This aesthetic celebrates the process of gardening itself—the dirt under the fingernails, the organized rows of terra cotta pots, and the earthy, grounding scent of cedar mulch that ties the whole look together into a sophisticated outdoor studio.
Essential Elements:
- Weathered wood or teak potting bench
- Uniform terra cotta pots in varying sizes
- Copper or brass garden markers
- Heavy-duty jute twine for tying
- Linen garden apron with deep pockets
How to make it
- Position your potting bench in a shaded area to provide a cool workspace. Treat the wood with a clear, water-resistant sealant to prevent warping while maintaining its natural grain and texture.
- Organize your pots by size on the lower shelves. Pro tip: Soak new terra cotta pots in water for an hour before planting to prevent them from wicking moisture away from your fresh soil.
- Install a row of stainless steel hooks along the side of the bench to hang your hand trowels, pruners, and cultivators at eye level for easy access and a curated, tidy appearance.
- Create a dedicated “twine station” using a heavy cast-iron twine holder. This prevents tangles and allows you to pull the exact length needed for staking plants with one hand.
- Add a final touch of sophistication by using a paint pen to hand-letter your copper garden markers, ensuring they develop a beautiful natural patina over time as they sit in the elements.
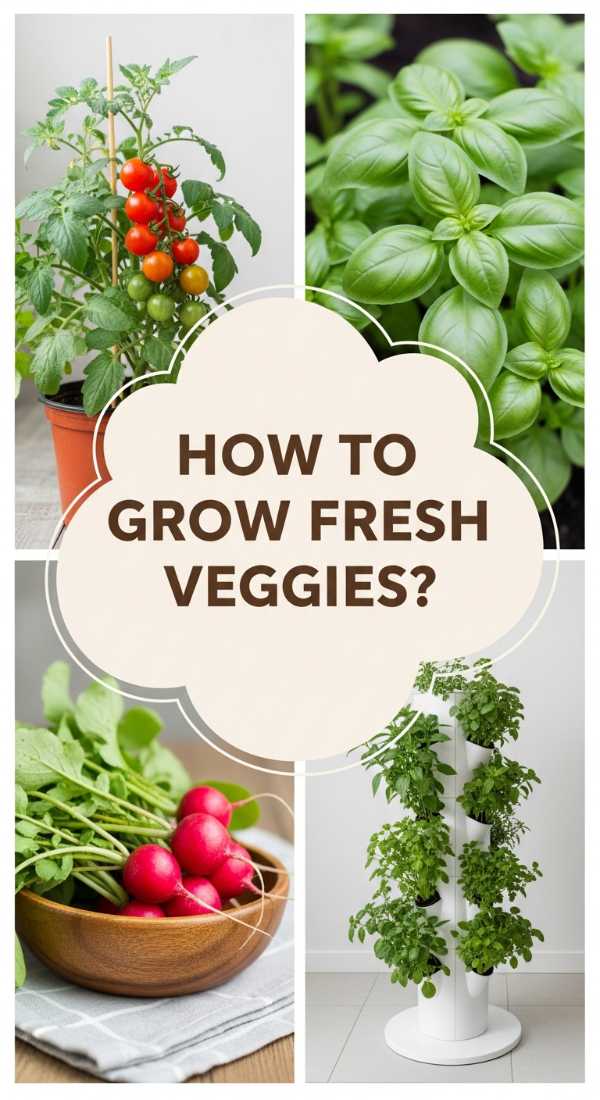
How to Grow Crispy Fresh Veggies in Small Containers
Why we love this
There is no flavor on earth that compares to a vegetable plucked seconds before it hits your plate. We love container gardening because it makes fresh produce accessible to everyone, regardless of yard size. The sensory experience of brushing against a tomato vine and smelling that spicy, green aroma is unmatched, and the satisfying “snap” of a homegrown pea pod is a culinary revelation that makes the effort of nurturing a small pot feel entirely worth it.
Essential Elements:
- 5-gallon fabric grow bags or deep ceramic pots
- Organic vegetable-specific potting soil
- Compact or “patio” varieties of seeds (e.g., Bush Slicer cucumbers)
- Liquid seaweed or fish emulsion fertilizer
- Sturdy bamboo stakes or tomato cages
How to make it
- Fill your containers with a high-quality organic mix. Avoid using “topsoil” or “garden soil,” which is too heavy for pots and will compact, suffocating the delicate root systems of your vegetables.
- Sow seeds at the depth specified on the packet—usually twice as deep as the seed is wide. For starts (young plants), dig a hole twice the width of the root ball and bury the stem slightly deeper to encourage extra root growth.
- Place your containers in a spot that receives at least 8 hours of direct sunlight. If the pavement gets too hot, elevate the pots on “pot feet” or bricks to allow airflow underneath and prevent the roots from cooking.
- Apply a diluted liquid fertilizer every two weeks. Look for signs of nutrient needs: yellowing lower leaves often mean a need for nitrogen, while a lack of flowers suggests a need for phosphorus.
- Harvest early and often. For most veggies, picking the fruit triggers the plant to produce even more. Use sharp snips rather than pulling by hand to avoid damaging the main vine.
How to Embrace Wild Beauty with Effortless Seed Scattering

Why we love this
There is a rebellious, joyful freedom in a wildflower meadow that a manicured lawn simply cannot match. We love seed scattering because it invites nature to take the lead, resulting in a tapestry of colors that dance in the breeze. It creates a buzzing sanctuary for pollinators, where the soft hum of bumblebees and the fluttering of butterfly wings provide the perfect soundtrack for a slow Sunday afternoon spent in the sun.
Essential Elements:
- Regional wildflower seed mix (ensure it’s non-invasive)
- Fine horticultural sand for even distribution
- A hard rake or garden hoe
- Bird netting (optional, for protection during germination)
- Consistent water source with a misting attachment
How to make it
- Prepare the site by removing all existing grass and weeds. This is the most critical step; wildflowers cannot compete with established turf. Scrape the soil until it is bare and slightly loosened.
- Mix your seeds with dry sand in a 1:5 ratio (one part seed to five parts sand). The sand acts as a visual guide so you can see where you have already cast the seeds, preventing patchy growth.
- Scatter the seed-sand mixture using a sweeping “sower’s motion” across the prepared area. Aim for an even coat rather than clumps, as overcrowding leads to weak, spindly stems.
- Walk over the area or use a light roller to press the seeds into the soil. Wildflower seeds need light to germinate, so do not bury them; they just need firm contact with the earth.
- Keep the area consistently moist—not soaking—using a fine mist setting on your hose for the first 2-3 weeks. Once the plants reach 4 inches in height, you can gradually reduce watering as they establish deep roots.
How to Organize Essential Equipment for a Productive Season
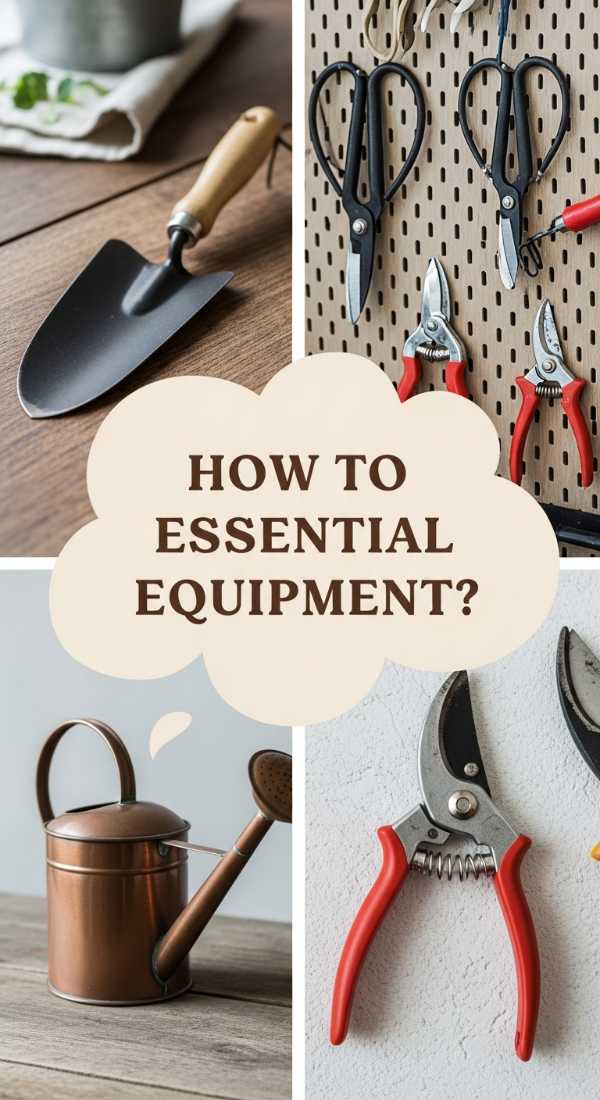
Why we love this
A productive garden begins with a calm mind, and nothing clears the mental fog like a perfectly organized tool shed. We love this process because it feels like a ritual of preparation—cleaning the grit from the shears, oiling the wooden handles, and lining up the shovels like soldiers. The tactile satisfaction of a well-oiled tool sliding into its place makes the work of gardening feel less like a chore and more like a professional craft.
Essential Elements:
- Pegboard and assorted hooks
- Linseed oil and fine-grit sandpaper
- Magnetic tool strip for small metal items
- Gallon-sized bucket filled with oiled sand
- Clear airtight bins for seed storage
How to make it
- Empty your current storage space entirely. Wipe down shelves and sweep the floor to create a clean slate. This is the time to discard any broken equipment that is beyond repair.
- Sand down any wooden handles on your shovels and hoes to remove splinters, then rub them with a thin coat of linseed oil. This prevents the wood from drying out and cracking over the winter.
- Mount a pegboard on the wall at shoulder height. Outline each tool with a permanent marker on the board; this visual cue ensures that every item is returned to its specific “home” after use.
- Fill a large bucket with clean sand mixed with a cup of motor oil or mineral oil. Plunging your metal hand tools into this mixture after every use cleans them and coats them in a protective layer to prevent rust.
- Store seeds in a cool, dark place inside airtight glass jars or plastic bins labeled by planting month. Add a small silica gel packet to each bin to absorb any stray moisture that could cause premature sprouting.
How to Build a Serene Sanctuary for Delicate Tropicals

Why we love this
Tropical plants bring a sense of lush, primeval mystery to a garden that no other species can replicate. We love building these sanctuaries because they transform a corner of your yard into a humid, leafy hideaway where the air feels cooler and the greens are deeper and more saturated. The sight of giant Monstera leaves or the architectural spikes of a Bird of Paradise creates an instant vacation vibe, making your backyard feel like a hidden jungle retreat.
Essential Elements:
- Large-leafed tropical plants (Elephant Ears, Palms, Hibiscus)
- Automatic misting system or high-quality spray bottle
- Slow-release organic tropical fertilizer
- Pine bark mulch for moisture retention
- Pebble trays for localized humidity
How to make it
- Select a location that is protected from harsh, direct afternoon sun and strong winds, which can shred large, delicate leaves. A spot under a pergola or high-canopy tree is ideal for filtered light.
- Dig planting holes twice the width of the root balls and enrich the soil with compost and peat moss to create the well-draining, slightly acidic environment tropicals crave.
- Install a simple drip irrigation or misting line around the perimeter of the area. Tropical plants don’t just need wet roots; they thrive on atmospheric humidity. Set the timer for early morning and late afternoon.
- Mulch heavily with at least 3 inches of pine bark. This acts as an insulator, keeping the soil cool and moist even during the hottest parts of the day, while mimicking the natural forest floor.
- Monitor for pests like spider mites, which love dry conditions. If you see fine webbing, increase your misting frequency and wipe the leaves with a damp cloth and a drop of neem oil to keep them shiny and healthy.
How to Simplify Home Harvests using Versatile Buckets
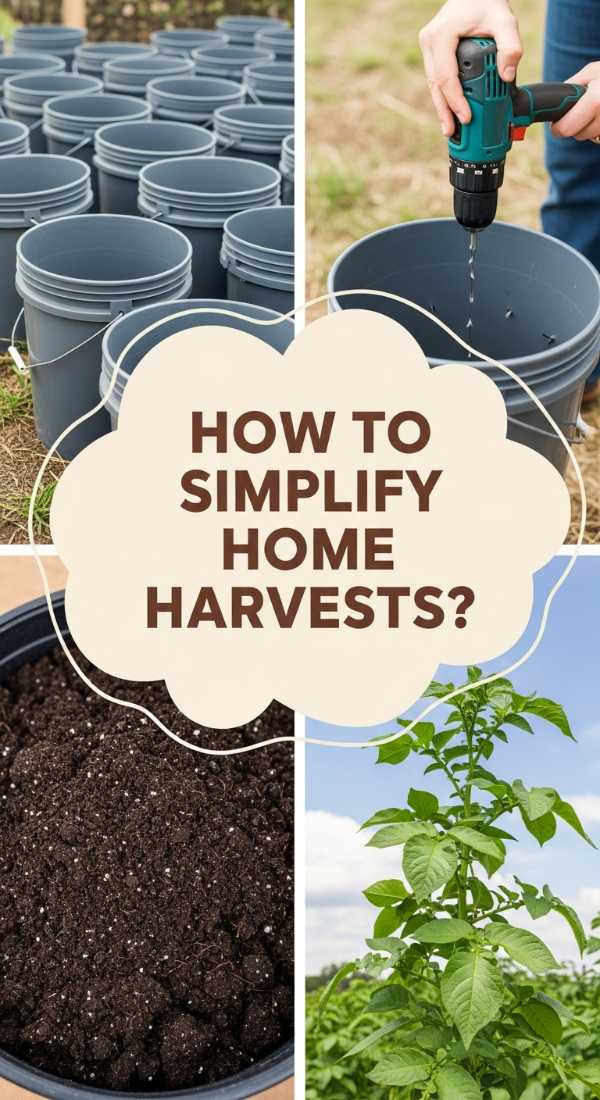
Why we love this
There is a rustic, grounded simplicity in the “bucket harvest” that we find absolutely charming. We love this method because it’s the ultimate expression of garden abundance—bringing in a heavy, galvanized pail filled to the brim with sun-warmed cucumbers, zinnia stems, and muddy potatoes. It streamlines the transition from garden to kitchen, making the bounty feel tangible and the cleanup effortless, all while adding a vintage, farmhouse aesthetic to your daily chores.
Essential Elements:
- Galvanized steel buckets in various sizes
- Flexible rubber “trug” buckets for heavy loads
- Perforated harvesting baskets for easy rinsing
- S-hooks for hanging buckets on fences
- Soft cleaning brushes for root vegetables
How to make it
- Designate specific buckets for different tasks: use metal for heavy tools or dry harvests, and lightweight rubber trugs for carrying mulch, weeds, or damp produce.
- Before heading out, fill one bucket halfway with cool water. As you cut fresh flowers or leafy greens, immediately plunge the stems into the water to prevent wilting and lock in freshness.
- For root vegetables like carrots or potatoes, keep a small, soft-bristled brush in your harvest bucket. Gently brush away the heavy clods of dirt while still in the garden to keep your kitchen counters clean.
- Utilize perforated colander-style buckets for smaller fruits like berries or cherry tomatoes. This allows you to spray them down with the garden hose right at the source, letting the dirt and water drain out onto the grass.
- Install a series of sturdy hooks near your garden gate or back door. Hanging your empty buckets at eye level ensures they are always ready for the next trip out and keeps them from becoming homes for spiders on the ground.
How to Design a Dreamy Backyard Haven for Ultimate Relaxation

Why we love this
The ultimate goal of any garden is to provide a space where the soul can rest. We love this design focus because it’s about more than plants; it’s about creating an atmosphere of soft edges, warm glows, and absolute comfort. Picture yourself sinking into a plush outdoor sofa, surrounded by the flicker of lanterns and the gentle rustle of ornamental grasses. It’s the perfect setting for deep conversations, starlit dinners, or simply losing yourself in a good book while the world fades away.
Essential Elements:
- Weather-resistant outdoor furniture with thick cushions
- Outdoor area rug with a soft, woven texture
- A mix of solar lanterns and Edison string lights
- Sound element (small water fountain or wind chimes)
- Cozy outdoor throw blankets for chilly evenings
How to make it
- Define the “floor” of your haven using a large outdoor rug. This anchors the furniture and provides a soft texture underfoot that signals to your brain that this is a room for relaxation, not just a yard.
- Arrange seating in a “U” or “L” shape to encourage conversation. Ensure there are small side tables within arm’s reach of every seat for resting drinks, books, or candles.
- Layer your lighting. Start with overhead string lights for a festive glow, then add “task lighting” with lanterns on tables, and finish with low-level solar path lights to create depth and eliminate dark corners.
- Incorporate a water feature, even a simple plug-and-play fountain. The white noise of trickling water masks neighborhood sounds and lowers the heart rate, enhancing the sense of seclusion.
- Finish the space with “softs”: pillows in various sizes and a basket of clean, rolled-up blankets. Choose fabrics like Sunbrella that resist fading and mildew so your sanctuary stays looking fresh all season.
How to Optimize Plant Health with Natural Soil Solutions

Why we love this
We love the philosophy of “feeding the soil, not the plant.” There is something incredibly satisfying about understanding the dark, crumbly world beneath our feet and working with nature rather than against it. Using natural solutions feels like a partnership with the earth; it results in plants that are more resilient, blooms that are more vivid, and a garden ecosystem that is thriving with beneficial microbes and earthworms. It is the invisible foundation of every dreamy garden haven.
Essential Elements:
- Home-made or high-quality organic compost
- Worm castings (the “black gold” of gardening)
- Mycorrhizal fungi inoculant
- Organic mulches (shredded leaves, straw, or wood chips)
- Liquid compost tea for foliar feeding
How to make it
- Begin by testing your soil’s pH using a simple home kit. Knowing whether your soil is acidic or alkaline allows you to choose the right amendments rather than guessing and risking plant health.
- Apply a 2-inch layer of organic compost to the top of your garden beds twice a year. Do not dig it in; let the earthworms do the work of pulling the nutrients down into the root zone, which preserves the soil’s delicate structure.
- Inoculate new plants with mycorrhizal fungi by sprinkling the powder directly onto the root ball before planting. This fungus forms a symbiotic relationship with roots, drastically increasing their ability to absorb water and nutrients.
- Use worm castings as a concentrated “top-dress” around heavy feeders like roses or tomatoes. A handful per plant provides a gentle, non-burning boost of minerals and beneficial bacteria.
- Maintain a permanent mulch layer. Bare soil is stressed soil; keeping it covered mimics the natural forest floor, prevents erosion, suppresses weed seeds, and keeps the soil temperature stable during heatwaves.
Creating Your Personal Eden
Transforming your backyard into a dreamy garden haven isn’t about achieving perfection in a single afternoon; it’s about the joy of the journey. Whether you are scattering seeds for a wild meadow or carefully arranging a balcony display, every small action is an investment in your own peace of mind. As you spend this weekend digging, planting, and dreaming, remember that a garden is never truly finished—it is a living, breathing companion that grows alongside you. Take a moment to sit back, breathe in the scent of damp earth and fresh blooms, and enjoy the sanctuary you’ve built with your own two hands.
Garden Haven FAQ
Q: What is the best way to start a garden on a very tight budget?
A: Focus on seeds rather than established plants! A $3 packet of seeds can yield dozens of plants. You can also upcycle containers from thrift stores and make your own compost from kitchen scraps to avoid buying expensive fertilizers.
Q: How can I keep my garden alive if I travel frequently?
A: Invest in a simple drip irrigation system with a programmable timer. Also, choose “drought-tolerant” varieties and use a heavy layer of mulch to keep the soil moist for longer periods between waterings.
Q: I have a “black thumb.” What are the easiest plants to start with?
A: Start with herbs like Mint or Rosemary, which are incredibly hardy, or flowers like Marigolds and Zinnias. These are very forgiving and provide instant gratification with minimal fuss.