
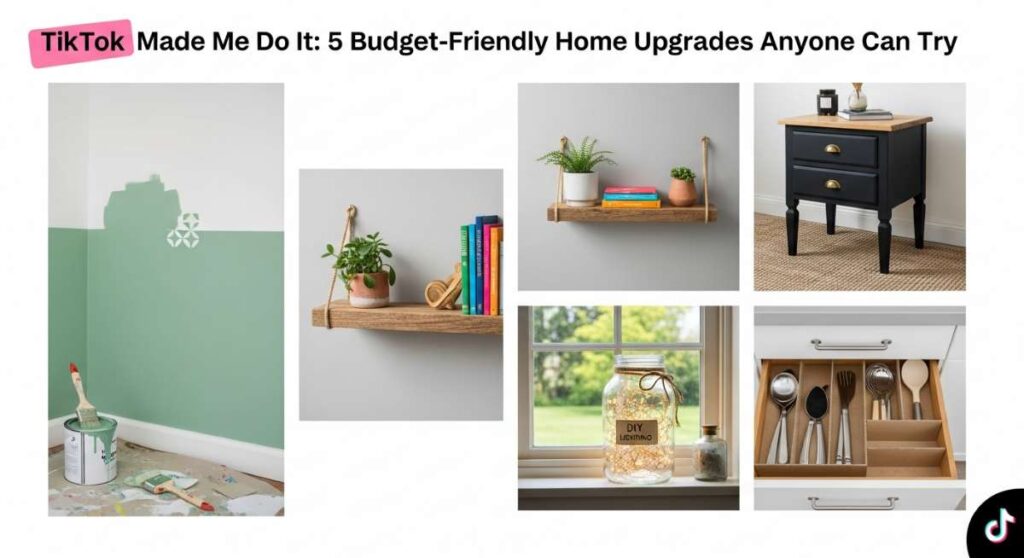
We’ve all been there: it’s 11 PM, you’re mindlessly scrolling through TikTok, and suddenly you’re convinced that you—yes, you—can transform your entire backyard with nothing but a pack of solar lights and some sheer determination. There’s something so infectious about watching a 60-second transformation. It makes the impossible feel accessible, turning those ‘someday’ home projects into ‘this weekend’ realities. I’ll admit, my ‘Saved’ folder is basically a blueprint for a dream house I haven’t quite finished building yet, but these specific trends have actually changed the way I live in my space.
Bringing that viral magic into your own home isn’t just about the aesthetics; it’s about the feeling of accomplishment when you step back and realize you created something beautiful with your own two hands. Whether you’re looking to boost your curb appeal or turn your pantry into a Pinterest-worthy sanctuary, these budget-friendly upgrades are the ones that actually live up to the hype. Let’s dive into the DIYs that are currently taking over our feeds and making our homes feel a little more like the havens we deserve.
How to Design Lush Flower Beds for Instant Curb Appeal
Why we love this
There is nothing quite like the sensory explosion of a well-designed flower bed. Imagine stepping out your front door to the intoxicating scent of damp earth mingled with the sweet perfume of blooming lavender and jasmine. The visual texture of layered heights—from the low-creeping groundcovers to the stately delphiniums—creates a living tapestry that dances in the breeze. It’s not just about the flowers; it’s about the feeling of pride when neighbors stop to admire the vibrant pops of color that make your home feel alive and deeply cared for.
Essential Elements:
- A mix of perennials (for longevity) and annuals (for seasonal color).
- High-quality dark mulch or pine bark.
- Curved garden edging (plastic, stone, or brick).
- Soil conditioner and organic compost.
- A variety of heights: thrillers (tall), fillers (mound-shaped), and spillers (trailing).
How to make it
- Begin by outlining your bed shape using a garden hose to create natural, flowing curves. Avoid sharp angles for a more professional, ‘lush’ look.
- Remove all existing grass and weeds from the area. Use a sharp spade to cut into the turf and peel it back, ensuring you get the roots to prevent regrowth.
- Amend your soil by tilling in 2-3 inches of organic compost. This is the ‘secret sauce’ that ensures your plants thrive rather than just survive.
- Arrange your plants while they are still in their nursery pots. Place the tallest varieties in the back (or center if the bed is an island), medium heights in the middle, and low-growing plants at the front edge.
- Dig holes twice as wide as the root ball but no deeper. Tease the roots gently before placing them in the ground to encourage outward growth.
- Apply a 3-inch layer of mulch across the entire bed, keeping it an inch away from the stems of the plants to prevent rot. This retains moisture and suppresses weeds.
- Water deeply immediately after planting, focusing on the base of the plants until the soil is saturated but not muddy.
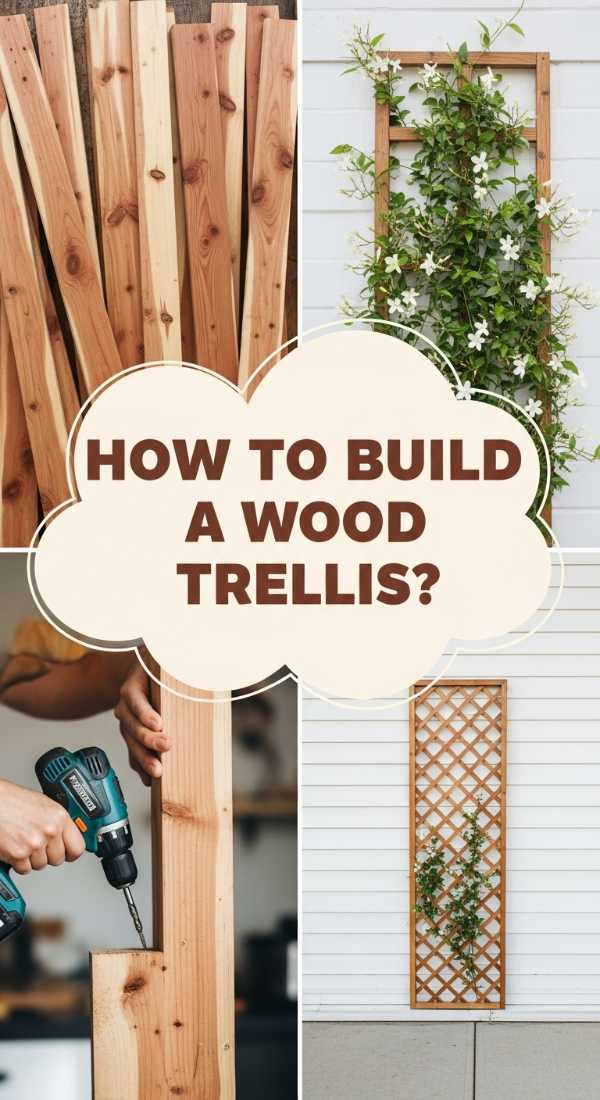
How to Build a Wood Trellis for a Vertical Garden Oasis
Why we love this
A vertical garden is the ultimate solution for small spaces, turning a flat, boring wall into a cascading waterfall of greenery. The scent of honeysuckle or climbing roses climbing up a warm cedar trellis adds a romantic, secret-garden vibe to any patio. There’s something incredibly tactile about the rough-hewn wood against the soft, reaching tendrils of a vine. It creates a sense of privacy and enclosure, making your outdoor area feel like a cozy, secluded sanctuary away from the rest of the world.
Essential Elements:
- Pressure-treated lumber or cedar 1×2 slats.
- Exterior-grade wood screws or a brad nailer.
- Weatherproof wood stain or outdoor paint.
- Heavy-duty wall anchors (if mounting to a wall).
- Climbing plants like Clematis, Morning Glories, or Star Jasmine.
How to make it
- Measure your space and cut your vertical support beams to the desired height. For a standard wall trellis, 6 feet is a great height to aim for.
- Layout your horizontal slats on a flat surface. Space them evenly—typically 6 to 8 inches apart—to create a grid or a diamond pattern.
- Use a square tool to ensure every intersection is perfectly 90 degrees before fastening. If using screws, pre-drill holes to prevent the thin wood from splitting.
- Apply two coats of exterior stain or paint. Focus on the end-grain of the wood, as this is where moisture is most likely to seep in and cause damage.
- Attach the trellis to your wall or fence using spacers (like small blocks of wood) so the trellis sits about an inch off the surface. This allows air to circulate and gives vines room to wrap around the slats.
- Plant your climbers at the base and gently weave the initial stems into the bottom of the grid. Use soft garden twine to secure them until they take hold naturally.
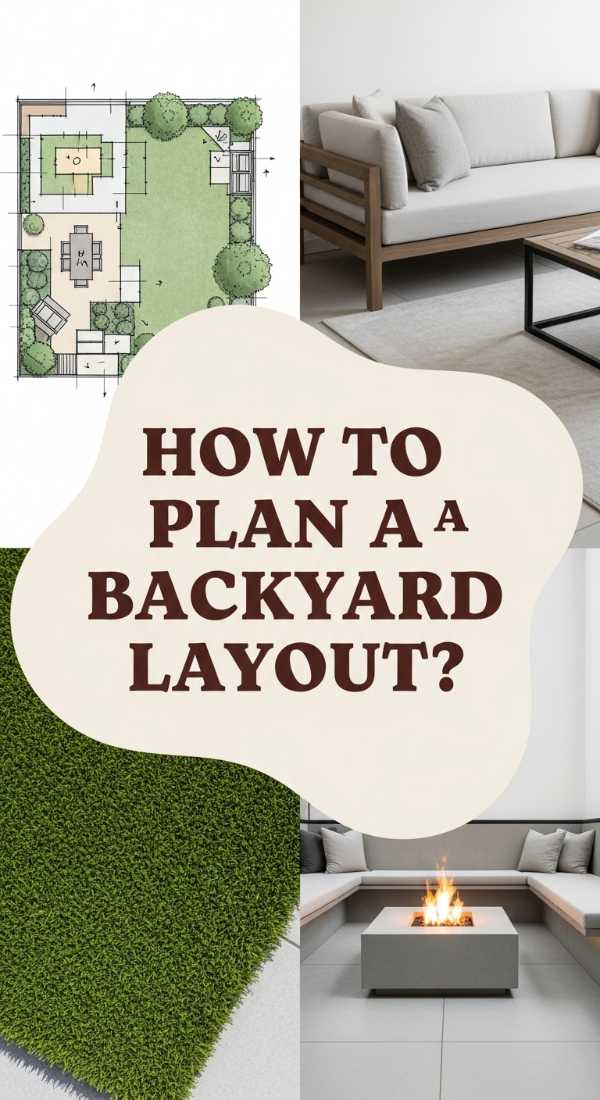
How to Plan a Rectangular Backyard Layout for Modern Living
Why we love this
Modern backyard design is all about clean lines and intentional zones that feel like an extension of your interior living room. A rectangular layout provides a satisfying sense of order and symmetry that calms the mind. Imagine a crisp stone patio meeting a perfectly manicured lawn, separated by sharp, black metal edging. It’s the perfect backdrop for minimalist outdoor furniture and architectural plants. The layout encourages a flow of movement, making the space feel larger, more expensive, and expertly curated for both morning coffees and evening cocktails.
Essential Elements:
- Large format pavers (concrete or porcelain).
- Black metal or composite edging.
- Gravel or pea stone for transition zones.
- Modern outdoor furniture with clean silhouettes.
- Strategic ‘green’ screens like tall grasses or boxwood hedges.
How to make it
- Divide your rectangular yard into three distinct ‘rooms’: a dining area, a lounge area, and a green space. Sketch this on paper first to ensure the proportions feel balanced.
- Level the ground for your hardscape area. Use a long level and a straight 2×4 board to ensure the base is flat, sloping slightly away from the house (1 inch for every 8 feet) for drainage.
- Install your edging first to define the sharp boundaries. Use a string line to ensure your edges are perfectly straight over long distances.
- Lay your pavers in a simple ‘running bond’ or ‘stack bond’ pattern. Keep the joints tight for a modern look, filling them with polymeric sand that hardens when wet to prevent weed growth.
- Define the transitions between the stone and the grass using a 6-inch border of dark river rock or white marble chips to create high-contrast visual interest.
- Position your furniture to face focal points, like a fire pit or a feature wall, ensuring there is at least 3 feet of ‘walkway’ space between zones for easy movement.
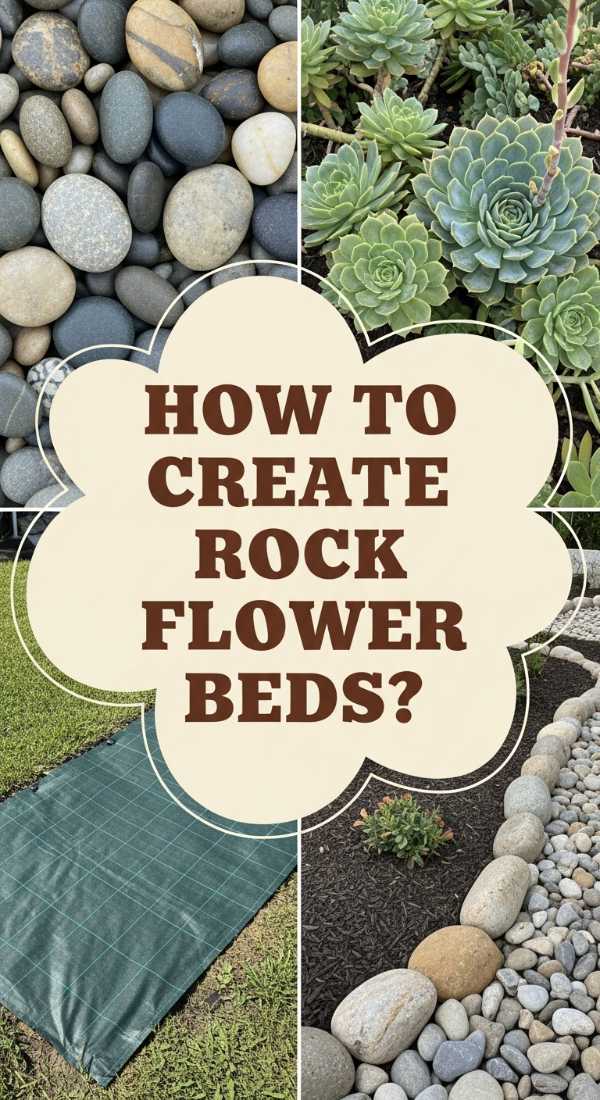
How to Create Low Maintenance Rock Flower Beds for Effortless Beauty
Why we love this
For those who love the look of a garden but lack a green thumb, rock beds are a total game-changer. The textural contrast between smooth river stones and the architectural spikes of agave or yucca is breathtakingly modern. There’s a wonderful ‘crunch’ sound underfoot and a clean, desert-chic aesthetic that stays beautiful year-round. It eliminates the messy look of decomposing mulch and provides a high-end, ‘resort’ feel to your home’s exterior with almost zero effort required once it’s installed.
Essential Elements:
- Heavy-duty landscape fabric (the thick, felt-like kind).
- River rocks, lava rocks, or Mexican beach pebbles.
- Drought-tolerant plants (succulents, ornamental grasses, or lavender).
- Steel landscape staples.
- Boulders or large ‘accent’ rocks.
How to make it
- Clear the area of all vegetation and level the soil. Apply a pre-emergent weed killer to the bare ground for an extra layer of protection.
- Lay down your heavy-duty landscape fabric, overlapping the seams by at least 6 inches. Secure it tightly with steel staples every 12 inches to prevent shifting.
- Cut an ‘X’ in the fabric where you want your plants to go. Dig the hole, plant your greenery, and fold the fabric flaps back against the stem.
- Place your large accent boulders first. Dig them into the ground slightly (about 1/3 of the rock) so they look like they are naturally emerging from the earth rather than just sitting on top.
- Spread your chosen rocks in a consistent 2-to-3-inch layer. Use a garden rake to level the stones, ensuring the landscape fabric is completely covered.
- Hose down the rocks to remove dust and reveal their true colors and textures.
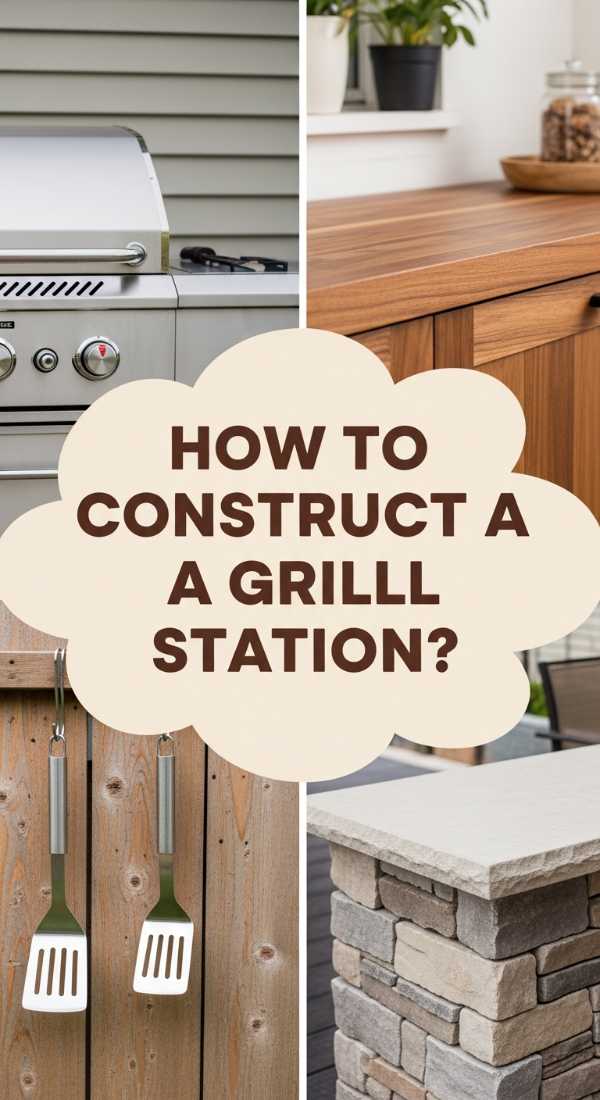
How to Construct a Cheap Grill Station for Ultimate Summer Cookouts
Why we love this
The sizzle of a steak hitting the grate is even more satisfying when you have a dedicated prep station that costs a fraction of a custom outdoor kitchen. A DIY grill station brings the ‘chef’s kitchen’ experience outdoors, offering a sturdy surface for platters, spice rubs, and that much-needed cold beverage. The smell of charcoal and woodsmoke feels more refined when framed by stained wood and industrial metal accents. It turns a basic BBQ into a focal point for social gatherings, making the host part of the party rather than stuck in the kitchen.
Essential Elements:
- Standard wooden pallets or 2×4 framing lumber.
- Concrete pavers or a stainless steel sheet for the countertop.
- Heavy-duty casters (wheels) for mobility.
- S-hooks for hanging utensils.
- Exterior-grade wood sealant.
How to make it
- Build two rectangular frames using 2x4s to serve as the ‘legs’ of your station. The standard height for a comfortable prep counter is 36 inches.
- Connect the two frames with horizontal supports, ensuring the width is at least 4 feet to provide ample workspace next to your grill.
- Add a bottom shelf about 6 inches off the ground to store charcoal bags or propane tanks. Use a level at every step; a lopsided grill station is a safety hazard.
- For the countertop, lay concrete pavers over a plywood base or screw down a pre-cut piece of stainless steel. Ensure the surface is heat-resistant and easy to wipe down.
- Sand all wooden surfaces thoroughly to prevent splinters. Apply an oil-based exterior stain that can withstand high temperatures and UV exposure.
- Install a magnetic tool strip or a row of heavy-duty hooks on the side to keep your tongs, spatulas, and grill brushes within arm’s reach.
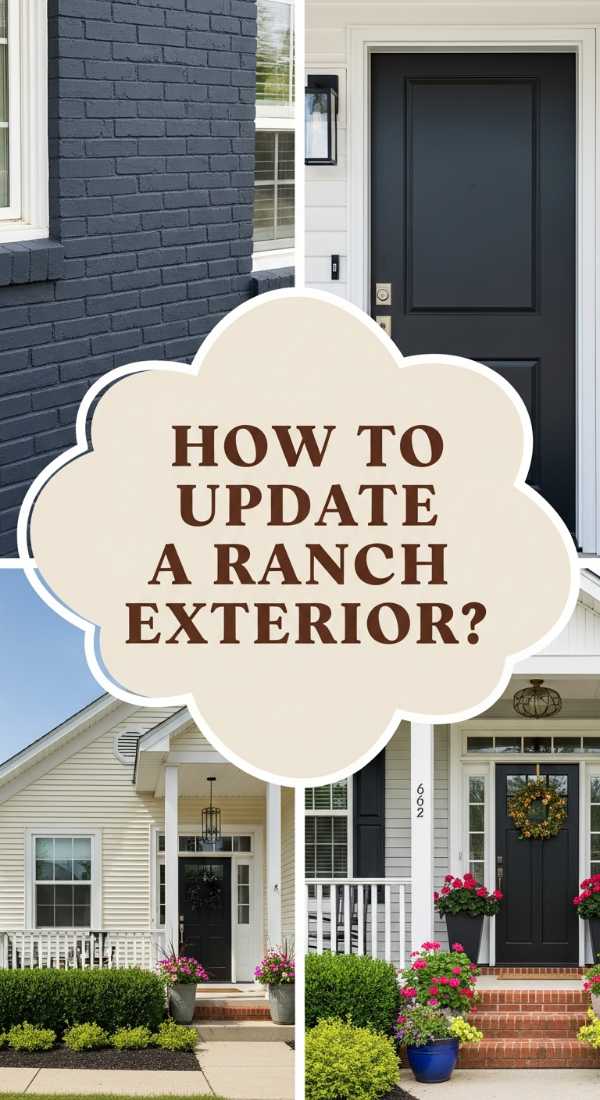
How to Update a Ranch Exterior for a Modern Vibe

Why we love this
Ranch-style homes are the perfect ‘blank canvas’ for a modern glow-up. Taking a dated 70s exterior and transforming it with high-contrast colors and natural wood accents feels incredibly rewarding. The sight of a matte black front door against a crisp white brick or soft sage siding is a masterclass in modern design. It’s about the crispness of the lines and the warmth of the hardware. This upgrade doesn’t just change the look of the house; it changes the way you feel when you pull into the driveway at the end of a long day.
Essential Elements:
- High-quality exterior paint (Matte or Eggshell finish).
- Modern house numbers (floating style).
- Contemporary exterior lighting fixtures.
- Cedar slats for a ‘faux’ porch ceiling or accent wall.
- Black or brass door hardware.
How to make it
- Power wash the entire exterior to remove years of dust and oxidation. This step is non-negotiable for paint adhesion.
- Choose a high-contrast palette. If your siding is light, go with dark trim (Charcoal or Tricorn Black). If the house is dark, use light wood accents to ‘pop.’
- Paint the front door a bold, sophisticated color. Use a high-density foam roller for a factory-smooth finish, applying at least three thin coats.
- Swap out old ‘builder-grade’ light fixtures for oversized, lantern-style or geometric black sconces. Ensure they are rated for wet locations.
- Install horizontal cedar slats over any outdated brick pillars or on the ceiling of a recessed entryway. The natural wood warmth balances the modern paint colors.
- Finish with ‘floating’ house numbers installed vertically for an architectural look that screams ‘custom renovation.’
How to Master Realistic Pantry Organization for a Stress-Free Kitchen
Why we love this
There is a profound sense of peace that comes from opening a pantry and seeing everything in its rightful place. The visual harmony of clear acrylic bins and uniform glass jars makes even a Tuesday night grocery haul feel like a luxury experience. You can see exactly how much pasta you have left, the scent of stale air is replaced by the fresh smell of organized spices, and the ‘clink’ of glass on a wooden shelf is oddly satisfying. It’s not just about the look; it’s about removing the mental load of searching for the baking soda at 8 PM.
Essential Elements:
- Airtight glass or BPA-free plastic canisters.
- Lazy Susans (turntables) for oils and vinegars.
- Uniform labels (minimalist or handwritten).
- Woven baskets for ‘messy’ items like chip bags.
- Expandable tiered shelving for canned goods.
How to make it
- Empty the entire pantry. Every single item. This allows you to check expiration dates and start with a truly clean slate.
- Group your items into ‘zones’: Baking, Breakfast, Snacks, Grains, and Canned Goods. This mimics a grocery store layout and makes finding things intuitive.
- Decant dry goods (flour, sugar, pasta, cereal) into airtight containers. This keeps food fresher and eliminates the visual clutter of mismatched packaging.
- Place a Lazy Susan in the corners of your pantry—these ‘dead zones’ are where items usually go to die. Use them for tall bottles and jars.
- Label everything. Use a consistent font or style. This isn’t just for looks; it ensures everyone in the household knows where things belong when putting groceries away.
- Use deep woven baskets on the lowest shelves for heavy items like potatoes, onions, or backstock beverages.
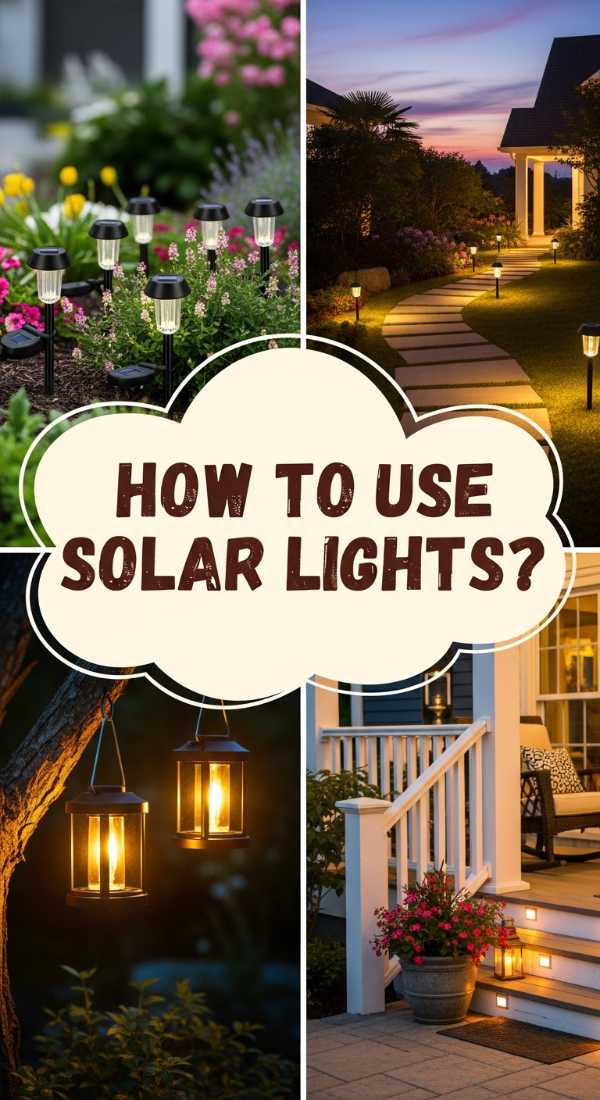
How to Use Solar Light Ideas for a Magical Evening Glow
Why we love this
When the sun goes down, your home should undergo a transformation into a shimmering, magical retreat. Solar lighting provides a soft, amber warmth that mimics the flicker of candlelight without the hassle of wiring or electricity bills. The way the light catches the leaves of a tree or casts long, dramatic shadows across a walkway creates an enchanting atmosphere for late-night conversations. It’s the easiest way to add ‘mood’ to your garden, making it feel like an expensive outdoor lounge that you never want to leave.
Essential Elements:
- Solar-powered path lights (warm white LED).
- Hanging solar lanterns or ‘Edison’ style string lights.
- Solar spot lights for up-lighting trees.
- Rechargeable batteries (for long-term maintenance).
- Shepherd’s hooks for hanging elements.
How to make it
- Identify your focal points. Choose one large tree for up-lighting and a primary walkway for path lighting.
- Place up-lights at the base of your most architectural plants, angling the light upward at a 45-degree angle to highlight the trunk and branch structure.
- For walkways, stagger the lights on either side of the path rather than placing them in a straight line. This creates a more natural, ‘soft’ guiding light.
- Hang string lights in a ‘zigzag’ pattern across your seating area. Use a guide wire (stainless steel cable) to prevent the lights from sagging over time.
- Clean the solar panels on top of the lights with a damp cloth once a month. Dust and pollen can block the sun, significantly shortening the light’s ‘on’ time.
- Group solar lanterns in clusters of three on side tables or steps for a layered, professional lighting design.
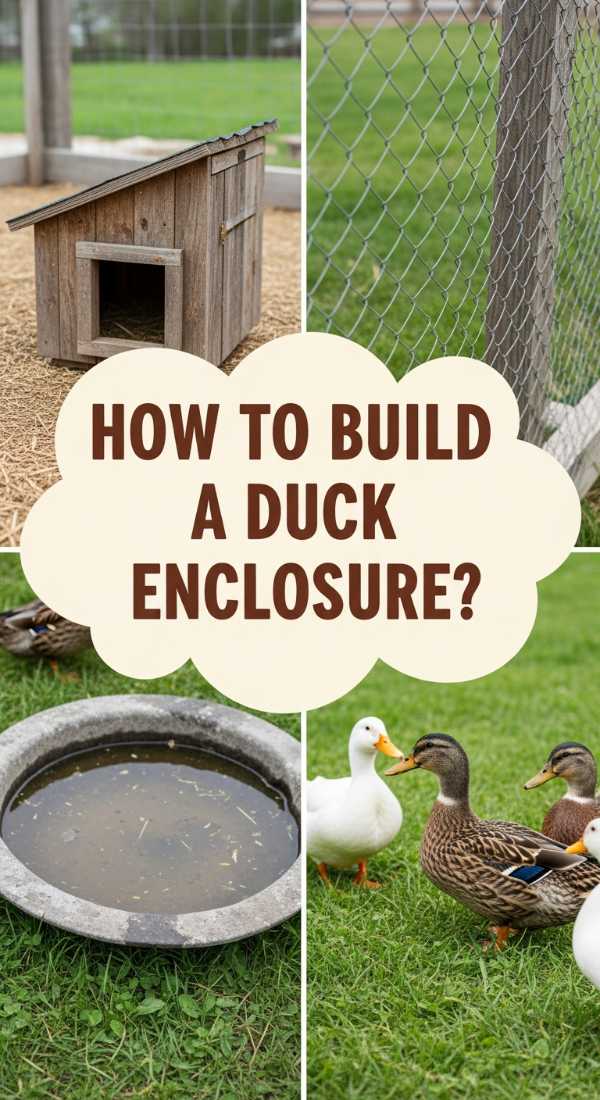
How to Build a Duck Enclosure for Happy Backyard Poultry
Why we love this
There is a whimsical, pastoral joy in watching ducks waddle through a custom-built enclosure. The sound of happy quacks and the sight of them splashing in a clean pool is therapy for the soul. A well-designed enclosure smells like fresh pine shavings and clean water, providing a rustic charm to your backyard. It’s about creating a safe, stimulating environment for your feathered friends while maintaining a clean, organized look that fits your landscape. Plus, the reward of fresh eggs is a delicious bonus that makes the effort entirely worth it.
Essential Elements:
- Hardware cloth (not chicken wire, for predator protection).
- Pressure-treated 2x4s for the frame.
- A sloped roof with asphalt shingles or corrugated metal.
- A kiddie pool or a pre-formed pond liner.
- Easy-clean flooring like vinyl or thick rubber mats.
How to make it
- Frame out a ‘house’ section that is completely draft-proof but well-ventilated at the top. Ducks generate a lot of moisture, so airflow is critical for their health.
- Attach hardware cloth using heavy-duty staples, burying the bottom 6 inches of the mesh into the ground to prevent predators like raccoons or foxes from digging underneath.
- Install a large door for human access (for cleaning) and a small ‘pop door’ for the ducks. The pop door should have a secure latch that can’t be bumped open.
- Inside the ‘run,’ create a dedicated ‘wet zone’ for their pool. Place the pool on a bed of gravel to help with drainage and prevent the area from becoming a mud pit.
- Use a deep litter method inside the house (straw or pine shavings) to manage waste and keep the area smelling fresh. Clean out the wet spots daily.
- Add ‘enrichment’ items like low ramps or stumps for the ducks to climb on, which keeps them active and happy.
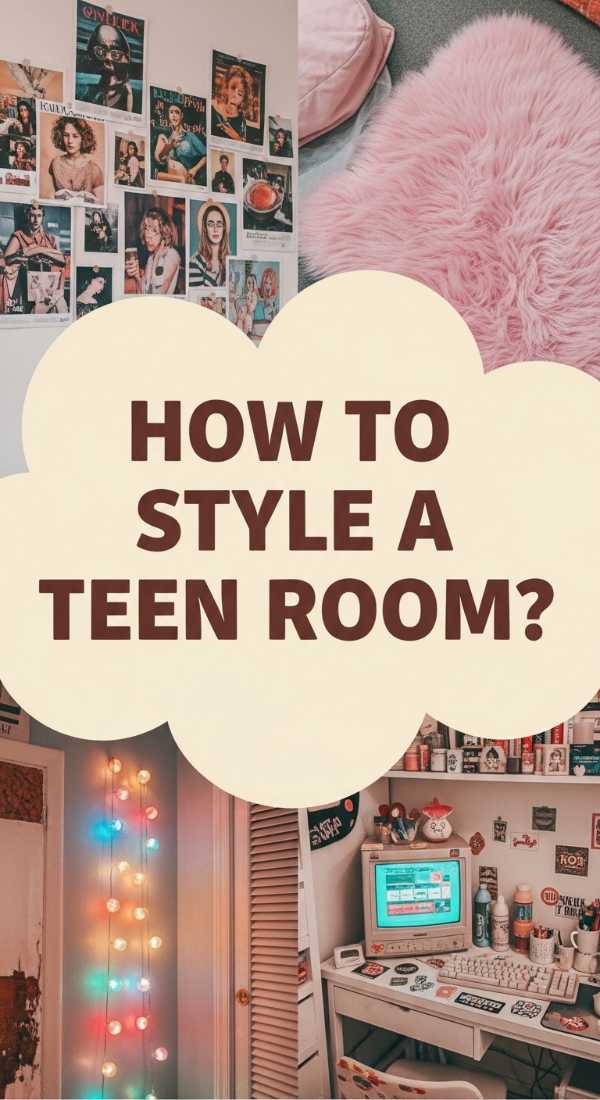
How to Style a Teen Room for the Ultimate Nostalgic Retreat
[IMAGE_10]
Why we love this
Styling a teen room is all about capturing that ‘core memory’ feeling—a blend of 90s nostalgia and modern comfort. The room should feel like a warm hug, filled with fuzzy textures, neon glows, and personal mementos. It’s the scent of a vanilla candle and the cozy feeling of sinking into a beanbag chair with a good book. The mix of retro posters and high-tech LED strips creates a space that is both a sanctuary for sleep and a creative hub for self-expression. It’s where personality meets peace, providing a safe harbor during those busy teenage years.
Essential Elements:
- LED strip lights with remote or app control.
- Textural elements: faux fur rugs, velvet pillows, and chunky knit throws.
- A ‘gallery wall’ for posters, photos, and vinyl records.
- A dedicated ‘chill’ corner with a floor chair or beanbag.
- Functional desk storage for ‘aesthetic’ school supplies.
How to make it
- Start with a neutral base color on the walls to allow the accessories to do the talking. A soft grey or warm white works best.
- Install LED strips along the ceiling line or behind the bed frame. Hide the wires using plastic cord covers for a clean, professional look.
- Layer the bedding. Use a duvet cover for easy washing and add at least three different textures of pillows to create that ‘cloud-like’ bed look seen on TikTok.
- Create a curated gallery wall. Use Washi tape or magnetic hangers to display posters so they don’t damage the walls and can be swapped out as tastes change.
- Incorporate ‘nostalgic’ tech, like a record player or a Polaroid camera station, to give the room a tactile, vintage feel.
- Organize the desk area using acrylic risers and ‘aesthetic’ organizers, keeping the clutter at bay while still looking stylish for those study-session ‘Get Ready With Me’ videos.
Conclusion: Your Dream Home is Just a DIY Away
Transforming your space doesn’t require a massive renovation budget or a team of professionals; it just takes a bit of inspiration and the willingness to try something new. From the calming glow of solar lights to the organized bliss of a perfect pantry, these projects prove that small changes have a massive impact on how we experience our homes. So, the next time a TikTok makes you want to pick up a hammer or a paintbrush, don’t just scroll past—take the leap! Your future, more beautiful home is waiting for you to build it.