
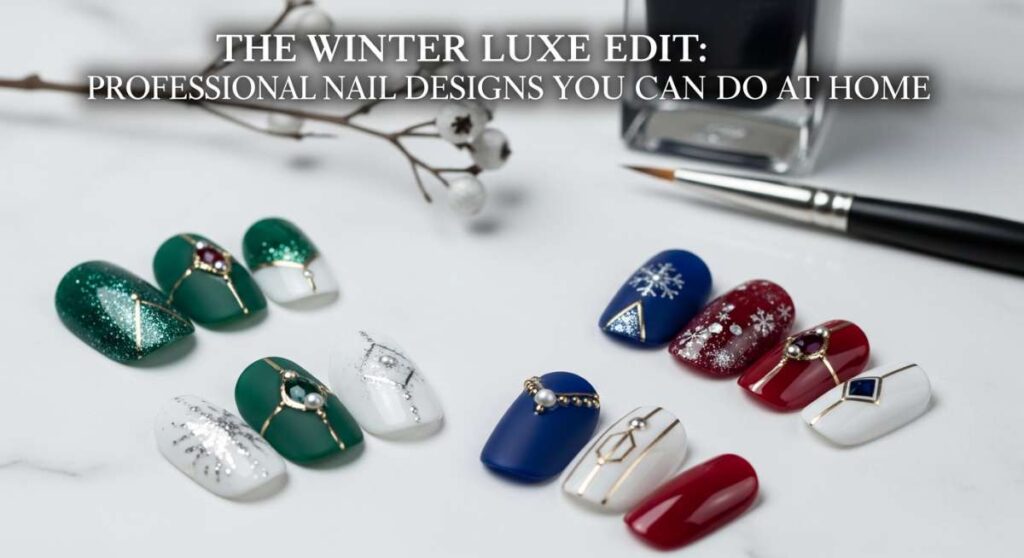
The Winter Luxe Edit: Professional Nail Designs You Can Do at Home
Welcome back, my loves. As the frost begins to lace our windows and the world outside turns into a quiet, silver-toned wonderland, there is nothing quite like retreating into the warmth of our own little sanctuaries. Winter isn’t just a season; it’s a feeling of soft cashmere, the scent of spiced chai, and that delicious moment when you finally have time to breathe and pamper yourself.
I’ve always believed that our hands tell a story—they hold our warm mugs, they wrap around the hands of those we love, and they deserve to look just as festive and polished as the rest of our winter wardrobe. Today, I’m sharing my curated ‘Luxe Edit’—a collection of professional-grade winter nail designs that you can master right from your favorite cozy armchair. Let’s turn those fingertips into tiny pieces of art together, shall we?
5 Easy Steps to Achieve Viral Winter Nails

Why to love this Design:
The velvet ‘cat-eye’ look is sweeping social media right now because it mimics the luxurious texture of heavy winter drapes. It catches the light in a way that feels expensive and ethereal, giving your hands a soft, multidimensional glow that looks like you spent hours at a high-end salon.
Essential Elements:
- Magnetic gel polish in ‘Deep Emerald’ or ‘Midnight Blue’
- A high-strength nail magnet
- Clear top coat
How to Prepare:
- Apply a base coat and cure.
- Apply one thick coat of magnetic polish.
- Hold the magnet diagonally over the nail for 10 seconds without touching the surface.
- Cure immediately under a UV/LED lamp.
- Seal with a glossy top coat for that glass-like finish.
Budget Range
- Magnetic Polish: $12.00 (ILNP or Amazon)
- Nail Magnet: $5.00
- UV Lamp: $20.00 – $35.00
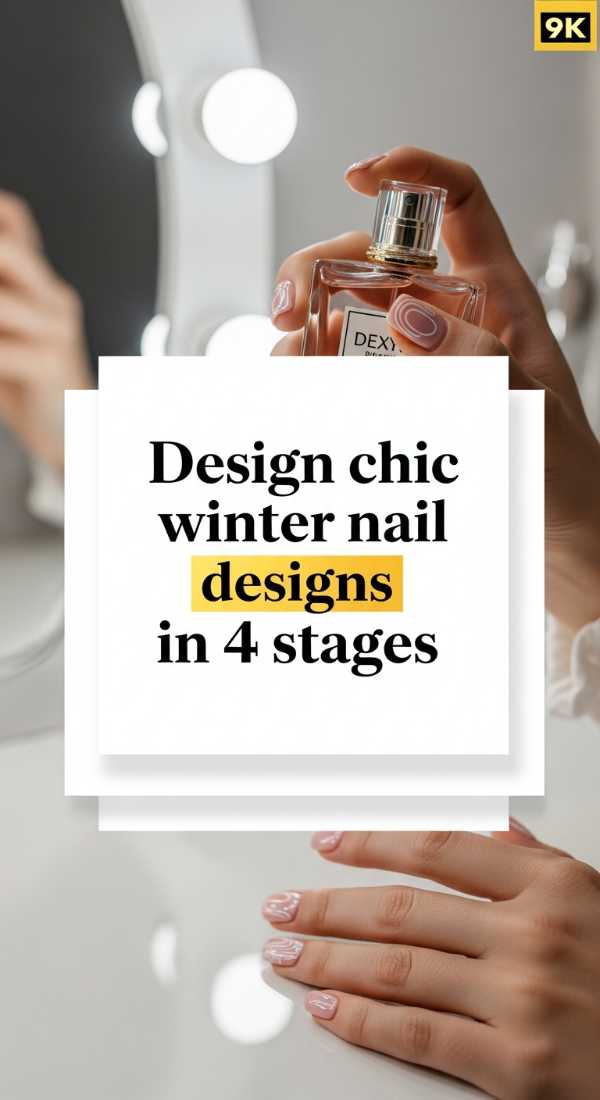
Design Chic Winter Nail Designs in 4 Stages
Why to love this Design:
This is for my loves who adore the ‘Quiet Luxury’ aesthetic. It’s a modern take on the French manicure using frosted whites and silver chrome, creating a look that is sophisticated enough for the office but glamorous enough for a winter gala.
Essential Elements:
- Sheer milky white polish
- Silver chrome powder
- Sponge applicator
How to Prepare:
- Stage 1: Apply two coats of milky white polish as your canvas.
- Stage 2: Use a detail brush to paint thin silver tips.
- Stage 3: Gently buff silver chrome powder onto the tips for extra shine.
- Stage 4: Finish with a long-lasting top coat to lock in the chrome.
Budget Range
- Milky White Polish: $9.00 (Essie)
- Chrome Powder: $8.00 (Born Pretty)
- Detail Brushes: $6.00
6 Quick Steps to Paint Your Christmas Nails

Why to love this Design:
Nothing says ‘holiday spirit’ quite like the classic combination of cranberry red and a touch of holly. It’s a nostalgic look that brings back memories of vintage decorations and cozy fireside gatherings, but with a sleek, modern finish.
Essential Elements:
- Classic red creme polish
- Forest green polish
- Dotting tool
How to Prepare:
- Paint all nails with two coats of rich red.
- Let them dry completely.
- Use a dotting tool to place three small green dots in a cluster at the base of your ring finger.
- Add two tiny white dots in the center for ‘berries’.
- Use a toothpick to pull the green dots into leaf shapes.
- Seal with a high-shine top coat.
Budget Range
- Red Polish: $10.00 (OPI Big Apple Red)
- Green Polish: $9.00
- Dotting Tools: $4.00
Get Glam Holiday Nails in Only 3 Minutes

Why to love this Design:
We all have those last-minute holiday invites, don’t we? This design uses gold leaf flakes to create a ‘dipped in gold’ effect that looks incredibly intricate but takes almost zero effort. It’s instant glamour for the busy soul.
Essential Elements:
- Nude or clear base polish
- Gold foil/leaf flakes
- Tweezers
How to Prepare:
- Apply a fresh coat of clear or nude polish.
- While still tacky, use tweezers to drop small flakes of gold foil onto the tips.
- Gently press them down with your fingertip and cover with a thick top coat.
Budget Range
- Gold Foil Flakes: $5.00 (Craft store or Amazon)
- Nude Polish: $9.00
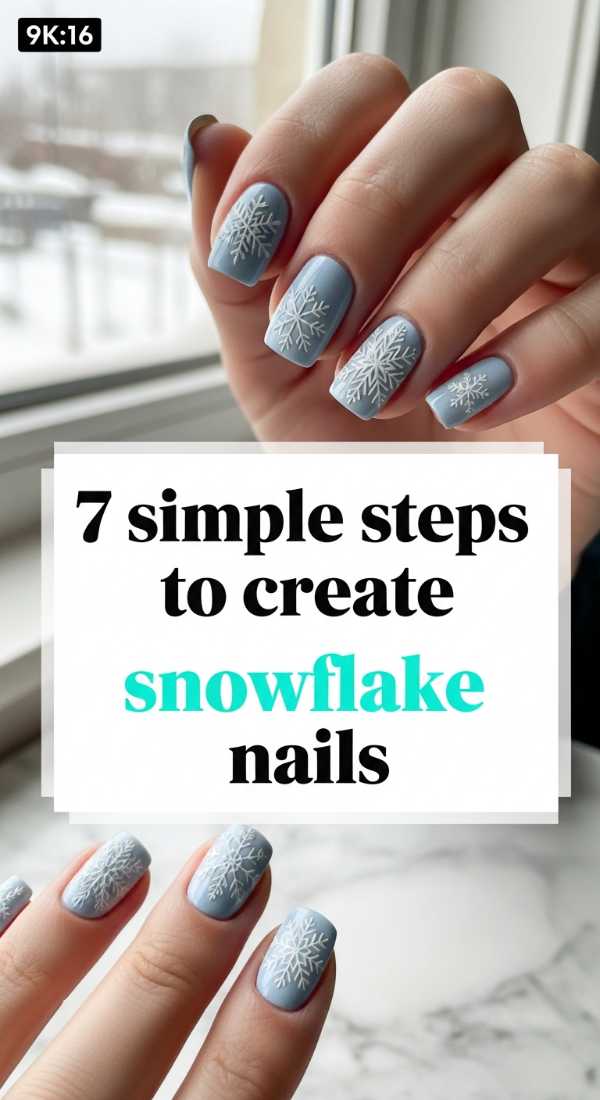
7 Simple Steps to Create Snowflake Nails
Why to love this Design:
There is something so magical about the uniqueness of a snowflake. This hand-painted design feels personal and artisanal. It’s like wearing a winter wonderland on your hands, and the white-on-blue contrast is strikingly crisp.
Essential Elements:
- Icy blue base polish
- White striper polish or acrylic paint
- Thin liner brush
How to Prepare:
- Apply the icy blue base.
- Paint a small ‘+’ sign in the center with white.
- Add an ‘X’ over the ‘+’.
- Draw tiny ‘v’ shapes on the ends of each line.
- Place a tiny dot in the center.
- Add smaller dots around the snowflake to represent falling snow.
- Seal with a matte top coat for a ‘frosted’ look.
Budget Range
- Blue Polish: $11.00
- White Striper: $7.00
- Matte Top Coat: $10.00
Master Your Glitter Nails in 5 Easy Ways

Why to love this Design:
Glitter doesn’t have to be messy or juvenile. When done correctly, a glitter gradient is the epitome of festive cheer. It reminds me of champagne bubbles rising in a glass—effervescent, bright, and full of joy.
Essential Elements:
- Loose holographic glitter or glitter polish
- Makeup sponge
- Liquid latex (optional for cleanup)
How to Prepare:
- Apply liquid latex around your cuticles.
- Paint glitter onto the edge of a makeup sponge.
- Dab the sponge onto the tips of your nails, fading as you go toward the middle.
- Repeat for more density at the tips.
- Peel off the latex and finish with a ‘plumping’ top coat.
Budget Range
- Glitter Polish: $12.00 (Holo Taco)
- Makeup Sponges: $3.00
4 Steps to Make Cozy Winter Nails

Why to love this Design:
This ‘Cable Knit’ texture is the ultimate comfort design. It mimics the pattern of your favorite oversized sweater. It’s tactile, unique, and incredibly cozy to look at while you’re sipping your morning coffee.
Essential Elements:
- Matte grey or cream polish
- 3D building gel or thick top coat
How to Prepare:
- Apply two coats of matte grey polish.
- Use a detail brush and 3D gel to draw ‘braids’ and lines down the center.
- Cure the gel so it stays raised.
- Apply a final matte top coat over the whole nail.
Budget Range
- 3D Building Gel: $10.00
- Matte Polish: $9.00
Apply Winter Acrylic Nails in 8 Expert Steps

Why to love this Design:
For my loves who want length and drama, DIY acrylics are a game changer. This ‘Ice Queen’ look uses clear extensions with encapsulated silver flakes to create a frozen, crystalline effect that lasts all through the holidays.
Essential Elements:
- Acrylic starter kit
- Clear nail tips
- Silver sequins
How to Prepare:
- Prep natural nails by pushing back cuticles.
- Glue on clear tips and file to your desired shape.
- Apply dehydrator and primer.
- Place silver sequins on the tip.
- Apply a bead of clear acrylic over the sequins.
- File and buff the acrylic until smooth.
- Wash hands to remove dust.
- Apply a high-gloss gel top coat.
Budget Range
- Acrylic Kit: $30.00 – $45.00
- Nail Tips: $10.00
Mix 3 Winter Nail Designs for a Viral Look

Why to love this Design:
The ‘Skittles’ mani or mismatched look is the king of viral trends. It allows you to play with different textures—matte, glitter, and cream—all in one hand. It’s playful, artistic, and shows off your creative personality.
Essential Elements:
- A cohesive color palette (e.g., Navy, Silver, White)
- Various finishes of polish
How to Prepare:
- Choose three complementary designs (e.g., solid navy, silver glitter, and a white snowflake).
- Assign a design to each finger (Pinky/Thumb: Navy; Index/Ring: Snowflake; Middle: Glitter).
- Execute each design carefully, ensuring they all use the same color family to look intentional.
Budget Range
- Set of 3 Polishes: $25.00
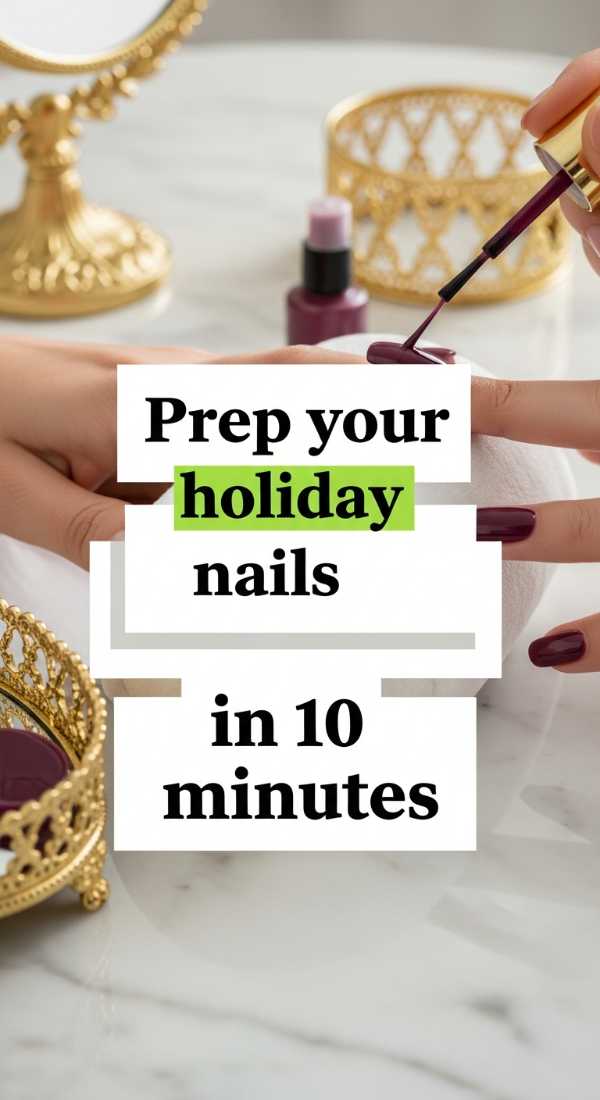
Prep Your Holiday Nails in 10 Minutes
Why to love this Design:
The foundation is everything, my loves. Professional-looking nails aren’t just about the color; they are about the canvas. This 10-minute ritual ensures your DIY mani looks like it came from a five-star spa.
Essential Elements:
- Cuticle remover
- Glass nail file
- Nail buffer
How to Prepare:
- Remove all old polish.
- File in one direction with a glass file to prevent splitting.
- Apply cuticle remover for 30 seconds.
- Gently push back cuticles with an orange stick.
- Buff the nail plate to remove ridges.
- Dehydrate the nail with a quick swipe of alcohol.
- Apply a nourishing base coat.
- Moisturize cuticles with oil.
- Wait 2 minutes.
- Swipe the nail surface one last time before painting.
Budget Range
- Glass File: $10.00
- Cuticle Oil: $8.00 (Cuccio or SolarOil)
Conclusion
I hope these designs bring a little extra sparkle to your winter days, my loves. There is something so incredibly grounding about taking thirty minutes out of a busy week to create something beautiful for yourself. Whether you choose the viral velvet look or a simple, chic French tip, remember that this is your time to shine. Stay warm, stay inspired, and let your hands reflect the magic of the season. Until next time, keep glowing!