
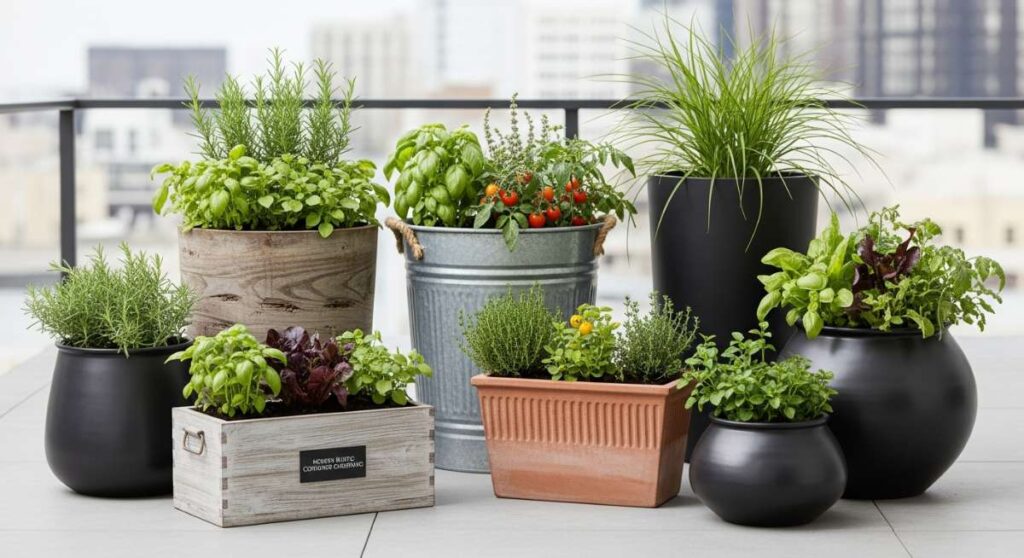
The Urban Homesteader’s Guide to Modern Rustic Planters
Hello, my loves. There is something so incredibly grounding about the feeling of cool, damp earth beneath your fingernails, isn’t there? In our fast-paced, digital world, I’ve found that carving out a little corner of green—even if it’s just on a tiny apartment balcony or a sun-drenched windowsill—is the ultimate act of self-care. It’s about slowing down and watching life unfold, one leaf at a time.
Today, I want to take you by the hand and walk you through the magical world of modern rustic container gardening. We’re going to blend that raw, farmhouse soul with clean, contemporary lines to create a sanctuary that feels like a soft hug every time you step outside. Whether you have an acre of land or a fire escape, these planters will bring that urban homesteading dream to life in the most beautiful way.
5 Easy Steps to Build a Tiered Cedar Planter

Why to love this Decor:
There is nothing quite like the scent of fresh cedar and the architectural beauty of a tiered planter. It’s perfect for those of us who want to maximize vertical space while adding a touch of warm, natural texture to our porches. The levels create a cascading waterfall of greenery that feels both intentional and wild.
Items needed:
- Rot-resistant cedar boards
- Galvanized deck screws
- Power drill and bits
- Geotextile liner
- Measuring tape and pencil
How to Prepare:
- Measure and cut your cedar boards into four varying lengths for the base and subsequent tiers.
- Assemble the bottom rectangular frame using deck screws, ensuring corners are flush.
- Construct the smaller upper frames and stack them, securing them to the base with internal support blocks.
- Line each tier with geotextile fabric to protect the wood and retain soil.
- Fill with a high-quality potting mix and your favorite trailing vines or strawberries.
Budget Range
- Cedar Planks: $40 – $60 (Home Depot)
- Deck Screws: $10 (Lowes)
- Landscape Fabric: $15 (Amazon)
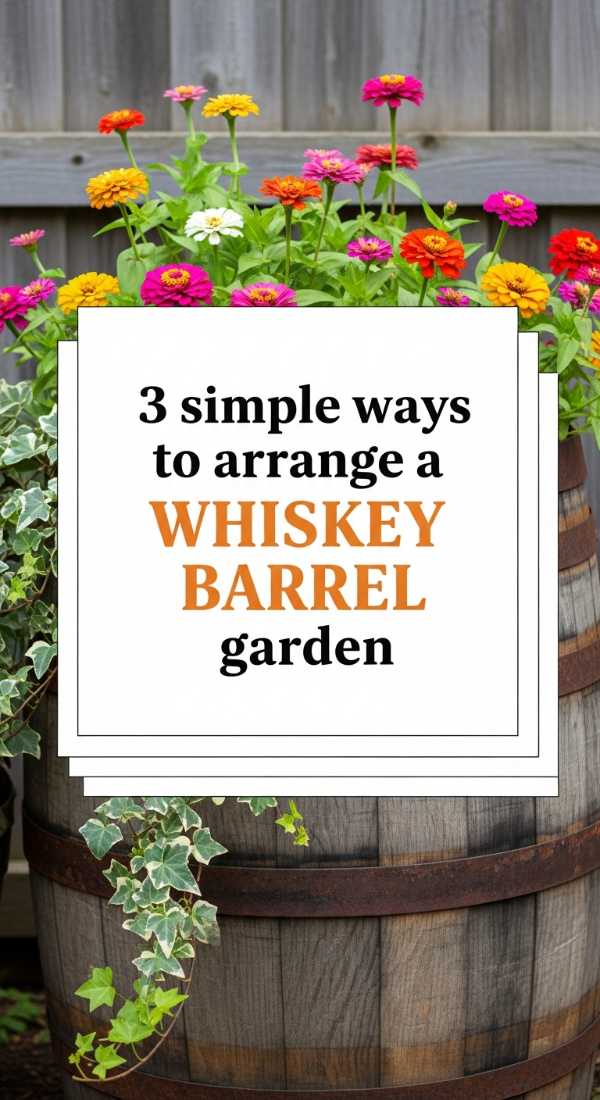
3 Simple Ways to Arrange a Whiskey Barrel Garden
Why to love this Decor:
The whiskey barrel is the quintessential icon of the rustic homestead. It’s sturdy, full of history, and offers a deep root space that plants absolutely adore. It brings a sense of permanence and heavy, grounded beauty to any patio corner, acting as an anchor for your outdoor design.
Items needed:
- Reclaimed whiskey barrel half
- Electric drill
- Potting soil
- A ‘Thriller’, ‘Filler’, and ‘Spiller’ plant
How to Prepare:
- Drill at least five drainage holes in the bottom of the barrel to prevent waterlogging.
- Position the barrel in its permanent spot before filling (it gets very heavy!).
- Use the ‘Thriller’ (tall plant like Papyrus), ‘Filler’ (mounded flowers like Petunias), and ‘Spiller’ (creeping Jenny) method to create a lush, balanced look.
Budget Range
- Authentic Half-Barrel: $50 – $80 (Local Garden Center)
- Potting Mix: $25 (Miracle-Gro)
- Plant Selection: $30 – $50
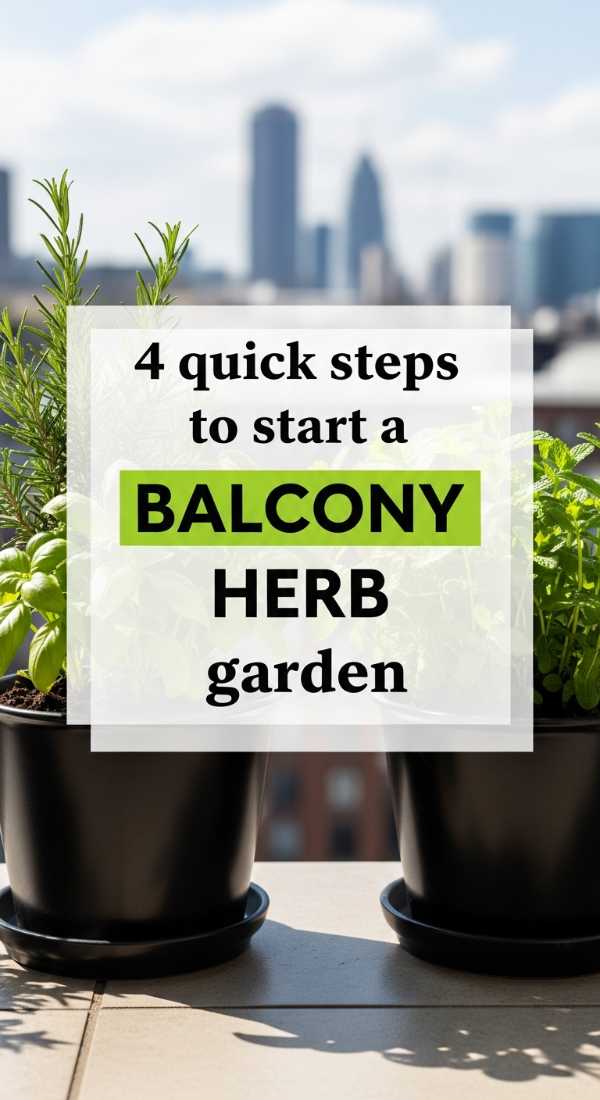
4 Quick Steps to Start a Balcony Herb Garden
Why to love this Decor:
Imagine stepping out in your slippers to snip fresh basil for your morning caprese toast. A balcony herb garden is a sensory delight, filling the air with the scents of rosemary and mint while providing the most vibrant flavors for your kitchen. It’s the simplest way to feel like a true homesteader.
Items needed:
- Small terracotta or ceramic pots
- Herb starts (Basil, Mint, Thyme)
- Organic potting soil
- Watering can
How to Prepare:
- Select a sunny spot on your balcony that gets at least 6 hours of light.
- Fill your pots with organic soil, leaving an inch of space at the top.
- Gently loosen the roots of your herb starts and nestle them into the soil.
- Water deeply and label each pot with a rustic wooden marker.
Budget Range
- Terracotta Pots: $2 – $10 each (Target)
- Organic Herb Starts: $4 – $6 each (Whole Foods)
- Watering Can: $15 (IKEA)
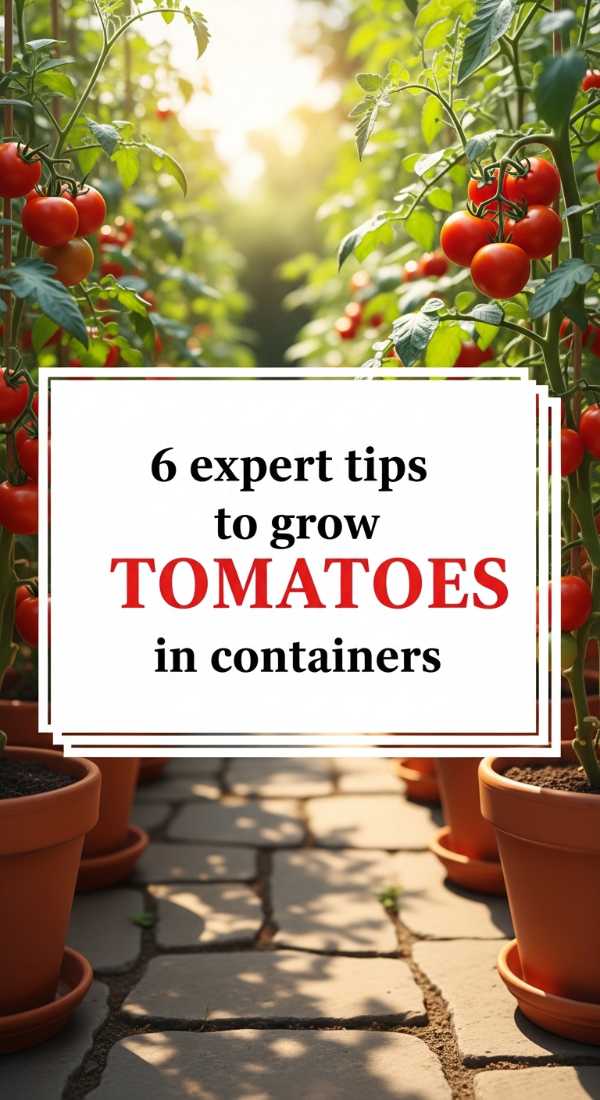
6 Expert Tips to Grow Tomatoes in Containers
Why to love this Decor:
There is a deep, soul-level satisfaction in eating a sun-warmed tomato grown by your own hands. By using modern rustic containers, you turn a functional vegetable into a stunning focal point. Those bright red globes against weathered wood or dark metal are pure visual poetry.
Items needed:
- 5-gallon (or larger) decorative pot
- Tomato cage or trellis
- Indeterminate tomato seedling
- Organic fertilizer
How to Prepare:
- Choose a large enough container; tomatoes need plenty of room for their roots.
- Plant the seedling deep, burying the stem up to the first set of leaves to encourage extra root growth.
- Install your cage or trellis immediately to avoid disturbing roots later.
- Place in the sunniest spot possible.
- Water consistently at the base of the plant to avoid leaf rot.
- Feed with organic calcium-rich fertilizer every two weeks.
Budget Range
- Large Resin Planter: $25 – $45 (Walmart)
- Tomato Cage: $8 (Gardeners Supply Co.)
- Organic Fertilizer: $12 (Espoma Tomato-Tone)
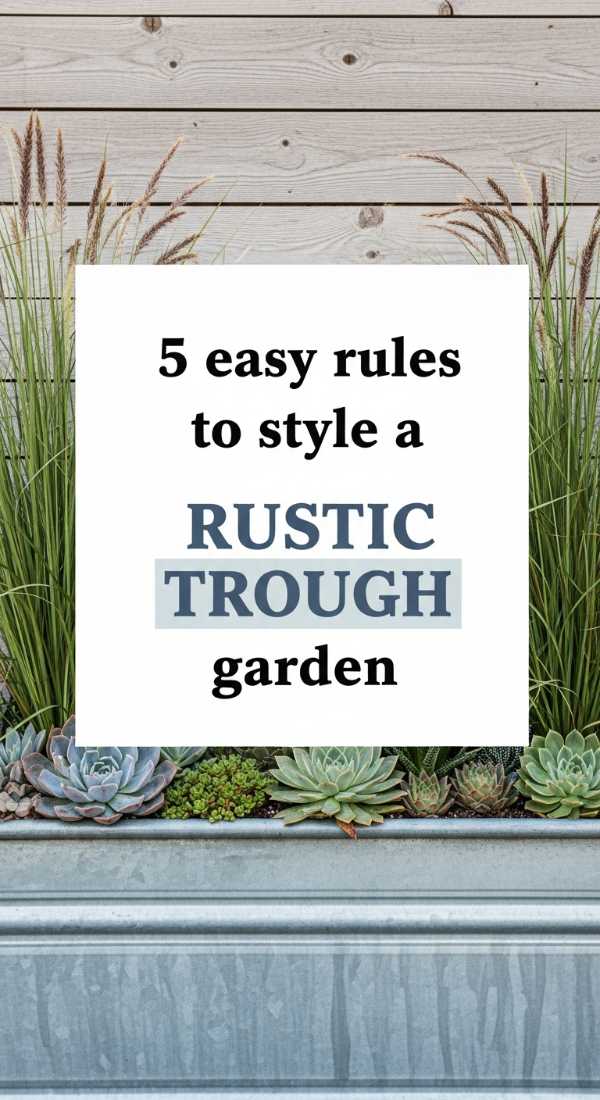
5 Easy Rules to Style a Rustic Trough Garden
Why to love this Decor:
Galvanized troughs offer that perfect ‘modern farmhouse’ edge. They are sleek yet rugged, and their elongated shape makes them incredible for lining walkways or defining different ‘rooms’ on your deck. They are the ultimate statement piece for a minimalist homesteader.
Items needed:
- Galvanized steel stock tank
- Metal drill bit
- Coarse gravel for the base
- Selection of succulents or grasses
How to Prepare:
- Drill drainage holes every 6 inches along the bottom of the metal trough.
- Add a 2-inch layer of gravel to the bottom to assist with drainage.
- Fill with a well-draining soil mix specifically for the plants you’ve chosen.
- Arrange plants in a linear fashion to emphasize the length of the trough.
- Finish with a top-layer of pea gravel for a clean, modern look.
Budget Range
- Stock Tank: $60 – $120 (Tractor Supply Co.)
- Pea Gravel: $5 (Home Depot)
- Assorted Grasses: $40 – $70
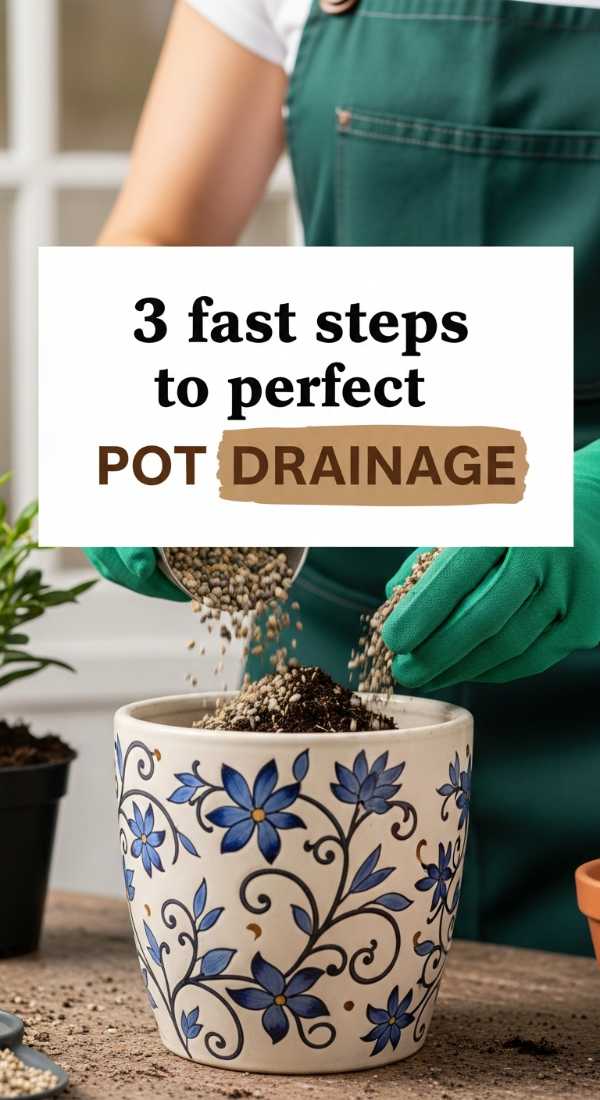
3 Fast Steps to Perfect Pot Drainage
Why to love this Decor:
Proper drainage is the silent hero of a healthy garden. It’s not just about utility; it’s about honoring the life of your plants. When your pots drain correctly, your plants breathe easier, and their colors stay more vibrant, keeping your rustic aesthetic looking fresh and alive rather than wilted.
Items needed:
- Mesh screening or coffee filters
- Power drill
- Potting shards or river stones
How to Prepare:
- Ensure your pot has a hole; if not, drill one carefully using the appropriate bit for the material.
- Cover the hole with a piece of mesh or a coffee filter to keep soil in but let water out.
- Place a thin layer of stones at the bottom to create air pockets for the roots.
Budget Range
- Mesh Screen: $5 (Amazon)
- River Stones: $8 (Michaels)
- Drill Bits: $12 (Ryobi)
4 Simple Ideas to Create a Vertical Flower Wall

Why to love this Decor:
A vertical wall is like a living tapestry. It softens hard lines and brings a lush, ‘secret garden’ feel to even the smallest urban patio. It’s a wonderful way to surround yourself with blooms without sacrificing any floor space for your morning coffee chair.
Items needed:
- Wooden pallet or wall-mounted grid
- S-hooks or pot hangers
- Lightweight plastic or tin pots
- Flowering annuals (Petunias, Lobelia)
How to Prepare:
- Secure your pallet or grid firmly to a wall or fence.
- Attach your pot hangers or hooks at staggered intervals.
- Plant your flowers in lightweight pots to reduce the strain on the structure.
- Hang and arrange by color or texture for a curated look.
Budget Range
- Wall Grid: $20 – $40 (Pottery Barn)
- Pot Hangers: $10 (Amazon)
- Annual Flowers: $20 – $30
7 Easy Hacks for Container Vegetable Gardening

Why to love this Decor:
Growing food doesn’t have to look like a messy farm. These hacks allow you to maintain a chic, rustic aesthetic while producing a bountiful harvest. It’s about being smart with your space and your style, proving that beauty and utility can dance together perfectly.
Items needed:
- Self-watering inserts
- Mulch (straw or wood chips)
- Companion plants (Marigolds)
- Liquid seaweed fertilizer
How to Prepare:
- Use self-watering inserts to keep moisture levels consistent in small pots.
- Mulch the top of your containers to retain water and give a finished ‘homestead’ look.
- Plant marigolds with your veggies to naturally deter pests.
- Label everything with slate markers for a sophisticated rustic touch.
- Group pots together to create a humid microclimate.
- Rotate pots weekly to ensure even sun exposure.
- Harvest often to encourage the plant to keep producing!
Budget Range
- Self-Watering Inserts: $15 (Gardeners.com)
- Slate Markers: $12 (Etsy)
- Mulch Bag: $6 (Lowes)
5 Steps to Design a Pollinator-Friendly Pot

Why to love this Decor:
There is nothing more magical than sitting with your tea and watching a golden honeybee or a Monarch butterfly visit your garden. Creating a pollinator-friendly pot is a gift back to nature, and the wild, colorful blooms fit the modern rustic vibe perfectly.
Items needed:
- Medium-sized clay pot
- Native wildflower seeds
- Lavender or Salvia plants
- Small shallow dish for water
How to Prepare:
- Select a mix of ‘host’ plants and ‘nectar’ plants.
- Fill your pot with high-quality compost-rich soil.
- Plant lavender in the center for height and fragrance.
- Sow wildflower seeds around the edges for a soft, meadow-like appearance.
- Place a small dish of water with pebbles in the pot so bees have a safe place to drink.
Budget Range
- Native Seed Packets: $5 (Seed Savers Exchange)
- Lavender Plant: $12 (Local Nursery)
- Organic Compost: $8 (Kellogg Garden)
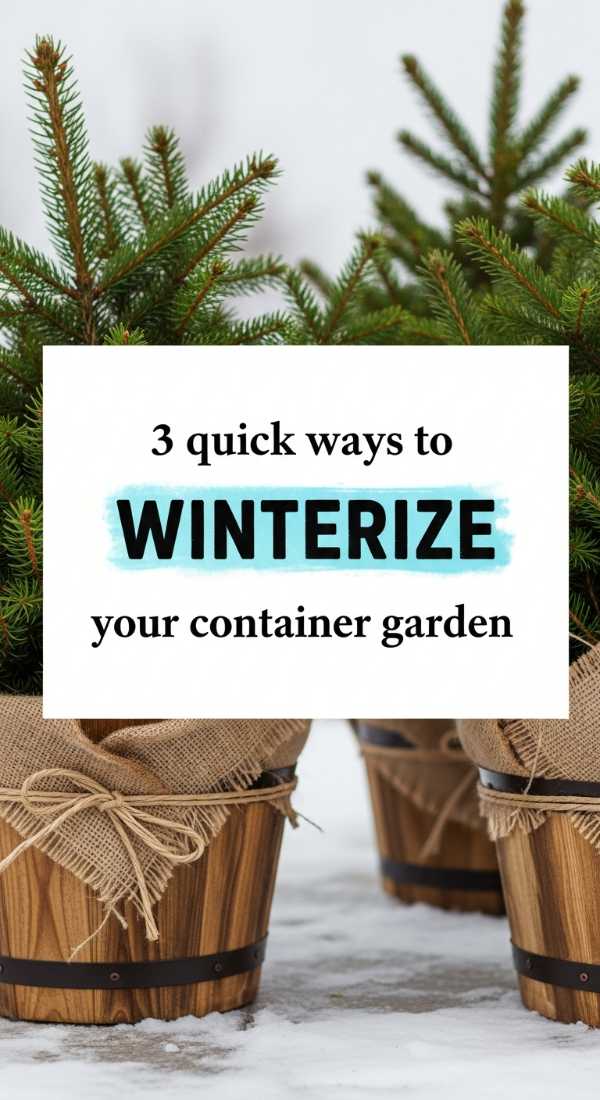
3 Quick Ways to Winterize your Container Garden
Why to love this Decor:
Winterizing is an act of love for your garden’s future. It’s about tucking your plant babies into bed so they can dream through the frost and wake up stronger in the spring. Plus, wrapped pots in burlap and twine look incredibly cozy and charming in the snow.
Items needed:
- Burlap rolls
- Twine
- Bubble wrap (for insulation)
- Dried leaves or straw
How to Prepare:
- Wrap the outside of the pot with bubble wrap for insulation, then cover with burlap for a rustic look.
- Secure the burlap with several rounds of natural twine.
- Top the soil with a thick layer of straw or dried leaves to protect the roots from freezing.
Budget Range
- Burlap Roll: $10 (Amazon)
- Twine: $4 (Hobby Lobby)
- Frost Blanket: $15 (Home Depot)
Cultivating Your Own Sanctuary
Creating a modern rustic garden isn’t just about the pots or the plants—it’s about the rhythm of life you cultivate. It’s about finding peace in the watering, joy in the first sprout, and a sense of home in the greenery you’ve nurtured. I hope these ideas inspire you to get your hands a little dirty and your heart a little full. You deserve a space that breathes with you, my loves. Happy planting!