
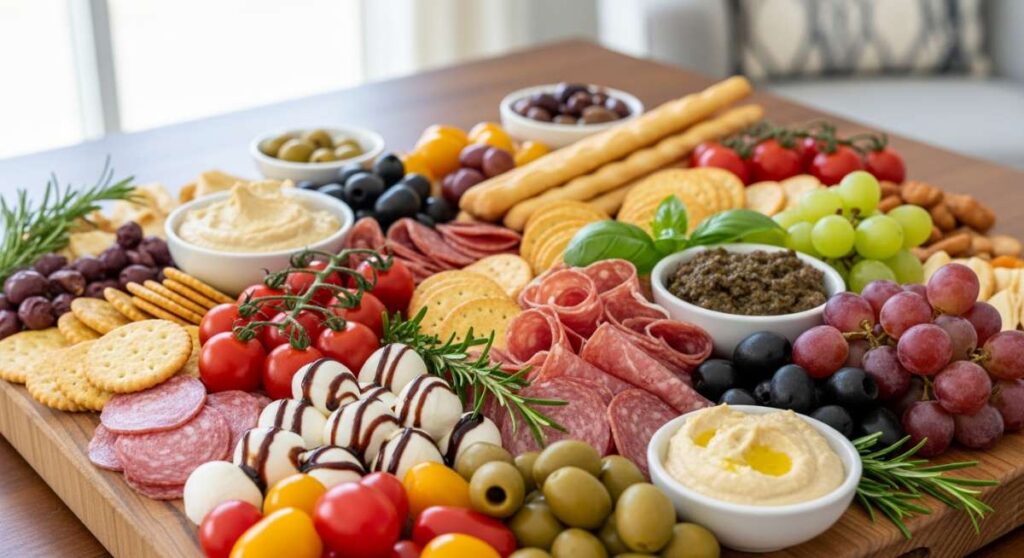
The Ultimate Viral Food Board: Simple, Chic, and Crowd-Pleasing
There is something inherently magical about a table filled with treats that tell a story. Whether you are celebrating a hard-earned degree or simply soaking in the first tart sweetness of the season, a viral food board is less about the ‘stuff’ and more about the connection it fosters. I remember my first big gathering; the air was thick with the scent of roasted coffee and the bright, citrusy zing of fresh herbs, and as my friends hovered over the board, the laughter became the most important ingredient of all.
Creating a chic, crowd-pleasing board isn’t about being a professional chef; it’s about the art of the assembly. It’s the visual harmony of a golden-brown crumble sitting next to vibrant, iced cookies, and the way a perfectly brewed latte complements a slice of zesty cake. Today, we are diving into the ultimate guide to crafting a lifestyle board that will have your followers—and your guests—begging for the recipe.
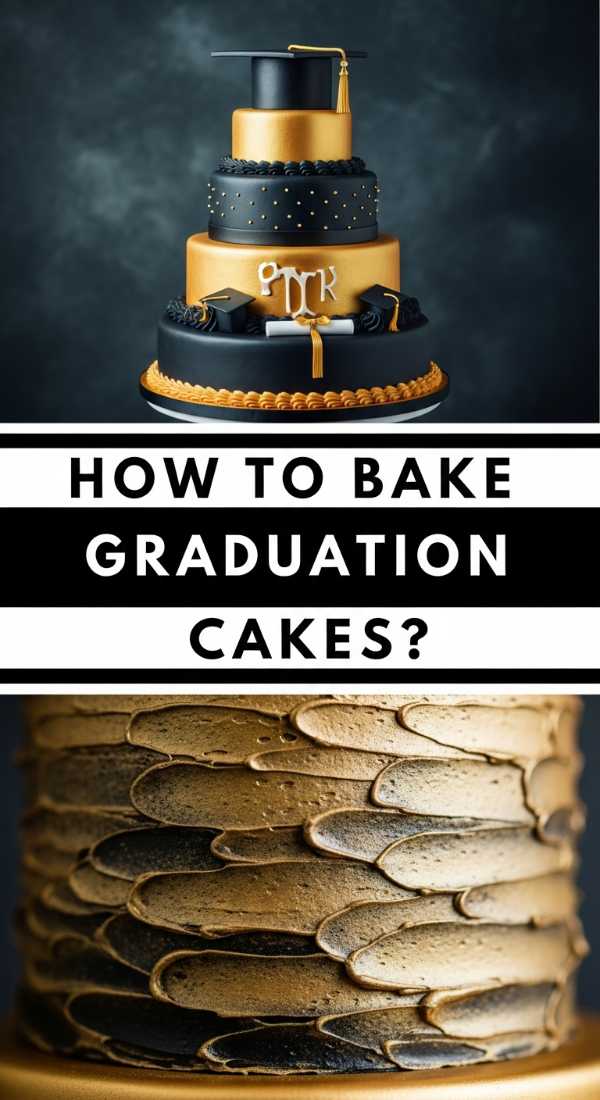
How to Bake Graduation Cakes?
Why we love this
A graduation cake is more than just dessert; it is a centerpiece of achievement that fills the room with the warm, nostalgic aroma of vanilla bean and toasted sugar. We love the way the light reflects off a smooth buttercream finish, promising a crumb that is moist, tender, and incredibly celebratory. Every bite feels like a milestone, balancing a delicate sweetness with a texture so soft it practically melts on the tongue, making it the perfect focal point for your viral board.
Ingredients
- 2 1/2 cups all-purpose flour
- 1 1/2 cups granulated sugar
- 1 tbsp baking powder
- 1/2 tsp salt
- 3/4 cup unsalted butter, softened
- 1 cup whole milk, room temperature
- 4 large eggs
- 2 tsp pure vanilla extract
How to make it
- Preheat your oven to 350°F (175°C) and generously grease two 8-inch round cake pans, lining the bottoms with parchment paper for an easy release.
- In a large mixing bowl, sift together the flour, baking powder, and salt to ensure a light, airy crumb without any clumps.
- Using a stand mixer fitted with the paddle attachment, cream the softened butter and sugar on medium-high speed for about 5 minutes until the mixture looks pale and fluffy.
- Reduce the speed to low and add the eggs one at a time, ensuring each is fully incorporated before adding the next; then stir in the vanilla extract.
- Alternately add the dry ingredients and the milk in three batches, beginning and ending with the flour mixture, mixing only until just combined to avoid overworking the gluten.
- Divide the batter evenly between the prepared pans and smooth the tops with an offset spatula.
- Bake for 30-35 minutes or until a toothpick inserted into the center comes out clean and the edges are just starting to pull away from the sides.
- Let the cakes cool in the pans for 10 minutes before transferring them to a wire rack to cool completely before frosting.
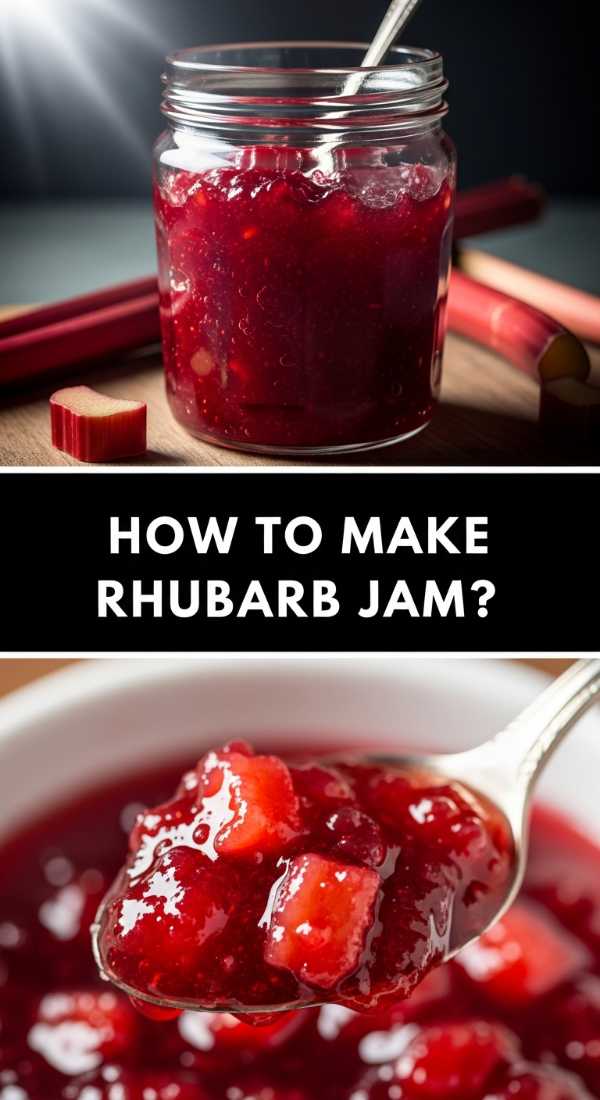
How to Make Rhubarb Jam?
Why we love this
Rhubarb jam is the quintessential taste of spring, offering a vibrant, ruby-red hue that looks absolutely stunning in glass jars on a wooden board. We adore the complex balance of its natural, mouth-puckering tartness softened by slow-simmered sugar, creating a thick, glossy spread that smells like a sun-drenched garden. It adds a sophisticated, artisanal touch to any spread, providing a bright pop of acidity that cuts through richer, buttery treats perfectly.
Ingredients
- 1 lb fresh rhubarb stalks, chopped into 1/2 inch pieces
- 1 1/2 cups granulated sugar
- 1 tbsp lemon juice
- 1 tsp lemon zest
- 1/2 tsp vanilla bean paste (optional)
How to make it
- In a medium non-reactive saucepan, combine the chopped rhubarb, sugar, lemon juice, and zest, stirring well to coat the fruit.
- Let the mixture sit at room temperature for about 30 minutes; this allows the sugar to draw out the natural juices from the rhubarb, creating its own syrup.
- Place the saucepan over medium heat and bring the mixture to a gentle boil, stirring frequently with a wooden spoon to prevent sticking.
- Reduce the heat to low-medium and simmer the jam for 20-25 minutes, stirring often as it thickens and the rhubarb breaks down into a pulpy consistency.
- To test for doneness, place a small spoonful on a chilled plate; if it wrinkles when pushed with your finger after a minute, it is set.
- Stir in the vanilla bean paste if using, then remove from heat and let it cool slightly.
- Transfer the hot jam into sterilized glass jars, leaving a bit of headspace at the top, and store in the refrigerator for up to three weeks.
How to Design Funny Cakes?

Why we love this
Funny cakes, or ‘ugly-chic’ cakes, bring a sense of unbridled joy and approachability to a food board that perfection simply can’t match. We love the whimsical, slightly chaotic aesthetic of bright, mismatched colors and humorous piped messages that invite guests to laugh and dig in without hesitation. The aroma of sweet frosting and the sight of over-the-top decorations create a playful atmosphere, making your board feel personalized, trendy, and deeply human.
Ingredients
- 1 pre-baked cake base
- 3 cups stiff vanilla buttercream
- Various gel food colorings (neon pink, blue, green)
- Large piping tips (Star and Round)
- Edible glitter or oversized sprinkles
- Black icing tube for writing
How to make it
- Start with a completely cooled cake and apply a thin ‘crumb coat’ of frosting to lock in any loose bits; chill in the fridge for 20 minutes.
- Divide your remaining buttercream into several bowls and tint them with bold, vibrant gel colors using a toothpick to add color gradually.
- Apply a thick, intentional ‘messy’ layer of your base color over the cake, using a spatula to create swoops and textures rather than a smooth finish.
- Fit your piping bags with large star tips and create ‘shag’ textures or oversized rosettes around the top and bottom borders in contrasting colors.
- Using the black icing tube, write a cheeky or ironic phrase in the center (e.g., “I’m a mess but I’m delicious”) using a steady, slow hand.
- Finish by scattering oversized sprinkles or edible glitter haphazardly over the top to embrace the ‘perfectly imperfect’ aesthetic.
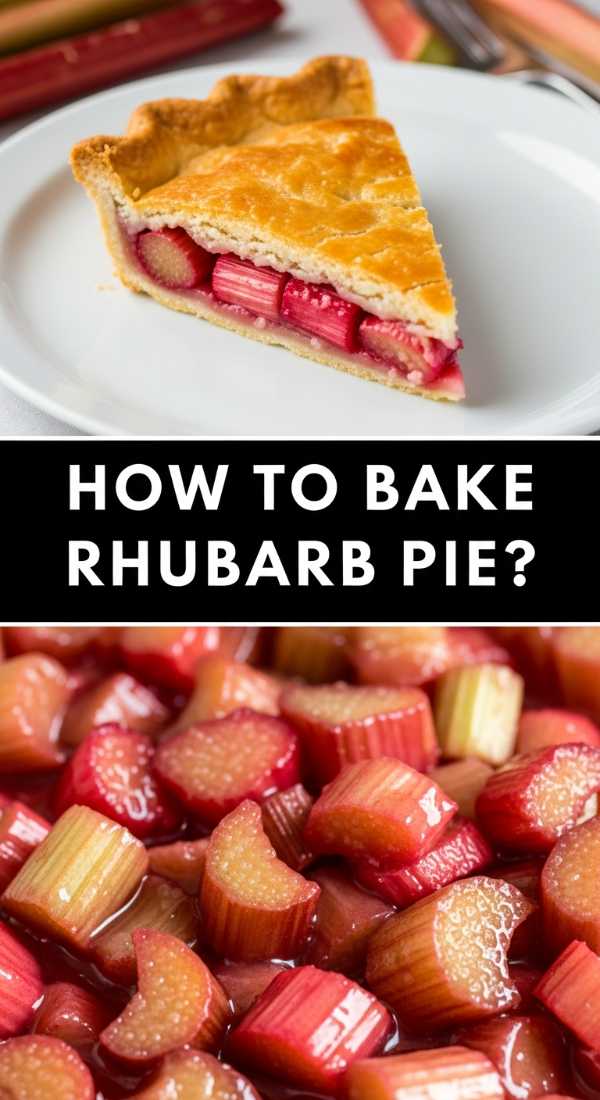
How to Bake Rhubarb Pie?
Why we love this
There is nothing quite like the rustic charm of a rhubarb pie, with its golden, flaky lattice crust revealing glimpses of bubbling, pink fruit beneath. We love the sensory experience of the first slice—the sound of the crisp crust breaking and the intoxicating scent of buttery pastry mingling with tart fruit. It’s a nostalgic masterpiece that brings a warm, homemade feel to your board, offering a deep, earthy sweetness that feels both elegant and incredibly comforting.
Ingredients
- Double pie crust (chilled)
- 5 cups rhubarb, cut into 1/2 inch pieces
- 1 1/4 cups granulated sugar
- 1/4 cup cornstarch
- 1/2 tsp ground cinnamon
- 1 tbsp cold butter, cubed
- 1 egg (for wash)
How to make it
- Preheat your oven to 400°F (200°C) and place a baking sheet on the bottom rack to catch any juices that might overflow.
- In a large bowl, toss the chopped rhubarb with sugar, cornstarch, and cinnamon until the fruit is thoroughly and evenly coated.
- Roll out the bottom pie crust on a lightly floured surface and fit it into a 9-inch pie plate, leaving an inch of overhang.
- Pour the rhubarb mixture into the crust and dot the top with the small cubes of cold butter for added richness.
- Roll out the second crust and cut into strips to create a lattice top, weaving them over and under across the fruit.
- Crimp the edges tightly to seal the juices in, then brush the lattice with a beaten egg wash and a sprinkle of extra sugar.
- Bake at 400°F for 20 minutes, then reduce the heat to 350°F (175°C) and continue baking for another 35-40 minutes until the crust is deep golden and the filling is bubbling thick.
- Crucially, let the pie cool for at least 3 hours before slicing so the filling can set properly.
How to Decorate Graduation Cupcakes?

Why we love this
Graduation cupcakes are the ultimate grab-and-go treat for a busy board, offering bite-sized bursts of celebration that are as cute as they are tasty. We love the tiny, intricate details like miniature mortarboards and tassels that make each guest feel specially honored. The combination of fluffy cake and silky frosting, topped with symbolic decorations, creates a visual rhythm on the board that is both organized and incredibly festive, making them a viral sensation every time.
Ingredients
- 12 baked cupcakes (flavor of choice)
- 2 cups chocolate ganache or stiff frosting
- Miniature chocolate bars (squares)
- Sour belt candies (cut into thin strips)
- Mini M&Ms or candy melts
- Gold luster dust (optional)
How to make it
- Ensure your cupcakes are completely cool to the touch, as any residual warmth will cause your decorations to slide or melt.
- Frost the cupcakes with a flat, even layer of chocolate ganache or dark frosting to act as the base for the ‘cap.’
- Place a chocolate square (like a Ghirardelli square) flat on top of each frosted cupcake to create the top of the mortarboard.
- Using a tiny dot of frosting as ‘glue,’ attach a thin strip of sour belt or a piece of licorice from the center of the square to the side to act as the tassel.
- Place a mini M&M or a small round candy melt directly in the center of the square to cover the end of the tassel.
- For a chic finish, use a small paintbrush to apply a tiny bit of gold luster dust to the ‘button’ of the cap for a touch of graduation glamour.
- Arrange them in a cluster on your board to create a focused ‘graduation zone.’
How to Icing Sugar Cookies?
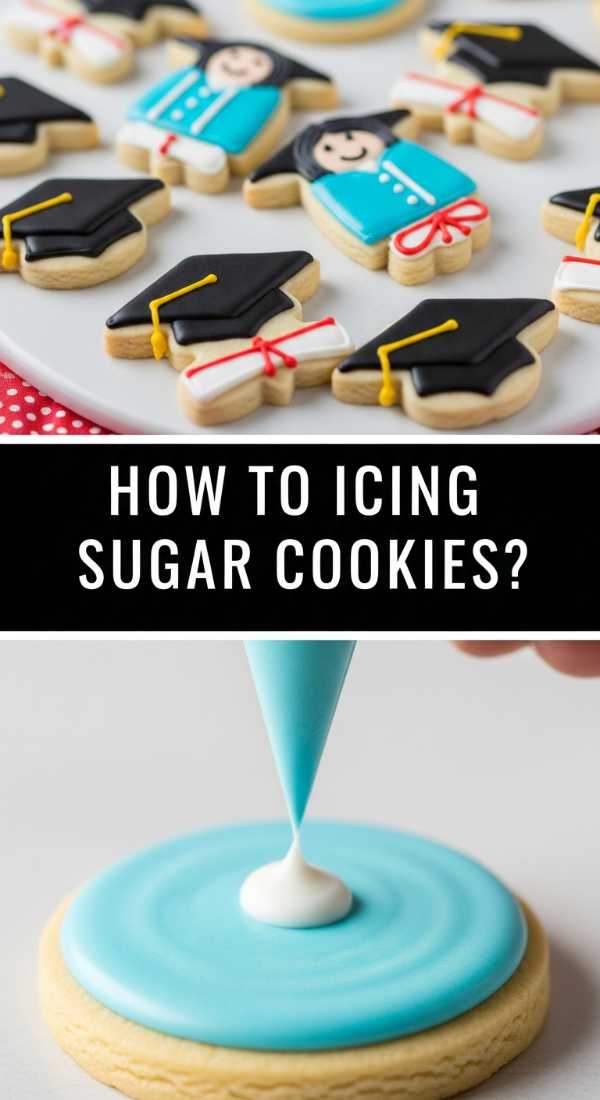
Why we love this
Icing sugar cookies is a meditative art form that results in smooth, porcelain-like finishes that are almost too beautiful to eat. We love the satisfying ‘snap’ of the dried royal icing followed by the buttery crumble of the cookie underneath. The ability to customize colors and shapes means these cookies can match any theme, and their matte, professional look adds a layer of high-end sophistication to your simple food board that always catches the eye.
Ingredients
- Batch of flat-surface sugar cookies
- 4 cups powdered sugar
- 3 tbsp meringue powder
- 6-8 tbsp warm water
- Gel food coloring
- Squeeze bottles or piping bags
How to make it
- In a stand mixer, whisk powdered sugar, meringue powder, and water on low speed for 7-10 minutes until the icing reaches a ‘honey’ consistency.
- Divide the icing into bowls and tint with gel colors; remember that colors darken as they dry, so start with a little.
- To achieve professional results, create two consistencies: ‘outline’ icing (stiff like toothpaste) and ‘flood’ icing (runny like syrup).
- Pipe a border around the edge of the cookie with the outline icing and let it set for 2 minutes to create a dam.
- Fill the center with the flood icing, using a toothpick to pop any tiny air bubbles and to push the icing into the corners.
- If doing ‘wet-on-wet’ designs (like dots or swirls), add the contrasting colors immediately while the base is still wet.
- Allow the cookies to dry completely at room temperature for at least 8 to 12 hours before stacking or placing on the board to ensure the finish is hard and smudge-proof.
How to Whip Lemon Pesto?
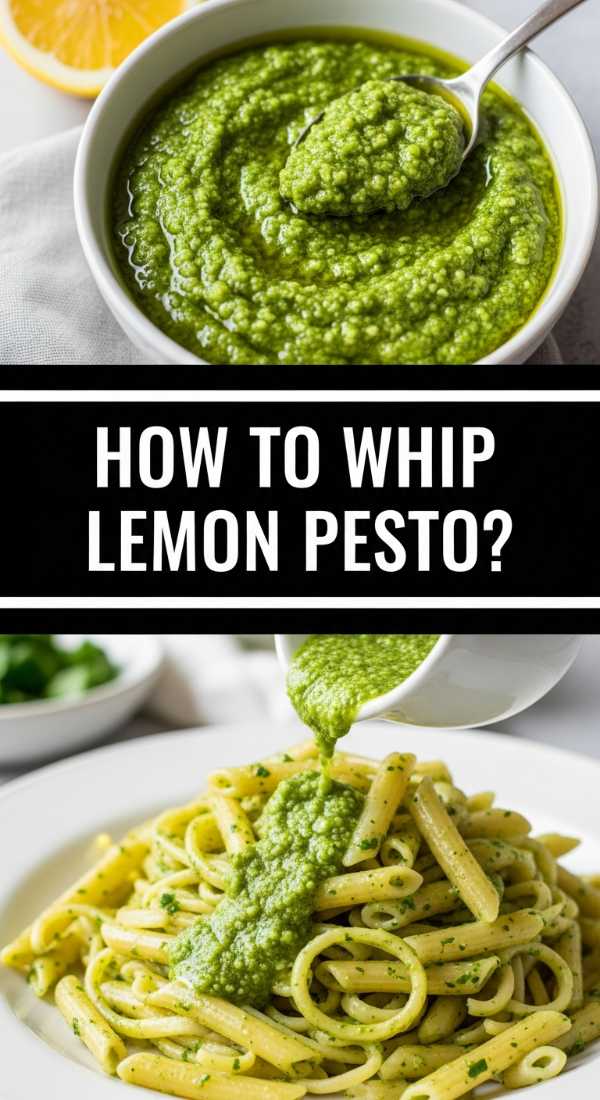
Why we love this
Lemon pesto is a bright, zesty departure from the traditional basil version, offering a creamy, whipped texture that is perfect for dipping or spreading. We love the way the sharp citrus aroma cuts through the richness of the nuts and cheese, creating a refreshing palate cleanser on a board full of sweets. Its pale, vibrant green hue looks incredibly fresh, and the airy, whipped consistency makes it feel light, modern, and totally crave-worthy.
Ingredients
- 2 cups fresh basil leaves, packed
- 1/2 cup grated Parmesan cheese
- 1/3 cup toasted pine nuts or walnuts
- 2 large lemons (zest and 3 tbsp juice)
- 2 garlic cloves
- 1/2 cup extra virgin olive oil
- 1/4 cup heavy cream or Greek yogurt (for whipping)
How to make it
- In a food processor, pulse the basil, toasted nuts, and garlic until coarsely chopped, being careful not to over-process into a paste yet.
- Add the Parmesan cheese, lemon zest, and lemon juice, and pulse again to combine the flavors.
- With the processor running on low, slowly drizzle in the olive oil in a thin, steady stream until the pesto is smooth and emulsified.
- Transfer the pesto to a mixing bowl and gently fold in the heavy cream or Greek yogurt using a silicone spatula.
- Use a hand mixer to whip the mixture on medium speed for 1-2 minutes until it becomes pale and slightly fluffy in texture.
- Season with a pinch of sea salt and extra black pepper to taste.
- Serve in a shallow bowl with a drizzle of olive oil on top, surrounded by crackers or crusty bread on your board.
How to Prepare Rhubarb Crumble?
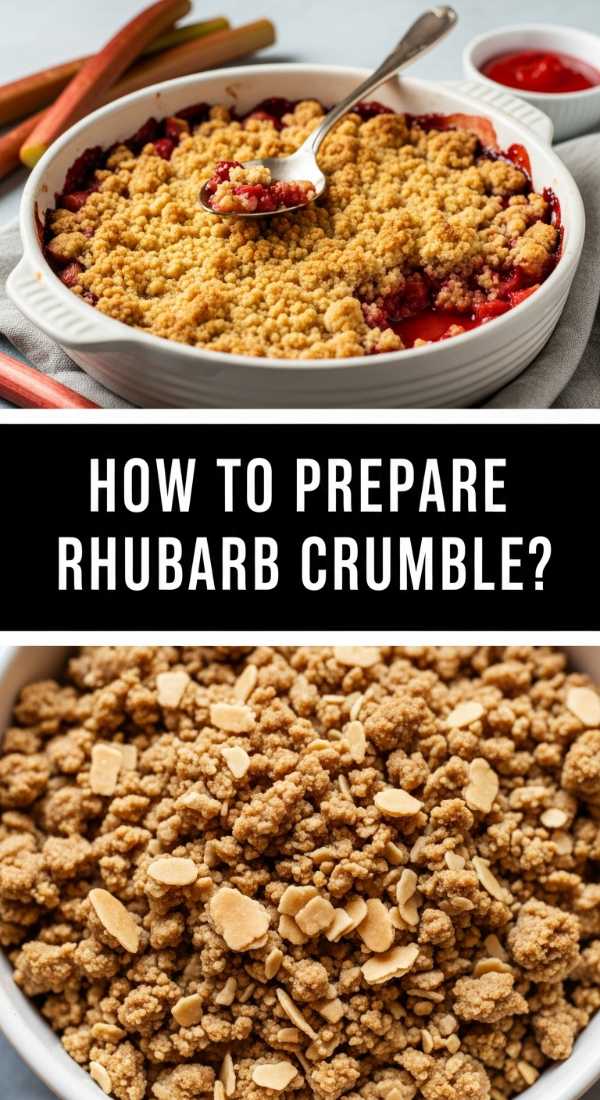
Why we love this
A rhubarb crumble is the ultimate ‘messy-delicious’ dish that brings a cozy, home-baked warmth to your chic board. We love the contrast between the bubbling, molten fruit and the golden, crunchy oat topping that smells of toasted butter and brown sugar. It’s a dish that invites people to scoop and share, creating a relaxed, communal vibe. The way the juices stain the oats a light pink makes it a visual treat that tastes like pure, unadulterated comfort.
Ingredients
- 4 cups rhubarb, chopped
- 1/2 cup granulated sugar
- 1 cup old-fashioned oats
- 1 cup all-purpose flour
- 1 cup brown sugar, packed
- 1/2 cup cold unsalted butter, cubed
- 1 tsp cinnamon
How to make it
- Preheat your oven to 375°F (190°C) and lightly butter a 9×9 inch baking dish.
- Toss the chopped rhubarb with the granulated sugar directly in the baking dish until the fruit is well-coated.
- In a separate bowl, combine the oats, flour, brown sugar, and cinnamon, stirring to ensure the spices are distributed.
- Add the cold, cubed butter to the dry mixture and use a pastry cutter or your fingertips to rub the butter in until the mixture resembles coarse crumbs with some pea-sized pieces remaining.
- Spread the crumble mixture evenly over the rhubarb, pressing down very lightly to ensure it adheres to the fruit.
- Bake for 35-40 minutes; look for the fruit juices to be bubbling vigorously at the edges and the topping to be a deep, golden brown.
- Let it stand for 15 minutes before serving so the juices can thicken slightly, making it easier to serve on individual small plates alongside your board.
How to Brew Coffee Drinks?

Why we love this
No food board is complete without the rich, grounding aroma of freshly brewed coffee drinks to balance out the sugar. We love the ritual of the pour—the sight of creamy milk swirling into dark espresso and the thick, velvety foam resting on top. Whether it’s a chilled iced latte or a warm, frothy cappuccino, these drinks provide the perfect bitter counterpoint to a sweet board, making the whole experience feel like a high-end cafe visit in the comfort of your home.
Ingredients
- Freshly ground espresso beans
- Filtered water
- Whole milk or oat milk (for frothing)
- Simple syrup or vanilla extract (optional)
- Ice cubes (for cold drinks)
How to make it
- Start with high-quality, freshly ground beans and brew 2 ounces of espresso using your preferred method (espresso machine, Moka pot, or Aeropress).
- For a hot latte: Heat 6-8 ounces of milk in a small saucepan over medium heat until steaming (but not boiling), then use a handheld frother to create a micro-foam.
- Hold a spoon to back the foam and pour the hot milk into the espresso, then spoon the foam on top at the very end.
- For a viral iced drink: Fill a tall glass with large ice cubes, pour in 1 tablespoon of syrup, add 3/4 cup of cold milk, and then slowly pour the hot espresso over the top to create beautiful layers.
- If you want a ‘cold foam’ finish, froth cold milk with a pinch of sugar for 30 seconds until it doubles in volume and pour it over your iced coffee.
- Serve immediately in clear glassware so guests can admire the gradient of colors.
How to Style Graduation Boards?

Why we love this
Styling a graduation board is where the magic truly happens, turning individual recipes into a cohesive, viral work of art. We love the abundance of a full board—the way colors pop against a dark wood background and the intentional placement of every cupcake and cookie. It creates a sense of celebration that is both organized and overflowing with life, making it the ultimate photo-op that captures the joy of the occasion and the effort put into the feast.
Ingredients
- A large wooden board or marble slab
- Small ramekins or bowls
- Fresh greens (like mint or eucalyptus for garnish)
- The prepared cakes, cookies, and dips from above
- Decorative graduation props (tassels, confetti)
How to make it
- Start by placing your largest items first, such as the graduation cake or the rhubarb pie, to act as the ‘anchors’ of the board.
- Place your bowls of lemon pesto and rhubarb jam in opposite corners to create visual balance and provide structure.
- Arrange the graduation cupcakes and iced cookies in sweeping, curved lines or clusters to guide the eye across the board.
- Fill in the larger gaps with piles of the rhubarb crumble or small stacks of napkins and utensils.
- Use the ‘rule of three’—grouping similar items in threes—to make the arrangement feel natural and aesthetically pleasing.
- Tuck fresh sprigs of mint or edible flowers into the smallest remaining gaps to add a burst of life and color.
- Finally, scatter a few pieces of graduation confetti or a single tassel near the cake to tie the theme together before snapping your viral-ready photo.
Conclusion
Building the perfect viral food board is a journey of flavors, textures, and heartfelt celebrations. From the tart zing of rhubarb to the sophisticated finish of an iced sugar cookie, each element adds a layer of story to your gathering. Remember, the best boards aren’t just about how they look on camera, but how they bring people together around the table. So, grab your board, start baking, and let your creativity shine!