
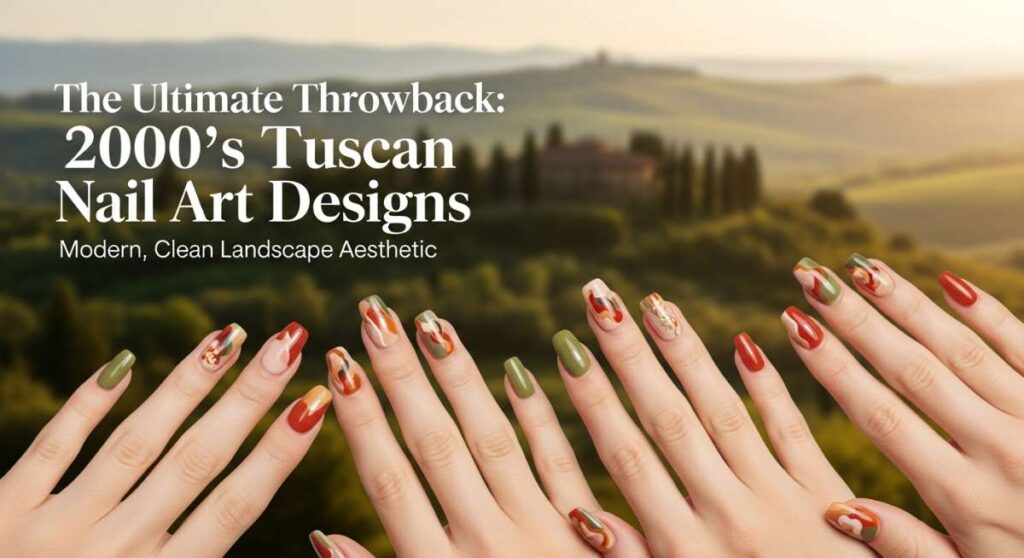
The Ultimate Throwback: Master These 2000s Tuscan Nail Art Designs
Hi my loves! I’m so happy you’re here in my little corner of the internet today. Grab a warm cup of coffee (or maybe a chilled glass of limoncello!) and settle in, because we are going on a total nostalgia trip. Do you remember those golden, sun-drenched afternoons of the early 2000s? The ones filled with terra-cotta hues, delicate vines, and that effortless ‘Italian countryside’ aesthetic that somehow made its way onto every kitchen backsplash and, more importantly, our favorite salon walls?
Lately, I’ve been feeling such a deep pull toward that warm, earthy energy. There is something so grounding about the Tuscan palette—burnt oranges, soft creams, and deep olives—that feels like a soft, cloud-like embrace for your hands. It’s a sophisticated twist on the Y2K trends we all know and love, and I am just obsessed with bringing that ‘Under the Tuscan Sun’ magic back into 2024 and beyond.
Today, I’m walking you through my absolute favorite ways to recreate this look. Whether you’re a DIY queen or looking for the perfect reference to show your nail tech, these designs are meant to make you feel like you’re strolling through a vineyard in Florence, even if you’re just sitting at your desk. Let’s dive in, sweethearts!
5 steps to achieve perfect Tuscan French tips
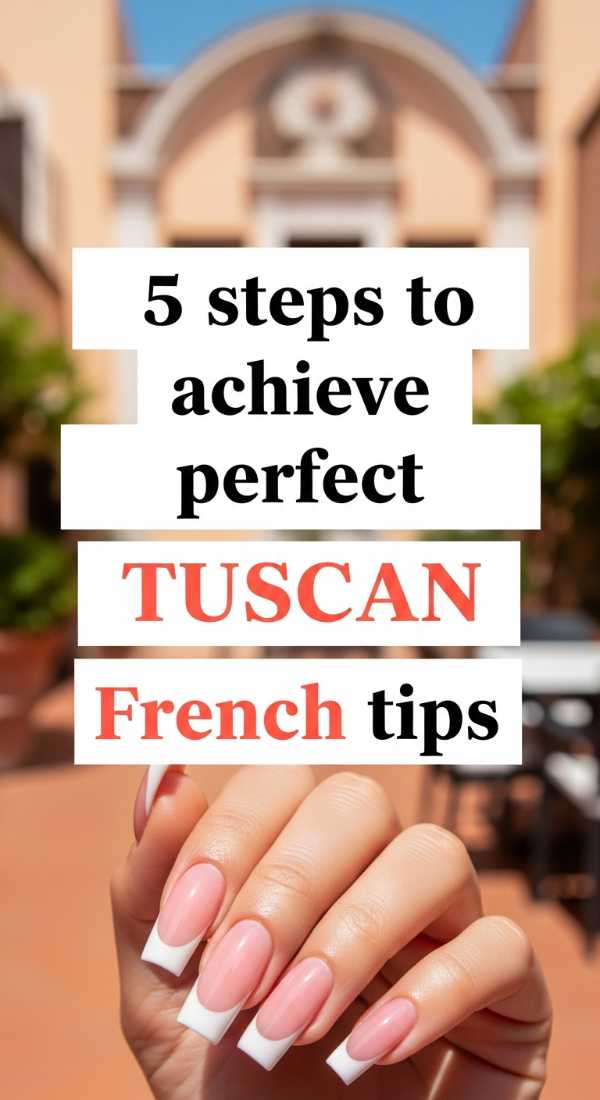
Why to love this Design:
This design takes the classic French manicure we all grew up with and dips it in the golden glow of an Italian sunset. It replaces the harsh stark white with creamy, earthy tones that make your hands look incredibly tan and elegant.
Essential Elements:
- Warm terracotta or ochre polish
- Cream-colored base coat
- Thin detailing brush
- High-gloss top coat
- Gold leaf accents
How to Prepare:
- Shape your nails into a soft almond or square-oval.
- Apply a sheer nude base to even out the nail bed.
- Use a thin brush to map out the ‘smile line’ with a terracotta shade.
- Fill in the tips with two thin coats for opaque color.
- Apply a tiny fleck of gold leaf at the corner of each tip for that 2000s flair.
Budget Range
- OPI ‘My Italian is a Little Rusty’ ($11)
- Essie ‘Sanded & Swirled’ ($10)
- Amazon Nail Art Brush Set ($6)
Apply 3 coats for the viral 2000s base

Why to love this Design:
The secret to that specific 2000s glow is the depth of the base color. It’s not quite opaque, but not quite sheer—it’s that perfect ‘milky tea’ look that makes your nails look healthy and expensive.
Essential Elements:
- Semi-sheer beige or peach polish
- Ridge-filling base coat
- UV lamp (if using gel)
How to Prepare:
- Cleanse the nail plate thoroughly with alcohol.
- Apply one layer of ridge-filler to create a smooth canvas.
- Apply the first coat of sheer polish very thinly.
- Apply a second coat to build the ‘Tuscan sand’ hue.
- Finish with a third coat for that ‘viral’ plump, jelly-like finish.
Budget Range
- DND ‘Spiced Tea’ ($8)
- Cirque Colors ‘Rose Jelly’ ($12.50)
Master 2 easy ways to draw heart nail art

Why to love this Design:
Nothing says 2000s sweetness like little hand-drawn hearts. In a Tuscan theme, we do these in sage greens or burnt umber to keep it feeling mature and cozy rather than ‘bubblegum’.
Essential Elements:
- Large and small dotting tools
- Contrasting earthy polish colors
- Steady hand or a toothpick
How to Prepare:
- Method 1: Place two dots side-by-side and drag them down to a point with a toothpick to form a heart.
- Method 2: Use a fine-liner brush to draw two small ‘C’ shapes back-to-back.
- Let the hearts dry completely before sealing to prevent smearing.
Budget Range
- Sally Hansen Insta-Dri in ‘Espresso’ ($7)
- Dotting Tool Set from Ulta ($5)
Design 4 trendy Tuscan acrylic patterns today
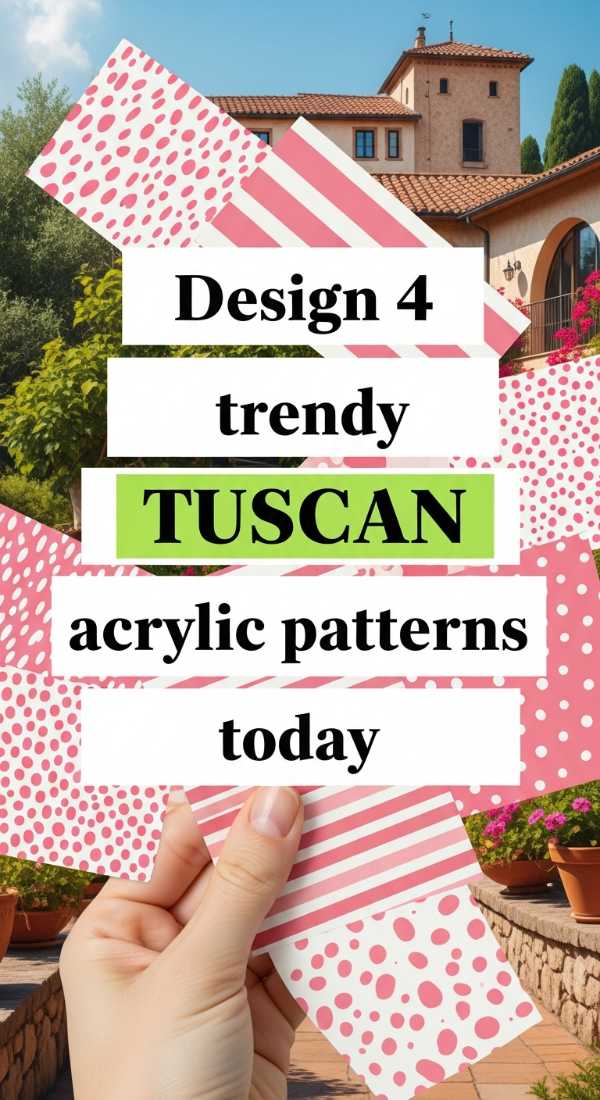
Why to love this Design:
Acrylics allow for a structural beauty that mimics Italian architecture. Mixing patterns across different nails—like marble and vines—creates a ‘curated’ look that feels like a vintage tile floor.
Essential Elements:
- Acrylic powder in ‘Soft White’
- Olive green gel paint
- Marbleizing tint
- Matte top coat (optional for a stone look)
How to Prepare:
- Lay a fresh set of acrylics with a slight taper.
- On the ring finger, use a swirling motion with marble tint to mimic Carrara marble.
- On the middle finger, hand-paint a delicate olive branch.
- Keep the remaining nails a solid, warm clay color.
Budget Range
- Mia Secret Acrylic System ($20)
- Beetles Gel Liner Set ($15)
Create 6 custom looks for your 2026 nails

Why to love this Design:
We are looking ahead! 2026 is all about ‘Digital Earth,’ combining these 2000s Tuscan colors with futuristic chrome accents. It’s the ultimate evolution of the aesthetic.
Essential Elements:
- Bronze chrome powder
- Terra-cotta base gel
- 3D gem clusters
How to Prepare:
- Apply a dark orange base and cure.
- Rub bronze chrome powder over the middle of the nail for a sun-flare effect.
- Use 3D builder gel to create ‘water droplets’ on the surface.
- Mix and match these textures across all ten fingers.
Budget Range
- Artdone Chrome Powder ($9)
- Modelones 3D Hard Gel ($12)
Follow 7 simple tricks for Y2K square nails

Why to love this Design:
The early 2000s were the era of the square nail. It’s a bold, confident shape that provides the perfect wide canvas for Tuscan-inspired ’tile’ art.
Essential Elements:
- Straight-edge nail clipper
- 180-grit nail file
- Cuticle oil (essential for the look!)
How to Prepare:
- Clip the nails straight across in one go.
- File in one direction to avoid splitting.
- Ensure the corners are sharp but slightly buffed so they don’t snag.
- Keep the side walls perfectly parallel.
- Use a high-shine buffer to prep the surface.
- Apply the Tuscan color right to the edges.
- Finish with almond oil to make the cuticles look photo-ready.
Budget Range
- Tweezerman Nail File ($5)
- CND SolarOil ($9)
Style 3 unique Tuscan stripes in 10 minutes

Why to love this Design:
Stripes mimic the beautiful linen fabrics of Italy. This is the fastest way to get a ‘lifestyle’ look that feels high-fashion but took almost no time.
Essential Elements:
- Nail striping tape
- Mustard yellow, Sage, and Rust polishes
How to Prepare:
- Paint the nail a base cream color and let dry completely.
- Apply three horizontal pieces of striping tape.
- Paint over the gaps with your three Tuscan colors.
- Peel the tape while the polish is still slightly wet for crisp lines.
Budget Range
- Holo Taco ‘Lemon Sucker’ ($13)
- Striping Tape Bulk Pack ($4)
Prep 5 stunning Tuscan designs for long nails
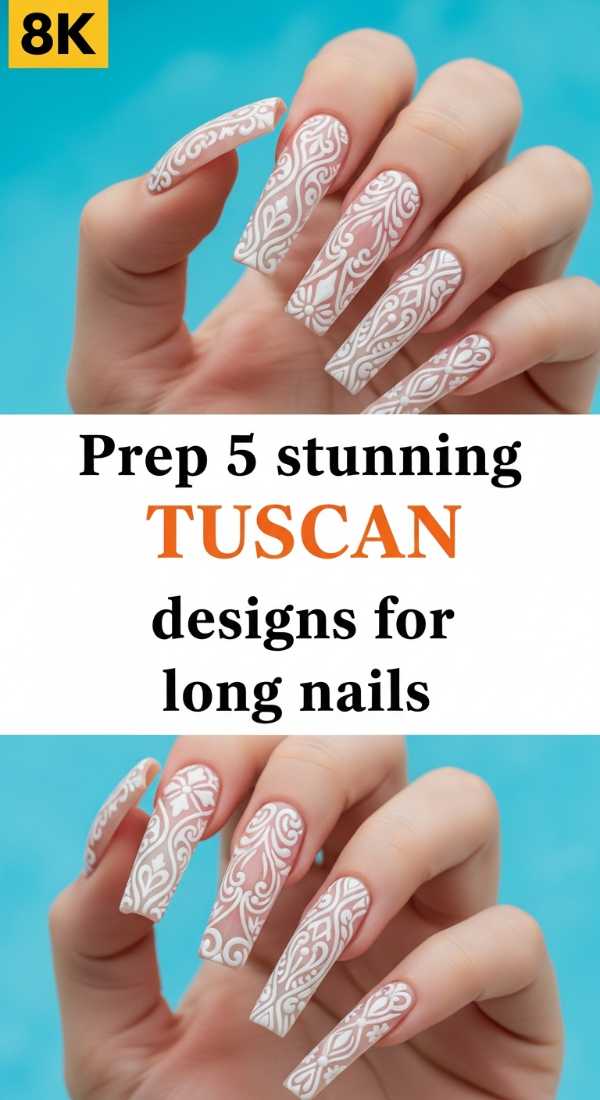
Why to love this Design:
Long nails offer the drama needed for more intricate Tuscan scenes, like lemon groves or detailed mosaics. It’s pure luxury on your fingertips.
Essential Elements:
- Long coffin or stiletto tips
- Detailed lemon nail decals
- Gold stud embellishments
How to Prepare:
- Apply your long extensions and shape carefully.
- Create a ‘gradient’ from dark terracotta at the base to light cream at the tip.
- Apply lemon decals to the thumb and ring finger.
- Add small gold studs at the base of the nail for a ‘jewelry’ effect.
Budget Range
- Aprés Gel-X Nail Extension Kit ($90 – investment piece)
- Lemon Nail Water Slides ($6)
Build 1 flawless set of Tuscan acrylic nails
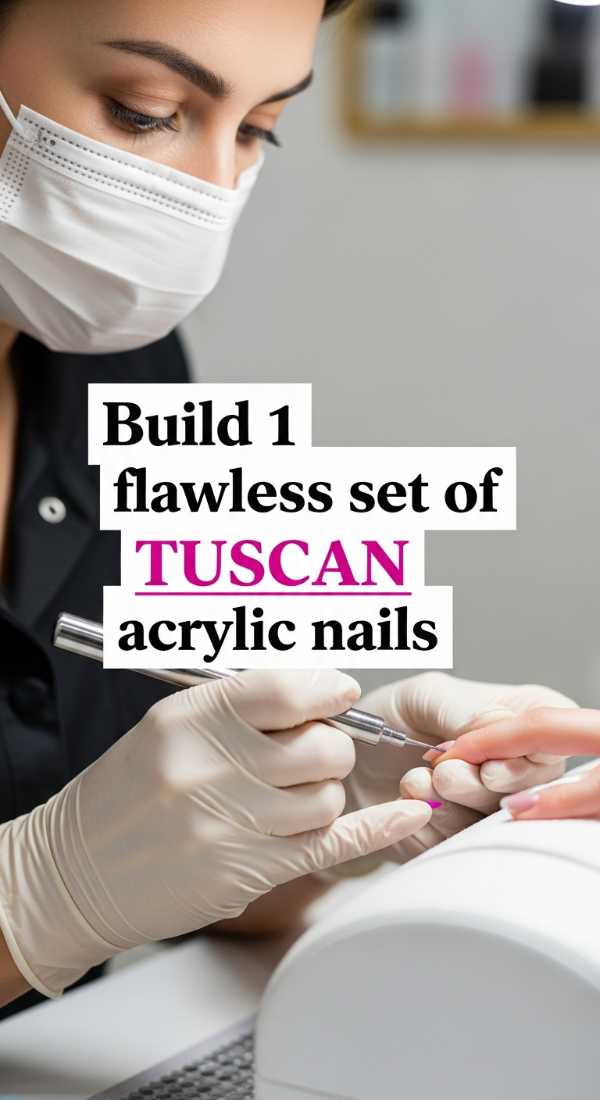
Why to love this Design:
This is for my girls who want a set that lasts through a whole vacation. It’s a cohesive, single-theme look that screams ‘2000s rich girl on holiday’.
Essential Elements:
- Custom mixed acrylic powder (nude + orange)
- Encapsulated dried flowers
- Glossy top seal
How to Prepare:
- Prep the natural nail and apply the primer.
- Lay the acrylic, embedding small dried yellow flowers into the wet product.
- File and buff until the surface is glass-smooth.
- The flowers will look like they are floating in Tuscan honey.
Budget Range
- Young Nails Core Powder ($15)
- Dried Flower Nail Art Set ($8)
Get 8 professional tips for Tuscan nail inspo
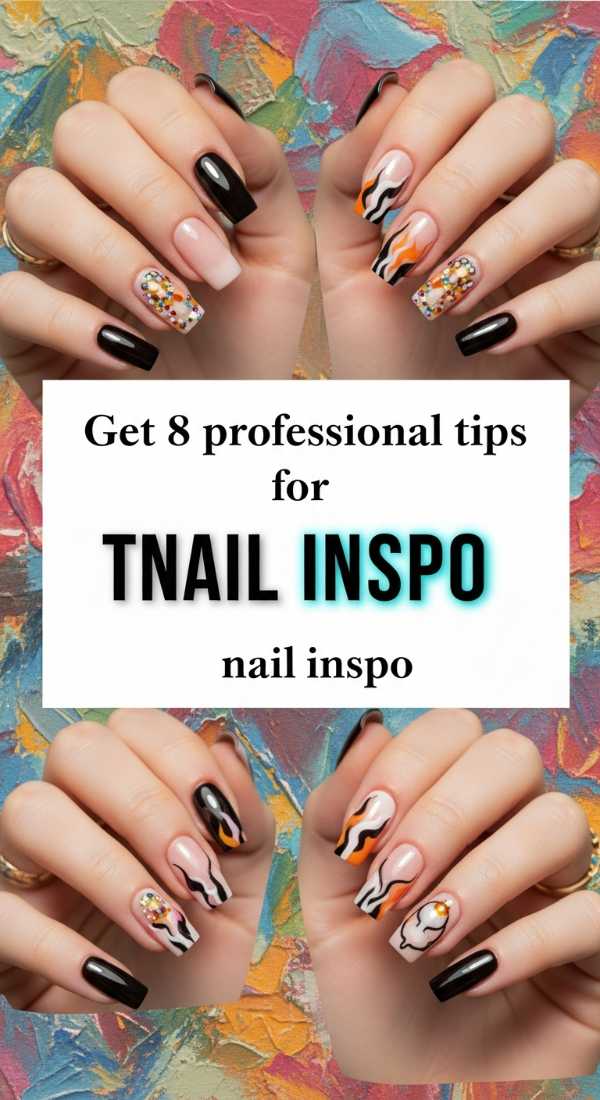
Why to love this Design:
Sometimes the best design is the one you dream up yourself! This section is about finding your own Tuscan vibe and making it professional.
Essential Elements:
- Pinterest mood board
- Color wheel
- Nail art practice sticks
How to Prepare:
- Look at photos of Amalfi and Tuscany, not just nails.
- Focus on the textures of stone and citrus.
- Test your color combinations on practice sticks first.
- Don’t be afraid to mix warm and cool tones (like orange and teal).
- Always use a base coat to prevent staining from the pigments.
- Keep your layers thin to avoid ‘bulk’.
- Invest in a good top coat—it’s the ‘varnish’ on your masterpiece.
- Take photos in natural ‘golden hour’ light!
Budget Range
- Practice Nail Sticks ($7)
- Seche Vite Fast Dry Top Coat ($9)
Closing the Chapter on our Tuscan Dream
Oh, my sweet loves, I hope this journey into the warm, sun-soaked world of 2000s Tuscan nails has left you feeling inspired and perhaps a little nostalgic. There is such a beautiful power in taking these memories from the past and painting them onto our present. Whether you choose a simple French tip or go all out with lemon-grove acrylics, remember that your nails are a tiny canvas for your joy. Wear them with confidence, keep your heart warm, and I’ll see you in the next post. Stay golden!