
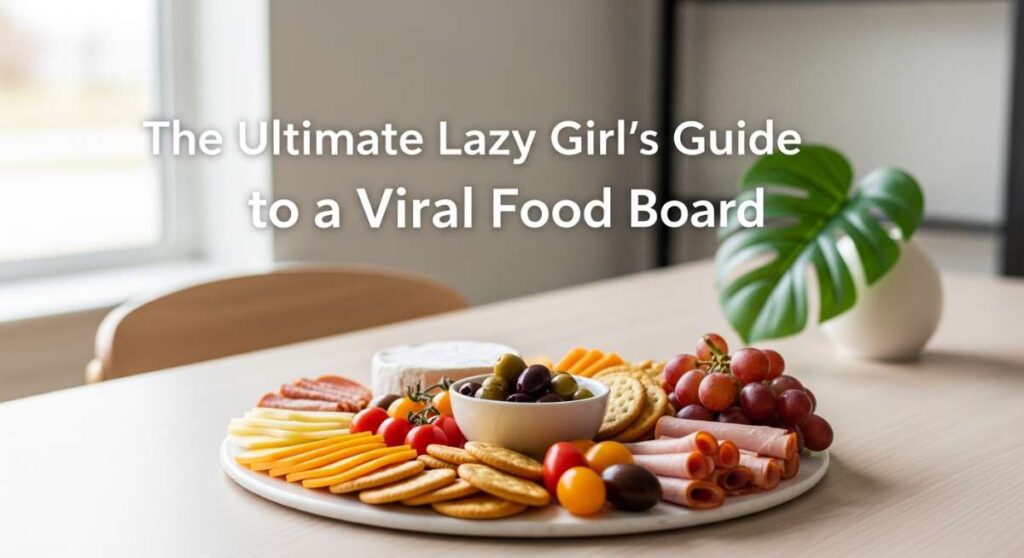
We’ve all been there: scrolling through social media, staring at those impossibly beautiful, sprawling food boards that look like they were styled by a professional team for a magazine shoot. My first thought is always ‘I want that,’ followed quickly by ‘but I don’t have five hours to spend in the kitchen.’ As much as I love the aesthetic of a viral grazing board, I am a self-proclaimed lazy girl who values her couch time just as much as a good meal.
That is exactly why I developed the ‘Viral Simple Food Board’ strategy. It is the ultimate hack for the girl who wants to host the most talked-about brunch or dinner party without the stress, the endless dishes, or the need for a culinary degree. By focusing on high-impact, low-effort dishes that look stunning when grouped together, you can create a masterpiece that is as delicious as it is Instagrammable.
Today, I’m sharing my favorite quick-hit recipes that come together in minutes but taste like they took all day. From charred fruits to zesty proteins, these components are designed to be served together on one giant board, letting your guests pick and choose their favorite bites while you sit back with a glass of wine and actually enjoy your own party.
How to grill the perfect peach salad?
Why we love this
There is something truly magical about the way fire transforms a simple piece of fruit into a gourmet experience. This grilled peach salad captures the essence of summer with its smoky aroma, caramelized sugars, and the cool, creamy contrast of burrata cheese nestled against the warm fruit. As you bite into a peach wedge, the juices mingle with the tangy balsamic glaze, creating a symphony of textures that feels incredibly sophisticated yet takes almost no effort to assemble.
Ingredients
- 4 ripe but firm yellow peaches, halved and pitted
- 2 cups fresh arugula
- 1 ball of fresh burrata cheese
- 2 tablespoons balsamic glaze
- 1 tablespoon extra virgin olive oil
- Fresh mint leaves for garnish
How to make it
- Preheat your grill or grill pan to medium-high heat. You want the grates hot enough to sear quickly without turning the fruit to mush; aim for about 400°F (200°C).
- Brush the cut sides of the peaches lightly with olive oil to prevent sticking. Place them cut-side down on the grates.
- Grill undisturbed for 3 to 4 minutes. You are looking for distinct, dark char marks and a slight softening of the fruit’s flesh. If they resist when you try to lift them, give them another 30 seconds.
- Remove peaches from the heat and arrange them over a bed of fresh arugula on your board.
- Place the burrata in the center, break it open slightly to let the cream flow, and drizzle everything generously with balsamic glaze and mint.
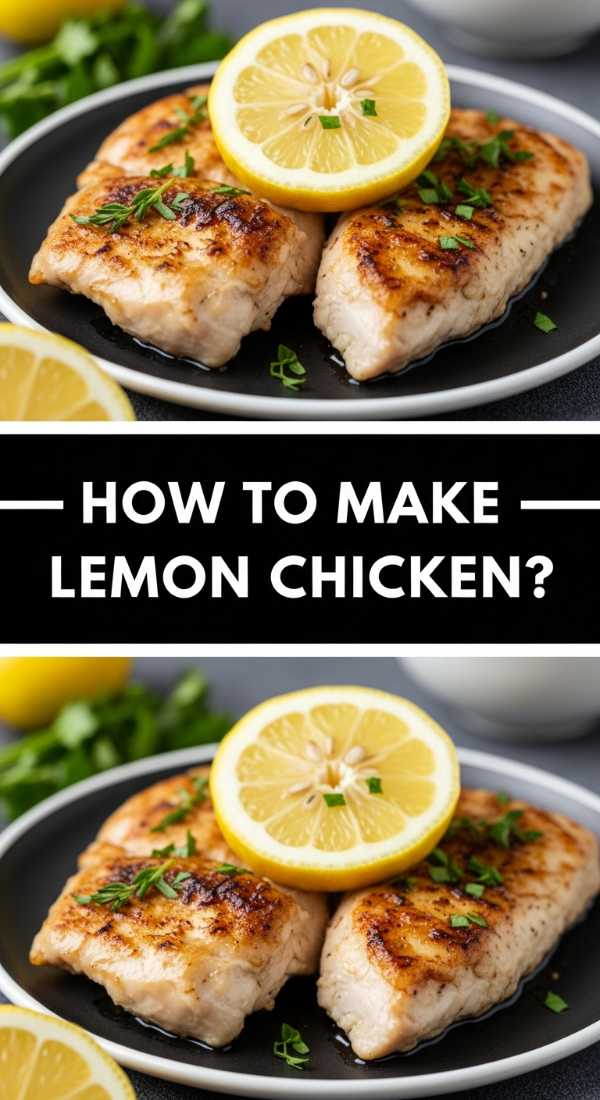
How to make zesty lemon chicken?
Why we love this
Chicken doesn’t have to be boring, and this zesty lemon version proves it by delivering a bright, punchy flavor profile that wakes up the entire palate. The aroma of sizzling citrus and garlic filling the kitchen is enough to make anyone’s mouth water, while the golden-brown crust provides a satisfying crunch that gives way to a tender, juicy interior. It’s the perfect high-protein anchor for your food board, offering a refreshing acidity that balances out richer components like cheese or nuts.
Ingredients
- 1 lb chicken breast tenders or thinly sliced cutlets
- 2 large lemons (zest and juice)
- 3 cloves garlic, minced
- 2 tablespoons dried oregano
- 3 tablespoons olive oil
- Salt and cracked black pepper to taste
How to make it
- In a medium bowl, whisk together the lemon juice, lemon zest, minced garlic, oregano, and olive oil to create a vibrant marinade.
- Toss the chicken in the marinade, ensuring every piece is coated. Let it sit for at least 15 minutes, but no longer than 30, as the acid in the lemon will start to ‘cook’ the meat and change its texture.
- Heat a heavy-bottomed skillet or cast iron pan over medium-high heat. Add a splash of oil and wait until it shimmers.
- Place the chicken in the pan, making sure not to crowd it. Sear for 4-5 minutes on the first side until a deep golden-brown crust forms.
- Flip the pieces and cook for another 3-4 minutes. Check for an internal temperature of 165°F (74°C) using a meat thermometer. Let the chicken rest for 5 minutes before slicing it into strips for the board.
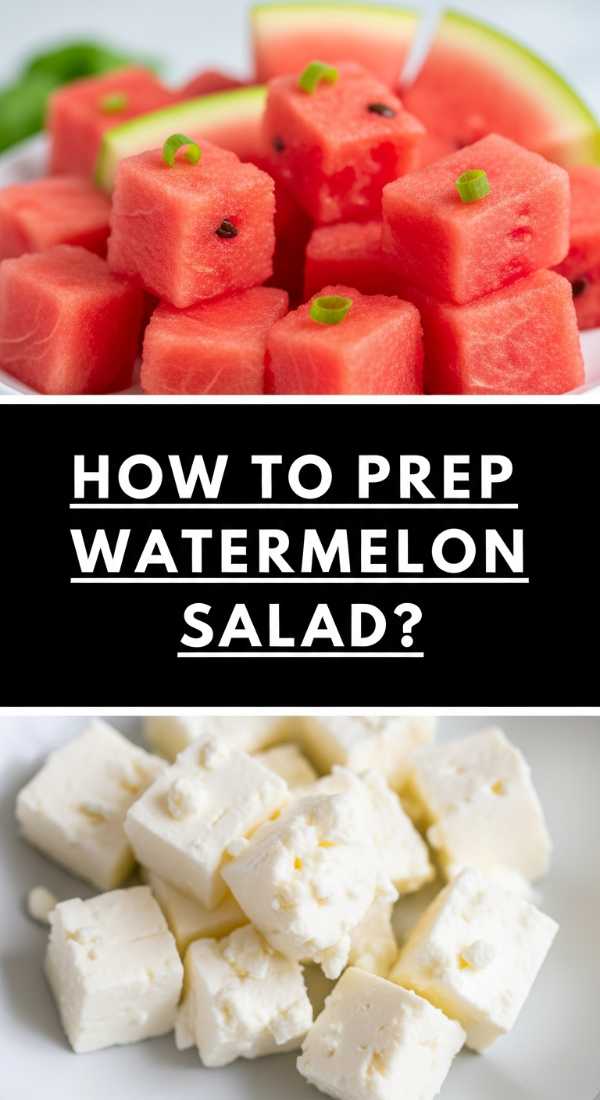
How to prep fresh watermelon salad?
Why we love this
This salad is the ultimate ‘cool girl’ dish—it’s effortless, incredibly hydrating, and provides a stunning pop of vibrant red and green to your board. The combination of sweet, crisp watermelon with the salty, crumbly texture of feta cheese creates a flavor profile that is surprisingly addictive and perfect for hot afternoon gatherings. Every bite feels like a burst of pure refreshment, with the peppery kick of fresh basil or mint rounding out the experience beautifully.
Ingredients
- 1/2 small seedless watermelon, cubed
- 1/2 cup crumbled feta cheese
- 1/4 cup red onion, very thinly sliced
- A handful of fresh basil or mint leaves
- A squeeze of fresh lime juice
- A pinch of flaky sea salt
How to make it
- Start by cubing your watermelon into uniform 1-inch squares. For the best texture, ensure the watermelon has been chilled in the refrigerator for at least 4 hours prior to cutting.
- Slice the red onion as thinly as possible; if you find raw onion too sharp, soak the slices in ice water for 10 minutes to mellow them out, then pat dry.
- In a large shallow bowl or directly on a corner of your board, layer the watermelon cubes and scattered red onion.
- Sprinkle the feta cheese evenly over the top. Use your hands to tear the basil or mint leaves rather than chopping them with a knife to prevent bruising and to release more aromatic oils.
- Finish with a light squeeze of lime juice and a sprinkle of flaky sea salt just before serving to keep the watermelon from releasing too much water.
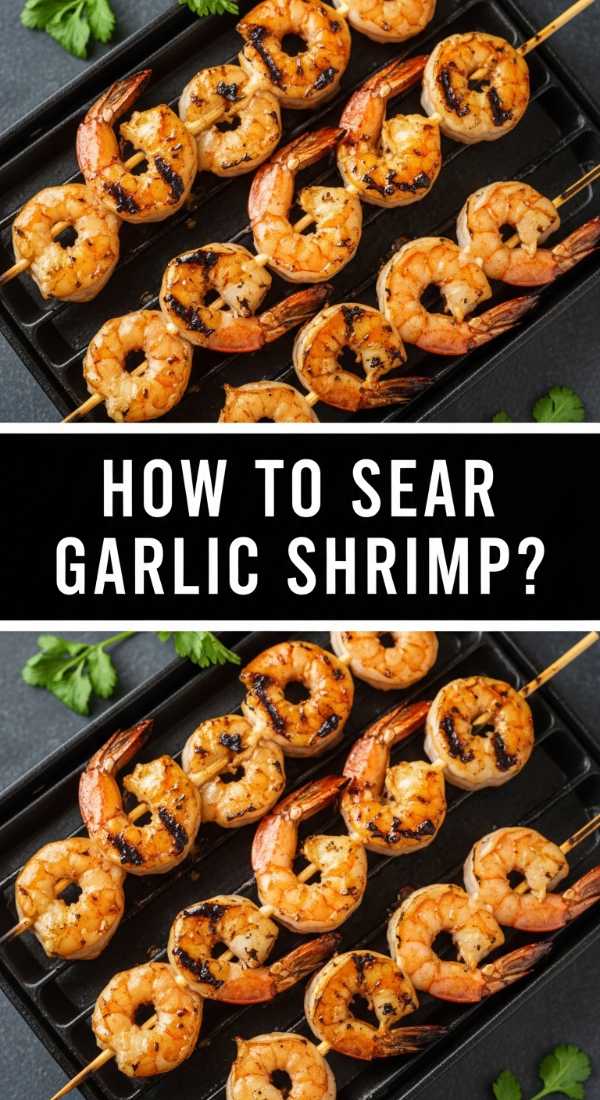
How to sear honey garlic shrimp?
Why we love this
Shrimp is the king of lazy girl proteins because it cooks in literally minutes while looking incredibly fancy. This honey garlic version offers a sticky, sweet, and savory glaze that caramelizes under the heat, creating a glossy finish that is impossible to resist. The texture is snappy and firm, and the way the sauce clings to each piece makes it a finger-food favorite that will be the first thing to disappear from your board.
Ingredients
- 1 lb large shrimp, peeled and deveined
- 3 tablespoons honey
- 2 tablespoons soy sauce
- 1 tablespoon fresh ginger, grated
- 2 cloves garlic, minced
- 1 tablespoon butter
- Green onions for garnish
How to make it
- Whisk the honey, soy sauce, ginger, and garlic together in a small bowl until smooth.
- Pat the shrimp very dry with paper towels; this is the most important step for getting a good sear rather than steaming the seafood.
- Melt the butter in a large skillet over medium-high heat. Once the butter stops foaming and begins to turn a light nut-brown, add the shrimp in a single layer.
- Sear the shrimp for exactly 2 minutes on the first side until they turn pink and opaque at the edges.
- Flip the shrimp and immediately pour the honey garlic sauce into the pan. Let the sauce bubble and reduce for another 1-2 minutes until it becomes thick and syrupy, coating the shrimp perfectly. Serve immediately while hot and glossy.
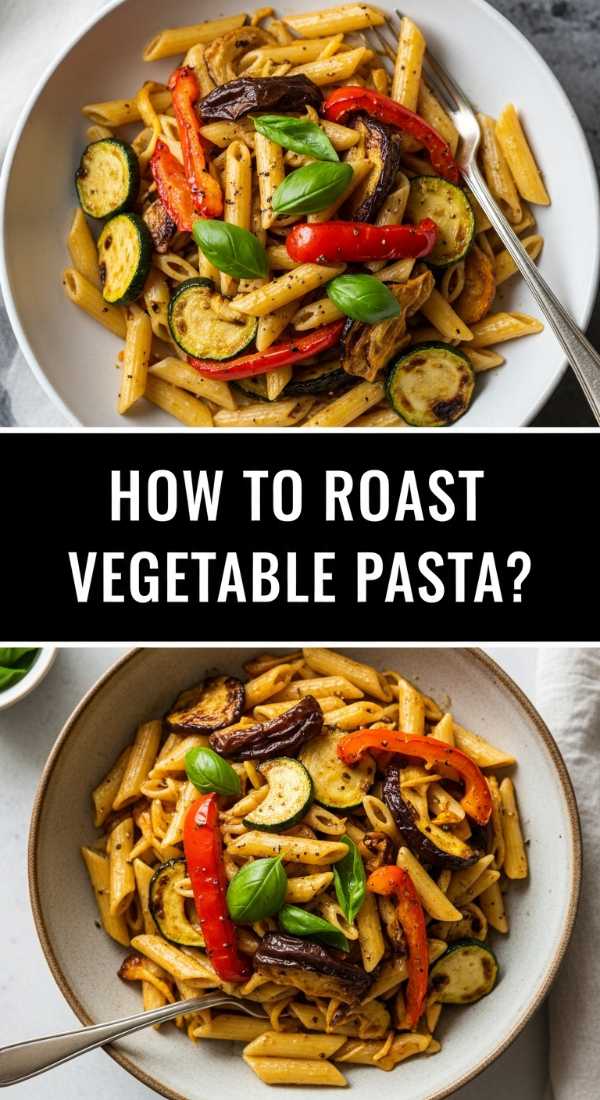
How to roast garden vegetable pasta?
Why we love this
There is nothing more comforting than a warm, vegetable-forward pasta that feels like it came straight from a Tuscan garden. Roasting the vegetables intensifies their natural sugars, turning simple zucchini and peppers into tender, flavor-packed morsels that coat the pasta without the need for a heavy, complicated sauce. The aroma of roasted garlic and charred vegetables creates a cozy, inviting vibe that makes your food board feel like a complete, nourishing meal.
Ingredients
- 1/2 lb short pasta (like penne or fusilli)
- 1 zucchini, sliced into half-moons
- 1 red bell pepper, chopped
- 1 cup cherry tomatoes
- 3 tablespoons olive oil
- 1/2 cup grated parmesan cheese
- Red pepper flakes (optional)
How to make it
- Preheat your oven to 400°F (200°C). On a large sheet pan, toss the zucchini, peppers, and tomatoes with olive oil, salt, and pepper.
- Spread the vegetables in a single layer. Roast for 20-25 minutes, or until the tomatoes have burst and the zucchini edges are starting to brown and caramelize.
- While the veggies roast, boil your pasta in heavily salted water until it is ‘al dente’ (usually 1-2 minutes less than the package instructions). Drain, but reserve 1/4 cup of the starchy pasta water.
- In a large bowl, toss the hot pasta with the roasted vegetables and all the flavorful oils from the sheet pan.
- Add the parmesan cheese and a splash of the reserved pasta water, stirring vigorously to create a light, silky emulsion that coats the noodles. Transfer to a small bowl and nestle it into your board.
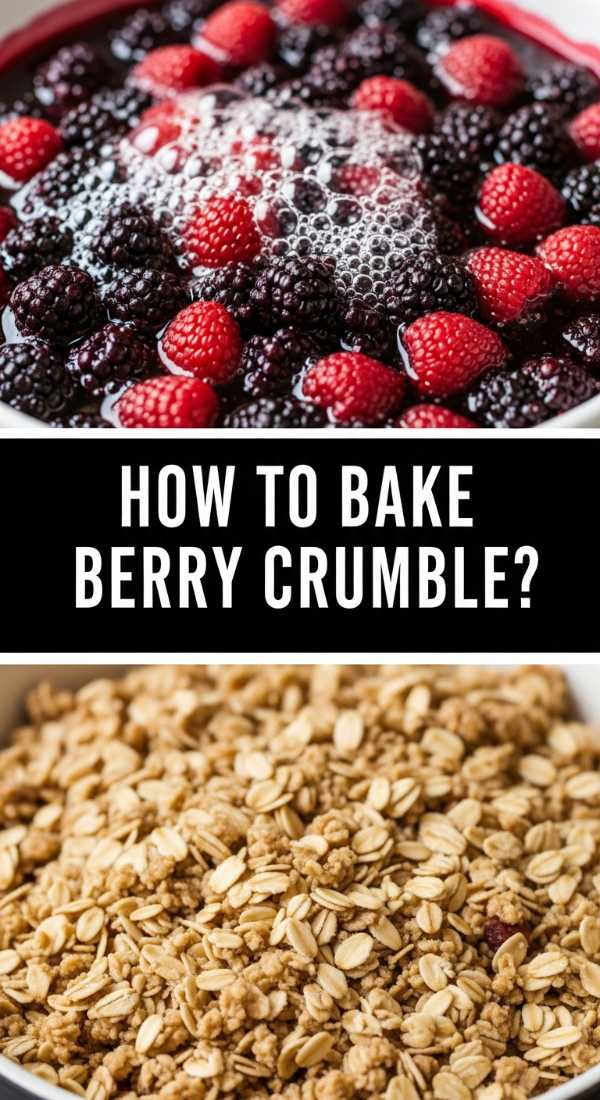
How to bake a berry crumble?
Why we love this
Every great board needs a sweet finish, and a berry crumble is the ultimate low-effort dessert that delivers high-end results. The contrast between the bubbling, tart berry filling and the buttery, golden-brown oat topping is pure bliss. It’s warm, comforting, and filled with the nostalgic scents of cinnamon and baked fruit, providing a rustic charm that rounds out the board’s aesthetic perfectly. It’s basically a hug in a dish.
Ingredients
- 3 cups mixed berries (blueberries, raspberries, blackberries)
- 2 tablespoons sugar
- 1/2 cup rolled oats
- 1/2 cup flour
- 1/2 cup brown sugar
- 1/4 cup cold butter, cubed
- 1 teaspoon cinnamon
How to make it
- Preheat your oven to 375°F (190°C). In a small baking dish, toss the berries with the granulated sugar until evenly coated.
- In a separate bowl, combine the oats, flour, brown sugar, and cinnamon.
- Using your fingers or a fork, work the cold butter cubes into the flour mixture until it resembles coarse crumbs. You want small lumps of butter to remain—this is what makes the topping flaky and crisp.
- Sprinkle the crumble mixture evenly over the berries.
- Bake for 30-35 minutes. You’ll know it’s done when the fruit juices are bubbling vigorously around the edges and the topping has turned a deep, golden brown. Let it cool slightly before placing the dish on your board.
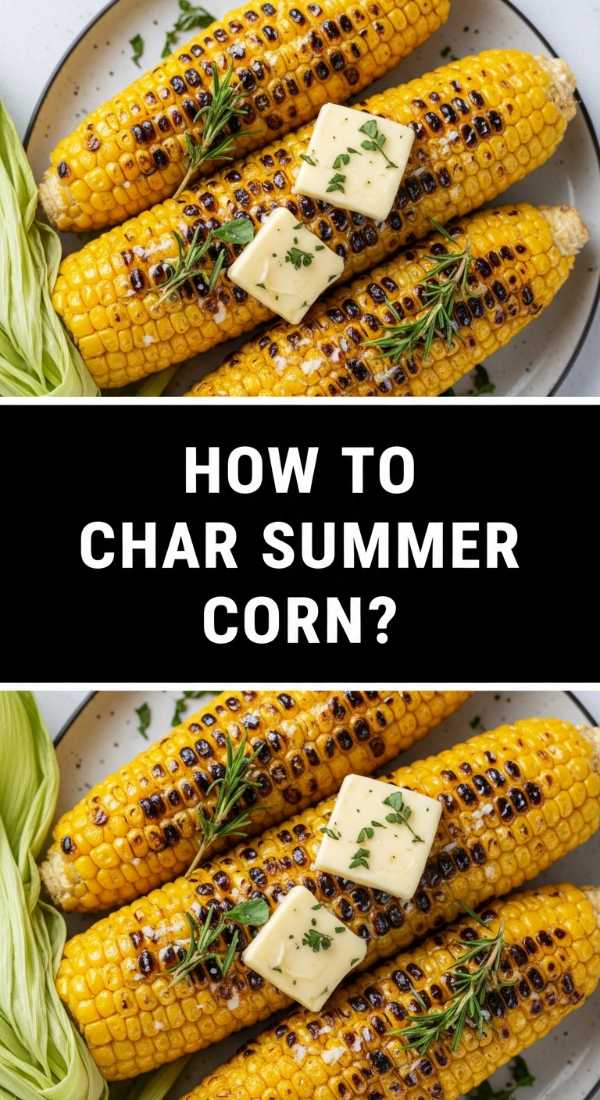
How to char corn on cob?
Why we love this
Charred corn is the quintessential summer side dish that adds texture, sweetness, and a wonderful smoky depth to your food board. There is something incredibly satisfying about the pop of a charred kernel followed by the burst of natural sweetness inside. When you add a bit of lime and cheese, it transforms from a simple vegetable into a street-food inspired delicacy that looks stunning with its blackened edges and bright yellow hues.
Ingredients
- 4 ears of corn, husks removed
- 2 tablespoons melted butter
- 1/2 cup cotija cheese or feta, crumbled
- 1 teaspoon chili powder
- 1 lime, cut into wedges
How to make it
- Heat your grill or a cast-iron grill pan to high heat. You want it screaming hot to get those beautiful black char marks without overcooking the inside of the corn.
- Brush each ear of corn lightly with melted butter.
- Place the corn directly on the heat source. Use tongs to rotate the ears every 2-3 minutes.
- Continue cooking for about 10-12 minutes total. You are looking for even charring across all sides—the kernels should look slightly shrunken and intensely yellow with black spots.
- Remove from heat, brush with a little more butter, and immediately roll in the crumbled cheese and chili powder so it sticks to the warm kernels. Place on the board with lime wedges for squeezing.
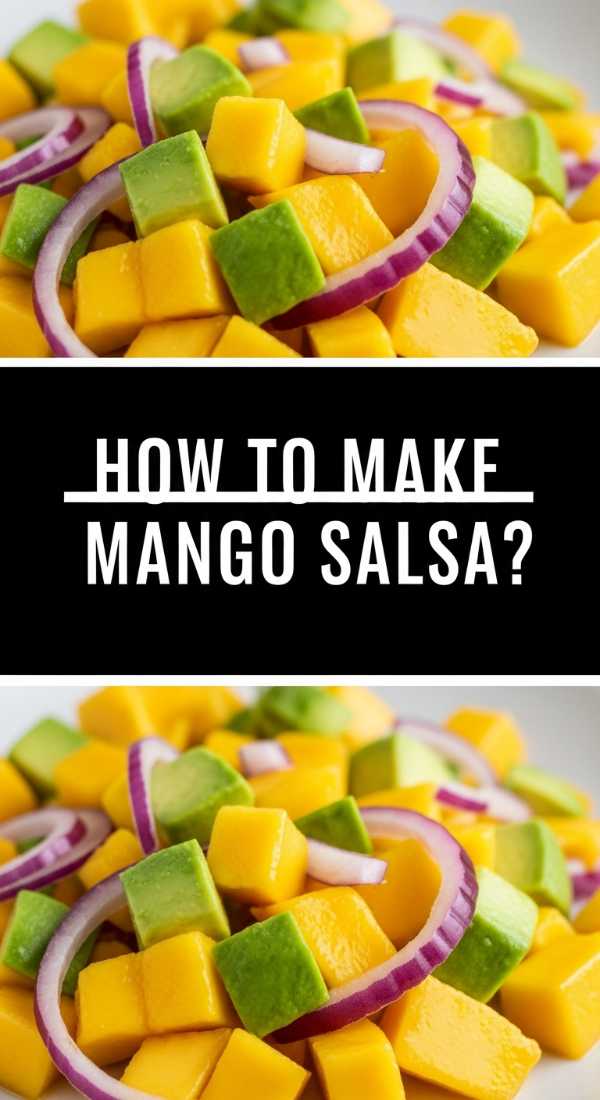
How to make mango avocado salsa?
Why we love this
This salsa is a tropical vacation in a bowl. The buttery richness of the avocado perfectly complements the juicy, sun-drenched sweetness of the mango, creating a vibrant topping that works with almost everything on the board. Its bright colors—neon orange, deep green, and purple—act as a visual centerpiece, while the refreshing, lime-forward flavor profile cleanses the palate between heavier bites of meat or cheese.
Ingredients
- 1 large ripe mango, diced
- 1 firm but ripe avocado, diced
- 1/4 cup red onion, finely minced
- 1/4 cup fresh cilantro, chopped
- Juice of 1 lime
- 1 small jalapeño, seeded and minced (optional)
How to make it
- Begin by dicing your mango and avocado into small, uniform pieces (about 1/2 inch). Try to ensure the avocado is firm enough to hold its shape when stirred.
- Place the mango, avocado, red onion, and jalapeño in a medium bowl.
- Drizzle the lime juice over the avocado immediately; the acidity in the lime is crucial for preventing the avocado from oxidizing and turning brown.
- Gently fold in the chopped cilantro using a rubber spatula. Avoid over-mixing, as you want to keep the pieces of avocado intact rather than turning it into guacamole.
- Taste and add a pinch of salt if needed. Serve in a small bowl surrounded by tortilla chips or pita bread on your board.
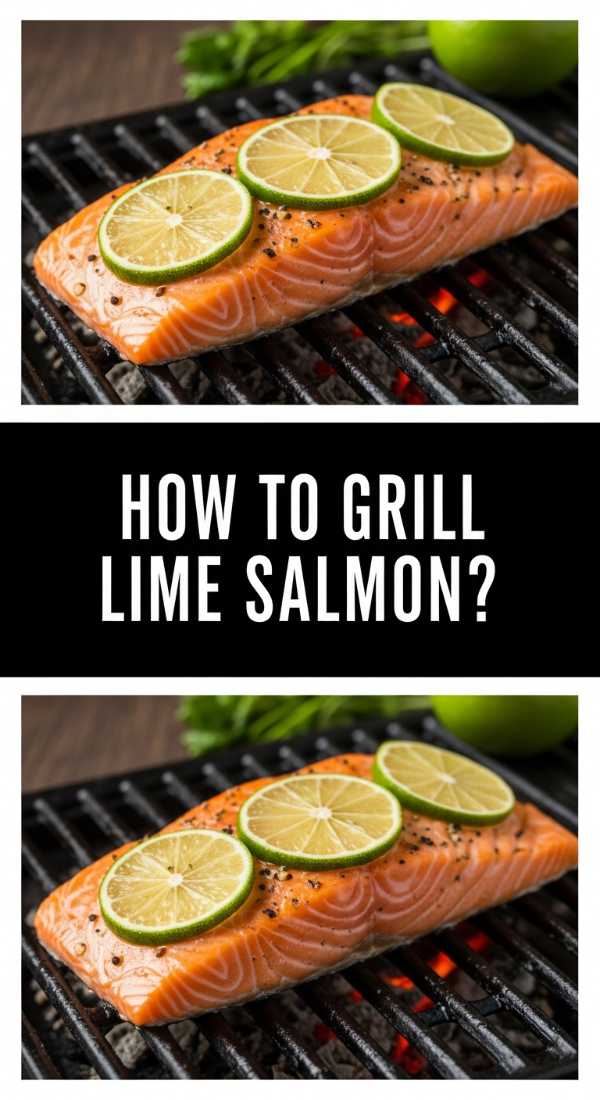
How to grill salmon with lime?
Why we love this
Salmon is the ultimate ‘viral’ protein because it looks so incredibly elegant with very little effort. The combination of charred, crispy skin and flaky, citrus-infused meat is a textural masterpiece. The lime doesn’t just add flavor; it cuts through the richness of the fish, making it feel light and airy—perfect for a grazing board where you want guests to keep coming back for ‘just one more bite.’
Ingredients
- 2 large salmon fillets (about 6 oz each)
- 1 tablespoon olive oil
- 1 lime, thinly sliced
- 1 teaspoon garlic powder
- Salt and cracked black pepper
How to make it
- Preheat your grill to medium-high (about 375°F). Clean the grates thoroughly and wipe them with an oil-soaked paper towel to ensure the fish doesn’t stick.
- Pat the salmon fillets dry and rub both sides with olive oil, salt, pepper, and garlic powder.
- Place the salmon on the grill, skin-side down first. Close the lid and cook undisturbed for 6-8 minutes. The skin will become crispy and naturally release from the grates when it’s ready to flip.
- Carefully flip the fillets using a wide spatula. Place a few thin lime slices directly onto the grilled side of the fish.
- Cook for another 2-3 minutes for a medium-well finish. The fish should be opaque and flake easily with a fork. Remove from the grill and let it rest for 3 minutes before placing it on the board.
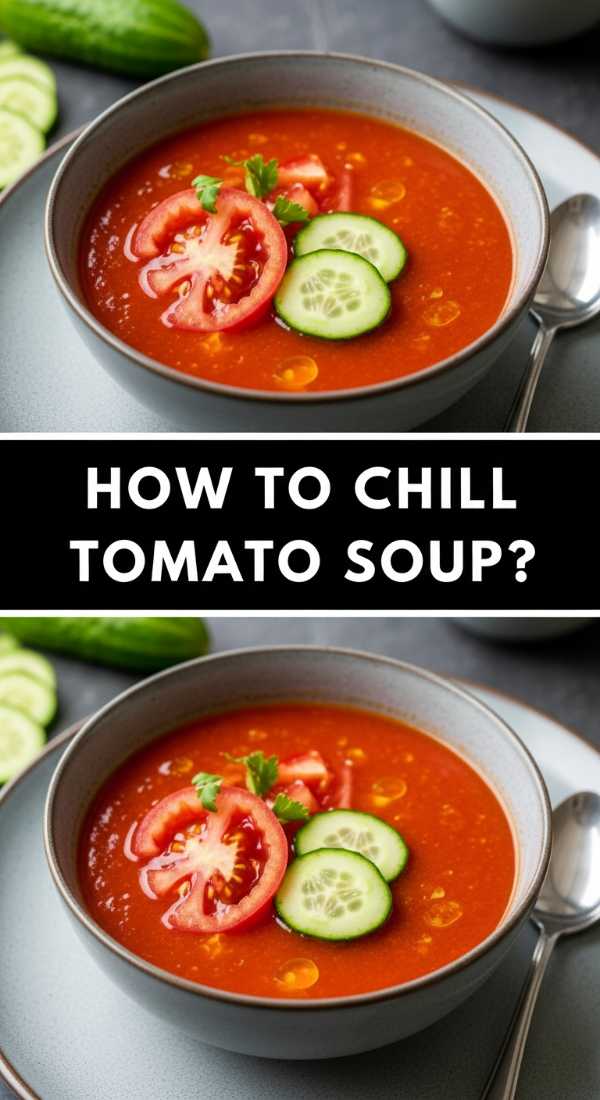
How to chill garden gazpacho?
[IMAGE_10]
Why we love this
Gazpacho is the sophisticated, ‘lazy’ answer to summer soup. Because it’s served cold and requires zero actual cooking, it’s a stress-free addition that feels incredibly upscale. The texture is smooth yet slightly pulpy, echoing the freshness of a summer garden with every spoonful. It’s bright, peppery, and serves as a wonderful cooling element to balance out grilled meats and spicy salsas on your viral board.
Ingredients
- 2 lbs ripe tomatoes, cored and chopped
- 1 English cucumber, peeled and chopped
- 1 red bell pepper, seeded and chopped
- 2 cloves garlic
- 2 tablespoons sherry vinegar or red wine vinegar
- 1/2 cup extra virgin olive oil
- A dash of hot sauce
How to make it
- Place the tomatoes, cucumber, bell pepper, and garlic into a high-speed blender.
- Add the vinegar, olive oil, and a generous pinch of salt and pepper.
- Pulse until the mixture is completely smooth. If you prefer a more rustic texture, you can stop early, but for a viral board, a silky-smooth finish usually looks more elegant.
- Pour the mixture into a glass pitcher or bowl and refrigerate for at least 2 hours. This chilling time is non-negotiable, as it allows the flavors of the raw vegetables to meld and develop.
- Just before serving, give it a quick stir. Serve in small glass votives or shot glasses on the board for easy, mess-free sipping.
The Final Touch for Your Lazy Girl Masterpiece
Building a viral food board isn’t about being a master chef; it’s about the art of assembly and choosing flavors that speak for themselves. By combining these ten easy-to-prep dishes, you’ve created a multi-sensory experience that covers every craving—from sweet and smoky to zesty and fresh. The best part? You spent more time enjoying the process than stressing over the stove. So, grab your biggest wooden board, arrange these dishes with a little bit of flair, and get ready for the compliments to roll in!