
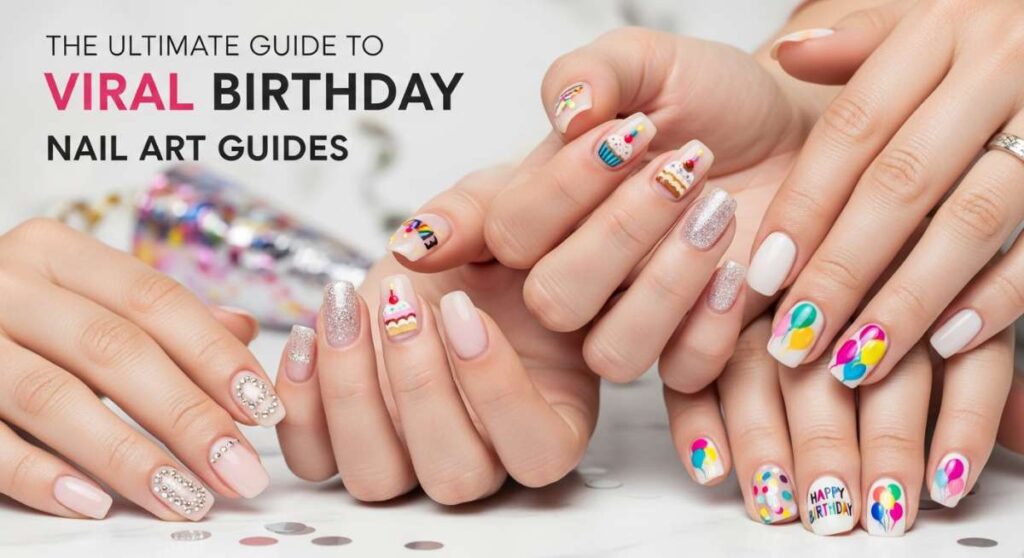
The Ultimate Guide to Viral Birthday Nail Art Trends
Hello, my loves! Can we just take a second to breathe in the magic of your special day? There is something so incredibly intimate and sweet about that moment you look down at your hands and see a tiny masterpiece reflecting exactly who you are becoming this year. Whether you’re blowing out candles or dancing under the stars, your birthday nails are like a soft, sparkling promise to yourself to keep shining.
I know how much it means to feel ‘put together’ when all eyes are on you. It’s not just about the polish; it’s about that cloud-soft confidence that comes from knowing every little detail, right down to your fingertips, is perfectly you. I’ve gathered the most viral, heart-tugging trends that are taking over our feeds right now, just for you, my sweet friend.
So, grab a warm cup of tea, settle into your favorite cozy chair, and let’s find the look that makes your heart skip a beat. You deserve to feel like the masterpiece you are!
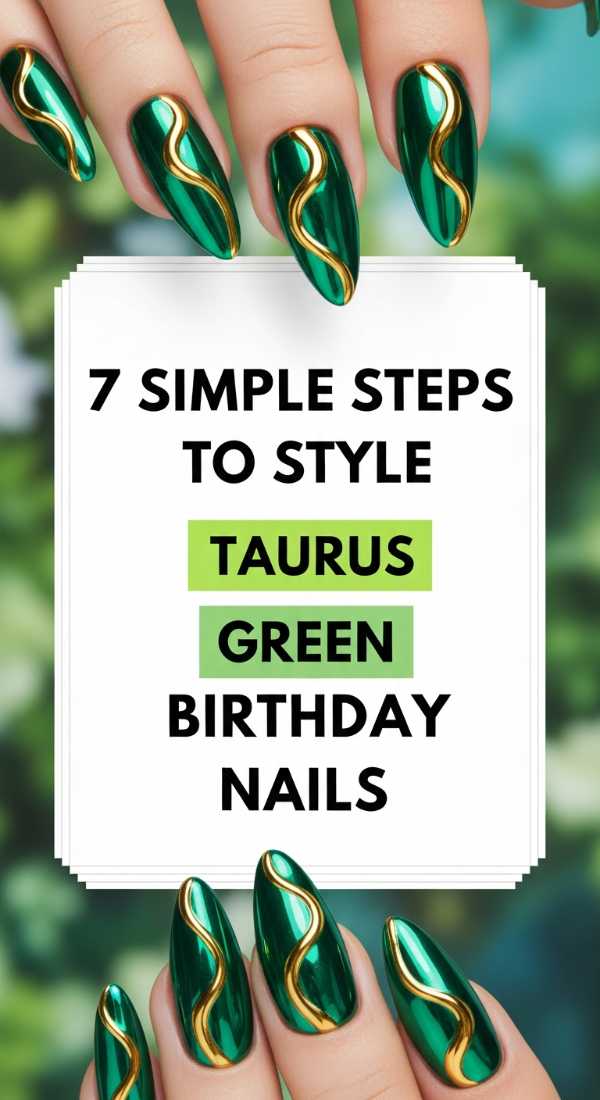
7 Simple Steps to Style Taurus Green Birthday Nails
Why to love these Nails:
Oh, my earthy Taurus loves, these nails are a grounding embrace. They capture that lush, botanical energy of May, making you feel connected to the blooming world around you while radiating a quiet, expensive luxury.
Essential Items:
- Sage green cream polish
- Forest green jelly polish
- Gold leaf flakes
- Matte top coat
- Precision detailing brush
How to Prepare:
- Gently shape your nails into a soft oval to mimic natural petals.
- Apply a nourishing base coat to protect your natural nail.
- Paint two thin layers of your favorite sage green.
- Use the forest green jelly to create a subtle gradient at the tips.
- Press small fragments of gold leaf into the tacky layer.
- Seal with a matte top coat for a velvet-soft finish.
- Hydrate your cuticles with a botanical oil.
Budget Range
- Essie ‘Win Me Over’ Sage ($10)
- Zoya ‘Hunter’ Forest Green ($12)
- Generic Gold Leaf Foil Kit ($7)
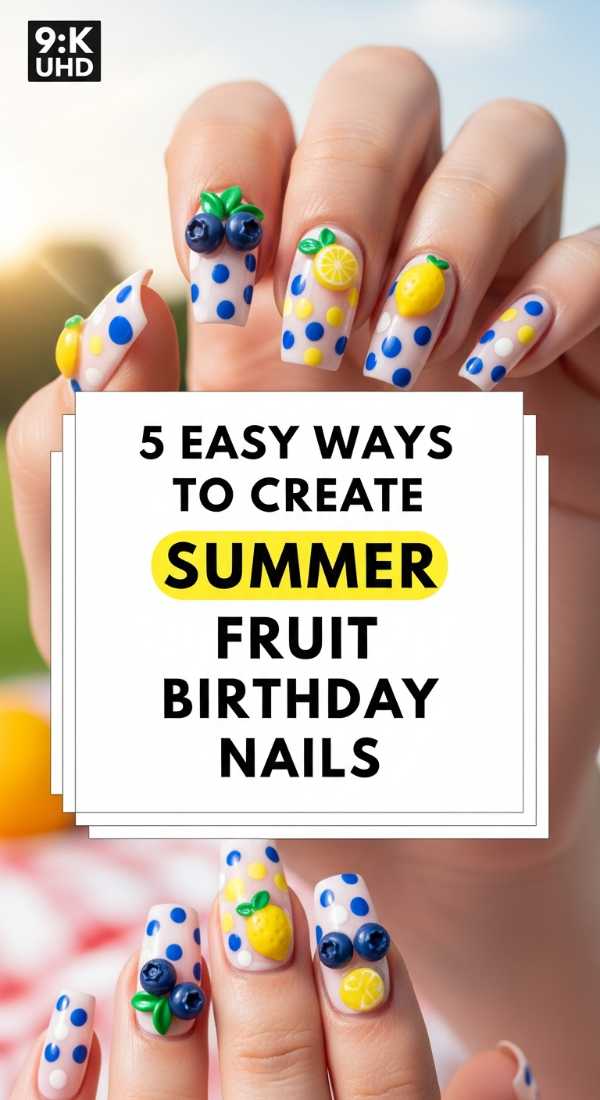
5 Easy Ways to Create Summer Fruit Birthday Nails
Why to love these Nails:
These are pure joy in a bottle! They remind me of sun-drenched picnics and laughter. They are playful, sweet, and perfectly capture that juicy summer birthday spirit that we all adore.
Essential Items:
- Neon pink and lime green polish
- A fine dotting tool
- White acrylic paint
- High-shine gloss top coat
- Small nail art brush
How to Prepare:
- Paint your base in a sheer milky white to make the fruit colors pop.
- Use a dotting tool to create tiny ‘seeds’ for strawberries or watermelons.
- Apply a thin ‘rind’ of green along the edge for a citrus vibe.
- Add a tiny white ‘highlight’ dot to each fruit for a 3D juicy effect.
- Finish with two thick layers of gloss for a ‘wet’ summer look.
Budget Range
- Sally Hansen Insta-Dri in ‘Lime’ ($6)
- OPI ‘Strawberry Margarita’ ($11)
- Nail Art Dotting Tool Set ($5)
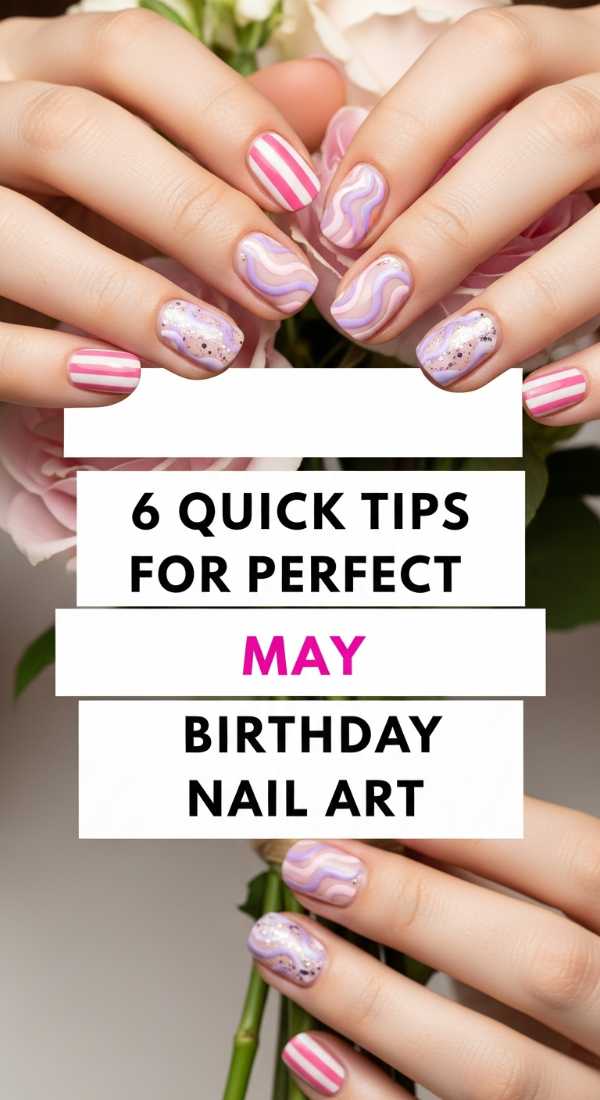
6 Quick Tips for Perfect May Birthday Nail Art
Why to love these Nails:
May birthdays are all about the transition from spring whispers to summer shouts. These tips help you capture that delicate balance of floral elegance and vibrant life.
Essential Items:
- Emerald green gemstone polish
- Dried pressed flowers
- Tweezers
- Clear builder gel
- Nude base polish
How to Prepare:
- Choose a nude base that matches your skin tone perfectly for a ‘quiet luxury’ feel.
- Pick out the smallest dried flowers to ensure they lay flat.
- Apply a tiny drop of clear gel where you want the flower to sit.
- Use tweezers to place the flower and cure under a UV light.
- Encapsulate the flower with a second layer of builder gel.
- Buff the surface smooth before adding your final top coat.
Budget Range
- Pressed Flower Nail Kit ($9)
- Modelones Clear Builder Gel ($12)
- Orly ‘Nude’ Foundation ($15)
8 Steps to Design Trendy 3D Birthday Nails

Why to love these Nails:
There is something so tactile and modern about 3D art. It’s like wearing little sculptures on your hands! They are bold, artistic, and definitely a conversation starter for your birthday brunch.
Essential Items:
- Non-wipe 3D sculpting gel
- Chrome powder
- Silicone tool
- UV/LED Lamp
- Sturdy base color
How to Prepare:
- Apply your base color and cure.
- Wipe off the inhibition layer so the 3D gel doesn’t slide.
- Take a small amount of sculpting gel on your silicone tool.
- Create ‘blobs’, swirls, or heart shapes on the nail surface.
- Flash cure for 10 seconds to set the shape.
- Fully cure for 60 seconds once the design is complete.
- Rub chrome powder over the raised 3D sections.
- Seal the entire nail with a tempered top coat.
Budget Range
- Saviland 3D Sculpture Gel ($14)
- Artdone Chrome Powder Set ($8)
- Silicone Nail Tools ($6)
4 Pro Secrets for Baddie Birthday Nails with Charms
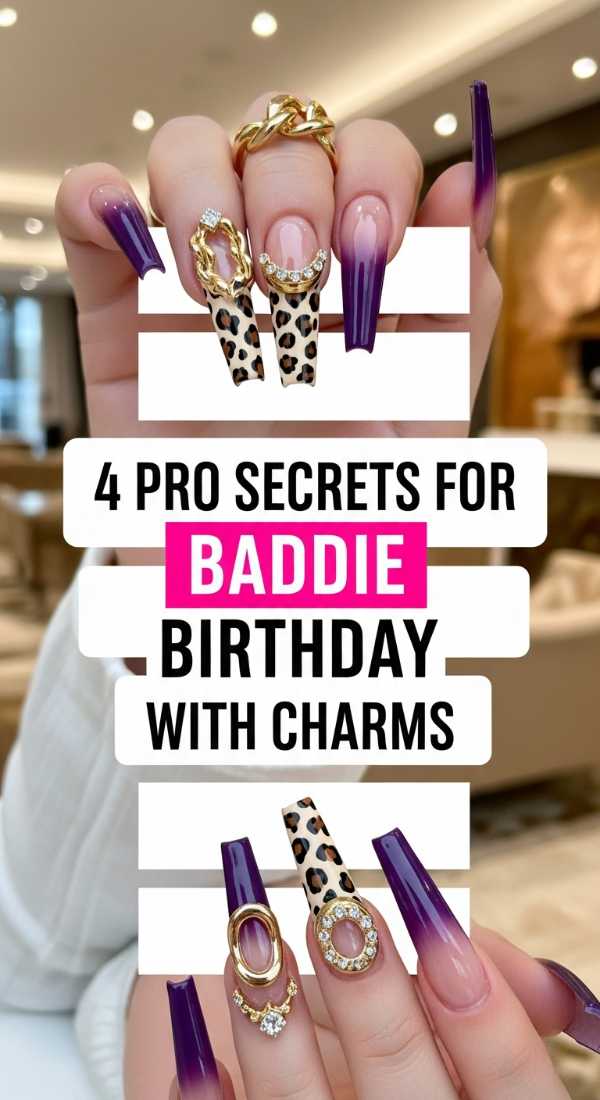
Why to love these Nails:
This look is for my loves who want to make a statement! It’s high-glam, maximalist, and feels like you’re wearing royal jewels. It’s the ultimate ‘it-girl’ birthday vibe.
Essential Items:
- Oversized bow or bear charms
- Nail rhinestone glue (extra strength)
- Long coffin or stiletto tips
- UV flashlight for ‘flash freezing’
How to Prepare:
- Place a generous bead of rhinestone glue exactly where you want the weight centered.
- Press the charm firmly and use a UV flashlight to hold it in place instantly.
- Fill any gaps between the charm and the nail with more glue to prevent snagging.
- Apply a top coat *around* the charm, never over it, to keep its sparkle.
Budget Range
- Makartt Rhinestone Glue ($10)
- Kawaii Nail Charm Bulk Pack ($12)
- Beatles Coffin Nail Tips ($15)
9 Easy Steps for Glowing Golden Birthday Nails

Why to love these Nails:
A golden birthday happens only once, and these nails make sure you glow from the inside out. They feel warm, expensive, and absolutely celebratory.
Essential Items:
- Champagne gold glitter
- Metallic gold liner gel
- Nude jelly polish
- Gold studs
- Flat brush
How to Prepare:
- Apply a sheer nude jelly base for a ‘clean’ look.
- Fade gold glitter from the cuticle upwards.
- Use a liner gel to draw a thin ‘French’ tip in metallic gold.
- Place a single gold stud at the base of each accent nail.
- Apply a second layer of glitter to the tips for depth.
- Smooth the surface with a thick top coat.
- Cure thoroughly to ensure the metallics don’t dull.
- Massage a shimmering lotion into your hands.
- Take a photo in golden hour light!
Budget Range
- Holler and Glow Gold Polish ($8)
- Born Pretty Gold Liner Gel ($7)
- OPI ‘Bubble Bath’ Jelly ($11)
3 Expert Ways to Mix Chrome for Taurus Birthday Nails
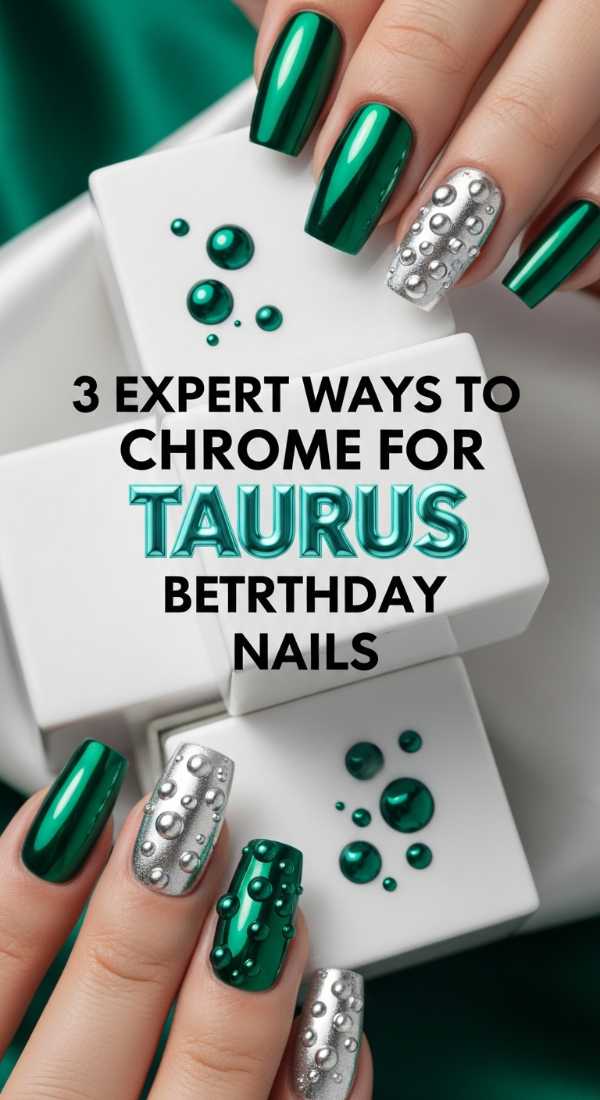
Why to love these Nails:
Chrome can be intense, but for our Taurus friends, we want it to feel like polished earth or minerals. These methods give you a sophisticated, iridescent glow that’s totally viral-worthy.
Essential Items:
- Green chrome powder
- Sponge applicator
- No-wipe top coat
- Water-based top coat (to prevent cracking)
How to Prepare:
- The ‘Rub’ Method: Apply over a black base for a deep, oil-slick emerald effect.
- The ‘Mix’ Method: Mix a tiny bit of powder into your top coat for a subtle shimmer veil.
- The ‘Gradient’ Method: Only apply chrome to the tips, fading it into a matte green base.
Budget Range
- PrettyDiva Mermaid Chrome ($9)
- Manicure Sponge Applicators ($4)
- Mylee No Wipe Top Coat ($13)
10 Ways to Apply Dots for Summer Birthday Nails
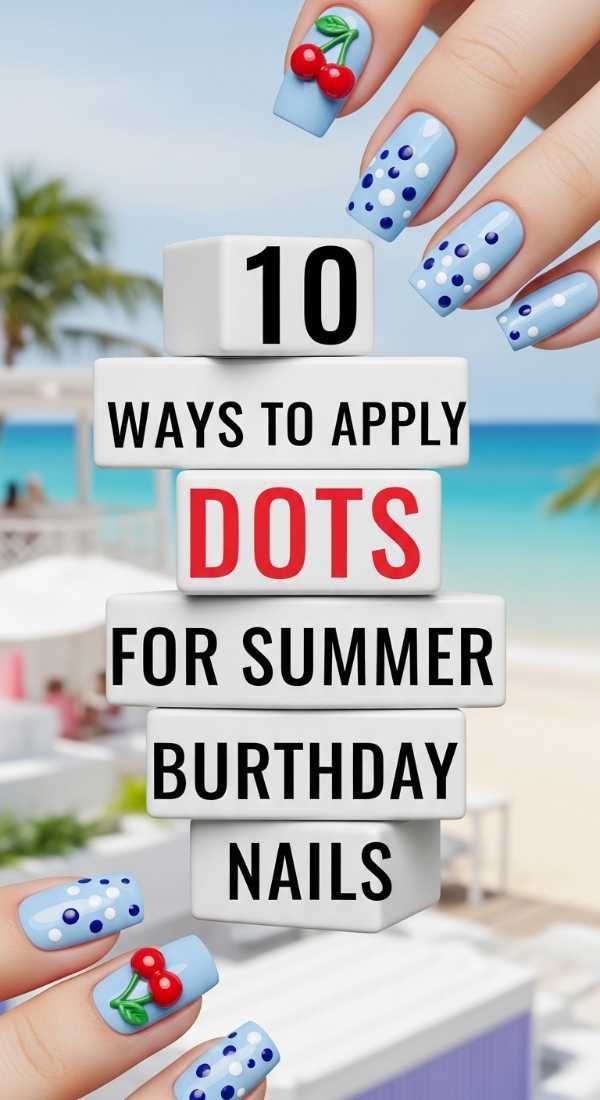
Why to love these Nails:
Dots are the simplest way to look like a pro! They are darling, retro, and so easy to customize with your favorite summer colors. They feel like confetti for your hands!
Essential Items:
- Multi-sized dotting tools
- Bright summer palette (Yellow, Teal, Coral)
- Matte white polish
How to Prepare:
- Daisies: 5 white dots around one yellow dot.
- Minimalist: One single dot at the base of a naked nail.
- Confetti: Randomly spaced dots of various sizes and colors.
- Vertical line: A straight row of dots down the center.
- French border: Small dots lining the ‘smile line’ of the tip.
- Gradient dots: Large at the bottom, tiny at the top.
- Animal print: Irregular dots with a black outline.
- Overlapping: Semi-transparent dots for a bokeh effect.
- Negative space: Dots forming a heart shape.
- Rainbow arc: Dots in a semi-circle across the tip.
Budget Range
- Color Club Summer Collection ($15)
- Basic Dotting Tool Set ($5)
- Sinful Colors White ($3)
5 Simple Tricks for Long Baddie Birthday Nails
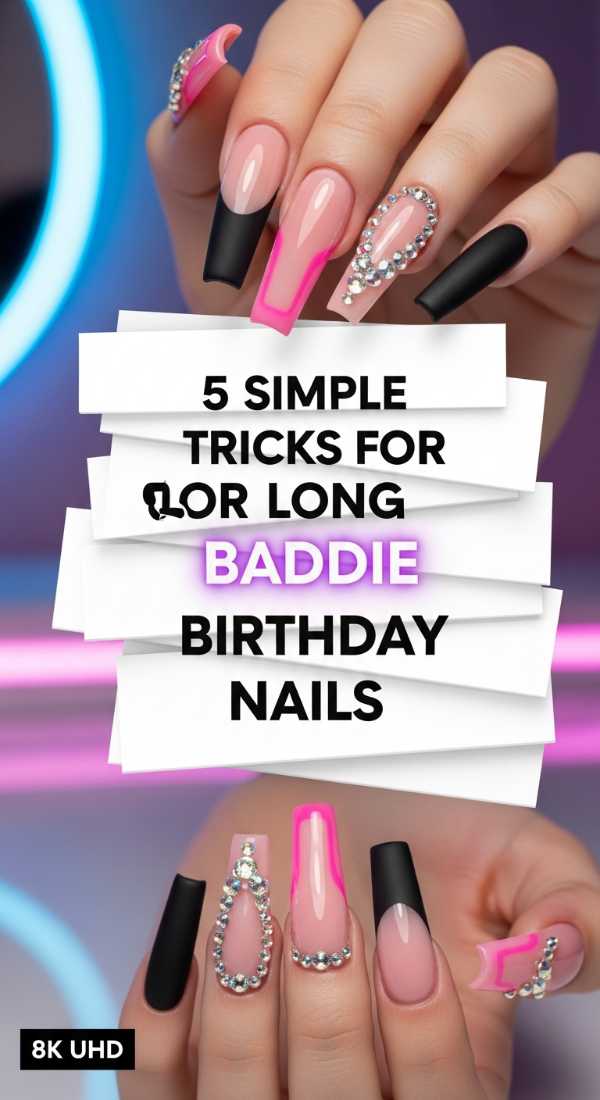
Why to love these Nails:
Long nails provide such a beautiful canvas for art. These tricks ensure they stay strong and look fierce throughout your entire birthday weekend and beyond.
Essential Items:
- Nail strengthener
- Full-cover gel tips
- Strong adhesive
- Buffer block
- Cuticle remover
How to Prepare:
- Always prep by removing the shine from your natural nail for better grip.
- Choose ‘Extra Long’ tips but file the sides slightly for a slimmer look.
- Apply adhesive to both the tip and your natural nail to avoid air bubbles.
- Use a ‘pinching’ tool while curing to create a deep C-curve for strength.
- Finish with a double layer of top coat to prevent any bending.
Budget Range
- Apres Gel-X Extension Kit ($30)
- Nail Bond Glue ($8)
- Flowery Buffer Blocks ($5)
6 Unique Ideas to Craft Trendy Birthday Nails at Home
Why to love these Nails:
There is a special kind of pride in saying ‘I did them myself!’ These ideas are beginner-friendly but look like they cost a fortune at a high-end studio.
Essential Items:
- Makeup sponge
- Dish soap (for bubble nails)
- Kitchen wrap (for marble nails)
- Sticker decals
- Nail striping tape
How to Prepare:
- The ‘Marble’ Look: Crinkle kitchen wrap and dab it onto wet polish.
- The ‘Ombre’ Look: Use a makeup sponge to dab a color transition.
- The ‘Bubble’ Look: Apply soap suds to wet top coat and cure for texture.
- The ‘Sticker’ Hack: Use high-quality decals and seal with two layers of top coat.
- The ‘Tape’ Design: Use striping tape for perfect geometric lines.
- The ‘Hand-Painted’ Heart: Use a toothpick to drag two dots together.
Budget Range
- Deco Miami Nail Stickers ($10)
- Wedge Makeup Sponges ($4)
- Striping Tape Set ($6)
Stay Shining, Birthday Queen!
I hope these ideas sparked a little light in your soul, my loves. Remember, your birthday isn’t just a day on the calendar—it’s a celebration of the beautiful journey you’re on. Your nails are just a small way to honor that light. Whatever style you choose, wear it with your head held high and a heart full of gratitude. I’m sending you so much love and the sparkliest birthday wishes!