
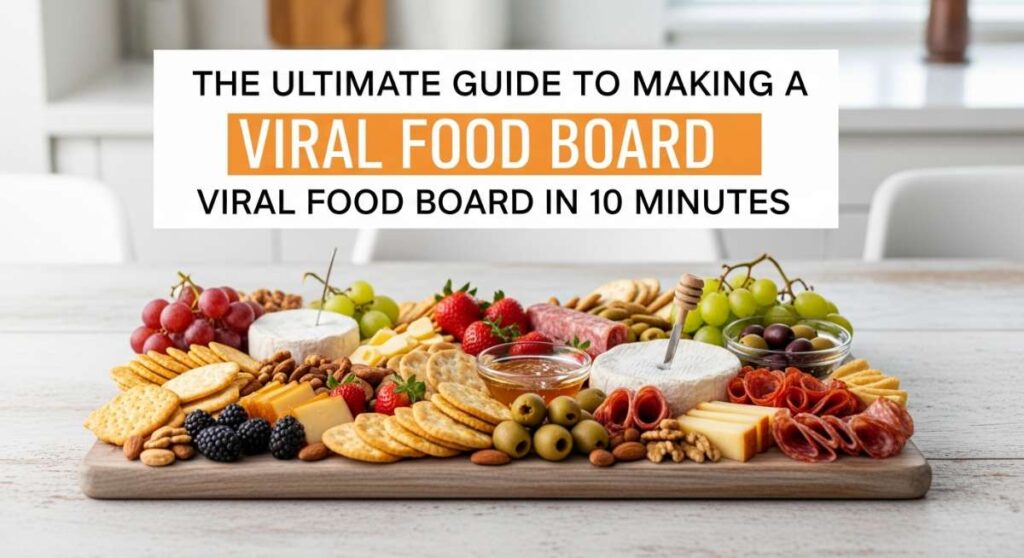
We’ve all been there—that frantic twenty minutes before guests arrive where the kitchen looks like a disaster zone and your stress levels are through the roof. I used to think hosting meant five-course meals and complicated timing, but lately, I’ve embraced the magic of the ‘Viral Food Board.’ It’s the ultimate way to bring people together without being stuck behind the stove all night, turning dinner into a communal, tactile experience that everyone raves about long after the last bite is gone.
Creating a crowd-pleasing board is all about variety, and nothing anchors a board quite like perfectly prepared chicken. By mixing and matching different textures—think crispy skin, tender shredded bites, and sticky glazed finishes—you create a landscape of flavor that feels both gourmet and totally approachable. Let’s dive into my favorite ways to prep the ultimate chicken components for a board that will literally break the internet (and satisfy every single craving).
How to bake crispy chicken thighs?

Why we love this
There is something fundamentally comforting about the sound of a fork scraping against perfectly rendered, golden-brown chicken skin. When you bake thighs at a high temperature, the fat underneath the skin melts away, basting the meat in its own juices while creating a shatteringly crisp exterior that rivals any fried chicken. The aroma that fills your kitchen—salty, savory, and rich—is enough to make anyone’s mouth water, and that first bite offers a incredible contrast between the crunchy shell and the buttery, succulent meat hidden inside.
Ingredients
- 4-6 Bone-in, skin-on chicken thighs
- 2 tablespoons Avocado oil or melted ghee
- 1 tablespoon Sea salt
- 1 teaspoon Cracked black pepper
- 1 teaspoon Garlic powder
How to make it
- Preheat your oven to 425°F (220°C). High heat is the absolute secret to achieving that golden, crispy skin without overcooking the center.
- Pat the chicken thighs extremely dry using paper towels. Moisture is the enemy of crispiness; any dampness will cause the chicken to steam rather than sear.
- Drizzle the oil over the thighs and rub it in thoroughly, ensuring every nook and cranny of the skin is coated.
- Sprinkle the salt, pepper, and garlic powder evenly. Lift the skin slightly to get some seasoning underneath for maximum flavor.
- Place a wire rack over a rimmed baking sheet and arrange the chicken on top. This allows hot air to circulate under the meat, crisping the bottom as well as the top.
- Bake for 35-45 minutes. You are looking for an internal temperature of 165°F (74°C) and skin that looks deep amber and feels hard to the touch when tapped with a knife.
How to cook crockpot chicken?

Why we love this
Crockpot chicken is the ultimate ‘set it and forget it’ luxury for any busy host. As it simmers low and slow for hours, the connective tissues break down entirely, resulting in meat that is so tender it literally falls apart with the gentlest nudge of a spoon. The slow cooking process allows the chicken to absorb every drop of seasoning, creating a deeply infused, moist texture that is perfect for piling onto crusty bread or dipping into cool aioli on your food board. It’s the warm, cozy heart of a communal meal.
Ingredients
- 1.5 lbs Boneless, skinless chicken breasts or thighs
- 1/2 cup Chicken bone broth
- 1 teaspoon Dried oregano
- 1/2 teaspoon Onion powder
- Salt and pepper to taste
How to make it
- Place the chicken pieces in the bottom of your slow cooker in a single layer to ensure even heat distribution.
- Whisk the dried oregano, onion powder, salt, and pepper into the chicken broth, then pour the mixture over the meat. Do not submerge the chicken completely; you want it to braise, not boil.
- Set the crockpot to ‘Low’ for 6 to 7 hours or ‘High’ for 3 to 4 hours. Professional tip: ‘Low’ always yields a more tender, less ‘stringy’ result for chicken.
- Around the halfway mark, flip the pieces once to ensure the top stays moist and seasoned.
- Once the timer is up, check that the meat is opaque throughout. Remove the chicken to a bowl and use two forks to shred it while it’s still hot, then toss it back into the residual juices for 10 minutes to soak up more flavor.
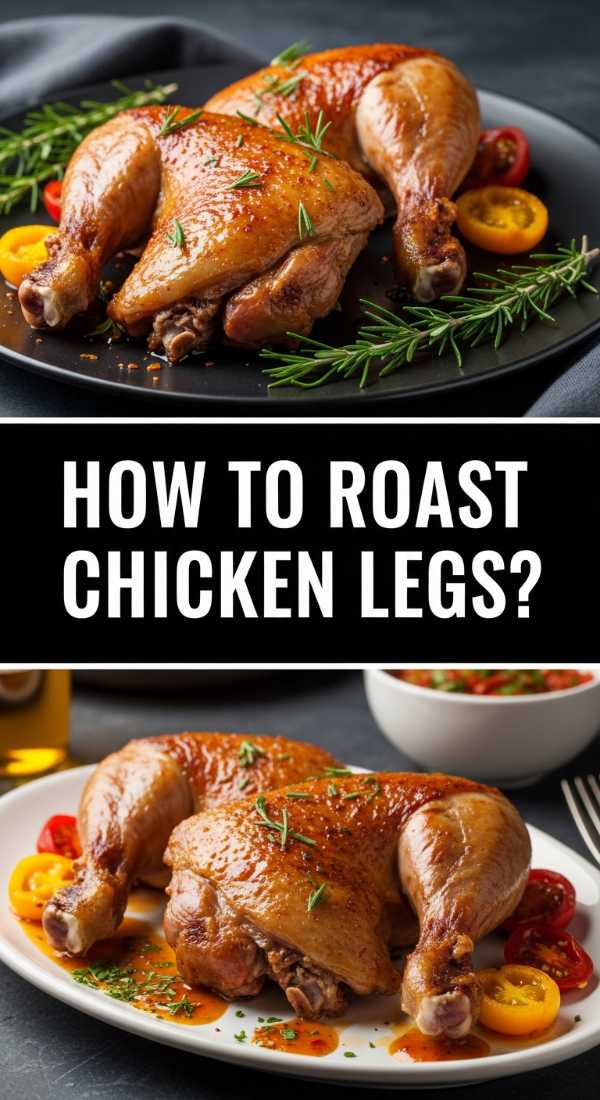
How to roast chicken legs?
Why we love this
Chicken legs are the unsung heroes of the food board world, offering a rustic and playful ‘handle’ for guests to grab. When roasted properly, the dark meat remains incredibly juicy and flavorful, while the skin takes on a beautiful, lacquered sheen that looks stunning under dining room lights. There’s a primal satisfaction in picking up a perfectly roasted drumstick, feeling the heat, and smelling the roasted herbs that have been baked right into the surface. It’s effortless, elegant, and always the first thing to disappear.
Ingredients
- 8 Chicken drumsticks
- 3 tablespoons Olive oil
- 1 tablespoon Smoked paprika
- 1 tablespoon Dried rosemary, crushed
- Kosher salt to taste
How to make it
- Bring your chicken legs to room temperature for about 20 minutes before cooking. This ensures the meat cooks evenly from the bone out.
- Preheat your oven to 400°F (200°C). A slightly lower temperature than baking thighs helps keep the lean drumstick meat from drying out.
- In a large bowl, toss the drumsticks with olive oil, smoked paprika, rosemary, and salt until they are vibrantly red and well-coated.
- Arrange the legs on a parchment-lined baking sheet, making sure they aren’t touching so the skin can brown effectively.
- Roast for 35 to 40 minutes, turning them once at the 20-minute mark to ensure the underside gets that same beautiful roasted color.
- Look for the juices to run clear when the thickest part of the leg is pierced. Let them rest for 5 minutes before adding to your board to allow the juices to redistribute.
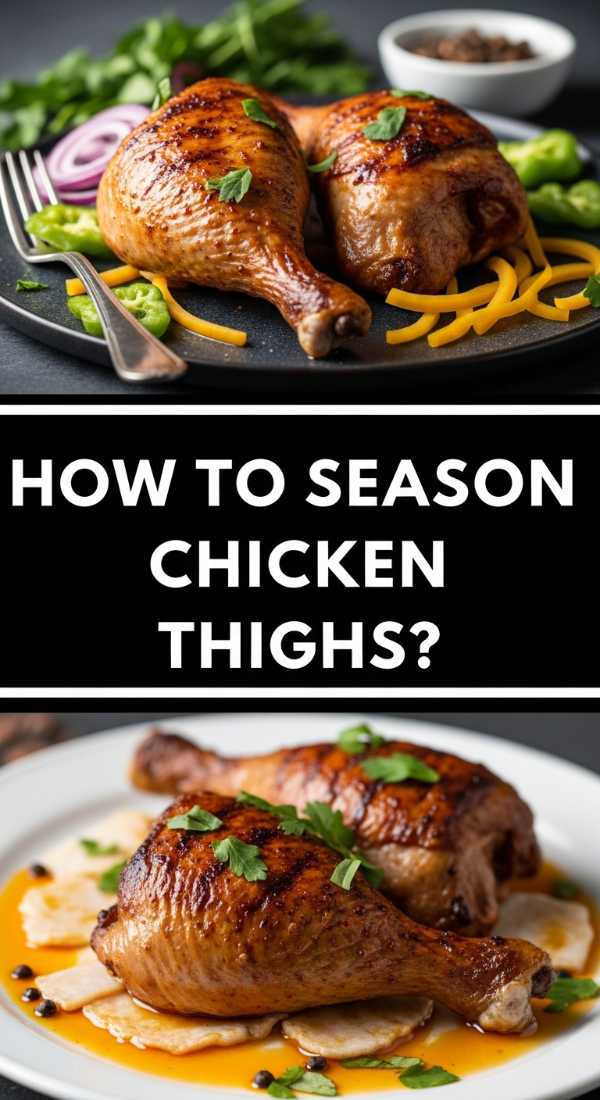
How to season chicken thighs?
Why we love this
Seasoning is the soul of any dish, and with chicken thighs, it’s the difference between ‘just okay’ and ‘absolutely legendary.’ A well-seasoned thigh carries a complex profile—salty, a little spicy, and deeply aromatic—that cuts through the richness of the dark meat. We love this process because it allows for total customization; whether you want a Mediterranean vibe or a smoky BBQ feel, the seasoning sets the entire mood of your food board. It’s the stage where you transform simple protein into a culinary centerpiece.
Ingredients
- 2 lbs Chicken thighs
- 2 teaspoons Cumin
- 1 teaspoon Chili powder
- 1 teaspoon Brown sugar (for caramelization)
- 1 teaspoon Sea salt
- 1/2 teaspoon Lemon zest
How to make it
- Start by patting the chicken completely dry. Seasoning sticks better to dry skin and creates a paste-like consistency when mixed with the natural oils.
- In a small ramekin, mix your dry spices together thoroughly. Adding a touch of sugar helps the chicken develop a dark, caramelized crust during cooking.
- Generously sprinkle the blend from about 6 inches above the chicken; this ‘snowing’ technique ensures an even layer without clumps.
- Use your hands to press the spices into the meat and skin. Don’t forget the underside!
- For the best results, let the seasoned chicken sit in the fridge uncovered for 30 minutes to 2 hours. This acts as a ‘dry brine,’ intensifying the flavors and tightening the skin for better texture.
How to sear juicy chicken?

Why we love this
Searing is an art form that locks in moisture while creating a deeply flavorful crust through the Maillard reaction. We love this method because it’s fast and produces a restaurant-quality finish that looks incredible on a board. The sound of the sizzle when the meat hits the hot pan is pure kitchen magic, and the result is a piece of chicken that is bronzed on the outside while remaining incredibly plump and dripping with juice on the inside. It provides that essential ‘meaty’ bite that everyone craves.
Ingredients
- 4 Boneless chicken breasts or thighs
- 2 tablespoons High-smoke point oil (like Grapeseed)
- 1 tablespoon Butter
- Salt and pepper
- Fresh thyme sprigs
How to make it
- Heat a heavy-bottomed skillet (cast iron is best) over medium-high heat until it is wisps of smoke just start to appear.
- Season your chicken generously with salt and pepper right before placing it in the pan.
- Lay the chicken away from you into the hot oil to avoid splashes. Do not move it! Let it sear undisturbed for 5-6 minutes to develop a thick, golden crust.
- Flip the chicken once the edges look cooked and the meat releases easily from the pan. If it sticks, it’s not ready to flip.
- Add the butter and thyme to the pan. As the butter melts and foams, use a spoon to baste the hot fat over the chicken for the last 2-3 minutes of cooking.
- Remove when the internal temp reaches 160°F (it will carry over to 165°F while resting). Let it rest for at least 8 minutes before slicing for the board.
How to glaze chicken thighs?

Why we love this
A glazed chicken thigh is the ‘candy’ of the savory world. The sticky, sweet, and tangy coating clings to the meat, creating a glossy finish that looks absolutely irresistible on a viral food board. We love how the sugars in the glaze caramelize under the heat, creating little charred bits that burst with flavor. It adds a necessary layer of sweetness that balances out the salty cheeses and pickled vegetables usually found on a grazing platter, making every bite a complex explosion of taste.
Ingredients
- 6 Skin-on chicken thighs
- 1/4 cup Honey or Maple syrup
- 2 tablespoons Soy sauce
- 1 tablespoon Dijon mustard
- 1 teaspoon Grated ginger
How to make it
- Cook your chicken thighs using your preferred method (oven or pan) until they are about 80% finished (around 145°F internal temperature).
- In a small saucepan, whisk together the honey, soy sauce, mustard, and ginger. Simmer over low heat until the mixture thickens slightly into a syrupy consistency.
- Using a pastry brush, coat the top of each chicken thigh generously with the glaze.
- Return the chicken to the oven under the broiler or increase the pan heat. Watch it like a hawk! The high sugar content means it can go from caramelized to burnt in seconds.
- Apply a second layer of glaze halfway through the broiling process (about 2 minutes in) to build up a thick, lacquered coating.
- Remove once the glaze is bubbling and has turned a deep mahogany color.
How to air fry chicken?

Why we love this
The air fryer is a game-changer for food boards because it delivers that deep-fried ‘crunch’ with almost no effort and very little oil. It’s perfect for creating those ‘popcorn’ style chicken bites or wings that guests can easily snack on. The circulating hot air creates an incredibly even texture, ensuring that every angle of the chicken is crispy and vibrant. It’s fast, clean, and results in a lighter bite that doesn’t feel heavy, allowing your guests to keep grazing through all the other goodies on the board.
Ingredients
- 1 lb Chicken breast, cut into 1-inch cubes
- 1/2 cup Panko breadcrumbs
- 1/4 cup Grated parmesan
- 1 beaten Egg
- Spray oil
How to make it
- Preheat your air fryer to 390°F (198°C) for 5 minutes. A hot starting environment is key for immediate moisture evaporation.
- Dip each chicken cube into the beaten egg, then dredge it in the mixture of Panko and parmesan, pressing firmly so the coating sticks.
- Place the chicken in the air fryer basket in a single layer. Do not overcrowd; if the pieces touch, they will be soggy at the contact points.
- Lightly spray the tops of the chicken with a high-heat oil spray. This helps the breadcrumbs turn golden and crispy.
- Air fry for 8-10 minutes, shaking the basket halfway through the cooking time to rotate the pieces.
- The chicken is done when the coating is a bright golden brown and the meat registers 165°F. Serve immediately while the crunch is at its peak.
How to make garlic chicken?

Why we love this
Garlic chicken is a sensory powerhouse. The aroma of toasted garlic is universally loved and acts like a magnet, drawing guests toward the board the moment it’s set down. We love this method because the garlic mellows as it cooks, turning sweet and nutty rather than sharp. When combined with butter and herbs, it creates a rich ‘sauce’ that coats the chicken and provides a fantastic dipping element for the bread on your board. It’s simple, classic, and always evokes a sense of home-cooked warmth.
Ingredients
- 1.5 lbs Chicken thighs or breasts, sliced
- 6 cloves Garlic, minced fine
- 3 tablespoons Butter
- 1 tablespoon Fresh parsley, chopped
- A squeeze of Lemon juice
How to make it
- In a large skillet over medium heat, melt the butter until it starts to foam but hasn’t turned brown.
- Add the chicken pieces and cook until they are nearly done and have a light golden color.
- Push the chicken to the sides of the pan and add the minced garlic to the center. Sauté the garlic in the butter for only 30-60 seconds—just until it becomes fragrant and pale gold. Do not let it turn dark brown, or it will become bitter.
- Toss the chicken back into the center to coat every piece in the garlic butter.
- Turn off the heat and stir in the fresh parsley and lemon juice. The acidity of the lemon cuts through the richness of the butter perfectly.
- Transfer to a small bowl or heap directly onto your board, pouring any remaining garlic butter over the top.
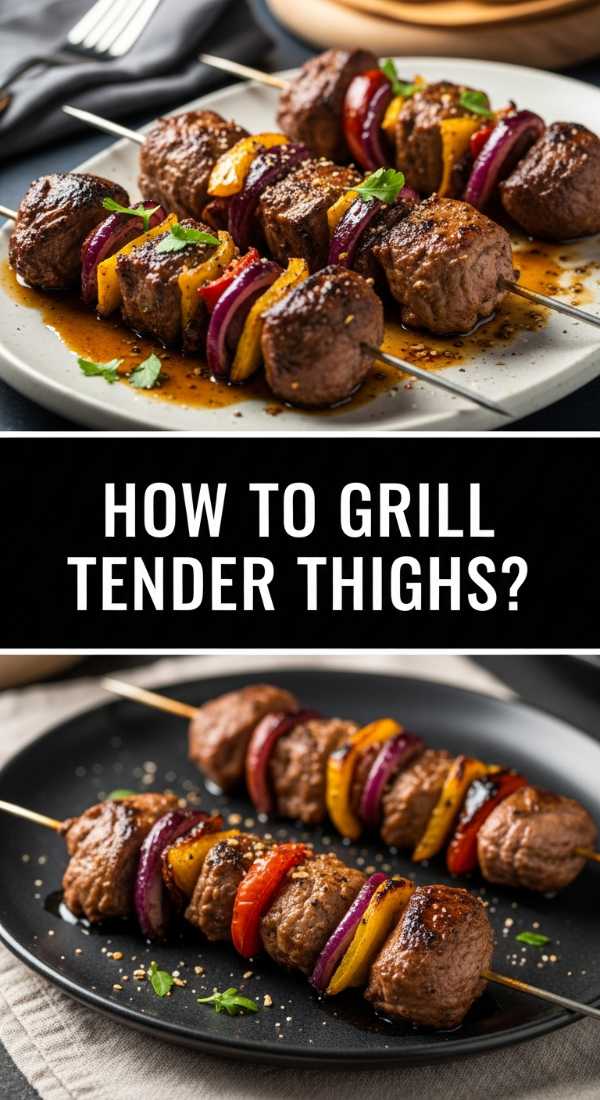
How to grill tender thighs?
Why we love this
Grilling adds a smoky, charred dimension that you just can’t get in the kitchen. We love the rugged look of grill marks on a food board; it suggests an outdoor, breezy lifestyle and adds a layer of ‘fire-kissed’ flavor. The high heat of the grill renders the fat in chicken thighs quickly, keeping the interior incredibly moist while the exterior gets those delicious charred edges. It’s the perfect protein for a summer-themed board, paired with grilled peaches or fresh corn salad.
Ingredients
- 6 Boneless, skinless chicken thighs
- 1/4 cup Avocado oil
- 2 tablespoons Apple cider vinegar (tenderizes the meat)
- 1 tablespoon Onion powder
- Salt and smoked salt
How to make it
- Marinate your thighs in the oil, vinegar, and onion powder for at least 30 minutes. The vinegar helps break down the fibers for ultimate tenderness.
- Clean and oil your grill grates thoroughly. Heat the grill to a medium-high setting (about 400°F).
- Place the thighs on the grill. If using boneless, they will cook faster, so stay close. Close the lid to create an oven-like environment.
- Grill for 5-7 minutes per side. Resist the urge to move them too early; let the grill marks develop for a professional look.
- Use a meat thermometer to ensure they reach 165°F. Because thighs have more fat, they are very forgiving and stay tender even if they go slightly over.
- Let the chicken rest for 5 minutes under a piece of foil before slicing them into strips for the board.
How to prep chicken thighs?

Why we love this
Preparation is the foundation of any great meal, and taking the time to properly prep your chicken thighs ensures that every subsequent step—whether roasting, searing, or grilling—is a success. We love this part of the process because it’s where you can ensure food safety, flavor penetration, and aesthetic beauty. A well-prepped thigh looks clean and professional on the board, with no ragged edges or excess gristle, making the eating experience seamless and enjoyable for your guests. It’s the ‘secret’ step that makes you look like a pro.
Ingredients
- Fresh chicken thighs (bone-in or boneless)
- Sharp chef’s knife or kitchen shears
- Paper towels
- Large cutting board (dedicated to meat)
How to make it
- Start with cold chicken directly from the fridge; it’s much easier to trim when the fat is firm.
- Use your knife or shears to trim away any large, overhanging pieces of yellow fat or loose skin. You want a clean, aerodynamic shape.
- If using boneless thighs, check the underside for any small fragments of bone or cartilage that might have been left behind during processing.
- For maximum flavor, use the tip of your knife to make 2-3 small, shallow slits in the thickest part of the meat. This allows seasonings and marinades to penetrate deeper.
- The most critical step: Pat the entire surface of the chicken bone-dry with paper towels. Any moisture on the surface will inhibit browning.
- Organize your prepped thighs on a clean plate, seasoned and ready to go, to streamline your cooking process.
The Final Touch: Assembling Your Viral Board
Now that you have these incredible chicken techniques in your repertoire, it’s time to build! Start by placing your larger pieces of chicken (like the roasted legs or crispy thighs) in the center as anchors. Fill in the gaps with your shredded crockpot chicken in small bowls, and surround them with colorful elements like pickled red onions, sliced cucumbers, toasted pita points, and a variety of dips like hummus or spicy mayo. The beauty of the ‘Viral Food Board’ is that there are no rules—just follow your cravings and enjoy the process!