
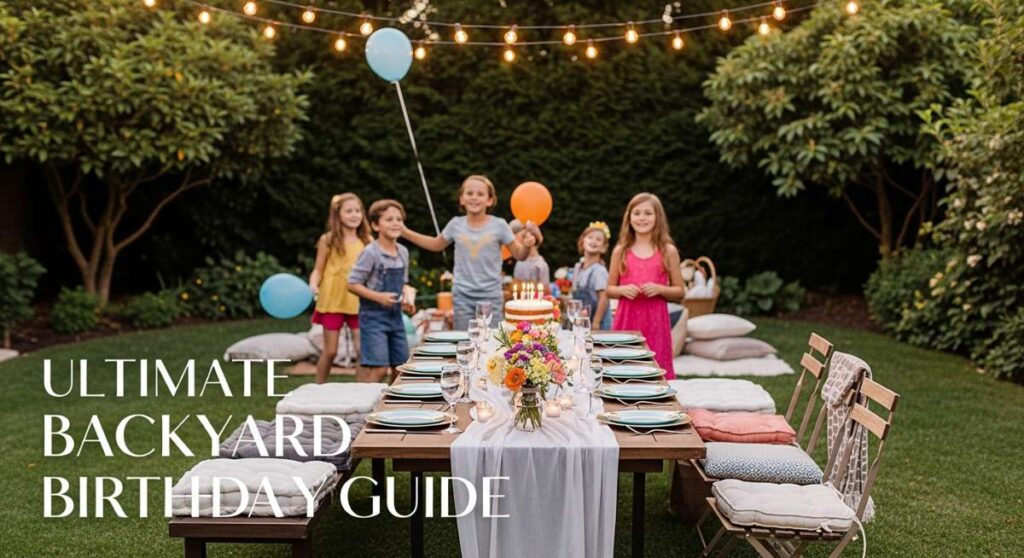
The Ultimate Guide to Hosting an Unforgettable Backyard Birthday
Oh, my loves, there is something so profoundly beautiful about the soft hum of crickets and the golden glow of a backyard sunset, isn’t there? It’s where the most sacred memories are whispered into the evening air. Today, I want to wrap you in a cloud-soft embrace and share my heart on how to turn your own patch of green into a sanctuary of celebration. We aren’t just planning a party; we are weaving a tapestry of laughter, light, and love that your favorite people will carry in their hearts forever.
I’ve spent so many afternoons dreaming of ways to make these moments feel effortless yet magical—like a gentle breeze that just happens to carry the scent of jasmine and the sound of clinking glasses. Whether you’re celebrating a milestone or simply the gift of another year, these ideas are designed to let you breathe, smile, and truly be present. So, grab a cup of tea, settle into your favorite nook, and let’s plan the most soulful backyard birthday together.
5 Easy Steps to Build an ICE CREAM Station
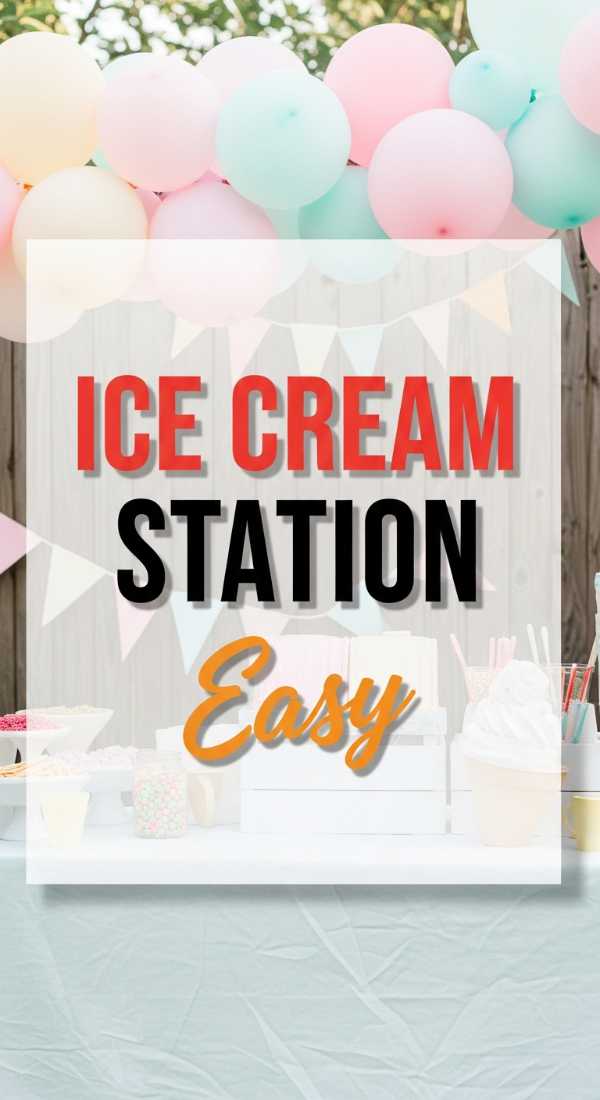
Why to love this Party Idea:
There is a sweet, nostalgic magic in building your own sundae. It brings out the inner child in everyone, from your littlest guests to the grandparents, creating a whimsical focal point that feels like a cool hug on a warm day.
Essential Items:
- Variety of ice cream flavors (at least three)
- Sustainable wooden spoons
- Glass jars for toppings
- Waffle cones and biodegradable bowls
- A vintage-style ice chest or insulated tub
How to Prepare:
- Pre-scoop the ice cream into cupcake liners and keep them in the freezer until the very last second to avoid the ‘melting mess.’
- Arrange your toppings (sprinkles, crushed cookies, fresh berries) in mismatched glass jars for a charming, rustic look.
- Set up a dedicated table in a shaded corner to protect your sweet treats from the sun.
- Place your cones in a decorative stand or a clean crate to add height to your display.
- Add a chalkboard sign with ‘Flavor of the Day’ to guide your loves through their choices.
Budget Range
- Waffle Cones & Bowls: $10 – $15
- Assorted Toppings: $20 – $30
- Ice Cream Selection: $25 – $40
3 Simple Ways to Prep PARTY SNACK Cones
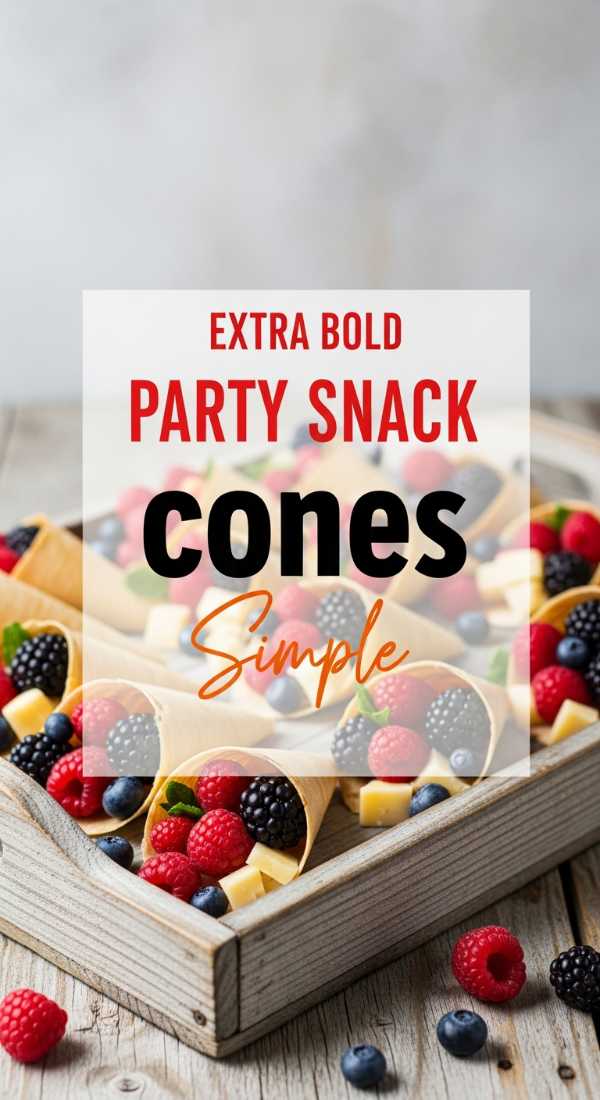
Why to love this Party Idea:
Individual snack cones are the epitome of ‘thoughtful ease.’ They allow your guests to mingle freely without being tethered to a buffet line, making the movement of the party feel fluid and light.
Essential Items:
- Bamboo or heavy-weight paper cones
- A cone holder or a box filled with dried beans/rice
- Snack mix (popcorn, pretzels, or charcuterie items)
How to Prepare:
- Choose your filler: a savory truffle popcorn, a sweet trail mix, or even mini charcuterie with meat and cheese skewers.
- Assemble the cones 30 minutes before guests arrive to ensure everything stays perfectly crisp.
- Place them in a tiered stand so they are easy to grab-and-go as the conversation flows.
Budget Range
- Bamboo Cones (50 pack): $12 – $18
- Bulk Snack Ingredients: $15 – $25
- Decorative Display Stand: $10 – $20
7 Clever Tips to Style Your BACKYARD Party
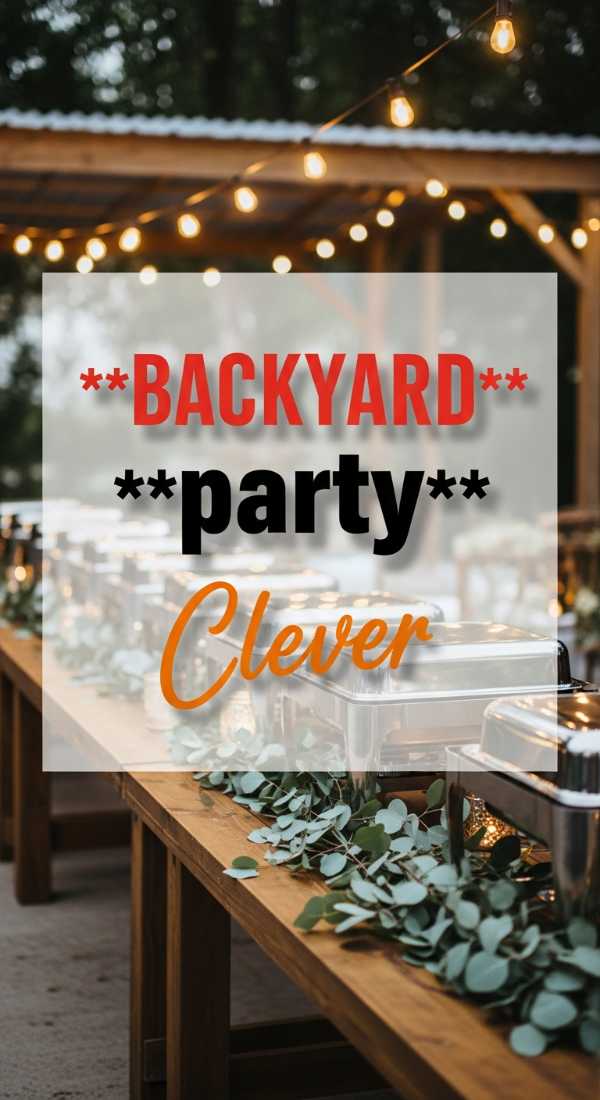
Why to love this Party Idea:
Styling is the visual poetry of your event. It’s about creating a space that feels curated yet lived-in, where every corner whispers a welcome to your guests and makes them feel truly special.
Essential Items:
- Linen tablecloths in neutral tones
- Freshly picked garden flowers
- Vintage brass candlesticks
- Woven placemats
- Twine and kraft paper tags
- Ceramic vases of varying heights
- Soft cheesecloth runners
How to Prepare:
- Layer your textures: Start with a linen base and add a cheesecloth runner for that ethereal, flowing look.
- Use ‘found’ items from your home, like old books or crates, to create different levels on your tablescapes.
- Stick to a soft, organic color palette—think sage greens, dusty roses, and creamy whites.
- Scatter small bud vases with single stems to keep sightlines open for conversation.
- Tie linen napkins with simple twine and a sprig of fresh rosemary for a sensory touch.
- Use handwritten kraft paper tags for food labels to add a human, artisanal feel.
- Mix and match your chairs and cushions to create an inviting, ‘collected’ atmosphere.
Budget Range
- Linen & Fabric Runners: $30 – $50
- Floral Budget (DIY): $20 – $40
- Decorative Accents/Tags: $10 – $15
4 Quick Steps to Make a LEMONADE Bar
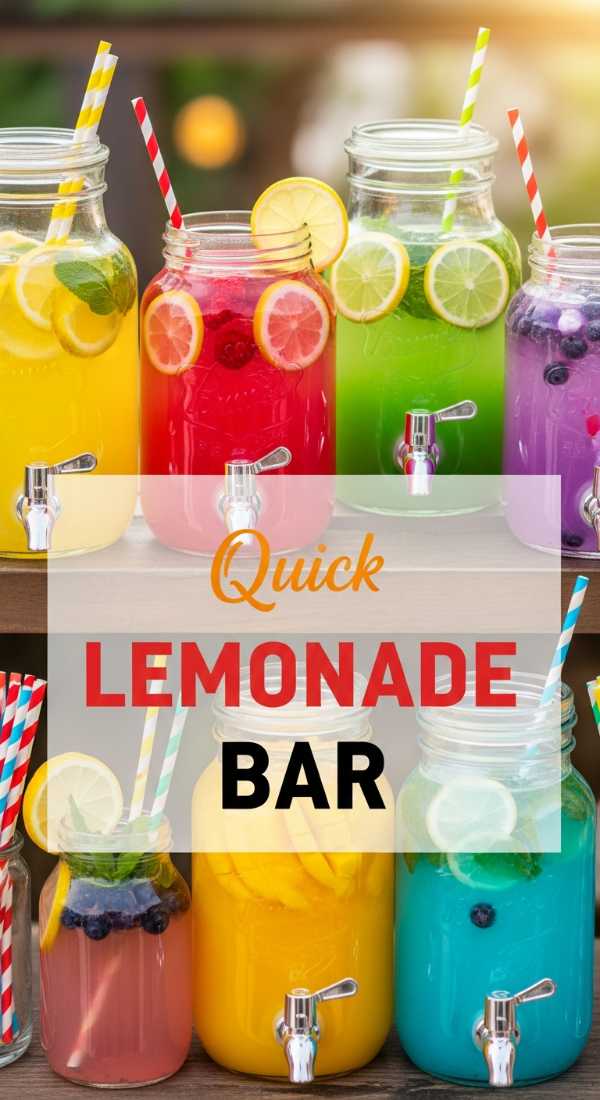
Why to love this Party Idea:
A lemonade bar is sunshine in a glass. It’s a refreshing, interactive station that offers a bright pop of color and a zest for life that perfectly complements a summer afternoon.
Essential Items:
- Large glass dispensers
- Fresh lemon slices and mint sprigs
- Fruit purees (strawberry, peach, or lavender syrup)
- Striped paper straws
How to Prepare:
- Brew a large batch of your base lemonade (freshly squeezed is always a love language).
- Set out carafes of different fruit purees so guests can customize their own signature blend.
- Keep plenty of ice in a beautiful galvanized bucket nearby.
- Garnish the station with halved lemons and fresh herbs to fill the air with a citrusy dream.
Budget Range
- Fresh Lemons & Sugar: $10 – $15
- Fruit & Herb Garnishes: $10 – $20
- Glass Beverage Dispenser: $20 – $35
6 Best Secrets for a DIY SLIDER Bar

Why to love this Party Idea:
Slider bars are the ultimate casual feast. They allow for so much variety—vegetarian, spicy, or classic—ensuring that every single one of your darlings feels seen and fed with intention.
Essential Items:
- Mini brioche buns
- Pre-cooked patties (Beef, Turkey, or Portobello)
- Gourmet cheeses (Brie, Sharp Cheddar, Gorgonzola)
- Caramelized onions and arugula
- Artisan aiolis and sauces
- Small picks to hold them together
How to Prepare:
- Keep your patties warm in a slow cooker or a warming tray to take the pressure off the ‘grill master.’
- Toast the buns lightly with a brush of butter for that melt-in-your-mouth experience.
- Organize toppings from ‘light’ to ‘heavy’ to help guests build the perfect bite.
- Offer a ‘signature build’ suggestion on a small card to inspire the indecisive.
- Use small slate boards or wooden paddles for a rustic serving presentation.
- Place a bowl of wet wipes nearby, tucked into a pretty basket, for sticky fingers.
Budget Range
- Slider Buns & Proteins: $40 – $70
- Gourmet Toppings & Cheeses: $25 – $40
- Condiments & Aiolis: $15 – $20
5 Fast Steps to Set Up Backyard CINEMA
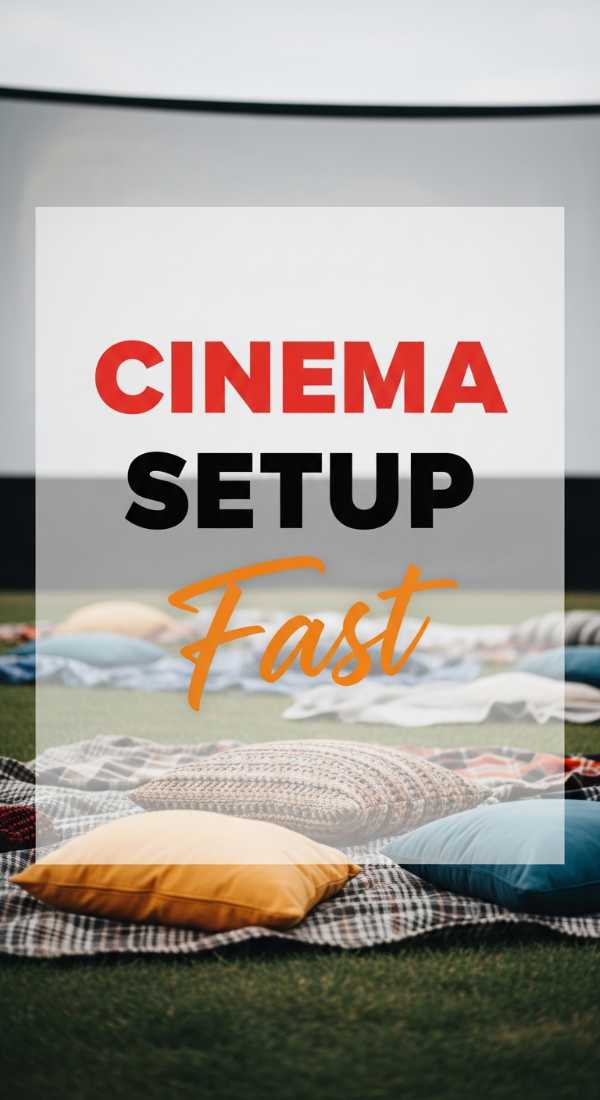
Why to love this Party Idea:
There is nothing quite as romantic as watching a film under the stars. It turns a simple birthday into an immersive experience where the world falls away and only the story and the moonlight remain.
Essential Items:
- A portable projector
- A white bedsheet or outdoor screen
- Comfortable blankets and floor pillows
- A laptop or streaming device
- Outdoor speakers
How to Prepare:
- Iron your white sheet and pull it taut against a fence or wall to ensure a crisp, clear picture.
- Connect your speakers and test the sound early; sound travels differently in the open air!
- Create a ‘concession stand’ with jars of popcorn and boxes of classic candies.
- Arrange your seating area with layers of rugs and cushions for maximum coziness.
- Wait until the ‘blue hour’—just after sunset—to start the film for the best visibility.
Budget Range
- Portable Projector: $60 – $150
- Concessions & Snacks: $20 – $30
- Outdoor Screen/Sheet: $0 – $25
8 Cozy Ways to Arrange OUTDOOR Seating
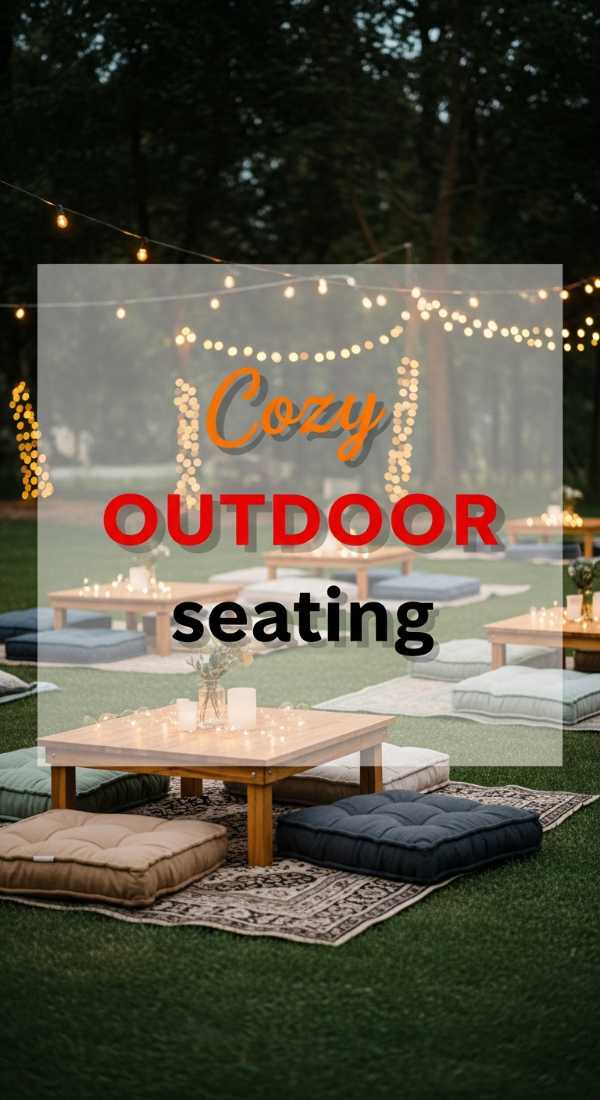
Why to love this Party Idea:
Seating isn’t just about where we sit; it’s about how we connect. Creating intimate ‘conversation circles’ encourages your loves to linger, share stories, and feel truly at home in your space.
Essential Items:
- Outdoor rugs
- Floor poufs
- Foldable wooden chairs
- Woven blankets
- Throw pillows
- Ottomans
- Benches
- Hammocks
How to Prepare:
- Group chairs in circles of four or five to naturally encourage small group chats.
- Layer rugs on the grass to create a ‘living room’ feel outdoors.
- Drape soft blankets over the back of every chair for when the evening chill arrives.
- Use floor poufs for a relaxed, bohemian vibe that appeals to the younger crowd.
- Incorporate some height with bar stools or benches along the perimeter.
- Place small ‘drink tables’ (even overturned crates!) between every two chairs.
- Ensure there is a clear path for walking so the space feels open and airy.
- Keep a few ‘extra’ cushions in a basket nearby for guests who want to nestle in.
Budget Range
- Throw Pillows & Blankets: $30 – $60
- Outdoor Rugs: $20 – $50
- Rental Chairs (if needed): $2 – $5 per chair
3 Bright Tricks for Perfect PARTY Lighting
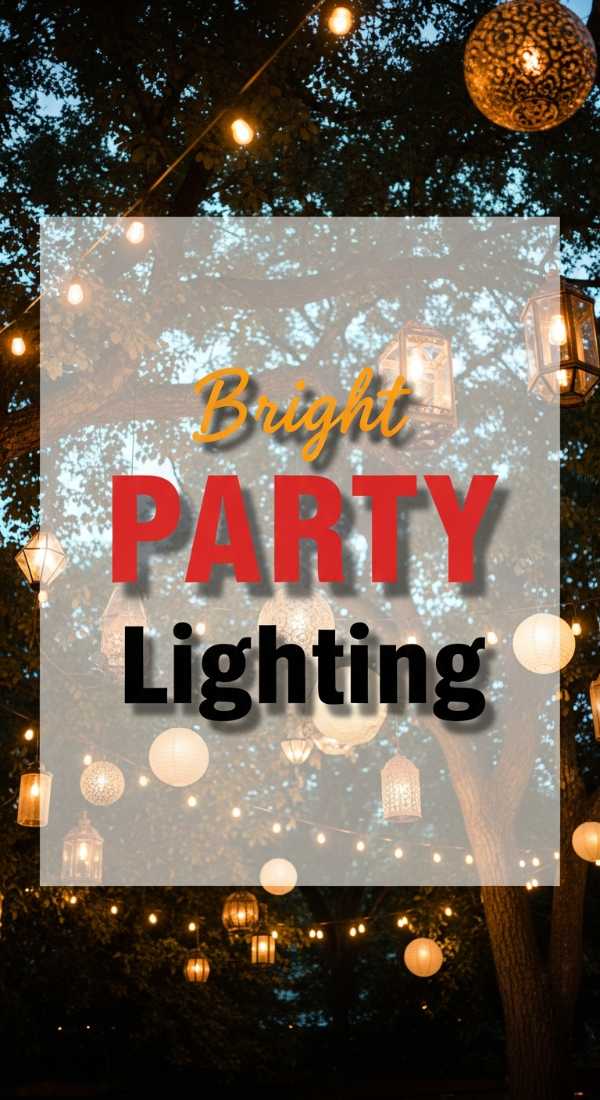
Why to love this Party Idea:
Lighting is the heartbeat of the evening. It transforms a simple yard into a shimmering wonderland, casting a gentle, forgiving glow that makes everyone look and feel absolutely radiant.
Essential Items:
- Edison-style string lights
- Solar-powered path lanterns
- Battery-operated fairy lights
How to Prepare:
- String your lights in a ‘zig-zag’ pattern overhead to create a canopy of stars.
- Place path lanterns along walkways to ensure your darlings can navigate safely as the sun dips.
- Tuck fairy lights into glass jars or weave them through tree branches for unexpected pops of sparkle.
Budget Range
- String Lights: $25 – $45
- Path Lanterns: $15 – $30
- Fairy Lights: $10 – $20
5 Cool Methods to Serve PARTY Drinks
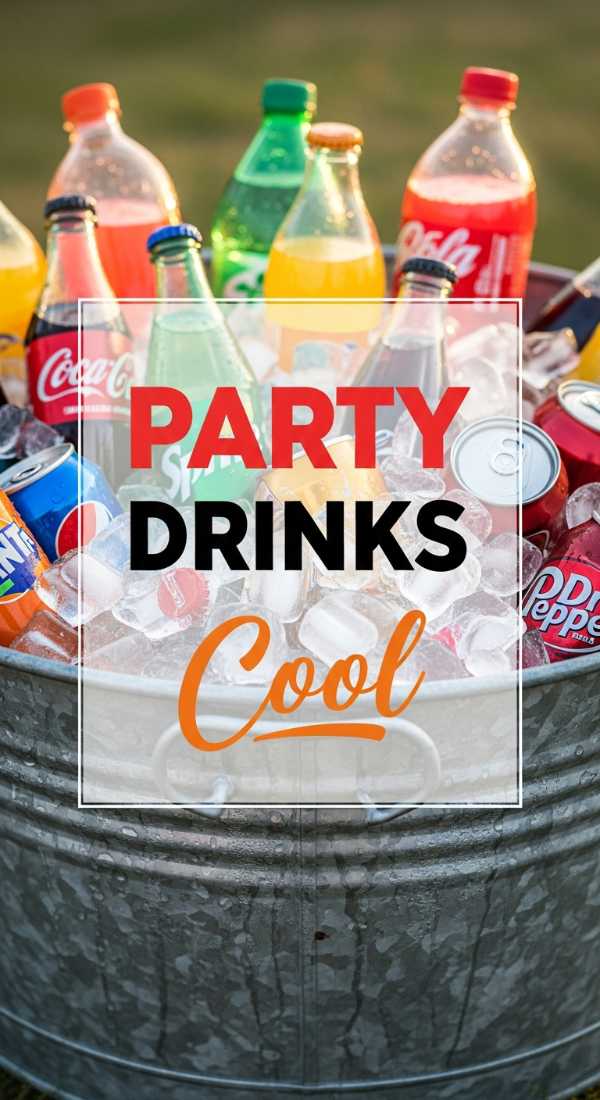
Why to love this Party Idea:
Serving drinks should be an art form. When you present beverages in creative ways, it turns a basic necessity into a delightful surprise that keeps the celebration feeling fresh and inspired.
Essential Items:
- Vintage wheelbarrow or wagon
- Large galvanized tubs
- Ice blocks with frozen flowers
- Garnish trays
- Glassware charms
How to Prepare:
- Fill a vintage wheelbarrow with ice for a rustic, charming ‘cooler’ that guests will adore.
- Freeze edible flowers (like pansies) into large ice blocks to keep punch bowls beautiful and cold.
- Label drink types with ribbons tied around the necks of bottles.
- Provide a ‘garnish station’ with sliced cucumbers, berries, and herbs for a spa-like touch.
- Use different styles of glassware (thrifting is perfect for this!) so everyone knows which drink is theirs.
Budget Range
- Ice & Edible Flowers: $10 – $20
- Galvanized Tubs: $15 – $30
- Garnishes: $10 – $15
6 Fun Ways to Plan BACKYARD Games
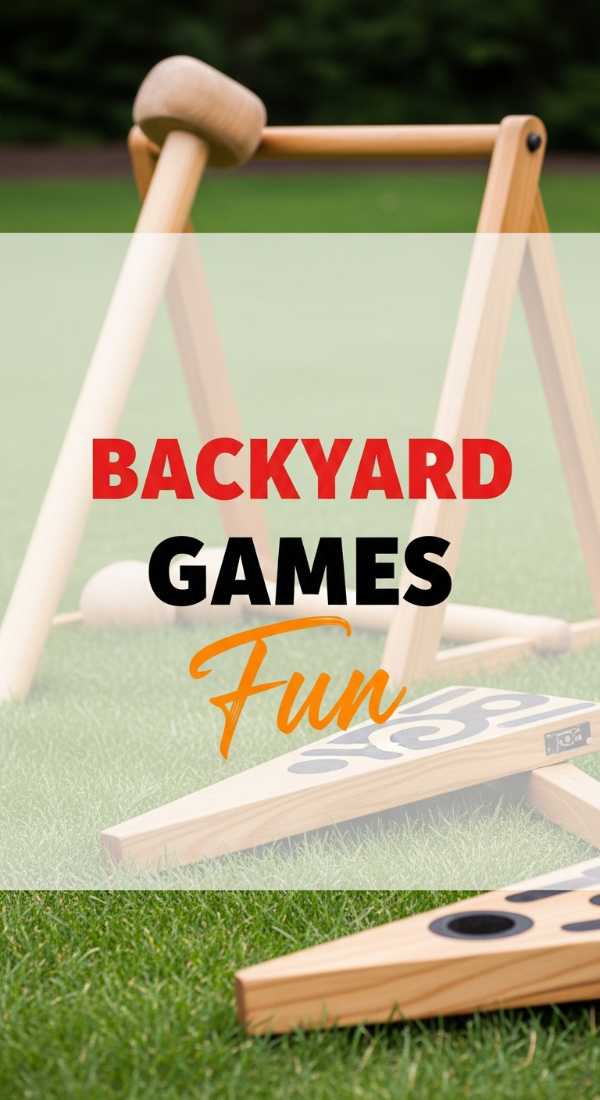
Why to love this Party Idea:
Games are the bridge to laughter. They break the ice and create shared moments of playful competition that stay with your guests long after the last candle is blown out.
Essential Items:
- Giant wooden blocks (Jenga style)
- Cornhole boards
- Croquet set
- Customized ‘Birthday Trivia’ cards
- Ring toss
- Bubble station for the little ones
How to Prepare:
- Set up ‘activity zones’ around the yard so the energy is spread out and never feels crowded.
- Personalize your games—write fun facts about the birthday guest on the bottom of Jenga blocks.
- Keep the games ‘low-stakes’ and focused on fun rather than intense competition.
- Provide small, whimsical prizes like wildflower seeds or artisanal chocolate.
- Create a ‘play’ sign to signal that these items are there for everyone to enjoy.
- Schedule a ‘group game’ moment, like trivia, to bring everyone together for a shared laugh.
Budget Range
- Outdoor Game Sets: $30 – $60
- DIY Trivia Materials: $5 – $10
- Small Prizes: $15 – $25
Ending the Night with Gratitude
As the stars begin to peek through the velvet sky and the laughter settles into a soft, contented hum, take a moment to breathe it all in, my loves. Your backyard has been transformed into a vessel of joy, but the real magic wasn’t the lights or the sliders—it was the warmth you poured into every detail. Thank you for letting me walk beside you in this planning journey. May your night be filled with the kind of magic that lingers in your dreams. Until next time, keep shining your beautiful light.