
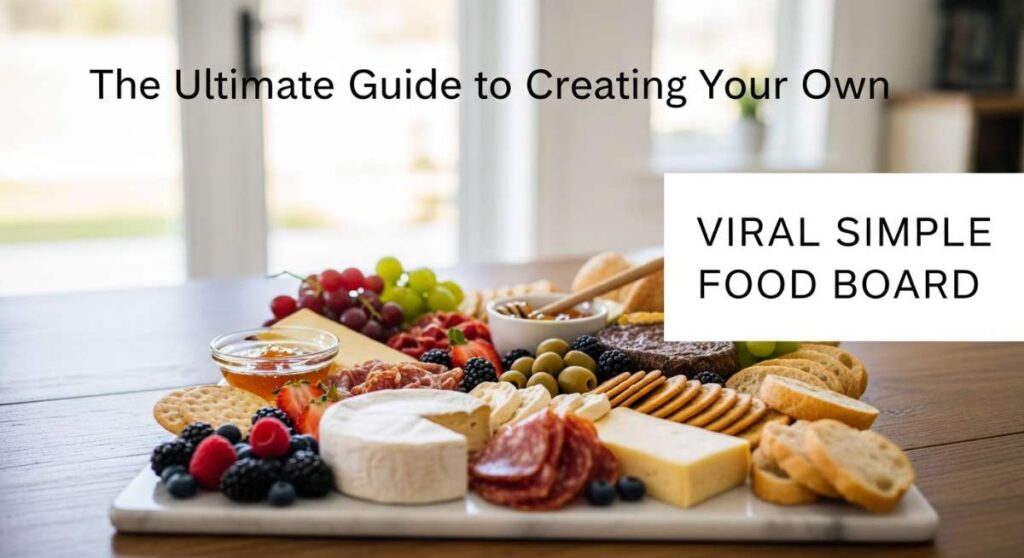
The Ultimate Guide to Creating Your Own Viral Simple Food Board
There is something inherently magical about a shared meal that transcends the food itself. Whether it is the laughter echoing across a crowded table or the quiet comfort of a weekend brunch, food has a unique way of weaving together the stories of our lives. Lately, I have been obsessed with the ‘food board’ trend—not just cheese and charcuterie, but vibrant, themed boards that celebrate seasons and milestones. It is about creating a visual and culinary feast that invites everyone to dig in and stay a while.
The secret to a viral-worthy food board isn’t perfection; it’s personality. It’s the contrast between a rustic, bubbling rhubarb pie and the delicate, gold-flecked icing of a graduation cookie. In this guide, I’m sharing my favorite elements to include on a ‘Simple Food Board’ that will wow your guests and satisfy every craving. From zesty pestos to whimsical toddler treats, these recipes are designed to bring a touch of artisanal flair to your home kitchen.
Whether you are celebrating a graduation or just the arrival of spring, these dishes offer a symphony of textures and flavors. Let’s dive into the art of creating a board that is as beautiful to look at as it is delicious to eat!
How to style graduation cakes?
Why we love this
A graduation cake is more than just a dessert; it is a centerpiece that symbolizes years of hard work and new beginnings. We love the way a well-styled cake captures the eye with its elegant height and the smooth, velvety texture of Swiss meringue buttercream. Imagine the sweet, floral aroma of fresh-cut roses or eucalyptus resting against a pristine white frosting, accented by the shimmering glint of edible gold leaf that catches the light of the party. It feels sophisticated yet celebratory, providing a stunning focal point for your food board that feels both timeless and trendy.
Ingredients
- Tiered sponge cakes (chilled)
- Swiss meringue buttercream
- Fresh organic flowers (roses, greenery)
- Edible gold leaf or metallic dust
- Clear acrylic or gold cake toppers
- Offset spatula and cake scraper
How to make it
- Begin by placing your first chilled cake layer on a spinning turntable. Apply a generous dollop of buttercream and spread it evenly with an offset spatula, ensuring the layer is perfectly level to prevent tilting.
- Stack your subsequent layers, then apply a very thin ‘crumb coat’ of frosting over the entire cake. Use a metal scraper held at a 45-degree angle to smooth the sides until you can see the cake through the frosting. Chill for 30 minutes to lock in crumbs.
- Apply the final thick layer of buttercream. Use the turntable’s momentum and your scraper to create a perfectly smooth, sharp-edged finish. If you want a rustic look, use the tip of the spatula to create horizontal ridges.
- Carefully apply edible gold leaf using a dry, soft-bristled brush. Place it randomly for an organic, high-end feel.
- Prepare your fresh flowers by wrapping the stems in floral tape or using food-safe flower spikes. Arrange them in a cascading ‘S’ shape from the top down to the base for a dynamic visual flow.
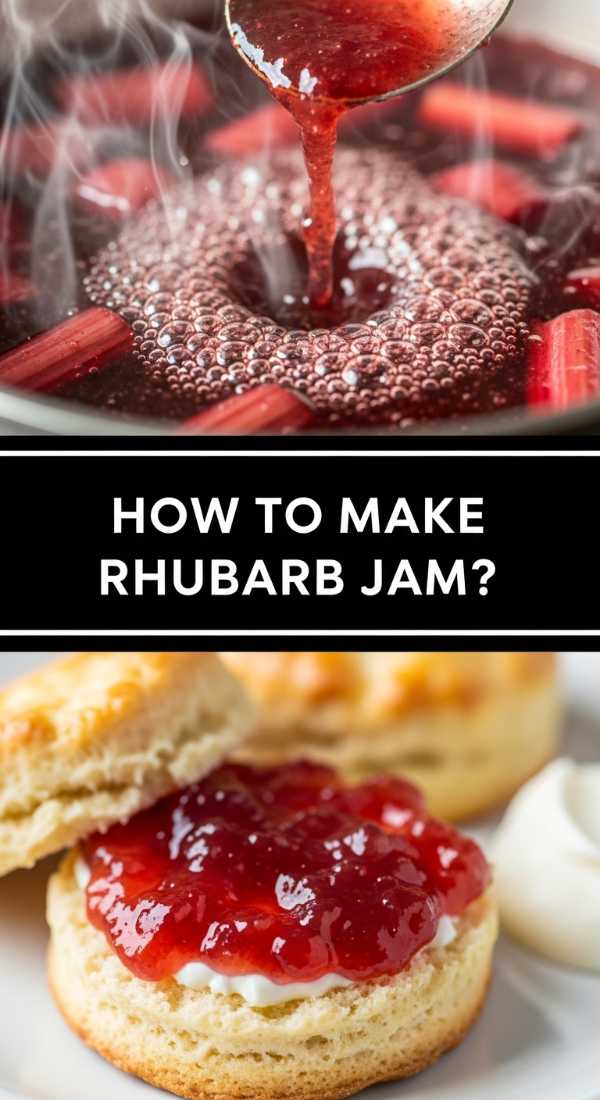
How to make rhubarb jam?

Why we love this
Rhubarb jam is like capturing the very essence of spring in a glass jar. We adore the striking, vibrant pink hue that looks like liquid rubies spread across a piece of warm, buttered toast. The aroma is a delightful tug-of-war between the sharp, mouth-puckering tang of the stalks and the deep, caramelized sweetness of the sugar. As it simmers, the texture transforms into a thick, glossy ribbons of fruit that provide a satisfyingly jammy consistency, perfect for adding a bright pop of flavor and color to any breakfast spread or dessert board.
Ingredients
- 4 cups fresh rhubarb, chopped into 1-inch pieces
- 2 cups granulated sugar
- 1 tablespoon fresh lemon juice
- 1 teaspoon lemon zest
- 1/2 teaspoon pure vanilla bean paste
How to make it
- In a large, heavy-bottomed pot or Dutch oven, combine the chopped rhubarb, sugar, lemon juice, and lemon zest. Stir well and let it macerate for at least 30 minutes until the rhubarb begins to release its natural juices.
- Place the pot over medium heat and bring the mixture to a gentle boil, stirring frequently with a wooden spoon to prevent the sugar from scorching on the bottom.
- Once boiling, reduce the heat to medium-low. Simmer for about 20-30 minutes. You are looking for the rhubarb to completely break down and the liquid to reduce and thicken significantly.
- To test the set, place a small spoon of jam on a chilled plate. Let it sit for a minute, then push it with your finger; if it wrinkles, it is ready.
- Stir in the vanilla bean paste at the very end to preserve its delicate aroma. Ladle into sterilized jars, leaving a quarter-inch of headspace, and seal.
How to decorate grad cupcakes?
Why we love this
Graduation cupcakes are the ultimate crowd-pleaser because they offer individual portions of joy with a whimsical, academic twist. We love the contrast between the moist, dark chocolate sponge and the stiff, peaks of piped frosting that resemble little mortarboards. There is something so satisfying about the tiny ‘tassels’ made of sour candy or fondant that sway as you pick one up. These treats bring a sense of playfulness to the board, smelling of rich cocoa and vanilla, and providing a delightful texture that is both soft and slightly crunchy from the themed sprinkles.
Ingredients
- Pre-baked vanilla or chocolate cupcakes
- Stiff vanilla buttercream
- Square chocolate thins or Ghirardelli squares
- Miniature peanut butter cups
- Sour belt candy or fondant (for tassels)
- M&Ms or edible pearls
How to make it
- Fit a piping bag with a large round tip and pipe a flat, sturdy circle of buttercream onto the center of each cooled cupcake. This will act as the ‘glue’ for your graduation cap.
- Unwrap the mini peanut butter cups and place them upside down onto the buttercream, pressing gently so they are secure.
- Add a small dot of melted chocolate or frosting to the center of a chocolate square and press it onto the peanut butter cup base to form the mortarboard.
- Cut thin strips of sour belt candy or roll out thin pieces of fondant to create the tassel. Use a tiny dab of frosting to attach the tassel to the center of the chocolate square.
- Finish by placing an M&M or an edible pearl over the spot where the tassel meets the cap to hide the seam and add a professional touch.
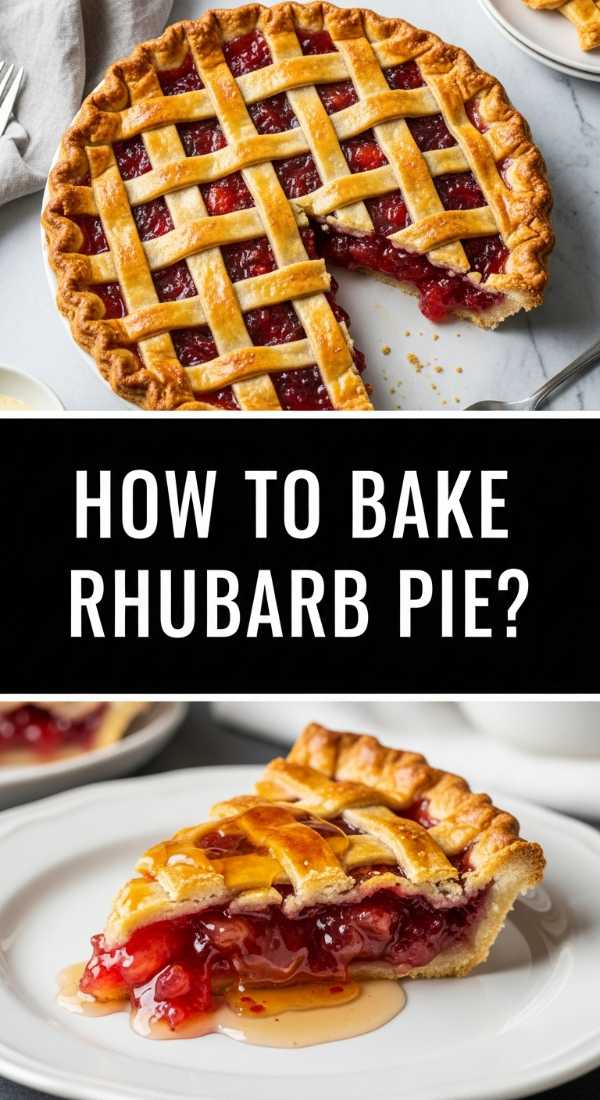
How to bake rhubarb pie?
Why we love this
A rhubarb pie is the undisputed queen of rustic desserts, boasting a beautiful, flaky lattice crust that reveals a bubbling, neon-pink interior. We love the way the buttery, salty crust shatters upon the first bite, giving way to the tender, tart fruit filling that has been softened to perfection in the oven. The smell of baking pastry mingling with the sharp scent of rhubarb is enough to fill a whole house with nostalgia. It is a dessert that feels grounded and honest, offering a complex balance of flavors that cleanse the palate and leave you wanting one more slice.
Ingredients
- Double pie crust (homemade or store-bought)
- 5 cups rhubarb, cut into 1/2-inch pieces
- 1 1/4 cups granulated sugar
- 1/4 cup cornstarch
- 1/2 teaspoon cinnamon
- 1 tablespoon cold butter, cubed
- 1 egg (for egg wash)
- Coarse sanding sugar
How to make it
- Preheat your oven to 400°F (200°C). Roll out the bottom crust and fit it into a 9-inch pie plate, trimming the edges so there is a 1-inch overhang.
- In a large bowl, toss the rhubarb with sugar, cornstarch, and cinnamon until every piece is evenly coated. This ensures the filling thickens properly and doesn’t become watery.
- Pour the filling into the prepared bottom crust and dot the top with the small cubes of cold butter to add richness to the sauce.
- Roll out the second crust and cut into 1-inch strips to create a lattice top. Weave the strips over the filling, then crimp the edges of the top and bottom crusts together to seal.
- Brush the lattice with a beaten egg and sprinkle generously with coarse sanding sugar. Bake for 20 minutes, then reduce the heat to 350°F (175°C) and bake for another 35-45 minutes until the crust is deep golden brown and the filling is bubbling through the gaps.
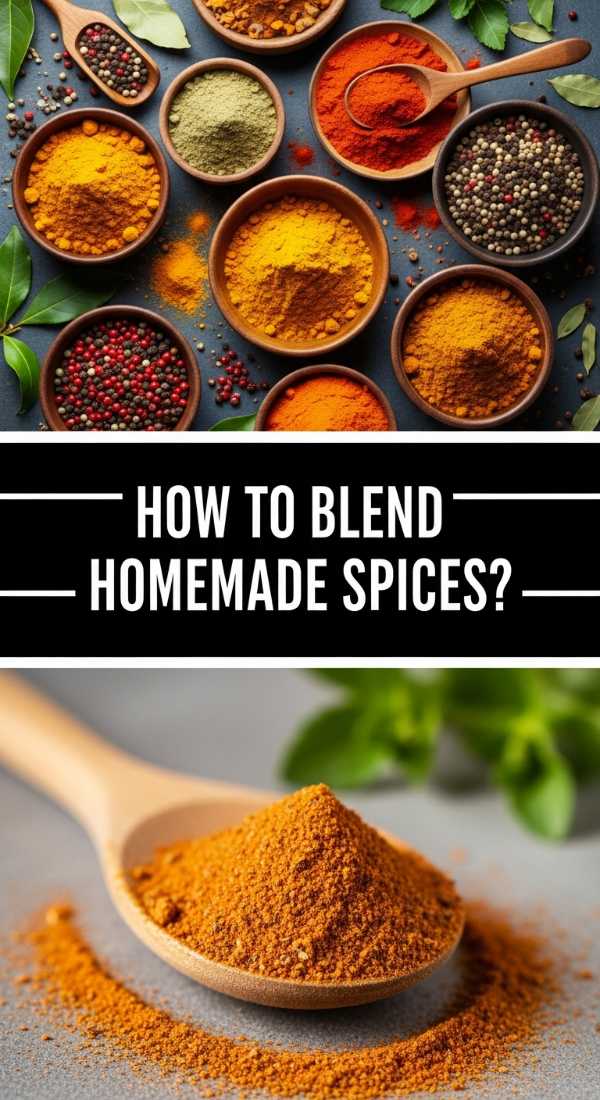
How to blend homemade spices?
Why we love this
There is a profound sensory satisfaction in blending your own spices; it is an ancient art that connects you to the raw ingredients of your kitchen. We love the intoxicating, earthy aroma that fills the air the moment you begin to crush whole peppercorns or toasted cumin seeds. The texture is customizable—from a coarse, rustic rub to a fine, silk-like powder—allowing you to control the intensity of every dish. Having a jar of your own ‘signature house blend’ on your food board adds a layer of artisanal quality that pre-packaged spices simply cannot replicate.
Ingredients
- 2 tablespoons whole black peppercorns
- 2 tablespoons cumin seeds
- 1 tablespoon coriander seeds
- 1 tablespoon smoked paprika
- 1 teaspoon dried oregano
- 1/2 teaspoon red pepper flakes
- Mortar and pestle or spice grinder
How to make it
- Start by dry-toasting your whole seeds (cumin, coriander, and peppercorns) in a small skillet over medium heat. Shake the pan constantly for 2-3 minutes until they become fragrant and slightly darker. This releases the essential oils for maximum flavor.
- Remove the seeds from the heat immediately to prevent burning. Transfer them to a mortar and pestle or a dedicated electric spice grinder.
- Pulse or grind until you reach your desired consistency. For a board intended for dipping bread with oil, a medium-coarse grind provides excellent texture.
- Stir in the pre-ground elements like smoked paprika, dried oregano, and red pepper flakes. Mixing these in after grinding the seeds ensures the delicate powders don’t get overheated.
- Store in an airtight glass jar away from direct sunlight. Use within two months for the most potent aroma and flavor profile.
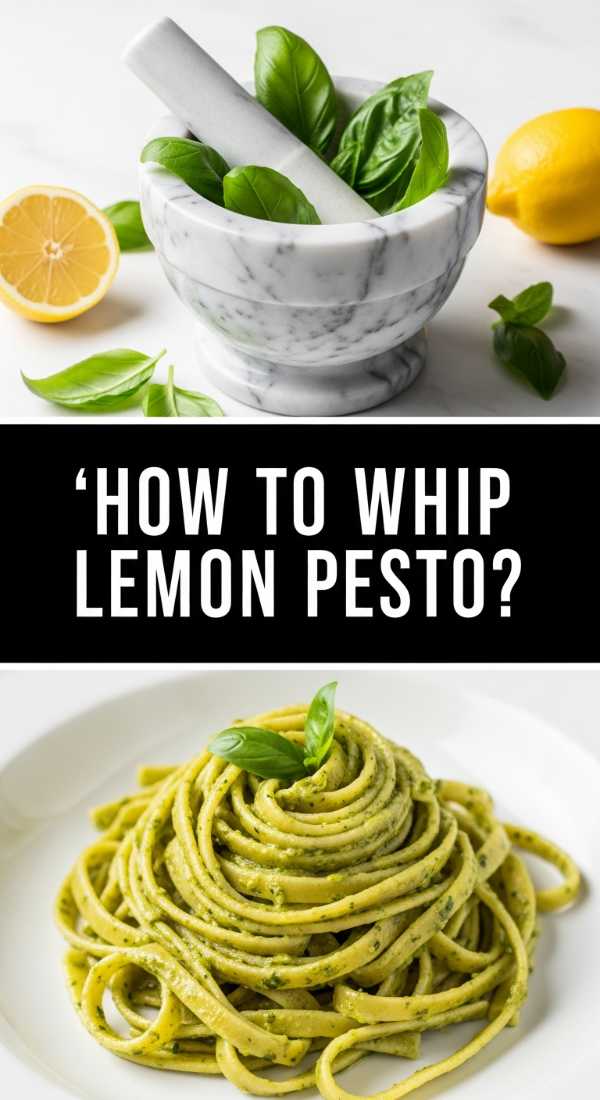
How to whip lemon pesto?
Why we love this
Lemon pesto is a bright, sun-drenched reimagining of the classic Italian sauce. We love how the high-frequency zing of lemon zest cuts through the rich, fatty nuttiness of toasted pine nuts and Parmigiano-Reggiano. It looks like a vibrant, emerald-green velvet on the board, and the smell of fresh basil leaves being pulverized with garlic is nothing short of heavenly. It adds a refreshing, herbaceous lift to heavy pastas or crusty bread, making it a versatile and essential component for any viral food board that aims for a gourmet edge.
Ingredients
- 2 cups fresh basil leaves, packed
- 1/2 cup extra virgin olive oil
- 1/3 cup pine nuts (lightly toasted)
- 2 cloves garlic, peeled
- 1/2 cup grated Parmesan cheese
- Zest of 2 organic lemons
- 2 tablespoons fresh lemon juice
- Salt and pepper to taste
How to make it
- In a small dry pan, toast the pine nuts over low heat until they are just golden and smell nutty. Watch them closely, as they can burn in seconds. Let them cool completely.
- Place the basil, cooled pine nuts, and garlic cloves into a food processor. Pulse several times until the ingredients are coarsely chopped.
- With the processor running on low, slowly drizzle in the extra virgin olive oil in a steady stream. This creates an emulsion, giving the pesto a creamy, whipped texture rather than an oily one.
- Add the Parmesan cheese, lemon zest, and lemon juice. Pulse just a few more times to incorporate. You want to keep some of the texture from the cheese and zest.
- Taste and season with salt and freshly cracked black pepper. If the pesto is too thick, add a teaspoon of water or more oil until it reaches a spreadable, whipped consistency.
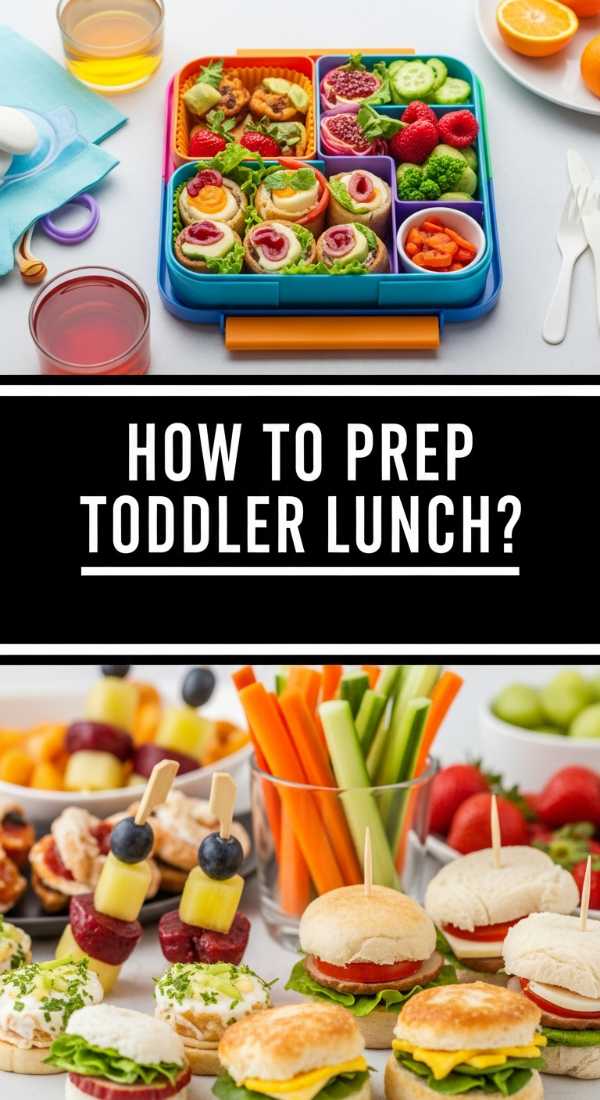
How to prep toddler lunch?
Why we love this
Prepping a toddler lunch for a family board is about merging nutrition with the pure joy of discovery. We love the bright, primary colors of sliced bell peppers, berries, and cheese shapes that make the board look like a work of edible art. The focus here is on varying textures—the snap of a cucumber, the softness of a rolled turkey slice, and the crunch of a whole-grain cracker. It turns mealtime into a tactile adventure, encouraging little ones to explore new flavors in a low-pressure, fun way that smells of fresh fruit and mild, creamy cheeses.
Ingredients
- Whole wheat bread or wraps
- Mild cheddar or mozzarella slices
- Deli turkey or ham
- Cucumber slices and baby carrots
- Fresh berries (strawberries, blueberries)
- Hummus or yogurt dip
- Small decorative cookie cutters
How to make it
- Start by using small cookie cutters (stars, hearts, or animals) to cut shapes out of the bread, cheese, and deli meats. This immediate visual appeal makes the food more enticing for picky eaters.
- Prepare the vegetables by ‘frenching’ them—cutting carrots and cucumbers into thin, easy-to-grab matchsticks. This texture is safer for toddlers and easier for them to dip.
- Create ‘sushi rolls’ by flattening a piece of bread, spreading a thin layer of hummus, laying a slice of turkey on top, rolling it tightly, and slicing it into bite-sized rounds.
- Arrange the items on the board in small, segregated clusters. Toddlers often prefer their foods not to touch, so using small silicone muffin liners to hold berries or dips keeps the board organized.
- Ensure all fruit is cut into appropriate sizes (halving grapes and large berries) to prevent choking hazards, making the board both fun and safe.
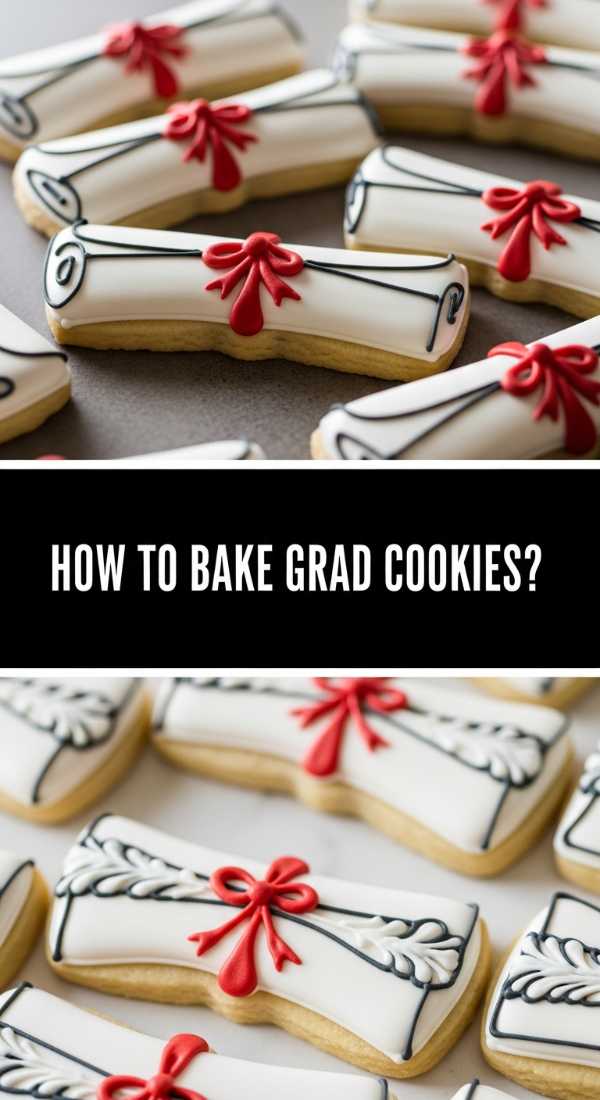
How to bake grad cookies?

Why we love this
Graduation cookies are the perfect edible keepsakes, offering a crisp, buttery snap followed by the smooth sweetness of royal icing. We love the limitless potential for customization—matching the school colors or piping the graduation year in elegant script. They have a comforting, nostalgic aroma of toasted butter and almond extract. On a food board, these cookies act as the ‘jewelry,’ adding structured beauty and a professional finish that makes the entire presentation feel curated and deeply personal for the honoree.
Ingredients
- Standard sugar cookie dough (chilled)
- Royal icing (stiff and flood consistencies)
- Gel food coloring (school colors)
- Fine-tip piping bags
- Edible ink markers
- Scribe tool or toothpick
How to make it
- Roll out your chilled sugar cookie dough to a consistent 1/4-inch thickness. Cut out shapes like diplomas, caps, and gowns. Bake until the edges are just barely beginning to turn golden; you want them firm but not browned.
- Once cookies are completely cool, use the stiff ‘outline’ icing to trace the perimeter of the shape. This creates a dam that will hold the thinner icing in place.
- Fill the center of the cookie with the ‘flood’ consistency icing. Use a scribe tool or toothpick to pop any tiny air bubbles and push the icing into the corners for a seamless finish.
- Let the base layer of icing dry for at least 6-8 hours (or overnight) until it is hard to the touch. This is crucial for adding details on top without them sinking in.
- Use your stiff icing or edible ink markers to add fine details like ‘Class of 2024,’ tassels, or the graduate’s name. The contrast of the matte marker on the shiny icing creates a high-end, custom look.
How to make fun coffee?
Why we love this
A ‘fun coffee’ is the ultimate ritual of self-care that brings a cafe-style luxury to your morning board. We love the visual drama of dark, rich espresso marbleizing into snowy white milk, topped with a cloud of frothy foam. The aroma is bold and waking—roasted beans mixed with the sweet, spicy notes of vanilla or cinnamon. The texture is a journey in itself, starting with a velvety, air-light sip of foam and ending with the warm, robust body of the coffee. It’s a sensory experience that turns a simple caffeine fix into an event.
Ingredients
- Double shot of hot espresso or strong cold brew
- 1 cup milk of choice (oat and whole milk froth best)
- 1 tablespoon flavored syrup (caramel, lavender, or vanilla)
- Ice cubes (for iced versions)
- Cinnamon or cocoa powder for dusting
- Handheld milk frother
How to make it
- Brew your espresso or concentrate. If making an iced coffee, pour the hot coffee over a glass filled to the brim with large ice cubes to chill it instantly without too much dilution.
- Add your chosen flavored syrup to the coffee and stir well. For a viral ‘gradient’ look, pour the syrup in last so it settles at the bottom.
- Heat your milk until it is steaming but not boiling (about 150°F/65°C). Use a handheld frother held at a slight angle just below the surface to create a thick, micro-foam.
- Slowly pour the frothed milk over the coffee. If you want distinct layers, pour the milk over the back of a spoon held just above the coffee surface.
- Top with the remaining thick foam and a light dusting of cinnamon or cocoa powder. Use a stencil for extra flair if you’re feeling artistic.
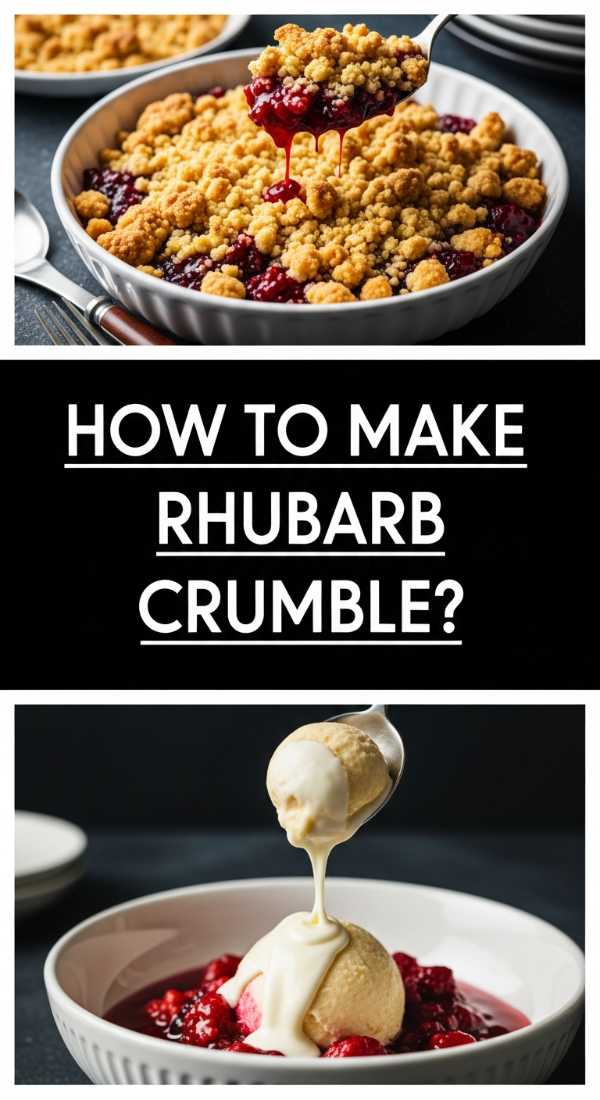
How to make rhubarb crumble?
[IMAGE_10]
Why we love this
Rhubarb crumble is the cozy, approachable cousin of the pie, defined by its generous, buttery topping of toasted oats and brown sugar. We love the way the topping stays crunchy while the fruit underneath transforms into a molten, tangy compote. It smells like a warm hug—cinnamon, butter, and cooked fruit. The texture is a delightful mess of crispy bits and soft, jammy rhubarb, making it the perfect dessert to serve warm from a large dish on your food board, inviting guests to scoop out as much as their hearts desire.
Ingredients
- Filling: 6 cups rhubarb (1-inch pieces), 3/4 cup sugar, 1 tablespoon flour.
- Topping: 1 cup all-purpose flour, 1 cup rolled oats, 1 cup packed brown sugar, 1/2 cup cold salted butter (cubed), 1 teaspoon cinnamon.
How to make it
- Preheat your oven to 375°F (190°C). In a large baking dish, toss the rhubarb with the sugar and tablespoon of flour. Spread it out into an even layer so the fruit cooks at the same rate.
- In a separate bowl, combine the flour, oats, brown sugar, and cinnamon for the topping. Mix well to ensure the spices are distributed.
- Add the cubed, cold butter to the dry mixture. Use your fingers or a pastry cutter to work the butter into the oats until the mixture resembles coarse crumbs with some pea-sized chunks of butter remaining.
- Sprinkle the crumble topping evenly over the rhubarb. Do not press it down; you want it to stay loose so the air can circulate and make it crispy.
- Bake for 35-40 minutes. You’ll know it’s done when the topping is a deep golden brown and the rhubarb juices are thick and bubbling up around the edges. Serve warm, ideally with a scoop of vanilla bean ice cream.
Conclusion
Creating a viral simple food board is about more than just the food; it’s about the intention behind the gathering. By mixing homemade staples like rhubarb jam and lemon pesto with celebratory treats like graduation cakes and custom cookies, you create a tapestry of flavors that tells a story. I hope these recipes inspire you to clear off your largest wooden board, invite your favorite people over, and start building something beautiful. Remember, the best boards are the ones that are messy, shared, and enjoyed to the very last crumb!