
The Ultimate Guide to Creating a Viral Snack Board on a Budget
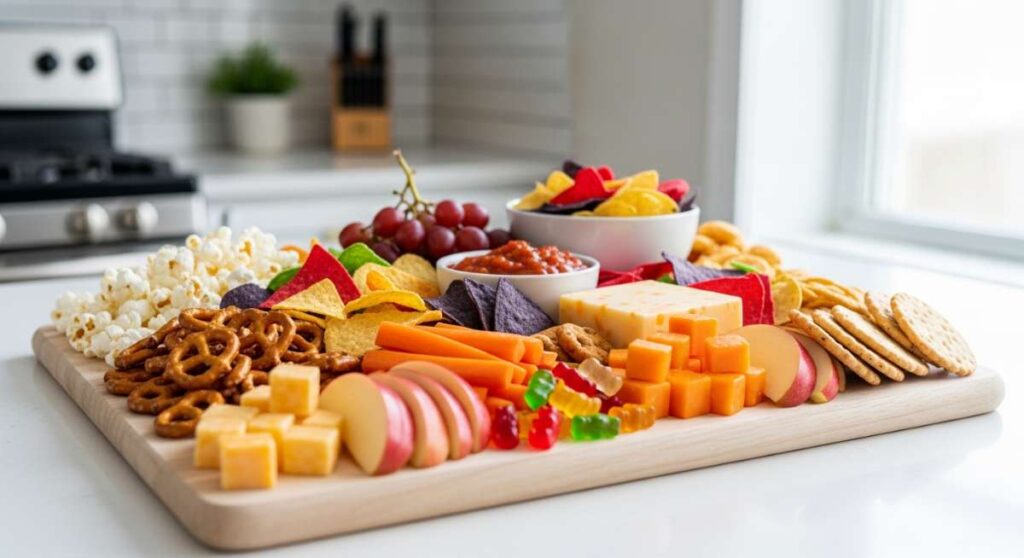
There is something undeniably magical about a shared meal that looks as good as it tastes. We live in an era where we eat with our eyes first, and nothing captures that aesthetic joy quite like a sprawling, vibrant food board. I remember the first time I hosted a summer gathering; I was so worried about the cost of fancy cheeses and imported meats, but then I realized the true secret to a ‘viral’ board isn’t the price tag—it’s the freshness, the colors, and the love you put into preparing simple, wholesome ingredients from scratch.
Building a viral snack board on a budget is all about transformation. It’s taking seasonal produce, humble proteins, and pantry staples and turning them into a visual masterpiece. In this guide, I’m going to show you how to master ten essential components that will make your board the talk of the neighborhood. From the sizzle of perfectly seared salmon to the refreshing crunch of a Greek salad, these are the recipes that bring people together without breaking the bank. Let’s dive into the art of the simple food board!
How to make greek salad?

Why we love this
This salad is the absolute soul of summer dining, offering a refreshing explosion of textures that cleanses the palate between heavier bites. Imagine the crisp, watery snap of a cold cucumber meeting the velvety, salty crumble of high-quality feta cheese. The aroma of dried oregano mixed with the zing of red wine vinegar creates a nostalgic Mediterranean scent that instantly transports you to a sun-drenched patio. It’s bright, colorful, and provides that essential acidity that balances out the richer items on your snack board.
Ingredients
- 2 large English cucumbers, diced
- 4 vine-ripened tomatoes, chopped
- 1 red onion, thinly sliced
- 1 cup Kalamata olives, pitted
- 200g Feta cheese, cubed or crumbled
- 1/4 cup extra virgin olive oil
- 2 tbsp red wine vinegar
- 1 tsp dried oregano
- Salt and black pepper to taste
How to make it
- Begin by preparing your vegetables; wash the cucumbers and tomatoes thoroughly. For the cucumbers, I recommend leaving some skin on in a striped pattern for a professional look, then dice them into bite-sized half-moons.
- Slice the red onion as thinly as possible. A pro tip: soak the onion slices in cold water for 10 minutes to remove the harsh ‘bite’ if you prefer a milder flavor.
- In a large wooden bowl, combine the cucumbers, tomatoes, onions, and olives. Gently toss them so the colors are evenly distributed.
- In a small glass jar, whisk together the olive oil, red wine vinegar, dried oregano, salt, and pepper until emulsified. Taste it—the dressing should be punchy and bright.
- Pour the dressing over the vegetables and toss gently. Finally, add the feta cheese. I like to add it last so it stays in distinct chunks rather than turning into a mushy paste. Chill for 20 minutes before serving on your board to let the flavors meld.
How to grill juicy chicken?
Why we love this
Nothing says ‘hosting’ like the smoky, savory aroma of chicken hitting a hot grill. When done right, the exterior develops a beautiful golden-brown char while the inside remains incredibly tender and bursting with savory juices. It’s a protein powerhouse that adds substance to your board, making it a full meal rather than just snacks. The contrast between the warm, charred meat and the cold dips or salads creates a sensory experience that keeps guests coming back for more.
Ingredients
- 1.5 lbs chicken breasts or thighs
- 3 tbsp olive oil
- 3 cloves garlic, minced
- 1 tsp smoked paprika
- 1 tsp onion powder
- Salt and cracked black pepper
- Fresh lemon wedges for serving
How to make it
- Start by pounding the chicken breasts to an even thickness (about 1/2 inch). This ensures that every part of the chicken cooks at the same rate, preventing the edges from drying out while the center is still raw.
- In a bowl, mix the olive oil, minced garlic, paprika, onion powder, salt, and pepper. Rub this mixture all over the chicken and let it marinate for at least 30 minutes at room temperature.
- Preheat your grill to medium-high heat (about 400°F). Make sure the grates are clean and lightly oiled to prevent sticking.
- Place the chicken on the grill and leave it undisturbed for 5-6 minutes. You are looking for those deep, caramelized grill marks. If the chicken resists when you try to flip it, it’s not ready yet.
- Flip the chicken and cook for another 5-7 minutes. Use an instant-read thermometer to check for an internal temperature of 165°F.
- Crucial Step: Remove the chicken from the grill and let it rest on a cutting board for at least 8 minutes before slicing. This allows the juices to redistribute, ensuring the meat stays moist. Slice into strips and arrange on your board with lemon wedges.
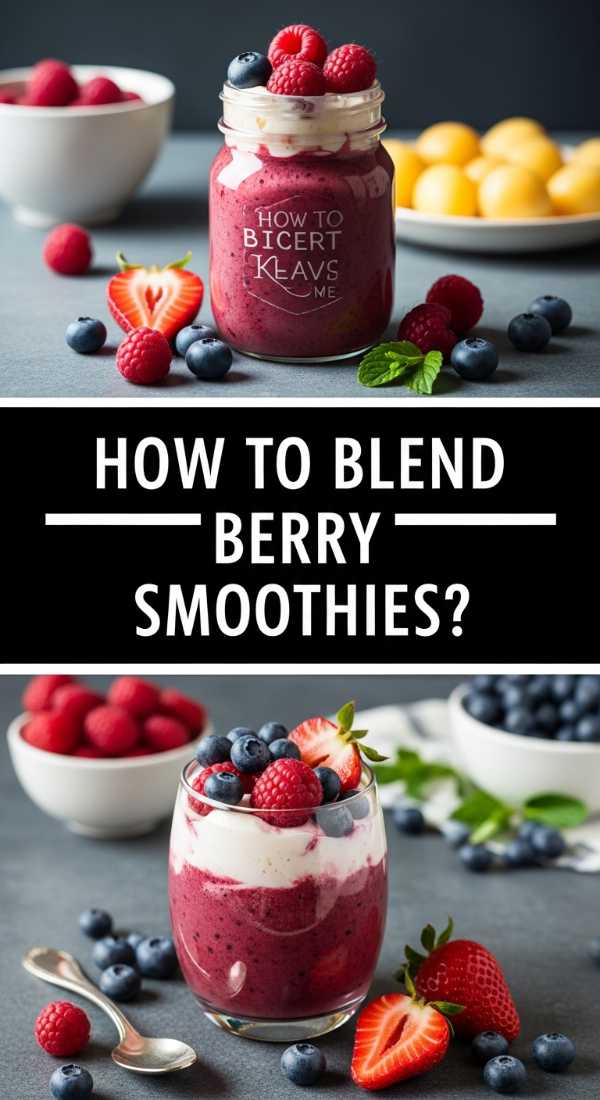
How to blend berry smoothies?

Why we love this
Serving small glasses of vibrant berry smoothies on a snack board is a total game-changer. They act as a liquid refreshment and a dessert-like treat all at once. The texture is thick, frosty, and incredibly smooth, with a deep purple or pink hue that makes the whole board pop visually. The scent is pure summer—sweet, tart berries and a hint of creamy vanilla. It’s a refreshing palate cleanser that feels indulgent but is packed with antioxidants.
Ingredients
- 2 cups frozen mixed berries (blueberries, raspberries, strawberries)
- 1 ripe banana (frozen for extra creaminess)
- 1 cup Greek yogurt
- 1.5 cups almond milk or oat milk
- 1 tbsp honey or maple syrup
- A pinch of cinnamon
How to make it
- Layer your ingredients in the blender, starting with the liquid (milk) first. This helps the blades move freely and prevents the frozen fruit from getting stuck at the bottom.
- Add the yogurt, honey, and cinnamon. These provide the ‘body’ and the subtle sweetness that balances the tartness of the berries.
- Add the frozen berries and the frozen banana. Using frozen fruit instead of ice is a professional tip that ensures your smoothie is thick and flavorful rather than watered down.
- Start the blender on the lowest speed and gradually increase to high. Blend for a full 60 seconds until you see a smooth, swirling vortex with no visible fruit chunks.
- Check the consistency; if it’s too thick, add a splash more milk. If too thin, add a few more frozen berries. Pour into mini shooters or glasses and place them directly onto your board with colorful straws.
How to roast summer veggies?
Why we love this
Roasting summer vegetables transforms them into something sweet, tender, and deeply savory. The high heat of the oven caramelizes the natural sugars in bell peppers, zucchini, and asparagus, creating charred edges that are addictive. The kitchen fills with a rustic, earthy aroma that signals a home-cooked feast. These veggies add a variety of shapes and colors to your board, making it look professional and abundant while providing a healthy, fiber-rich option.
Ingredients
- 2 zucchinis, sliced into rounds
- 2 bell peppers, cut into thick strips
- 1 bunch of asparagus, woody ends trimmed
- 1 cup cherry tomatoes
- 3 tbsp olive oil
- 2 tsp dried thyme or rosemary
- Coarse sea salt and black pepper
How to make it
- Preheat your oven to 425°F (220°C). High heat is essential for roasting rather than steaming the vegetables; you want that golden-brown color.
- Line a large sheet pan with parchment paper. This helps with cleanup and ensures the vegetables don’t stick to the metal.
- Place all the chopped vegetables in a large bowl and toss them with olive oil, thyme, salt, and pepper. Ensure every piece is lightly coated in oil—this is what conducts the heat and creates the crispness.
- Spread the vegetables out on the sheet pan in a single layer. Do not overcrowd the pan! If the veggies are touching too much, they will release steam and turn mushy rather than roasting.
- Roast for 15-20 minutes. At the halfway mark, use a spatula to toss the veggies so they brown evenly.
- The veggies are done when the peppers are soft and slightly blistered and the asparagus is tender but still has a slight snap. Let them cool slightly before arranging them in clusters on your board.
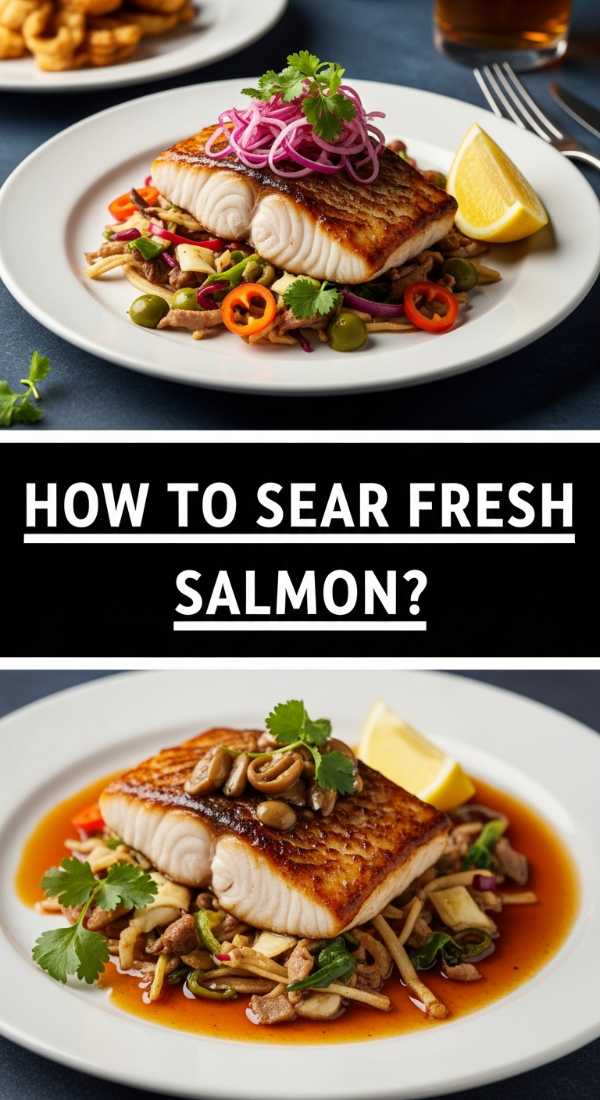
How to sear fresh salmon?
Why we love this
Seared salmon is the ‘luxury’ element of a budget board that doesn’t actually cost much if you buy a single large fillet and slice it. The contrast between the paper-thin, crackling-crisp skin and the buttery, flaky, pink interior is culinary perfection. As it sears, it releases a rich, savory aroma that is incredibly appetizing. It’s elegant, heart-healthy, and elevates the entire snack board from ‘picnic’ to ‘gourmet experience.’
Ingredients
- 1 lb fresh salmon fillet (skin-on)
- 1 tbsp grapeseed or canola oil (high smoke point)
- 1 tbsp unsalted butter
- 1 tsp garlic powder
- Salt and black pepper
- Fresh dill for garnish
How to make it
- The most important step for crispy skin is moisture removal. Pat the salmon skin and flesh completely dry with paper towels. If it’s wet, it will steam, not sear.
- Season the flesh side with salt, pepper, and garlic powder. Do not season the skin yet.
- Heat a heavy-bottomed skillet (cast iron is best) over medium-high heat until the oil is shimmering and just starting to smoke slightly.
- Place the salmon skin-side down in the pan. Use a flexible spatula to press down firmly on the fillet for the first 30 seconds. This prevents the skin from curling and ensures even contact with the heat.
- Lower the heat slightly to medium and let the salmon cook skin-side down for about 6-7 minutes. You will see the color change slowly up the side of the fish.
- Add the butter to the pan. Once it melts, flip the fish carefully. Sear the flesh side for only 1-2 minutes. This keeps the center medium-rare and juicy. Remove from the pan, let it rest, then flake it into large, beautiful chunks for the board.
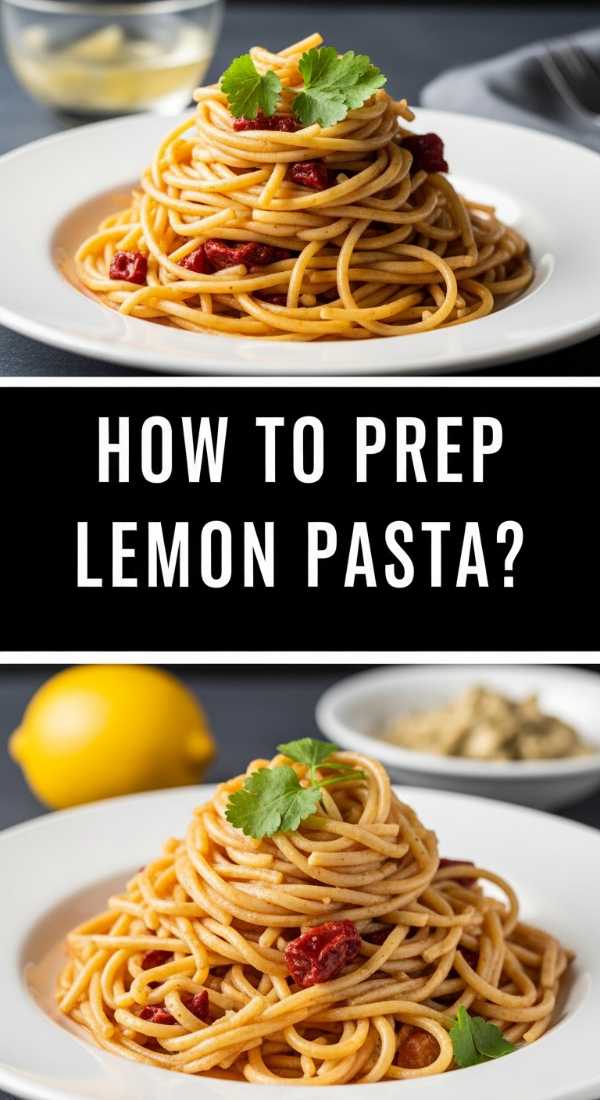
How to prep lemon pasta?
Why we love this
Lemon pasta is the definition of ‘simple but sophisticated.’ It uses pantry staples like spaghetti and butter but transforms them into a silky, citrusy delight that smells like a lemon grove in Italy. The bright yellow zest against the pale pasta looks stunning in a small bowl on your board. It’s light enough to be a ‘snack’ but satisfying enough to anchor the meal, providing a smooth texture that contrasts beautifully with crunchy veggies.
Ingredients
- 1/2 lb spaghetti or linguine
- 1/4 cup reserved pasta water
- 3 tbsp unsalted butter
- Zest and juice of 2 large lemons
- 1/2 cup grated Parmesan cheese
- Fresh parsley, finely chopped
How to make it
- Bring a large pot of heavily salted water to a boil. Cook the pasta until it is ‘al dente’—usually 1-2 minutes less than the package instructions. It should still have a firm bite.
- Before draining, carefully scoop out 1/2 cup of the starchy pasta water. This is the ‘liquid gold’ that creates the creamy sauce without needing heavy cream.
- In a large skillet over low heat, melt the butter. Add the lemon zest and juice, stirring constantly to avoid burning the zest.
- Add the cooked pasta and half of the reserved pasta water to the skillet. Increase the heat to medium and toss vigorously with tongs.
- Sprinkle in the Parmesan cheese slowly while continuing to toss. The cheese will melt into the pasta water and butter, creating a glossy, emulsified sauce that coats every strand.
- If the pasta looks dry, add the remaining pasta water. Top with fresh parsley and a final dusting of cheese. Serve in small, stylish bowls nestled between the proteins on your board.
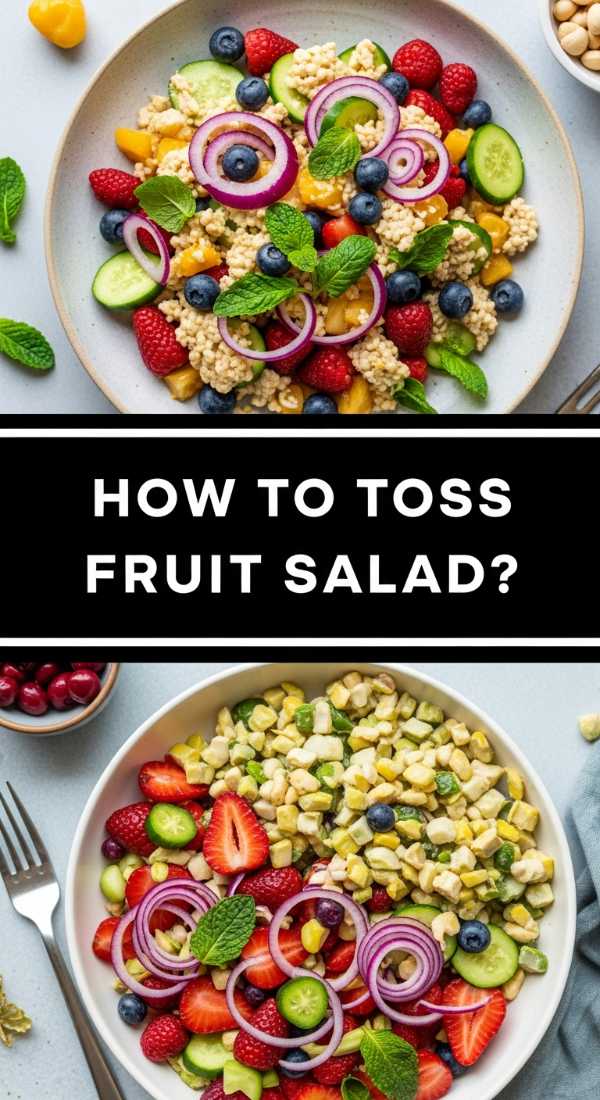
How to toss fruit salad?
Why we love this
A well-made fruit salad is the crown jewel of a food board, providing a natural sweetness and a kaleidoscope of colors that catch the eye immediately. The scent of fresh mint and citrus dressing elevates simple melons and berries into something extraordinary. It’s juicy, cooling, and offers a sweet relief from the salty components of the board. Plus, it serves as a beautiful decorative element that fills in gaps with vibrant reds, greens, and oranges.
Ingredients
- 2 cups watermelon cubes
- 1 cup fresh blueberries
- 2 kiwis, peeled and sliced
- 1 cup strawberries, halved
- Juice of 1 lime
- 2 tbsp honey
- Handful of fresh mint leaves, torn
How to make it
- When selecting fruit, choose varying textures. The crunch of the melon, the pop of the blueberries, and the softness of the kiwi make the salad more interesting to eat.
- Dice all larger fruits into uniform, bite-sized pieces. This makes it easier for guests to serve themselves with a spoon or toothpick.
- In a small bowl, whisk together the lime juice and honey. This simple glaze prevents the fruit from browning and adds a zesty brightness that enhances the natural sugars.
- Combine all the fruit in a large glass bowl. Pour the lime-honey dressing over the top.
- Add the torn mint leaves. Mint isn’t just a garnish here; it adds a cooling aromatic quality that makes the fruit taste much fresher.
- Toss gently with a large spoon so you don’t crush the delicate berries. For the best presentation, keep the fruit salad chilled until the very last second before placing it on the board.
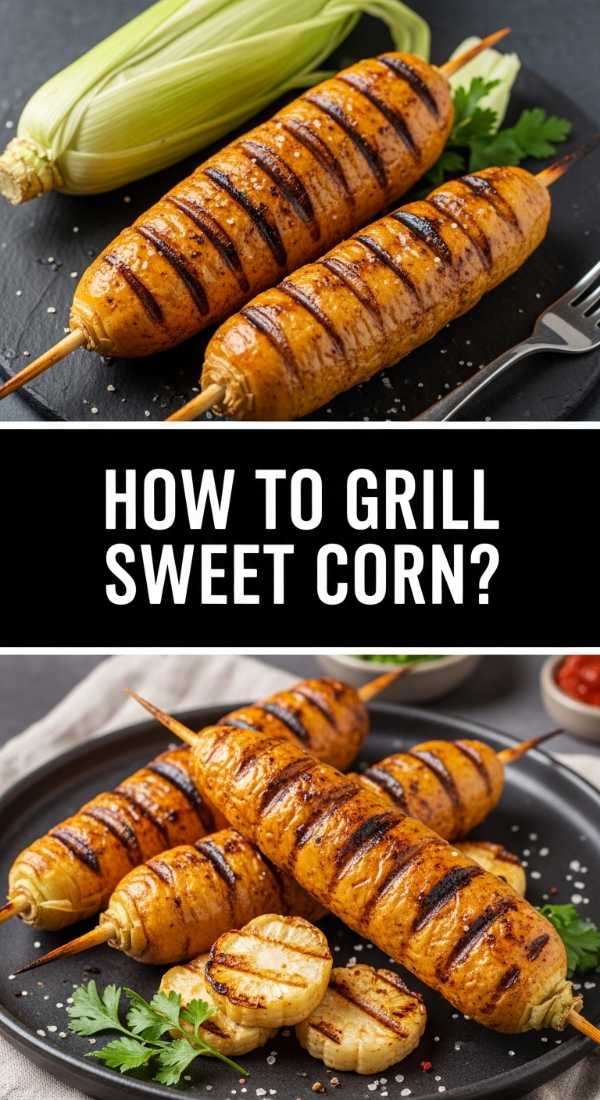
How to grill sweet corn?
Why we love this
There is a primal joy in eating grilled corn on the cob. The smell of the husks charring over an open flame is the quintessential scent of a summer cookout. When the kernels are grilled, they become intensely sweet and take on a smoky depth that boiled corn just can’t match. Topped with a bit of butter and salt, it’s a rustic, handheld treat that adds height and a rugged, ‘farm-to-table’ aesthetic to your food board.
Ingredients
- 4 ears of fresh sweet corn, husks removed
- 2 tbsp melted butter
- 1/2 tsp chili powder (optional)
- Salt and pepper
- Lime wedges for squeezing
How to make it
- Preheat your grill to high heat. You want the grates to be very hot so the corn chars quickly without overcooking the inside and making it tough.
- Brush each ear of corn generously with melted butter. This helps the seasoning stick and encourages that beautiful golden browning.
- Place the corn directly onto the grill grates. Close the lid and cook for about 2-3 minutes.
- Open the lid and rotate the corn about a quarter turn. Repeat this process until the corn is charred in spots all the way around—this usually takes about 10-12 minutes total.
- Once the kernels look bright yellow and have those signature black charred marks, remove them from the grill.
- Immediately brush with a little more butter and sprinkle with salt and chili powder. For a snack board, I recommend cutting the ears into smaller 2-inch ’rounds’ so they are easier for guests to pick up and eat.
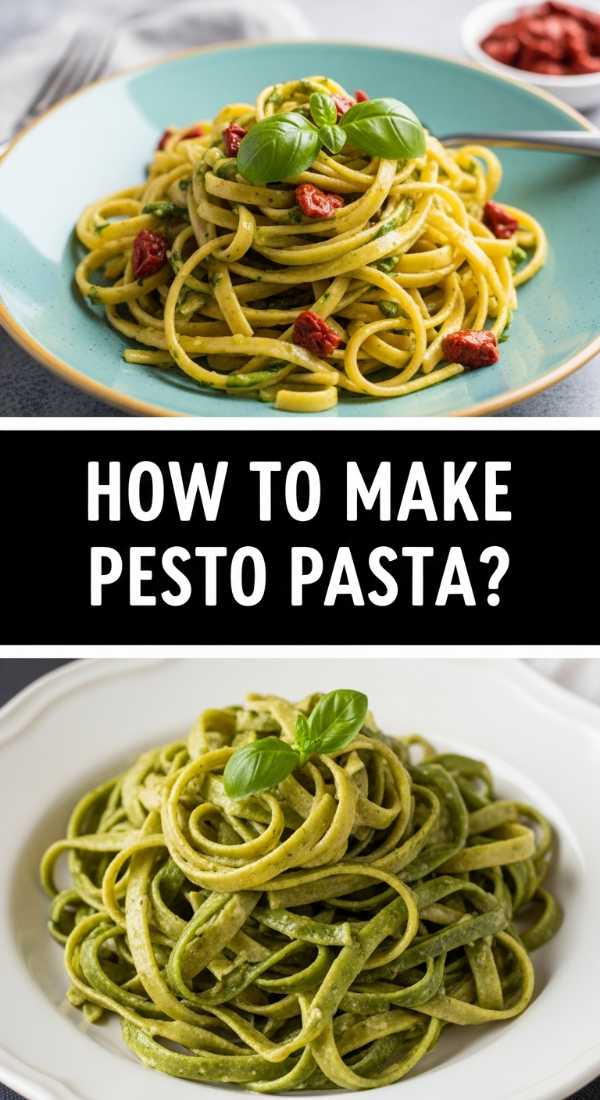
How to make pesto pasta?

Why we love this
Pesto pasta is a sensory powerhouse. The moment the warm pasta hits the basil sauce, the room is filled with the fragrance of fresh herbs, garlic, and toasted nuts. It’s a deep, vibrant green that provides a stunning color contrast to the reds and yellows on your board. The texture is rich and coating, with a nutty crunch from the pine nuts or walnuts. It’s a classic crowd-pleaser that feels incredibly high-end despite being made from simple garden ingredients.
Ingredients
- 1/2 lb fusilli or penne pasta
- 2 cups fresh basil leaves
- 1/3 cup pine nuts (or walnuts for budget)
- 2 cloves garlic
- 1/2 cup extra virgin olive oil
- 1/2 cup grated Pecorino or Parmesan cheese
- Salt and pepper
How to make it
- Toast your nuts in a dry pan over medium heat for 2-3 minutes until fragrant and golden. This is a small step that adds a massive amount of depth to the pesto’s flavor profile.
- In a food processor, pulse the basil, toasted nuts, and garlic until coarsely chopped.
- With the processor running on low, slowly drizzle in the olive oil. This creates a smooth, green emulsion. Don’t over-process; you want a little bit of texture.
- Stir in the grated cheese by hand. If you process the cheese too much, the pesto can become ‘gummy.’ Season with salt and pepper to taste.
- Cook your pasta in salted water until al dente. Drain, but do not rinse the pasta—the starch on the surface helps the pesto stick.
- Toss the warm pasta with the pesto. If it’s too thick, add a tablespoon of hot pasta water. Serve in a bowl with a sprig of fresh basil on top.
How to bake zucchini fries?
[IMAGE_10]
Why we love this
Zucchini fries are the ‘secret weapon’ of a viral food board. They offer all the satisfying crunch of a traditional fry but with a lighter, fresher interior that doesn’t leave you feeling weighed down. The golden Panko crust provides a wonderful texture that crackles when you bite into it, revealing the tender, mild zucchini inside. They are best served warm with a side of marinara or ranch, adding a playful, finger-food element that everyone loves to grab.
Ingredients
- 3 medium zucchinis
- 1 cup Panko breadcrumbs
- 1/2 cup grated Parmesan cheese
- 2 eggs, beaten
- 1 tsp garlic powder
- 1 tsp dried oregano
- Cooking spray
How to make it
- Preheat your oven to 425°F (220°C). Place a wire cooling rack on top of a baking sheet. This allows hot air to circulate under the fries, ensuring they get crispy on all sides.
- Cut the zucchini into ‘sticks’ about 3-4 inches long and 1/2 inch thick. Try to keep them uniform so they cook at the same rate.
- In one shallow bowl, beat the eggs. In another bowl, combine the Panko, Parmesan, garlic powder, and oregano. This breading mixture is where all the flavor lives!
- Dip each zucchini stick into the egg, let the excess drip off, then roll it in the Panko mixture, pressing firmly so the crumbs stick.
- Place the sticks on the wire rack. Spray them generously with olive oil cooking spray—this is the trick to getting them ‘fried’ and golden in the oven.
- Bake for 15-20 minutes until they are deeply golden brown and crispy. Serve immediately on the board while they are at their crunchiest.
Creating Your Masterpiece
Now that you’ve mastered these ten components, it’s time to assemble! Start by placing your larger bowls (the pastas and salads) on the board first to act as anchors. Then, arrange your proteins like the chicken and salmon around them. Fill in the gaps with the roasted veggies and corn, and finally, tuck in the zucchini fries and fruit. The key to a viral board is abundance—don’t be afraid to let things touch! Use fresh herbs like parsley or mint to fill any small holes. You’ve just created a stunning, delicious, and budget-friendly feast that’s ready for its close-up!