
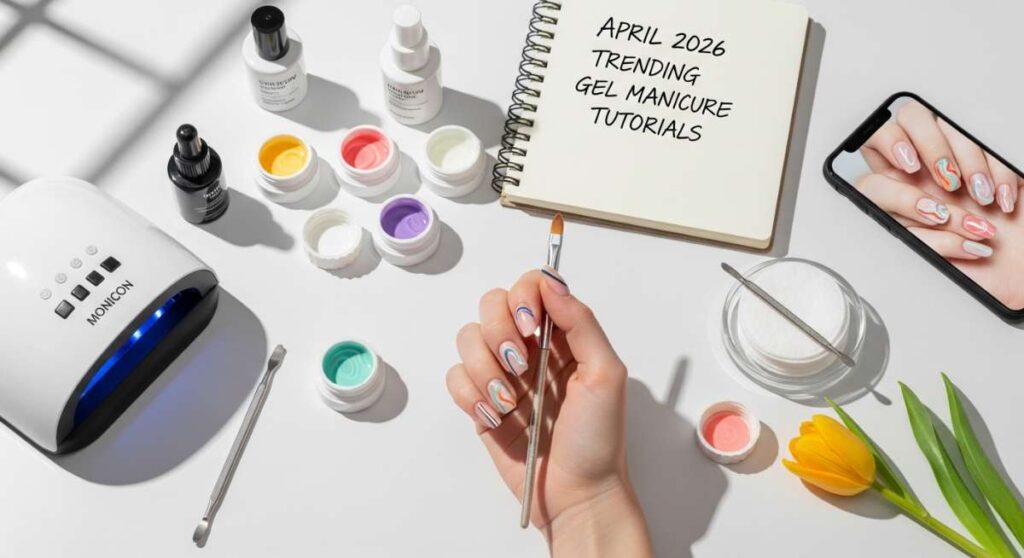
The Ultimate April 2026 Gel Mani Playbook: Trending Techniques for Flawless Nails
Hi loves! Can you feel it? That soft, golden shift in the light that only April brings? It is that magical time of year when we shed our heavy knits and step into the gentle bloom of spring. For me, there is no better way to ground myself in this season of renewal than with a fresh, sparkling gel manicure. It is more than just polish; it is ten tiny canvases that reflect the light and love we are ready to pour back into the world.
This month, the trends are all about ‘ethereal softness’—think cloud-like textures, whisper-quiet pastels, and a glow that looks like it is coming from within. I’ve spent the last few weeks playing with new techniques in my sun-drenched nook, and I am so excited to share my favorite April 2026 rituals with you. Grab a cup of lavender tea, cozy up, and let’s transform our hands into works of art together.
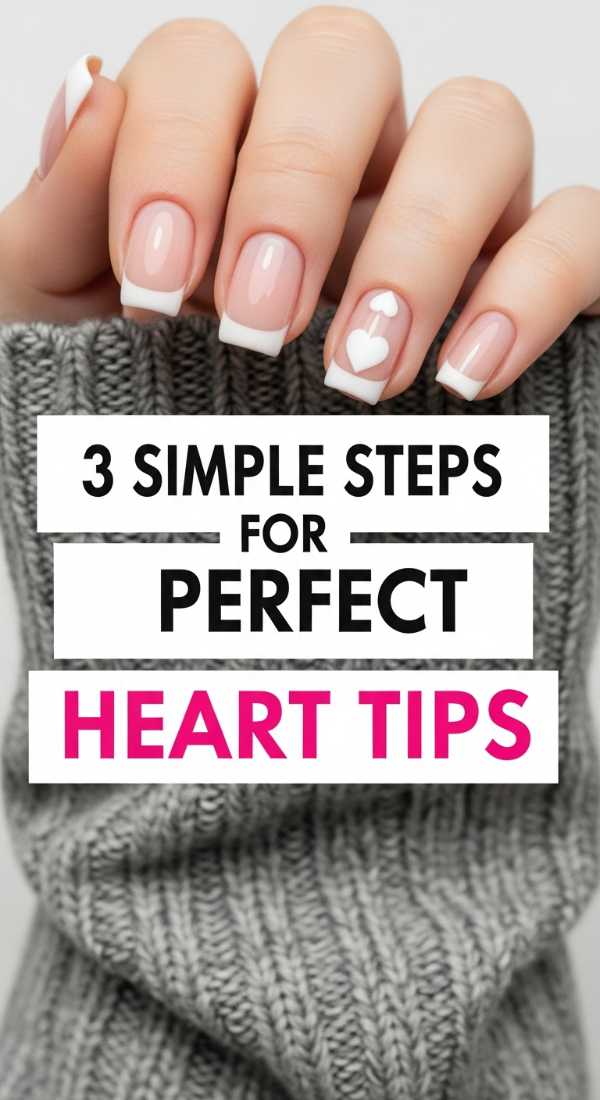
3 simple steps for perfect heart tips
Why to love this Design:
There is something so inherently sweet and romantic about wearing your heart on your fingertips. Heart tips are the softest evolution of the classic French manicure, adding a touch of playful vulnerability to your look that feels just right for those first spring dates.
Essential Elements:
- Sheer pink base coat
- Opaque red or white gel polish
- Fine-liner detail brush
- High-gloss top coat
How to Prepare:
- Apply two thin layers of your sheer pink base and cure.
- Using your detail brush, paint two overlapping teardrop shapes at the very tip of the nail to form the heart curves.
- Fill in the shape carefully and cure for 60 seconds before sealing with top coat.
Budget Range
- Essie Gel Couture ‘Sheer Fantasy’ ($13)
- Beetles Detail Brush Set ($8)
- Modelones Red Gel Liner ($7)
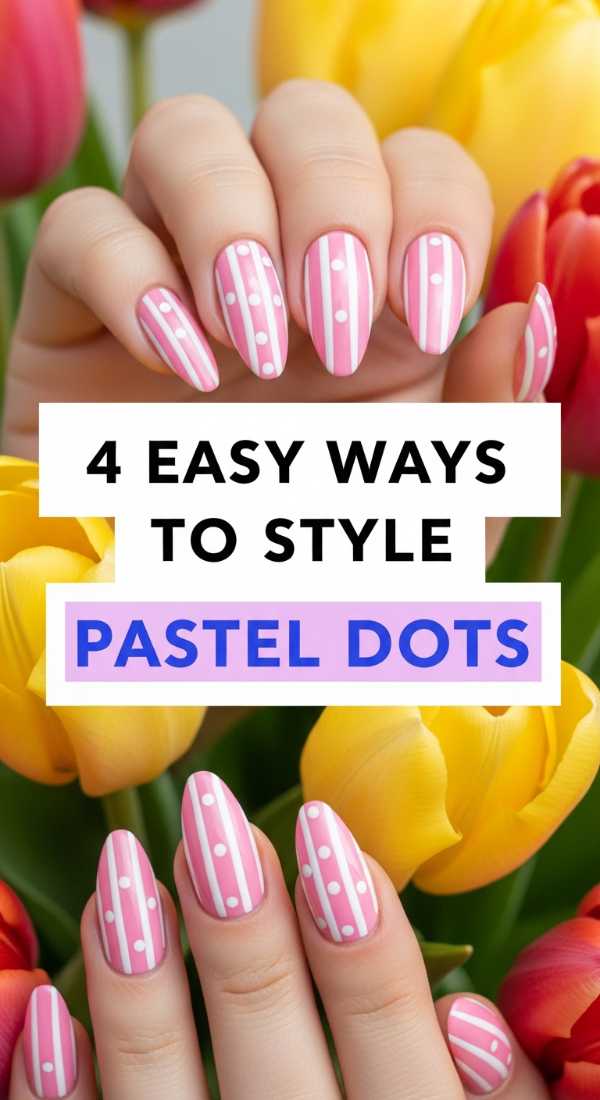
4 easy ways to style pastel dots
Why to love this Design:
Pastel dots are like little whispers of confetti on your nails. They are wonderfully low-effort but high-impact, offering a whimsical vibe that doesn’t feel ‘too much’ for the office or a casual brunch in the park.
Essential Elements:
- Dotting tools (various sizes)
- Assorted pastel gels (mint, lavender, lemon)
- Matte or glossy top coat
How to Prepare:
- Apply your base color and cure.
- Dip the large end of the dotting tool into your first pastel shade and press lightly near the cuticle.
- Use a smaller tool to add tiny ‘accent’ dots around the larger ones for a galaxy effect.
- Flash cure between colors to prevent the pastels from bleeding into one another.
Budget Range
- Zoya Naked Manicure Kit ($25)
- Dotting Tool Multi-pack ($5)
- Saviland Pastel Gel Set ($15)
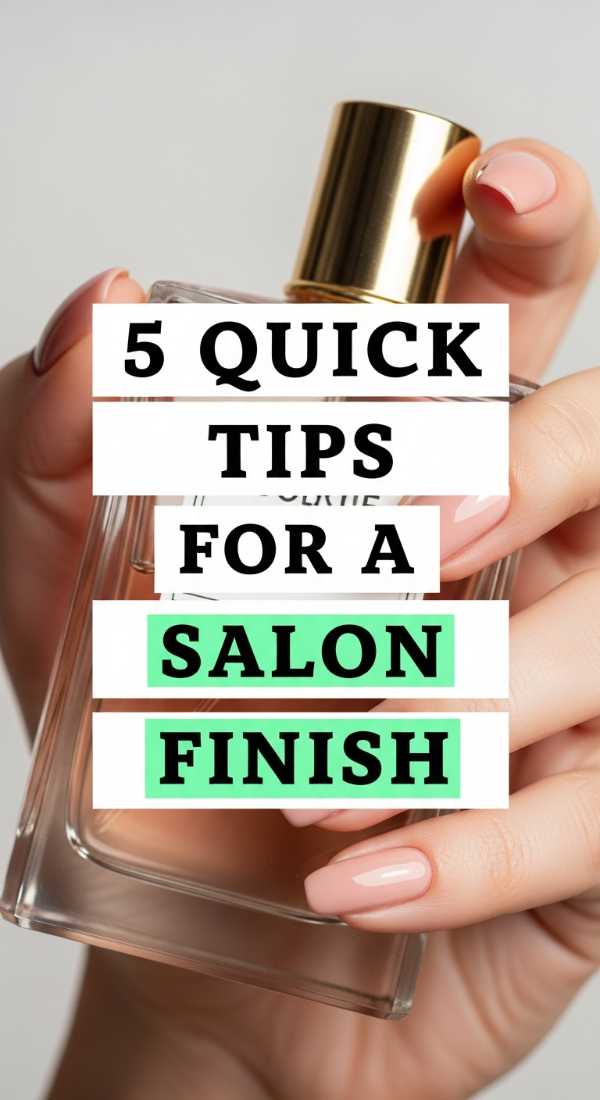
5 quick tips for a salon finish
Why to love this Design:
We all deserve that glass-like, expensive-looking finish that usually costs a fortune at the studio. Mastering the salon finish at home is the ultimate act of self-care, giving you a boost of confidence every time you catch your reflection in the sun.
Essential Elements:
- Professional grade pH bonder
- Rubber base coat
- Lint-free wipes
- 99% Isopropyl alcohol
How to Prepare:
- Spend extra time on cuticle prep; a clean canvas is 90% of the battle.
- Apply a pH bonder to dehydrate the nail plate for maximum grip.
- Apply a ‘Rubber Base’ to even out any ridges in your natural nail.
- Keep your layers paper-thin to avoid ‘bulky’ edges.
- Finish with a non-wipe top coat for that instant diamond shine.
Budget Range
- Kodi Professional Rubber Base ($14)
- Mia Secret Glass Finish Top Coat ($12)
- Young Nails Protein Bond ($15)
6 steps to paint tiny daisy nails
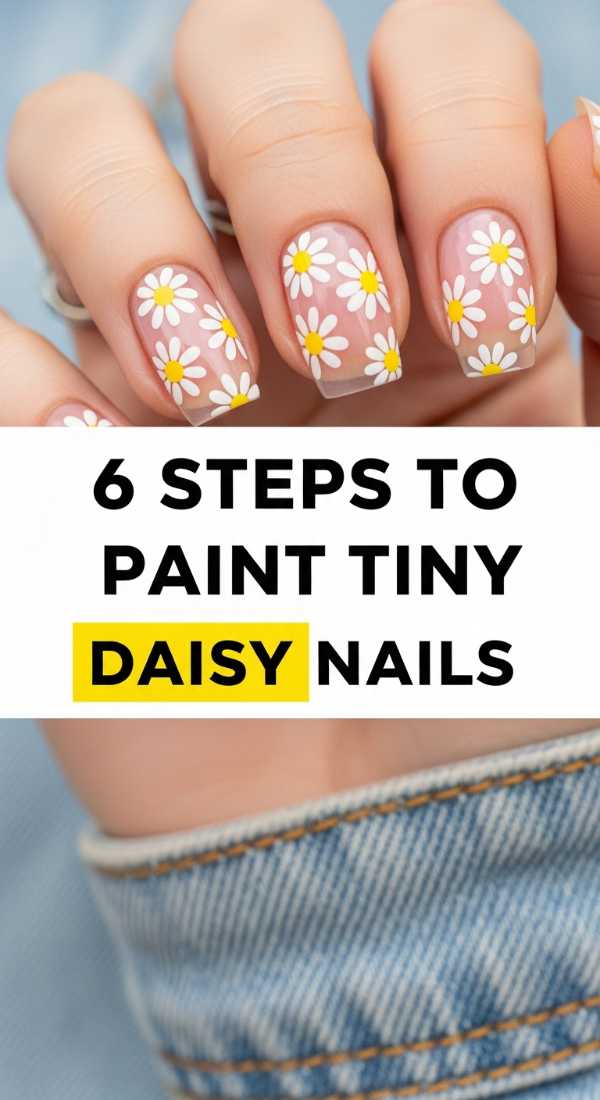
Why to love this Design:
Daisies are the ultimate symbol of April’s awakening. These tiny florals bring a sense of joy and nostalgia, reminding us that even the smallest things can bloom into something beautiful with a little patience.
Essential Elements:
- Yellow gel for the center
- Crisp white gel for petals
- Toothpick or ultra-fine brush
How to Prepare:
- Paint a soft sage green or sky blue base and cure.
- Place a small yellow dot in the center of the nail (or off-center for a modern look).
- Draw five tiny white lines radiating from the yellow center.
- Gently thicken the ends of the lines to create petal shapes.
- Add a tiny bit of texture to the yellow center with a darker orange dot.
- Cure and seal with a protective top coat.
Budget Range
- DND DC Gel ‘White Hot’ ($9)
- Gelish ‘You’re So Sweet-tart’ ($14)
- Artist Brush Set from Amazon ($6)
7 minutes to create a soft ombre
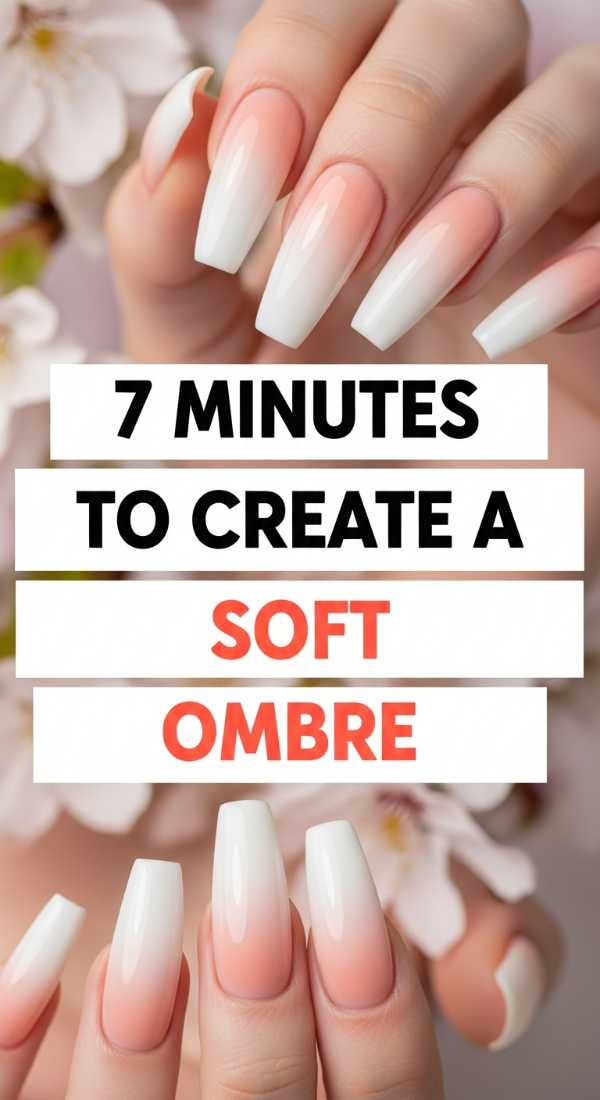
Why to love this Design:
The soft ombre is like a watercolor painting come to life. It blurs the lines between colors, creating a dreamy, ethereal transition that mimics the hazy April morning sky.
Essential Elements:
- Two complementary gel shades
- Latex-free makeup sponge
- Liquid latex (for easy cleanup)
How to Prepare:
- Apply the lighter shade as your base and cure.
- Paint a strip of both colors onto the edge of a makeup sponge.
- Dab the sponge onto the nail, moving it slightly up and down to blend the ‘meeting point.’
- Cure for 30 seconds.
- Repeat the sponging process for more vibrancy.
- Apply a top coat while the gel is slightly tacky to further soften the gradient.
- Peel off the liquid latex and reveal your masterpiece.
Budget Range
- Pueen Liquid Latex ($9)
- Wedge Sponges (Bulk pack) ($5)
- Madam Glam ‘Perfect Pink’ ($19)
3 rules for minimalist manicure designs
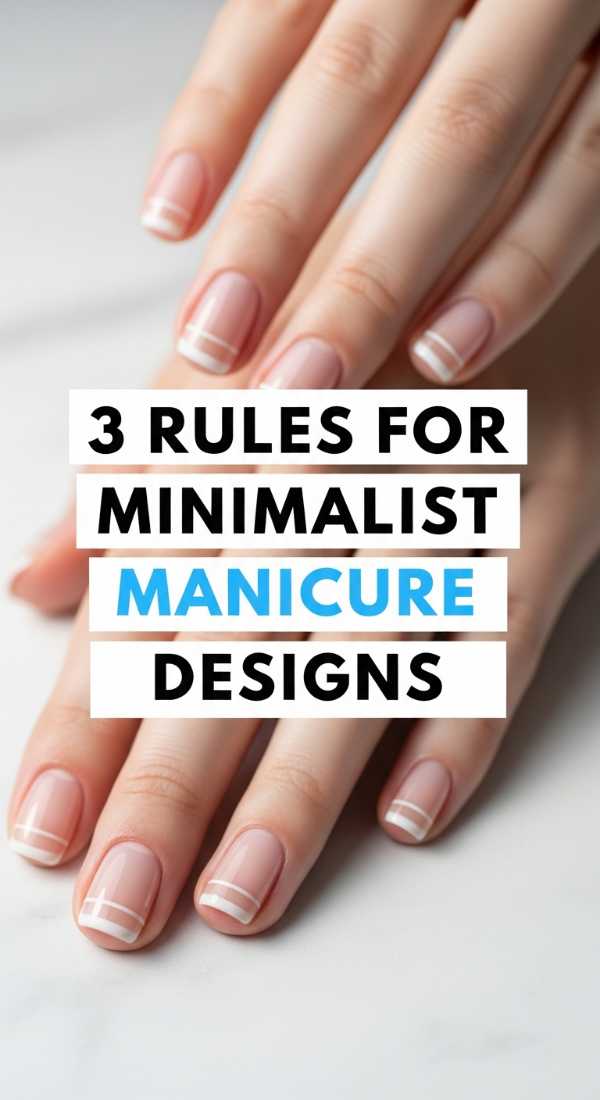
Why to love this Design:
Sometimes, the loudest statement is a whisper. Minimalist designs celebrate the natural beauty of your hands, offering a clean, sophisticated aesthetic that feels incredibly modern and mindful.
Essential Elements:
- Nude or clear gel
- A single metallic stripe or stud
- Precision tweezers
How to Prepare:
- Rule 1: Negative space is your friend—leave at least 60% of the nail ‘naked.’
- Rule 2: Focus on one focal point per nail (a single dot or a vertical line).
- Rule 3: Symmetry isn’t required; an asymmetrical dot on the ring finger feels more intentional.
Budget Range
- Orly Builder in a Bottle ($22)
- Gold Nail Striping Tape ($4)
- Bio Seaweed Gel ‘Unity’ ($18)
5 secrets to apply subtle nail glitter
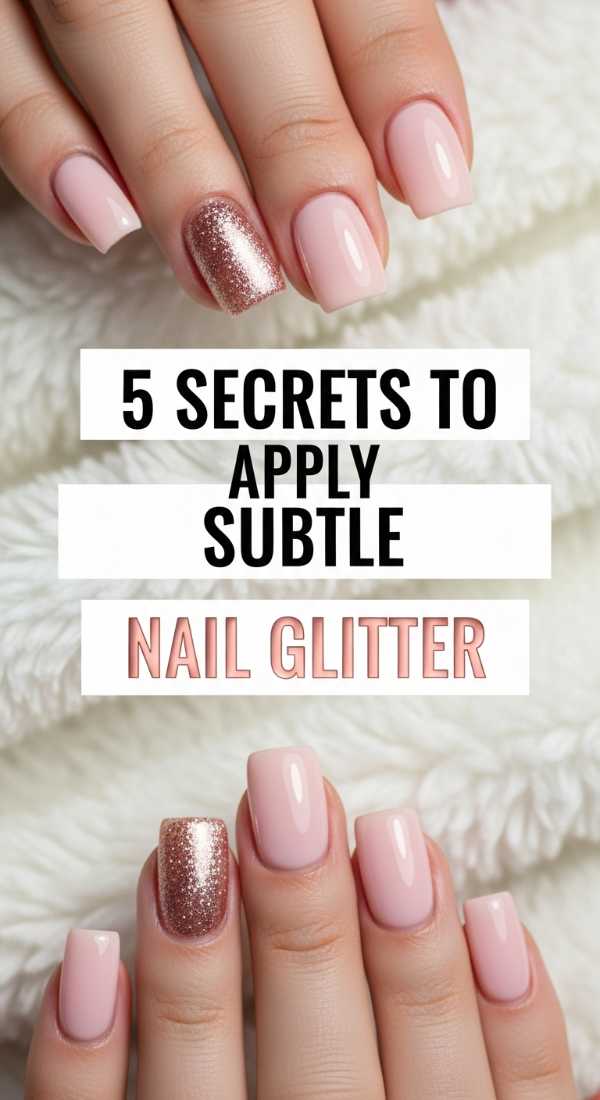
Why to love this Design:
This isn’t the chunky glitter of our youth. It’s a sophisticated, grown-up shimmer—the kind that only catches the light when you move your hand. It’s like carrying a pocketful of stardust.
Essential Elements:
- Fine iridescent glitter powder
- Fluffy eyeshadow brush
- Mixing palette
How to Prepare:
- Secret 1: Never ‘paint’ glitter on; instead, ‘buff’ it into a tacky layer of gel.
- Secret 2: Use a fluffy brush for a scattered, ‘stardust’ look rather than a solid coat.
- Secret 3: Focus the glitter only on the tips or the cuticles for a ‘gradient’ effect.
- Secret 4: Mix a tiny bit of loose glitter into your top coat for a subtle ‘shimmer veil.’
- Secret 5: Always double-top-coat to ensure a smooth, snag-free surface.
Budget Range
- Daily Charme Iridescent Dust ($12)
- Wet n Wild Crease Brush ($2)
- Born Pretty Glitter Gel Set ($13)
4 steps to get a glazed look
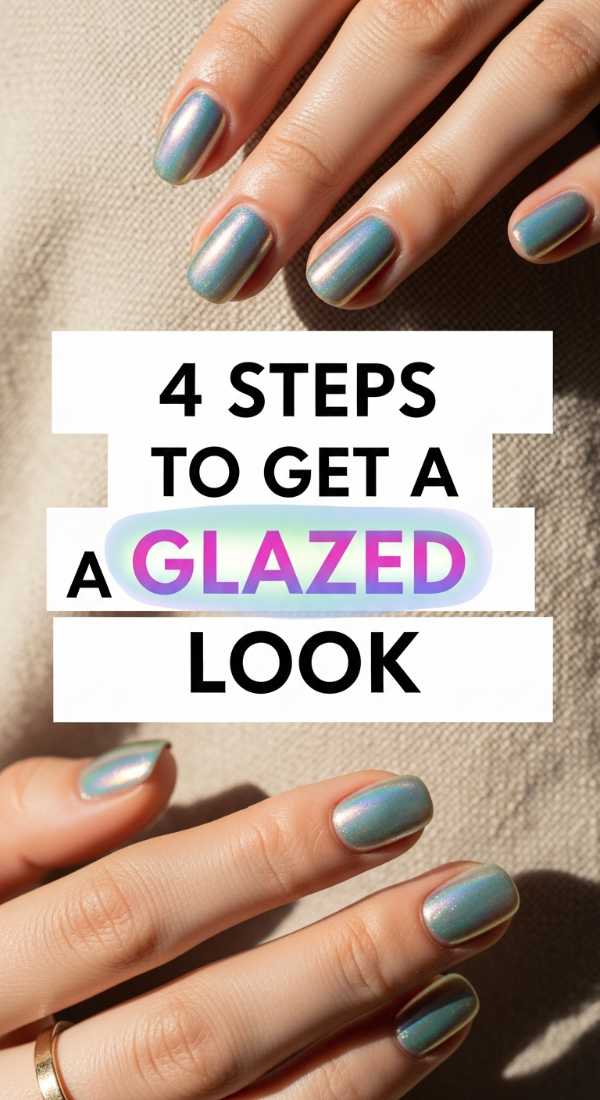
Why to love this Design:
The ‘glazed donut’ trend has evolved into something even more ethereal for 2026. It gives your nails a pearlescent, chrome-like glow that looks stunning in natural sunlight.
Essential Elements:
- White or milky base gel
- Pearl chrome powder
- Sponge applicator
- Non-wipe top coat
How to Prepare:
- Apply one coat of milky white gel and cure completely.
- Apply a non-wipe top coat and cure for exactly 30 seconds (it needs to be slightly warm).
- Rub the chrome powder over the nail using the sponge applicator until it glows.
- Gently brush off excess powder and seal with a final layer of top coat.
Budget Range
- OPI ‘Funny Bunny’ ($14)
- Artdone Chrome Powder ($8)
- Kiara Sky Non-Wipe Top Coat ($15)
6 ways to master negative space nails
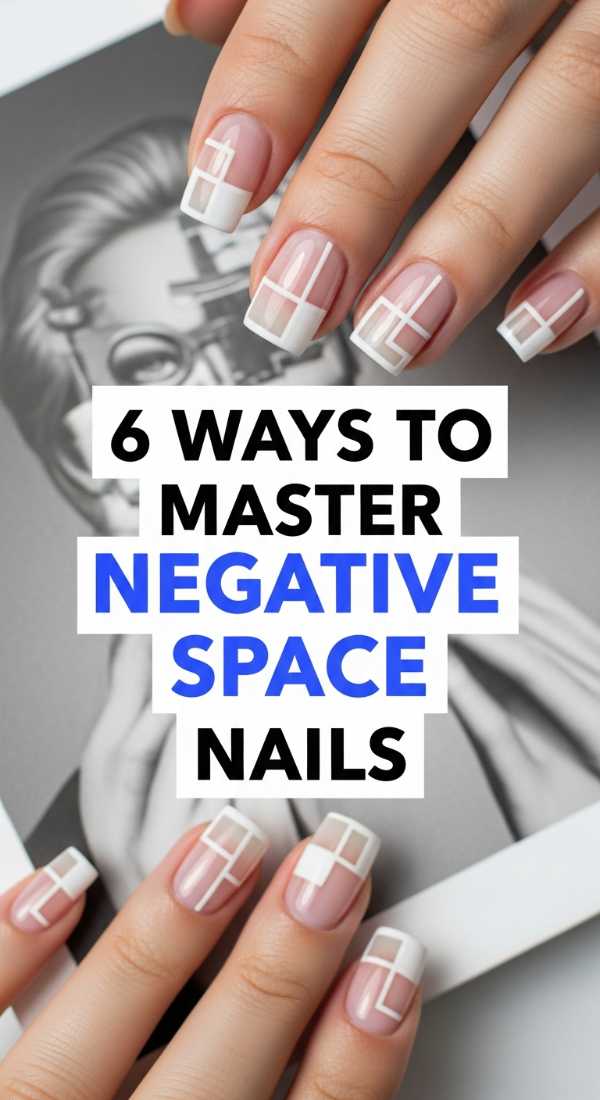
Why to love this Design:
Negative space nails are the ultimate ‘cool girl’ manicure. By letting parts of your natural nail show through, you create a high-fashion look that is also incredibly forgiving as your nails grow out.
Essential Elements:
- Thin striping tape
- High-pigment color gels
- Cleanup brush dipped in acetone
How to Prepare:
- Prep your natural nail with a clear strengthening base.
- Place striping tape in geometric patterns (V-shapes or diagonals).
- Paint your chosen color over the tape.
- Remove the tape immediately while the gel is still wet.
- Use a cleanup brush to sharpen any wobbly lines.
- Cure and finish with a thick, leveling top coat.
Budget Range
- Vbeauty Pure Precision Brush ($12)
- Nail Tape Multi-pack ($6)
- Gelish Mini Foundation ($11)
2 techniques for a professional matte finish
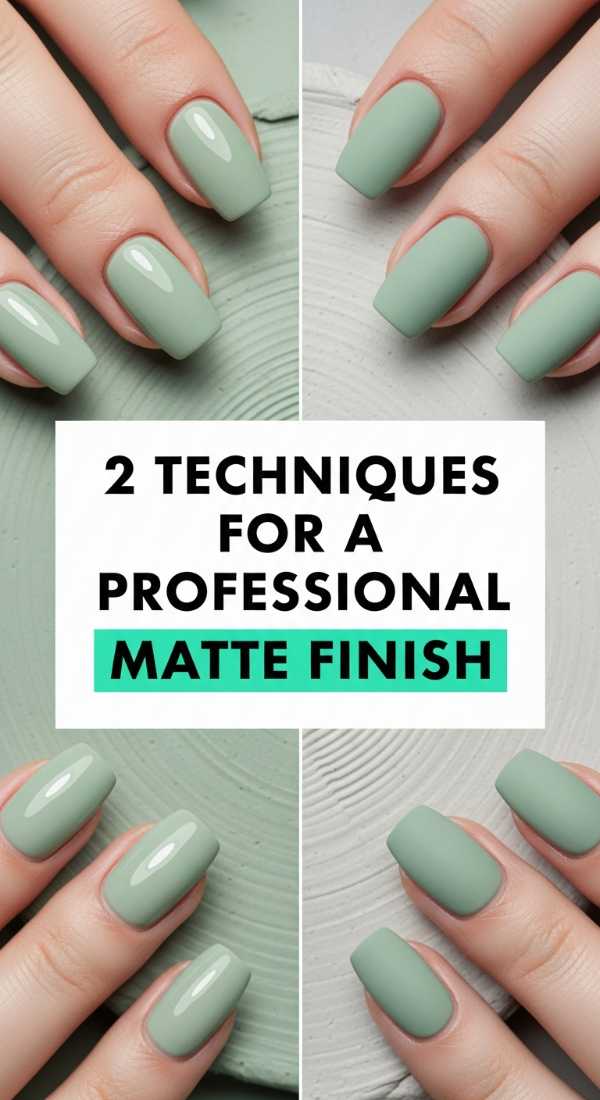
Why to love this Design:
Matte nails are for the days when you want a velvet-touch elegance. It’s a chic, understated finish that completely transforms your favorite colors into something deeper and more mysterious.
Essential Elements:
- Specialty matte top coat
- Buffing block
How to Prepare:
- Technique 1: Apply a standard matte top coat, ensuring you cap the free edge to prevent peeling.
- Technique 2: If you want a ‘suede’ look, apply a glossy top coat first, cure, lightly buff the shine away with a soft block, and then apply matte top coat over it.
Budget Range
- Kupa ManiQ Matte Top ($15)
- Buffing Blocks (10 pack) ($7)
- Apres Gel-X Matte Top ($18)
Bloom With Your New Mani
As we wrap up our April playbook, I hope you feel inspired to take a little moment for yourself this week. Whether you choose the playful daisies or the sophisticated glazed look, remember that the beauty of a DIY manicure isn’t just in the final result—it’s in the quiet, meditative process of creating something with your own two hands. You deserve this time to sparkle, my loves. I can’t wait to see your beautiful creations! Tag me in your photos and let’s spread the spring vibes together. Stay soft, stay bright, and keep shining!
Frequently Asked Questions
Q: How long should my April gel mani last?
A: With proper prep (like using a pH bonder), your mani should last 2-3 weeks. The key is thin layers!
Q: Can I do these designs on natural nails?
A: Absolutely! Most of these tutorials are designed specifically for natural nails to enhance their health and beauty.
Q: What is the easiest way to remove gel without damage?
A: Never peel! Soak a cotton ball in acetone, place it on the nail, wrap in foil for 15 minutes, and the gel will slide right off like butter.
Q: Are matte nails harder to keep clean?
A: They can pick up oils a bit more easily, but a quick wipe with alcohol will bring that velvet finish right back to life!