
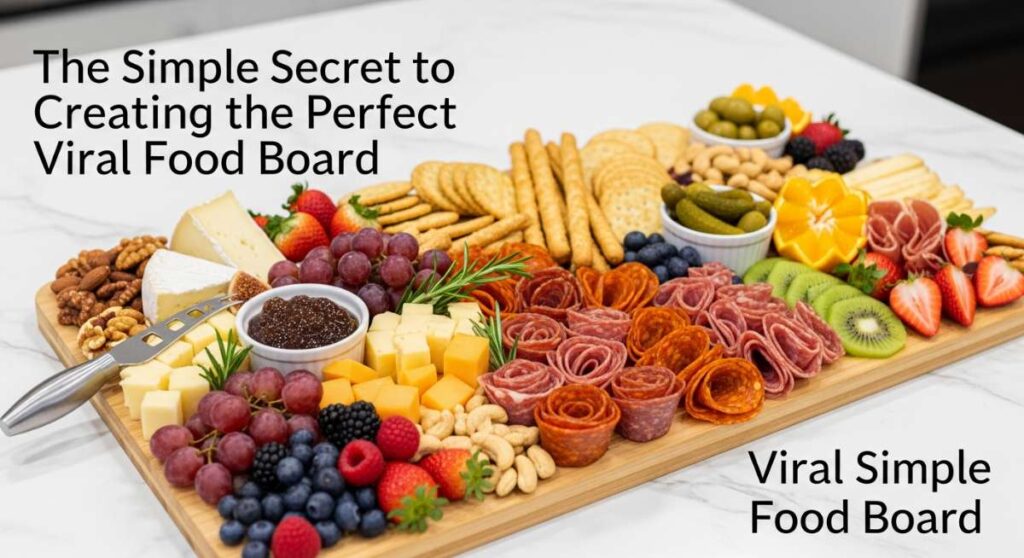
The Simple Secret to Creating the Perfect Viral Food Board
There is something inherently magical about a gathering that centers around a shared table, but lately, I have found that the traditional sit-down dinner feels a bit too formal for the breezy, sun-drenched days of summer. I discovered that the secret to a truly viral, Instagram-worthy food board isn’t just about the aesthetics; it is about creating a tapestry of flavors that invites everyone to lean in, reach across the table, and share a moment of genuine connection. It is about that ‘wow’ factor when a board overflowing with colors and textures hits the center of the patio table.
My philosophy for the perfect food board is simple: variety, vibrancy, and a touch of the unexpected. By combining hearty proteins with zesty salads and even a bit of homemade sweetness, you transform a simple meal into an interactive experience. Whether you are hosting a backyard bash or preparing for a weekend in the woods, these elements come together to create a feast for the eyes and the soul. Let’s dive into the components that will make your next food board the talk of the town.
How to make homemade dandelion jelly
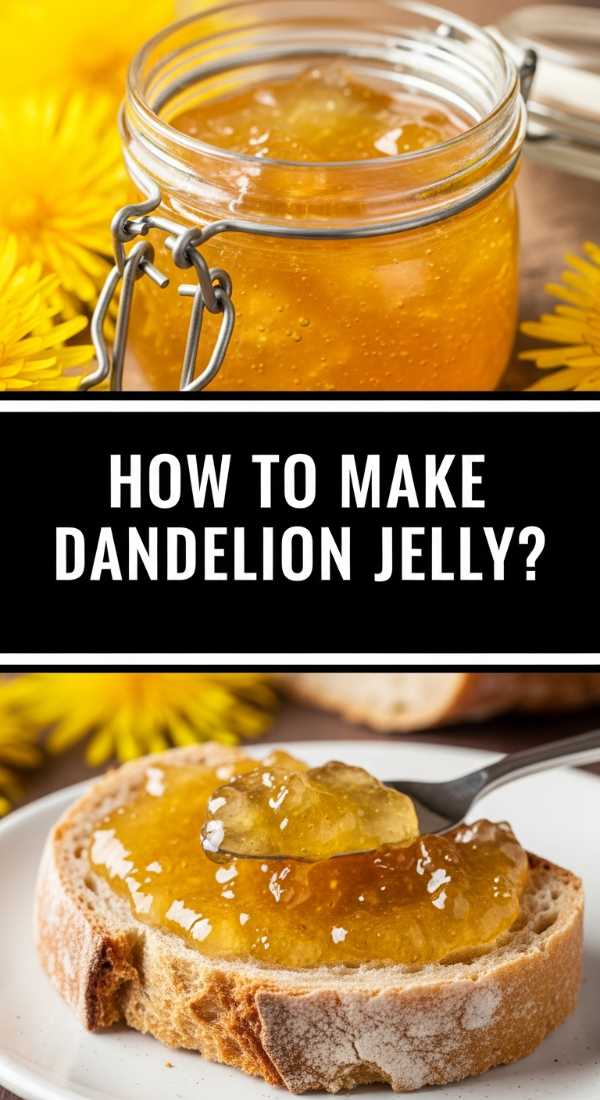
Why we love this
This golden jelly is like capturing pure sunshine in a glass jar. It has a surprisingly delicate, honey-like flavor with subtle floral undertones that evoke memories of running through open meadows on a warm spring afternoon. The texture is perfectly set—firm yet spreadable—and when the light hits it, it glows with a brilliant amber hue that looks stunning on any breakfast board. It is the ultimate conversation starter and a beautiful way to forage from your own backyard.
Ingredients
- 2 cups dandelion petals (yellow parts only)
- 4 cups boiling water
- 1 package (1.75 oz) powdered fruit pectin
- 2 tablespoons lemon juice
- 4 cups granulated sugar
How to make it
- Harvest your dandelions from a clean, pesticide-free area, picking only the brightest yellow blooms. Carefully pull the yellow petals away from the green base; it is vital to remove all green parts as they are quite bitter.
- Place the petals in a heat-proof bowl and pour 4 cups of boiling water over them. Let this steep for at least 8 hours, or overnight, to create a potent dandelion tea.
- Strain the liquid through a fine-mesh sieve lined with cheesecloth, squeezing the petals to extract every bit of floral essence. Measure out exactly 3 cups of this dandelion infusion.
- In a large heavy-bottomed pot, combine the dandelion tea, lemon juice, and pectin. Bring the mixture to a full rolling boil over high heat, stirring constantly to prevent scorching.
- Once boiling, pour in the sugar all at once. Return to a full rolling boil and cook for exactly one minute, stirring vigorously. You will notice the liquid becoming clear and glossy.
- Remove from heat and skim off any foam from the surface. Pour into sterilized jars, leaving a quarter-inch headspace, and process in a water bath for 10 minutes to ensure a shelf-stable seal.
How to prep camping meals early
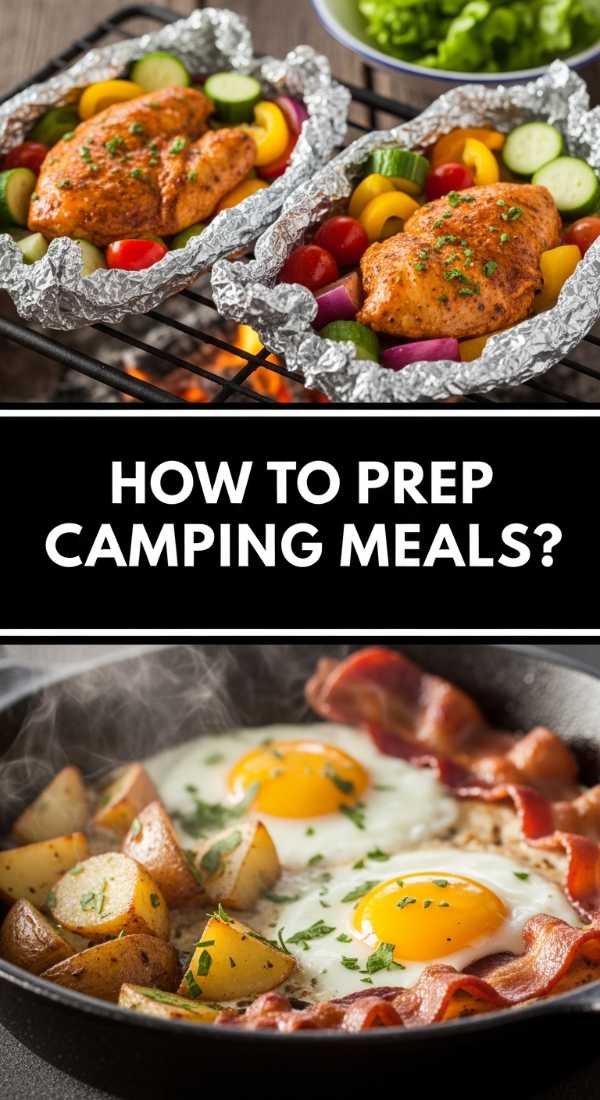
Why we love this
There is nothing quite like the smell of woodsmoke and the sound of a crackling fire, but the stress of chopping vegetables in the dark can quickly dampen the mood. Prepping your camping meals early allows you to fully immerse yourself in the wilderness experience without sacrificing gourmet quality. Imagine opening a cooler to find perfectly marinated proteins and pre-cut produce ready to hit the grate, allowing you more time for stargazing and less time for scrubbing cutting boards by flashlight.
Ingredients
- Choice of protein (chicken thighs or steak tips)
- Assorted bell peppers and red onions
- Olive oil and balsamic glaze
- Fresh rosemary and thyme sprigs
- Heavy-duty aluminum foil
How to make it
- Begin by slicing your proteins and vegetables into uniform, bite-sized pieces two days before your trip. Uniformity is key here to ensure everything cooks at the same rate over the uneven heat of a campfire.
- Place your protein in a high-quality, leak-proof silicone bag with a marinade of olive oil, herbs, and spices. Squeeze out all the air before sealing to maximize the surface area in contact with the flavor.
- For ‘foil pack’ meals, assemble individual portions on large squares of heavy-duty foil. Add a pat of butter or a drizzle of oil to prevent sticking and to create a rich sauce as the ingredients steam.
- Fold the foil tightly, crimping the edges twice to create a steam-tight seal that won’t leak juices onto your embers. This double-fold technique is a professional camping hack for moist results.
- Label each pack with a permanent marker, noting the contents and estimated cook time. Store these in the coldest part of your cooler, nestled directly against ice blocks, to keep them at a safe temperature until you are ready to grill.
How to make refreshing pasta salad
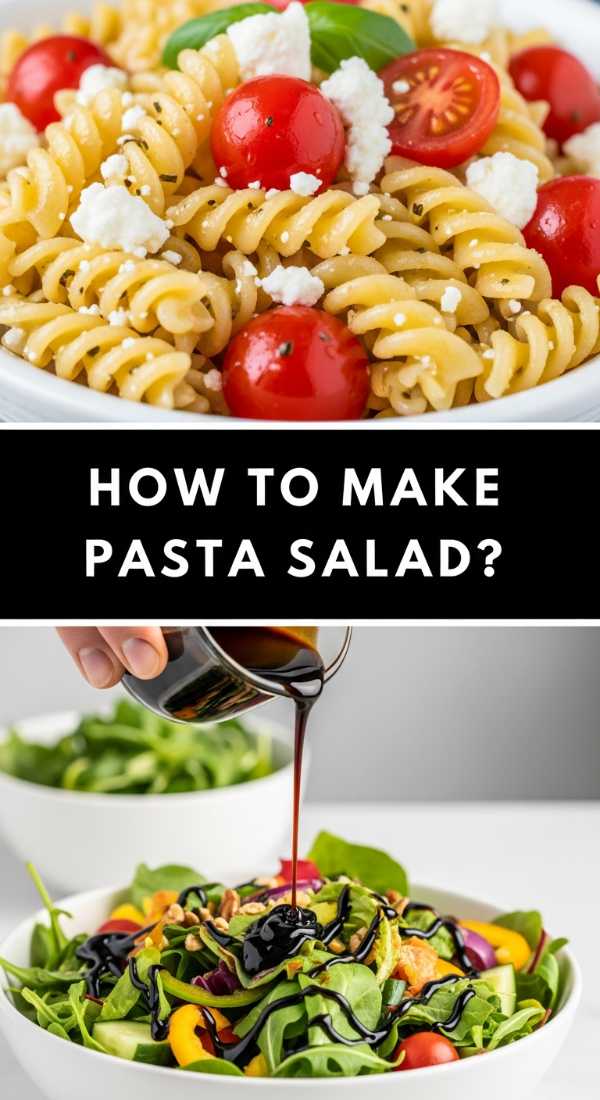
Why we love this
A truly great pasta salad is the backbone of any summer board; it’s a refreshing medley of al dente pasta, crunchy garden vegetables, and a zesty vinaigrette that awakens the palate. We love the way the fusilli spirals trap the dressing, ensuring a burst of tangy flavor in every single bite. The aroma of fresh basil and oregano mingling with sharp red onion creates a scent profile that screams ‘picnic perfection,’ providing a cool, satisfying contrast to grilled meats.
Ingredients
- 1 lb fusilli or rotini pasta
- 1 pint cherry tomatoes, halved
- 1 cucumber, diced
- 1/2 cup kalamata olives, sliced
- 1/2 cup crumbled feta cheese
- Homemade lemon-herb vinaigrette
How to make it
- Boil a large pot of heavily salted water—it should taste like the sea. Cook the pasta until it is just al dente; it should have a firm bite as it will soften slightly once it absorbs the dressing.
- Immediately drain the pasta and rinse it under cold running water. This stops the cooking process and removes excess starch, preventing the pasta from becoming gummy or sticking together.
- In a large mixing bowl, whisk together your lemon juice, olive oil, dried oregano, and minced garlic until the dressing is fully emulsified and thickened.
- Add the cooled pasta to the bowl along with the tomatoes, cucumbers, and olives. Toss thoroughly so every nook and cranny of the pasta is coated.
- Fold in the feta cheese and fresh herbs at the very end to keep them from breaking down too much. Let the salad chill in the refrigerator for at least two hours; this ‘marinating’ phase is crucial for the flavors to meld and deepen.
How to prep healthy summer meals
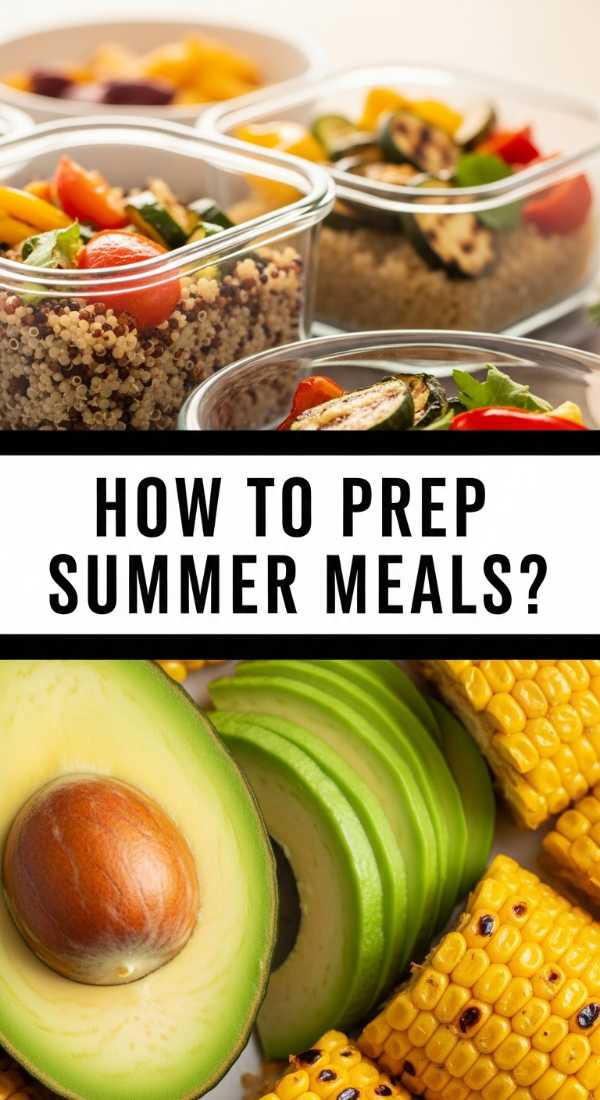
Why we love this
Healthy summer meal prep is all about celebrating the bounty of the season without feeling weighed down. We love the vibrant energy that comes from a plate filled with raw, crisp greens and lean proteins. It’s about that feeling of lightness and vitality you get when your food is as bright and fresh as the weather outside. Prepping these meals in advance ensures you always have a nutrient-dense option ready when the summer heat makes you lose your appetite for heavy cooking.
Ingredients
- Mixed baby greens and microgreens
- Pre-cooked chickpeas or lentils
- Sliced radishes and shredded carrots
- Avocado slices
- Lemon-tahini dressing
How to make it
- Start by washing and thoroughly drying your greens using a salad spinner. Moisture is the enemy of meal prep, so ensuring they are bone-dry will keep them crisp for up to five days.
- Store your greens in a glass container with a damp paper towel tucked at the top to maintain the perfect humidity level.
- Prep your ‘texture’ ingredients—radishes, carrots, and cucumbers—by slicing them thinly. Store these in separate small containers or glass jars filled with a splash of water to keep them incredibly crunchy.
- Prepare a batch of protein, such as steamed chickpeas or grilled tofu, and portion them out. Having these ready-to-go prevents the temptation of reaching for processed snacks.
- Whisk your dressing (tahini, lemon, and a splash of maple syrup) and store it in a small jar. Always keep the dressing separate until the very moment of serving to maintain the structural integrity of the vegetables.
How to make the best summer salad
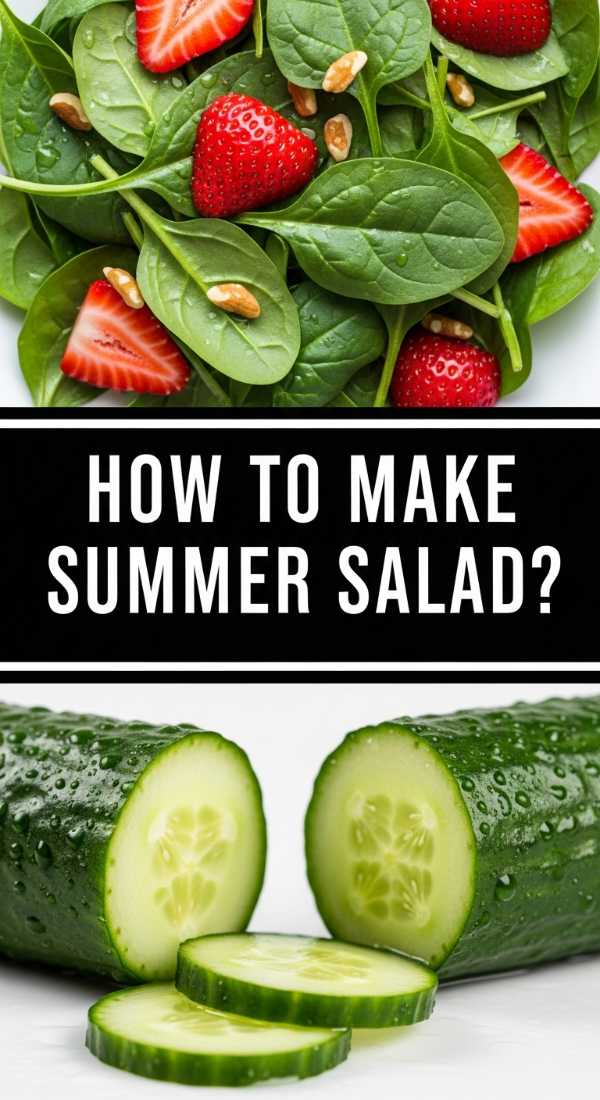
Why we love this
This salad is a masterclass in balance, combining the sweetness of fresh berries with the creamy tang of goat cheese and the earthy crunch of toasted pecans. It feels incredibly sophisticated yet takes only minutes to assemble. The visual appeal of deep red strawberries against dark leafy greens is enough to make anyone reach for their phone to snap a photo. Each forkful provides a complex symphony of textures and flavors that dance on the tongue.
Ingredients
- 5 oz baby spinach or arugula
- 1 cup fresh strawberries, sliced
- 1/4 cup goat cheese crumbles
- 1/4 cup candied pecans
- Balsamic glaze and extra virgin olive oil
How to make it
- Place your greens in a wide, shallow bowl rather than a deep one; this allows the toppings to stay visible and prevents the delicate leaves at the bottom from being crushed.
- Scatter the sliced strawberries evenly across the top. For a professional touch, slice the strawberries vertically to showcase their beautiful heart-like shape.
- Crumble the goat cheese while it is cold so it stays in distinct nuggets rather than smearing. Let it sit on the salad for a few minutes before serving so it reaches a slightly softer, creamier temperature.
- Toast your pecans in a dry skillet over medium heat for 3-4 minutes until they are fragrant and slightly darkened. This extra step releases the oils and significantly boosts the flavor profile.
- Just before serving, drizzle the balsamic glaze in a zigzag pattern and add a light sprinkle of flaky sea salt. The salt creates a beautiful contrast that makes the sweetness of the berries pop.
How to cook quick grilled chicken
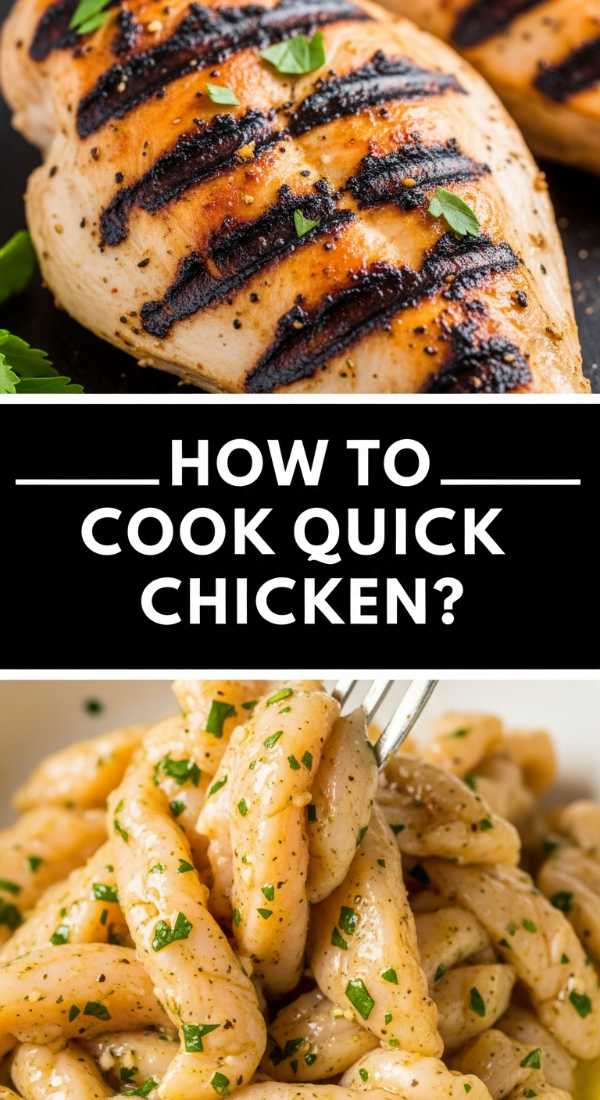
Why we love this
Grilled chicken is a staple for a reason, but when done right, it is anything but boring. We love the smoky char of the grill marks combined with the succulent, juicy interior that results from a quick sear. The aroma of garlic and charred citrus fills the air, signaling to everyone that a feast is imminent. It is the perfect versatile protein for a food board, pairing beautifully with everything from pasta salad to fruit medleys.
Ingredients
- 1 lb boneless, skinless chicken breasts
- 3 tablespoons olive oil
- 2 cloves garlic, minced
- 1 teaspoon smoked paprika
- Zest and juice of one lemon
How to make it
- Place the chicken breasts between two sheets of plastic wrap and pound them with a meat mallet to an even thickness of about half an inch. This is the secret to quick cooking without drying out the exterior.
- Whisk together the olive oil, garlic, paprika, lemon zest, and juice. Marinate the chicken for at least 30 minutes, but no more than two hours, as the lemon juice will eventually begin to ‘cook’ the meat and change the texture.
- Preheat your grill to medium-high heat (about 400°F). Clean the grates thoroughly and oil them lightly using a paper towel held with tongs to ensure a non-stick surface.
- Place the chicken on the grill and sear for 4-5 minutes per side. Resist the urge to move them; leaving them still creates those iconic, deep brown grill marks.
- Use a meat thermometer to check for an internal temperature of 165°F. Once reached, remove from heat and let the chicken rest for at least 5 minutes before slicing. This allows the juices to redistribute, ensuring every slice is tender.
How to make vibrant fruit salad
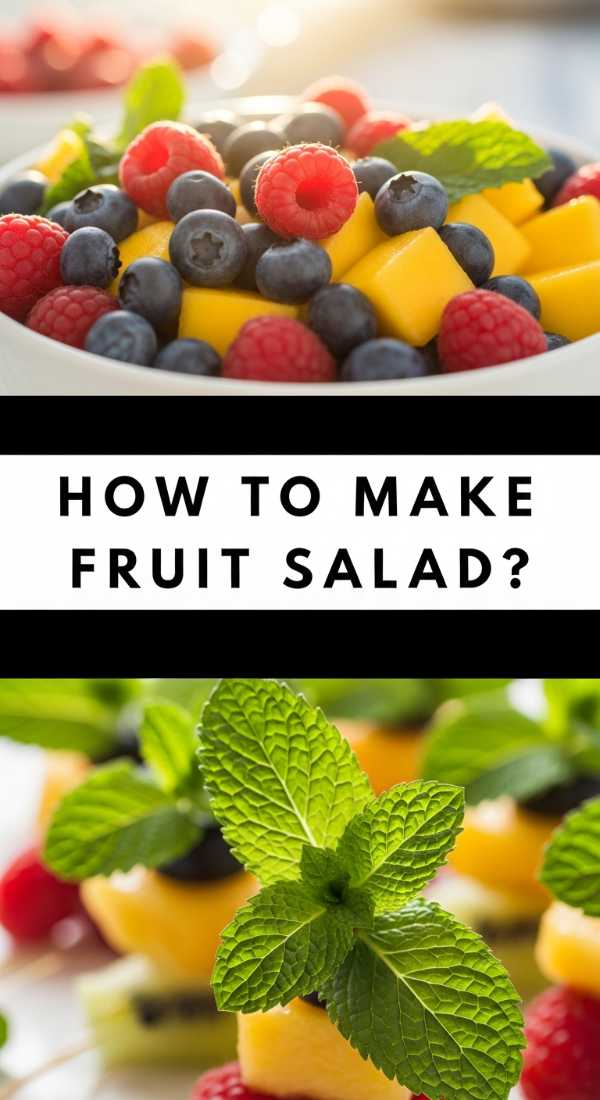
Why we love this
This isn’t your average grocery store fruit cup; this is a vibrant, neon-hued celebration of nature’s candy. We love the way a simple honey-lime glaze transforms raw fruit into a glistening, gourmet dessert or side. The scent of fresh mint chiffonade provides an herbal brightness that cuts through the natural sugars, making it incredibly refreshing on a humid day. It’s a kaleidoscope of color that brings life and energy to the center of your board.
Ingredients
- 2 cups watermelon chunks
- 1 cup fresh blueberries
- 1 cup mango, cubed
- Juice of 2 limes
- 2 tablespoons honey or agave
- Fresh mint leaves, thinly sliced
How to make it
- Choose fruit that is ripe but still firm. If the fruit is too soft, it will release too much juice and become mushy once tossed.
- Cut your larger fruits—like watermelon and mango—into uniform 1-inch cubes. This makes the salad easier to eat and ensures a variety of fruit in every spoonful.
- In a small bowl, vigorously whisk the lime juice and honey until the honey is completely dissolved. This creates a light syrup that will coat the fruit without being heavy.
- Gently fold the fruit together in a large glass bowl. Use a silicone spatula to avoid bruising the delicate berries or watermelon.
- Drizzle the honey-lime glaze over the top and toss once more. Sprinkle with the fresh mint chiffonade just before the board is brought to the table to ensure the mint stays bright green and aromatic.
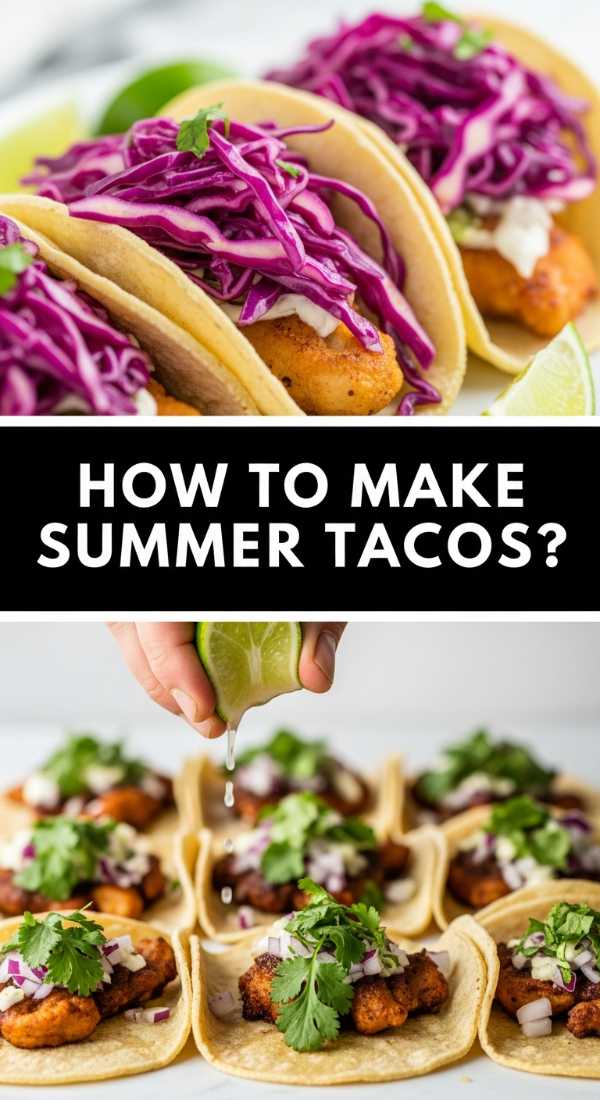
How to make easy summer tacos
Why we love this
Summer tacos are all about the ‘crunch factor’ and the explosion of fresh lime. We love how they offer a customizable experience—everyone can build their own masterpiece. The contrast between the warm, charred tortilla and the ice-cold, zesty cabbage slaw is a textural delight. They are light, handheld, and effortlessly cool, making them the ultimate social food for a viral-worthy spread.
Ingredients
- Small corn or flour tortillas
- Grilled white fish or shredded chicken
- 2 cups shredded purple cabbage
- 1/4 cup sour cream mixed with lime juice
- Fresh cilantro and sliced jalapeños
How to make it
- Prepare your slaw first by tossing the shredded cabbage with lime juice, a pinch of salt, and a dash of vinegar. Let it sit for 20 minutes to soften the fibers and develop a bright pink hue.
- Warm your tortillas directly over a low gas flame for about 15 seconds per side using tongs. Look for slight charring on the edges and ‘bubbles’ forming in the center; this adds a smoky depth of flavor you can’t get from a microwave.
- Keep the tortillas warm by stacking them inside a clean kitchen towel or a specialized tortilla warmer while you finish the protein.
- Assemble the tacos by placing a small amount of protein in the center, followed by a generous heap of the crunchy cabbage slaw.
- Finish with a drizzle of the lime-crema and a few sprigs of cilantro. Serve them propped up against each other on the board to keep the fillings from spilling out.
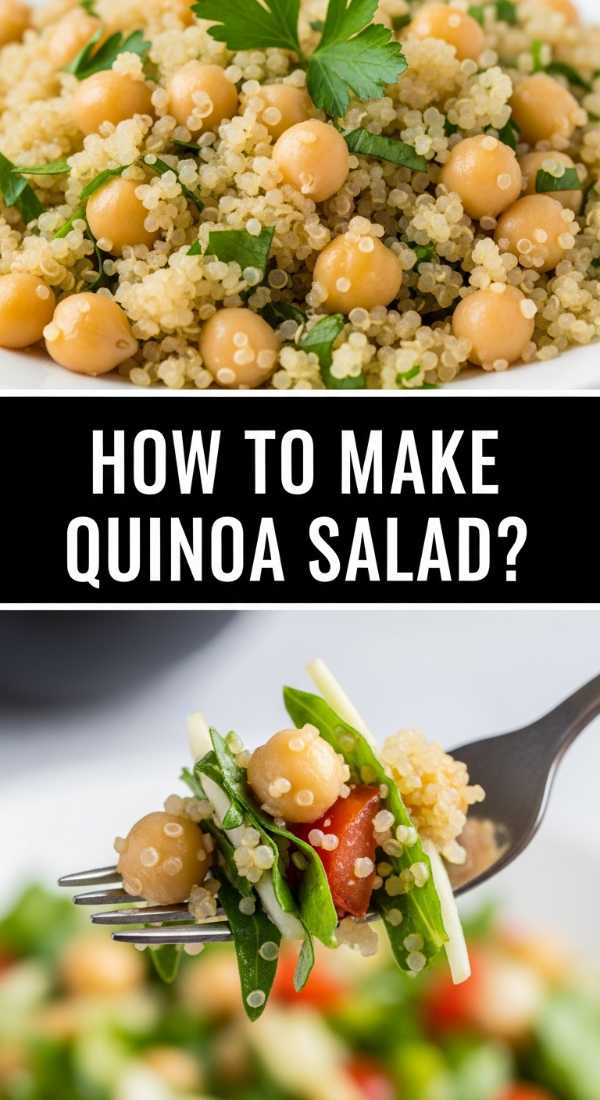
How to make protein quinoa salad
Why we love this
Quinoa salad is the ultimate ‘power’ addition to a food board, offering a nutty flavor and a satisfying, fluffy texture that holds up beautifully even in the heat. We love the way the tiny pearls of quinoa soak up the dressing, becoming little flavor bombs. It’s hearty enough to be a main dish but light enough to serve as a side, providing a steady stream of energy for a long afternoon of socializing.
Ingredients
- 1 cup dry quinoa
- 2 cups vegetable broth
- 1 can black beans, rinsed
- 1 red bell pepper, finely diced
- 1/4 cup chopped flat-leaf parsley
- Cumin-lime vinaigrette
How to make it
- Rinse the dry quinoa thoroughly in a fine-mesh sieve under cold water for at least 30 seconds. This removes the saponin, a natural coating that can give quinoa a bitter, soapy taste.
- Combine the quinoa and vegetable broth in a pot. Bring to a boil, then reduce heat to low, cover, and simmer for 15 minutes. The broth adds a much deeper savory base than plain water.
- Once cooked, remove from heat and let it sit, covered, for 5 minutes. Then, fluff it gently with a fork to separate the grains and allow steam to escape.
- While the quinoa is still slightly warm, toss it with the red peppers, black beans, and the cumin-lime vinaigrette. Adding dressing to warm quinoa allows the grains to absorb the flavors more effectively.
- Fold in the fresh parsley once the mixture has cooled to room temperature to keep the herbs from wilting. Store in the fridge until ready to serve; it actually tastes even better the next day!
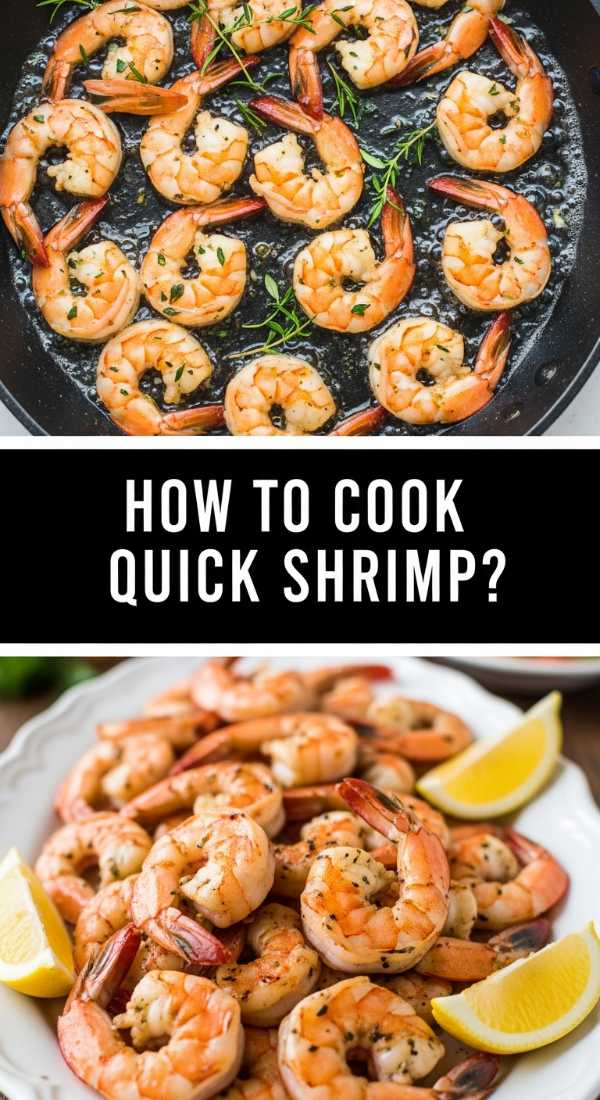
How to cook quick garlic shrimp
Why we love this
Sizzling garlic shrimp are the jewels of any food board. We love the way the butter browns and creates a rich, garlicky sauce that begs to be mopped up with a piece of crusty bread. The aroma of garlic hitting a hot pan is universally intoxicating and immediately draws a crowd. The shrimp themselves become perfectly opaque and snap with freshness, providing a luxurious touch to an otherwise simple meal.
Ingredients
- 1 lb large shrimp, peeled and deveined
- 4 tablespoons unsalted butter
- 4 cloves garlic, minced
- 1/2 teaspoon red pepper flakes
- Fresh lemon wedges and parsley
How to make it
- Pat the shrimp extremely dry with paper towels. Any moisture on the surface will cause the shrimp to steam rather than sear, and we want that beautiful golden-brown exterior.
- In a large skillet, melt the butter over medium-high heat until it begins to foam. Add the red pepper flakes and garlic, sautéing for just 30 seconds until the garlic is fragrant but not browned.
- Add the shrimp in a single layer. Do not overcrowd the pan; cook in batches if necessary. If the pan is too full, the temperature will drop and you won’t get a good sear.
- Cook for 2 minutes on the first side, then flip and cook for another 1-2 minutes. The shrimp are done as soon as they turn pink and curl into a ‘C’ shape. An ‘O’ shape means they are overcooked!
- Remove from heat immediately and toss with fresh parsley and a squeeze of lemon juice. The residual heat in the pan will finish the cooking process without toughening the meat.
Creating Your Perfect Viral Board
Now that you have all the components, the final secret is the assembly! Start by placing your larger bowls (like the pasta and quinoa salads) first to create ‘anchor points’ on your board. Then, fan out your sliced grilled chicken and tacos around them. Fill in the gaps with your vibrant fruit salad and small dishes of dandelion jelly. The key is to eliminate any ‘white space’ on the board by tucking in sprigs of fresh herbs or extra lemon wedges. When you present a board that is overflowing with color and variety, you aren’t just serving a meal—you’re creating an unforgettable summer memory.
Frequently Asked Questions
Everything you need to know to master the art of the summer food board.