
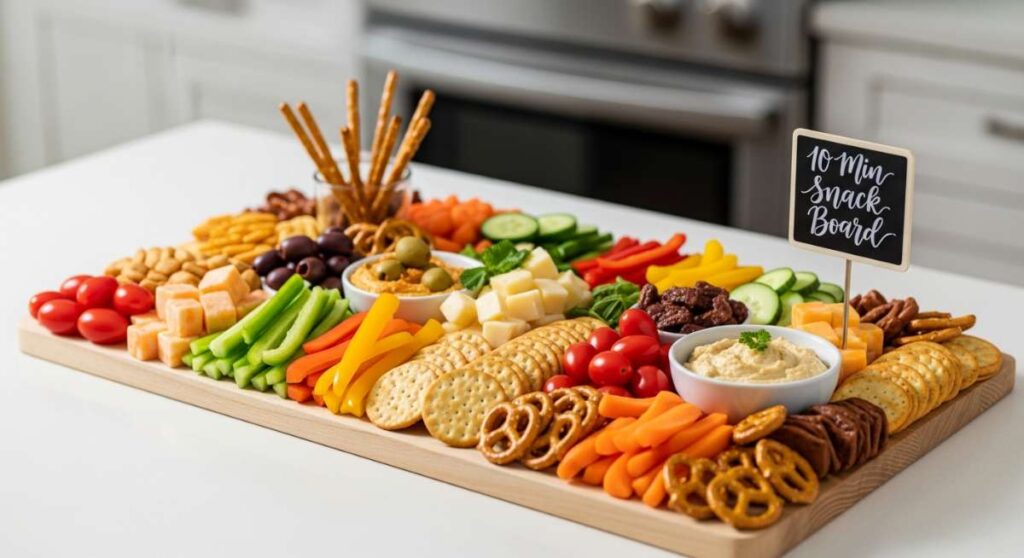
There is something truly magical about a golden afternoon that stretches into a warm, breezy evening, where the only thing on the agenda is good conversation and even better food. We’ve all been there—trying to host the perfect gathering while feeling overwhelmed by complicated recipes and a mountain of dishes. But what if I told you the secret to a viral-worthy spread isn’t hours in the kitchen, but a curated selection of simple, vibrant components arranged with love?
This “Viral Simple Food Board” is more than just a trend; it’s a lifestyle shift toward effortless elegance. It’s about taking those nostalgic summer flavors—from the snap of a fresh cucumber to the smoky char of a steak kabob—and presenting them in a way that feels like a celebration. Whether you’re feeding a crowd or just treating yourself on a Tuesday, these recipes are designed to be fast, flavorful, and incredibly photogenic.
How to make strawberry pie?

Why we love this
This strawberry pie is the ultimate herald of summer, bursting with the ruby-red brightness of sun-ripened berries nestled in a buttery, flaky crust. Each bite offers a harmonious symphony of textures: the crisp, golden snap of the pastry gives way to a lush, jammy center that smells like pure sunshine and sugar. It’s a nostalgic dessert that feels both sophisticated and deeply comforting, especially when topped with a cloud of cold whipped cream that melts slowly into the warm fruit glaze. Enjoying a slice on the porch as the sun sets is a sensory experience that defines the season.
Ingredients
- 1 pre-baked 9-inch pie crust
- 6 cups fresh strawberries (hulled and divided)
- 1 cup granulated sugar
- 3 tablespoons cornstarch
- 1/2 cup water
- 1 tablespoon lemon juice
- Whipped cream for serving
How to make it
- Begin by preparing your base: bake your favorite pie crust recipe or a high-quality store-bought version until it is deep golden brown and completely crisp. Let it cool entirely on a wire rack to prevent a soggy bottom.
- Select about 3 cups of the most beautiful, uniform strawberries and arrange them point-side up in the cooled crust. This creates a stunning visual foundation for the pie.
- In a medium saucepan, crush the remaining 3 cups of strawberries using a potato masher or fork until they are pulpy and juicy.
- Stir in the sugar, cornstarch, and water. Set the burner to medium heat and whisk constantly. Bring the mixture to a gentle boil; you will notice the dull red liquid transform into a translucent, glossy, and thick glaze.
- Remove from heat and stir in the lemon juice for a touch of acidity to balance the sweetness. Let the glaze cool for about 10 minutes so it doesn’t cook the fresh berries.
- Pour the warm glaze evenly over the whole strawberries in the crust, ensuring every berry is coated. Refrigerate for at least 3-4 hours until the filling is firmly set before slicing with a sharp, wet knife.
How to make rotel dip?
Why we love this
Rotel dip is the undisputed king of party appetizers, a gooey, molten masterpiece that somehow tastes like pure joy and celebration. The aroma of savory browned meat mingling with zesty green chilies and creamy, melted cheese is enough to draw anyone into the kitchen from three rooms away. Its texture is silky and indulgent, clinging perfectly to a salty tortilla chip, providing a satisfying crunch followed by a warm, spicy kick. It’s the kind of dish that disappears in minutes because it perfectly hits every salty, creamy, and savory note our cravings demand.
Ingredients
- 1 lb ground beef or sausage
- 1 block (16 oz) Velveeta cheese, cubed
- 1 can (10 oz) Ro-Tel Diced Tomatoes and Green Chilies
- 1/2 teaspoon taco seasoning
- Fresh cilantro for garnish
- Tortilla chips for serving
How to make it
- Place a large skillet or heavy-bottomed pot over medium-high heat. Add your ground meat and break it apart with a wooden spoon, cooking until no pink remains and the edges are slightly crispy for maximum flavor.
- Drain the excess fat thoroughly from the pan to ensure your dip remains smooth and not greasy.
- Turn the heat down to low-medium. Add the cubed Velveeta cheese to the pan. Cutting the cheese into uniform cubes is essential for an even melt and to avoid scorching the bottom.
- Pour the can of Ro-Tel (do not drain the liquid!) directly over the cheese. The juices from the tomatoes and chilies help thin the cheese to the perfect dipping consistency.
- Stir frequently with a silicone spatula, scraping the bottom and sides of the pot until the cheese is completely melted into a velvety, uniform sauce.
- Season with taco seasoning and transfer immediately to a pre-warmed slow cooker on the “warm” setting to keep it pourable throughout the party. Garnish with fresh cilantro just before serving.
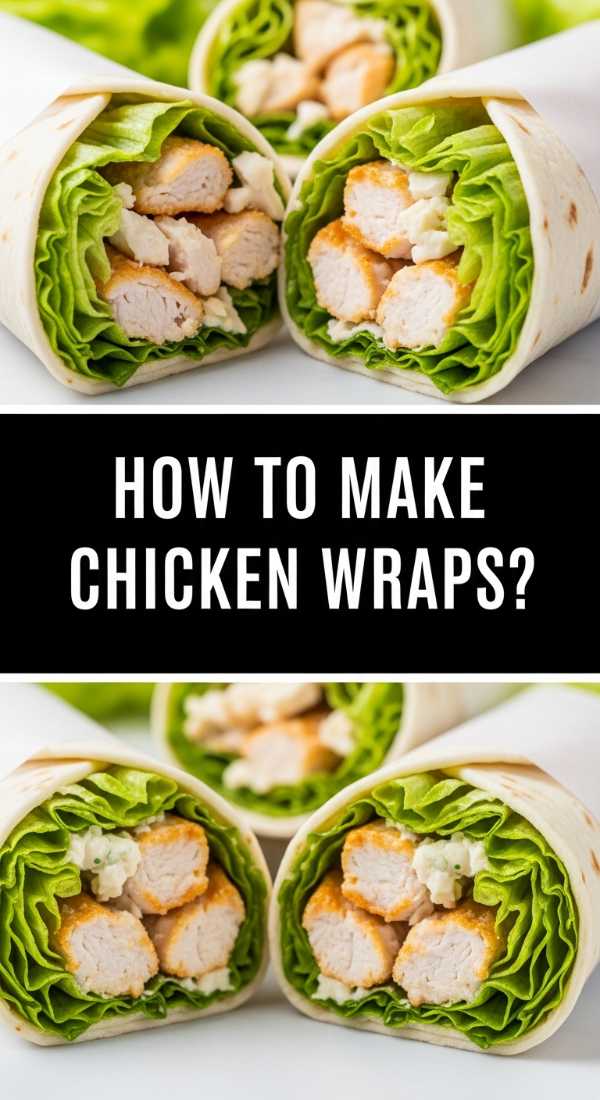
How to make chicken wraps?
Why we love this
Chicken wraps are the ultimate versatile lunch, offering a fresh and vibrant explosion of flavors wrapped in a soft, pillowy flour tortilla. There’s a wonderful contrast between the warm, seasoned chicken and the cold, crisp snap of romaine lettuce and juicy tomatoes that feels incredibly revitalizing. Each bite is a journey through textures—creamy dressing, tender poultry, and crunchy vegetables—making it a satisfying meal that never feels heavy. They are perfectly portable, making them the ideal choice for a sun-drenched picnic or a quick, healthy fuel-up during a busy workday.
Ingredients
- 2 large flour tortillas
- 1 cup cooked chicken breast, sliced into strips
- 1/2 cup shredded lettuce
- 1/4 cup diced tomatoes
- 2 tablespoons ranch or Caesar dressing
- 1/4 cup shredded cheddar cheese
How to make it
- Warm your tortillas for about 10 seconds in a dry pan or microwave; this makes them pliable and prevents tearing during the rolling process.
- Lay the tortilla flat and spread a thin layer of your chosen dressing across the center third of the surface. This acts as the “glue” for your ingredients.
- Layer the shredded lettuce first to create a moisture barrier, followed by the warm chicken strips, diced tomatoes, and shredded cheese. Keep the filling concentrated in a line, leaving about 2 inches of space at the top and bottom.
- Fold the bottom and top edges of the tortilla inward over the filling.
- While holding the folded edges down, grab the side of the tortilla closest to you and roll it tightly away from you, tucking the ingredients in as you go to create a compact, secure cylinder.
- Place the wrap seam-side down on a cutting board and slice diagonally with a serrated knife for a beautiful presentation.
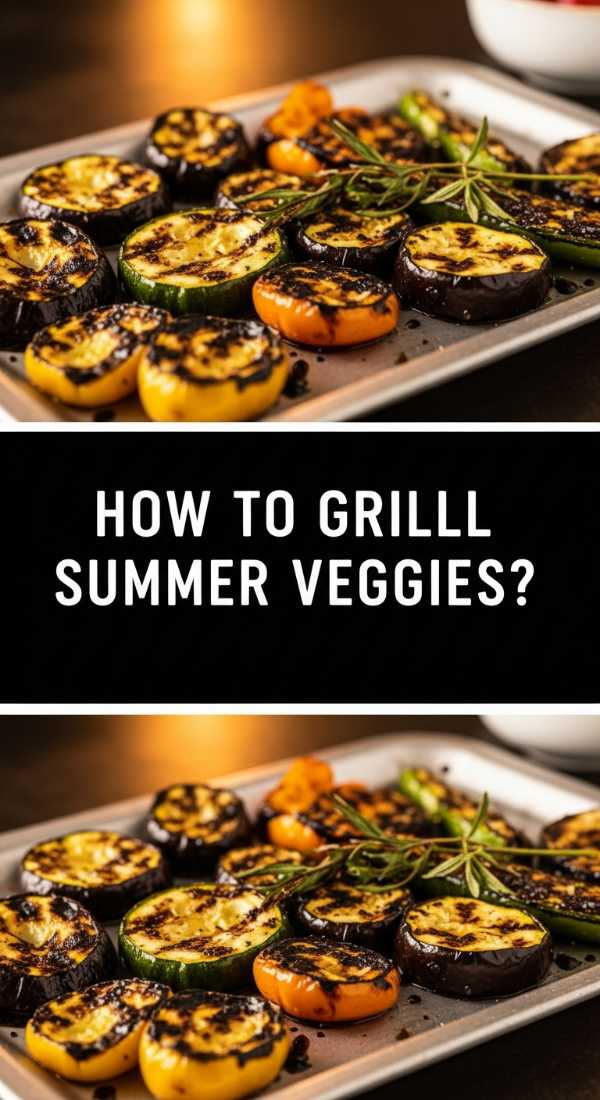
How to grill summer veggies?
Why we love this
Grilled summer vegetables are a masterclass in how fire can transform simple garden produce into something deeply charred, smoky, and intensely sweet. The heat of the grill caramelizes the natural sugars in bell peppers and zucchini, resulting in a tender-crisp texture that is far superior to steaming or boiling. The aroma of woodsmoke and charred onion skin wafting through the air is the quintessential scent of summer entertaining. They add a vibrant pop of color to any board, looking like edible jewels with their deep grill marks and glistening olive oil coating.
Ingredients
- 2 zucchini, sliced into long planks
- 2 bell peppers, seeded and quartered
- 1 red onion, cut into thick wedges
- 3 tablespoons olive oil
- 1 tablespoon balsamic vinegar
- 1 teaspoon dried oregano
- Salt and black pepper to taste
How to make it
- Preheat your grill to medium-high (about 400°F). Ensure the grates are scrubbed clean and lightly oiled to prevent the delicate vegetables from sticking.
- In a large bowl, toss the prepared vegetables with olive oil, balsamic vinegar, oregano, salt, and pepper. Ensure every surface is lightly coated to facilitate even browning and prevent drying out.
- Place the vegetables across the grates. Start with the denser items like onions and peppers which take longer, followed by the zucchini.
- Grill without moving for 3-4 minutes per side. You are looking for distinct, dark sear marks which indicate the development of flavor through the Maillard reaction.
- Flip carefully using long-handled tongs. The vegetables should be tender enough to pierce with a fork but still retain a slight “snap” or bite in the center.
- Remove from the grill and arrange on a platter. A final drizzle of fresh olive oil or a squeeze of lemon juice while they are still hot will brighten all the flavors.
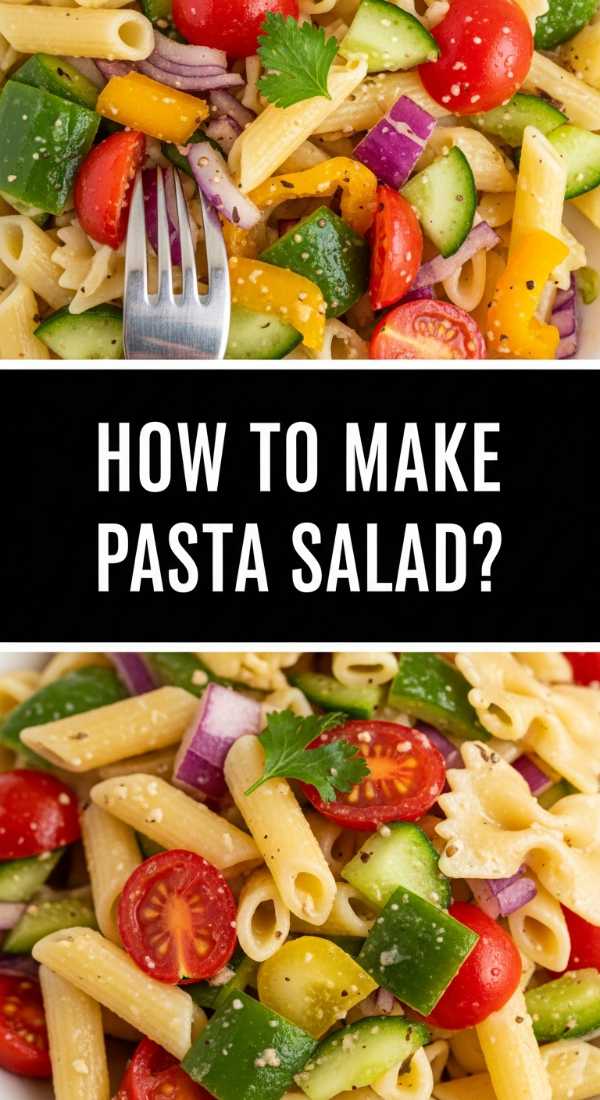
How to make pasta salad?
Why we love this
Pasta salad is the hardworking hero of every outdoor gathering, offering a cool, tangy, and endlessly customizable base that only gets better with time. The way the ridges of the pasta trap the zesty vinaigrette ensures that every single bite is an explosion of herb-infused brightness. It’s a sensory delight of textures—from the chew of the al dente pasta to the creamy richness of feta and the sharp bite of red onion. It’s refreshing on a sweltering day and serves as the perfect canvas for whatever fresh herbs or vegetables are currently overflowing in your garden.
Ingredients
- 1 lb rotini or farfalle pasta
- 1 cup cherry tomatoes, halved
- 1/2 cup cucumber, diced
- 1/2 cup black olives, sliced
- 1/2 cup crumbled feta cheese
- 1/2 cup Italian dressing
- 2 tablespoons fresh parsley, chopped
How to make it
- Bring a large pot of heavily salted water (it should taste like the sea) to a rolling boil. Add the pasta and cook for exactly one minute less than the package directions suggest for “al dente.”
- Drain the pasta and immediately rinse it under cold running water. This stops the cooking process instantly and removes excess starch, preventing the pasta from becoming a gummy mass.
- In a very large mixing bowl, combine the cold pasta with the tomatoes, cucumbers, olives, and feta cheese.
- Pour half of the Italian dressing over the mixture and toss thoroughly to coat. Let the salad sit in the refrigerator for at least 30 minutes; the pasta will absorb the dressing as it chills.
- Just before serving, add the remaining dressing and fresh parsley. This ensures the salad looks glossy and tastes fresh, as the first addition of dressing often gets fully absorbed during the chilling phase.
- Taste and add an extra pinch of salt or a crack of black pepper if the flavors have muted during refrigeration.
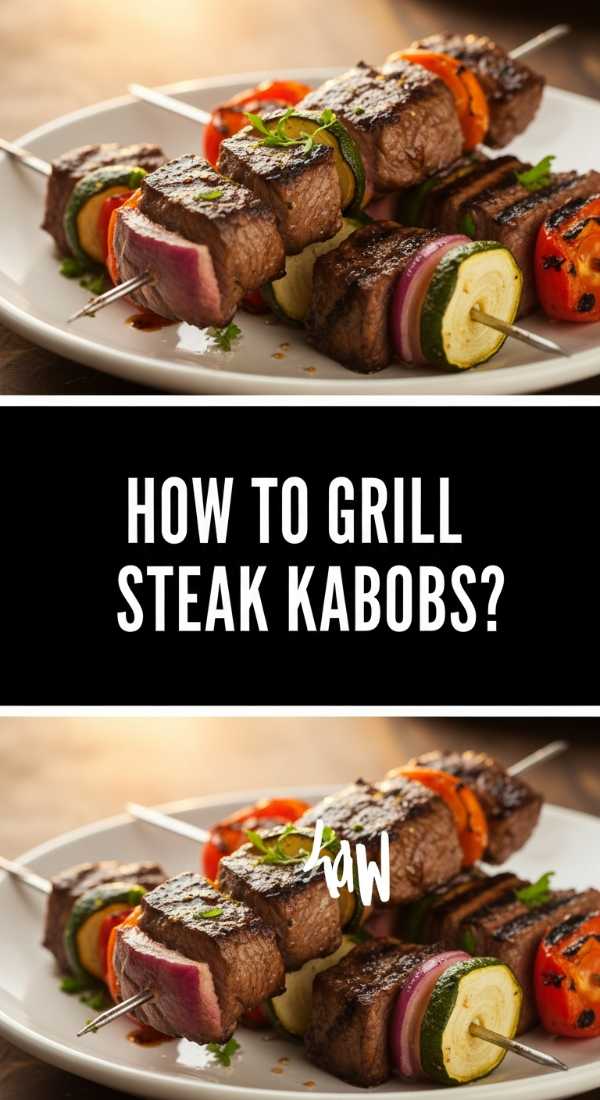
How to grill steak kabobs?
Why we love this
Steak kabobs bring an element of fun and theater to the grill, featuring juicy, succulent cubes of beef interspersed with charred, sweet vegetables on a stick. The aroma of searing beef fat and caramelized onions is intoxicating, promising a meal that is hearty yet easy to eat while socializing. There is a primal satisfaction in the smoky crust of the steak giving way to a tender, pink center that melts in your mouth. They are the perfect centerpiece for a viral food board, offering protein in a bite-sized format that looks incredibly professional and appetizing.
Ingredients
- 1.5 lbs sirloin steak, cut into 1.5-inch cubes
- 1 red bell pepper, cut into chunks
- 1 green bell pepper, cut into chunks
- 1 large red onion, cut into chunks
- 1/4 cup soy sauce
- 2 tablespoons olive oil
- 2 cloves garlic, minced
- 1 tablespoon Worcestershire sauce
How to make it
- In a zip-top bag, combine the soy sauce, olive oil, minced garlic, and Worcestershire sauce. Add the steak cubes and marinate in the refrigerator for at least 1 hour, or up to 4 hours. This breaks down the fibers for a more tender bite.
- If using wooden skewers, soak them in water for at least 30 minutes to prevent them from catching fire on the grill.
- Thread the steak and vegetables onto the skewers, alternating between meat, pepper, and onion. Don’t pack them too tightly; leaving a tiny bit of space allows the heat to circulate and cook the meat evenly on all sides.
- Preheat the grill to high heat. You want it screaming hot to achieve a good sear without overcooking the interior of the steak.
- Place kabobs on the grill and cook for 8-10 minutes, turning every few minutes. Use visual cues: the steak should have dark brown grill marks, and the vegetables should be slightly softened with charred edges.
- Remove from the grill and let the meat rest for 5 minutes before serving. This allows the juices to redistribute, ensuring every bite is moist and flavorful.
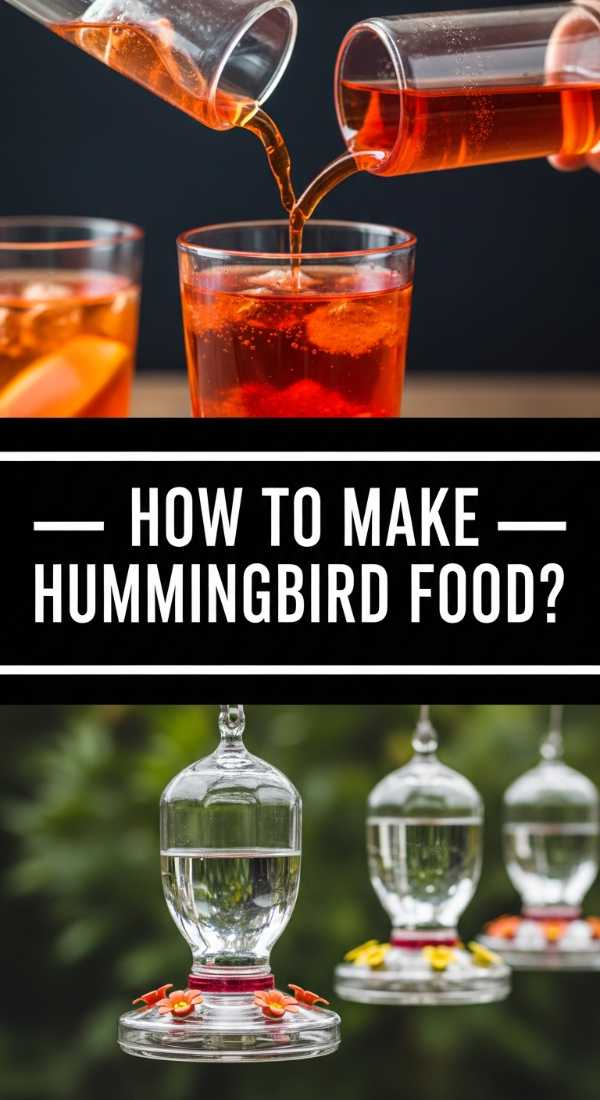
How to make hummingbird food?
Why we love this
While not for the human guests, making hummingbird food is a beautiful lifestyle ritual that brings the mesmerizing movement of nature right to your window. There is a simple, meditative joy in preparing this clear nectar and knowing you are supporting these tiny, iridescent creatures during their busy summer days. Watching a hummingbird hover with blurred wings as it sips from your feeder adds a layer of tranquility and magic to your outdoor space that no decoration can match. It’s a small act of stewardship that yields a spectacular visual reward every single day.
Ingredients
- 1 cup granulated white sugar
- 4 cups water
How to make it
- Combine the water and sugar in a small saucepan. The 4:1 ratio is crucial as it most closely mimics the natural sucrose levels found in flower nectar.
- Heat the mixture over medium heat, stirring occasionally, until the sugar is completely dissolved and the liquid is perfectly clear. There is no need to bring it to a full rolling boil, but a simmer helps ensure total dissolution.
- Never use honey, brown sugar, or artificial sweeteners, as these can be fatal to hummingbirds. Also, avoid red dye; most feeders have red parts to attract the birds, and the dye is unnecessary and potentially harmful.
- Allow the nectar to cool completely to room temperature before filling your feeder. Storing hot liquid can cause the plastic of some feeders to warp or leach chemicals.
- Clean your feeder thoroughly with hot water (no soap) before every refill to prevent mold growth, which happens quickly in the summer heat.
- Store any extra nectar in a clean jar in the refrigerator for up to one week.
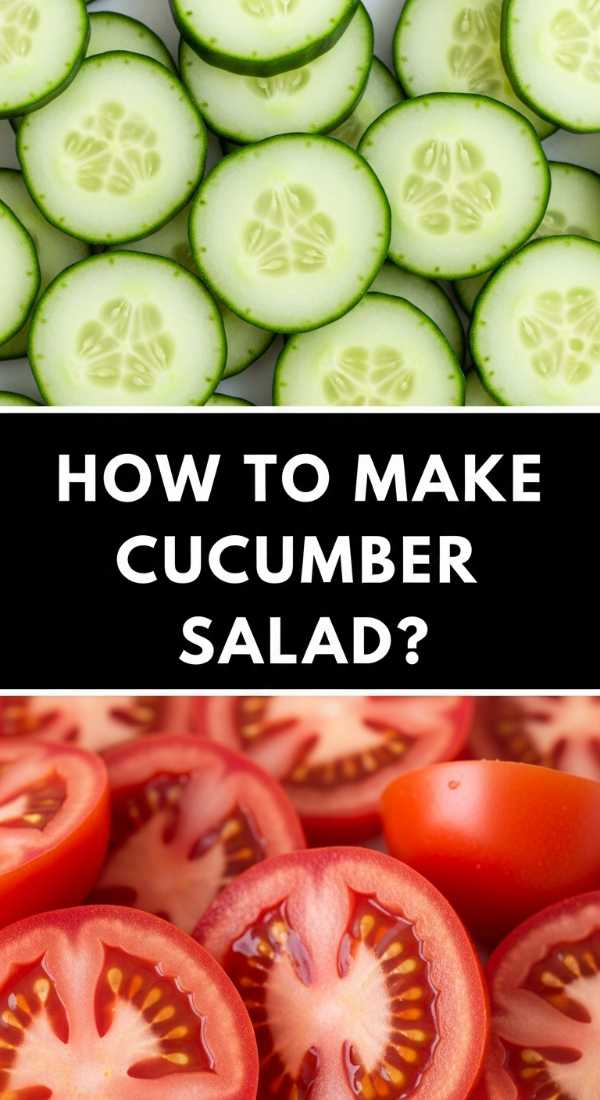
How to make cucumber salad?
Why we love this
This cucumber salad is the ultimate palate cleanser, offering a crisp, watery crunch that is instantly cooling on a humid afternoon. The sharp, vinegary tang of the dressing is beautifully balanced by the natural sweetness of thin-sliced onions and a bouquet of fresh dill. Its aroma is incredibly clean and garden-fresh, reminding you of the simplicity of summer harvests. It’s a light, low-calorie addition to any food board that provides a necessary brightness to balance out heavier grilled meats or cheesy dips, making the whole meal feel perfectly balanced.
Ingredients
- 2 large English cucumbers, thinly sliced
- 1/2 small red onion, thinly sliced
- 1/2 cup white vinegar
- 1/4 cup water
- 2 tablespoons sugar
- 1 tablespoon fresh dill, chopped
- 1 teaspoon salt
How to make it
- Use a mandoline or a very sharp chef’s knife to slice the cucumbers into paper-thin rounds. Consistency in thickness ensures they all marinate at the same rate.
- In a separate bowl, whisk together the white vinegar, water, sugar, and salt until the sugar and salt have completely dissolved.
- Place the sliced cucumbers and red onions in a shallow dish or a large bowl. Pour the vinegar mixture over them, ensuring the vegetables are largely submerged.
- Add the fresh dill and toss gently to distribute the herbs.
- Cover and refrigerate for at least 1 hour. This “quick pickle” time is essential for the vinegar to soften the cucumbers and for the onion’s sharp bite to mellow out.
- Serve chilled using a slotted spoon to leave the excess liquid behind, maintaining the salad’s crispness on the plate.
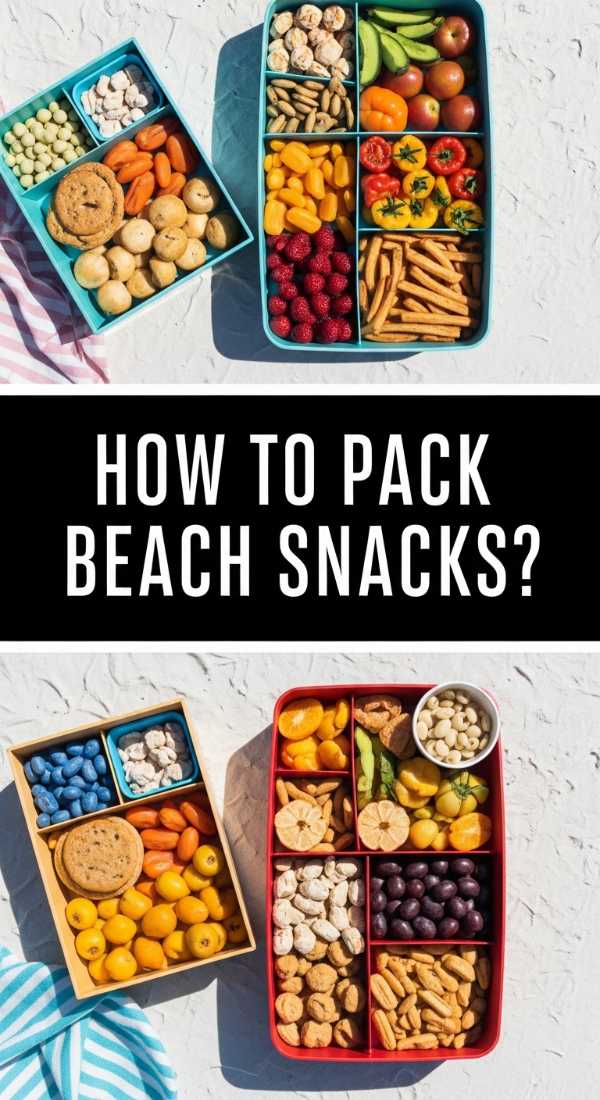
How to pack beach snacks?
Why we love this
Packing the perfect beach snacks is an art form that ensures your seaside escape remains relaxing rather than a sandy struggle. There is a deep satisfaction in opening a cooler to find neatly organized, chilled treats that are easy to eat with one hand while the other holds a book. The best beach snacks are those that resist melting in the sun and provide a refreshing burst of hydration and energy. It’s about creating a portable feast that tastes like salt air and freedom, making every moment on the sand feel like a luxury vacation regardless of where you are.
Ingredients
- Hard fruits (grapes, apple slices with lemon)
- Pre-cut veggies (carrots, celery, peppers)
- Hummus or nut butter in small jars
- Cheese sticks or cubes
- Frozen water bottles (act as ice packs)
- Sandwich wraps or pita pockets
How to make it
- The first rule of beach packing is moisture control. Use airtight, rigid containers to prevent sand from entering and to keep delicate items like crackers from being crushed under heavier items.
- Portion everything into individual-sized servings. This prevents multiple hands from dipping into a single bag, which is the fastest way to get sand into your entire food supply.
- Use frozen water bottles or juice boxes as your cooling agents. They keep the food cold all morning and provide a slushy, refreshing drink as they melt in the afternoon.
- Pack items in the reverse order of when you’ll eat them. Snacks for the drive go on top; lunch items go at the very bottom where it stays the coldest.
- Choose “sturdy” produce. Swap soft berries for grapes or melon chunks, which hold their shape and won’t turn into mush in a warm cooler.
- Include a “trash layer” at the top—a couple of empty grocery bags to ensure you leave the beach exactly as clean as you found it.
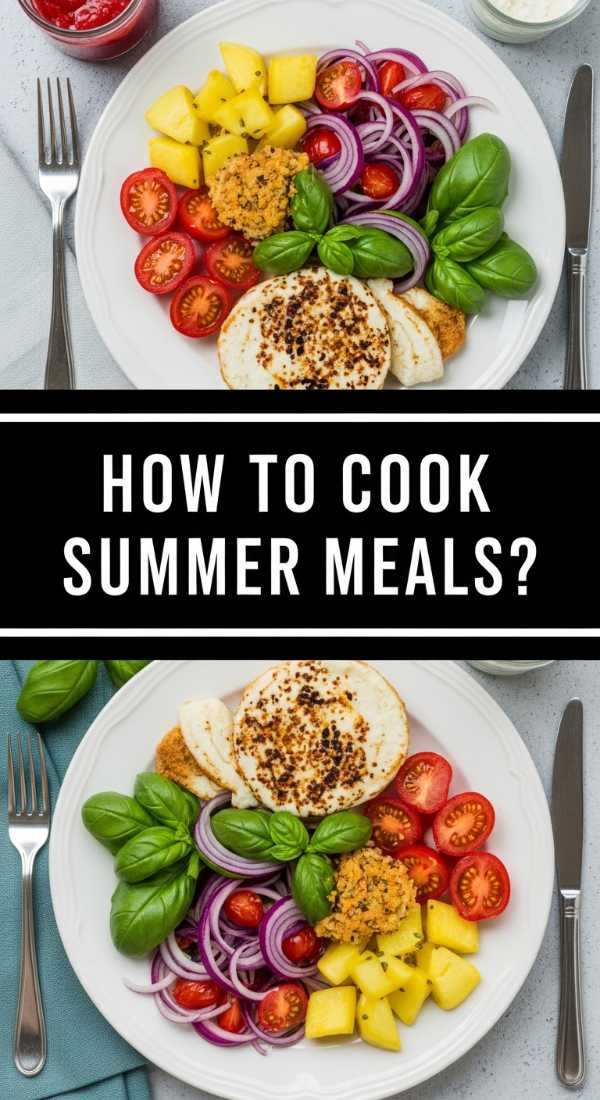
How to cook summer meals?
[IMAGE_10]
Why we love this
Summer cooking is a philosophy of minimalism, where the goal is to highlight the incredible quality of seasonal ingredients with as little heat as possible. It’s about moving the kitchen outdoors to the grill or assembling raw, vibrant components into a meal that feels light and energizing. There is a unique joy in a dinner that doesn’t leave the house feeling stiflingly hot, instead focusing on the sizzle of the barbecue and the freshness of a garden salad. It encourages a slower pace of life, where the preparation is just as much a part of the social experience as the eating itself.
Ingredients
- Fresh seasonal proteins (fish, chicken, or tofu)
- Abundant leafy greens and herbs
- Seasonal fruits (peaches, berries, tomatoes)
- High-quality olive oil and vinegars
- Cold grains (quinoa, farro, or pasta)
How to make it
- Focus on the “Assembly Method.” Instead of complex sauces that require simmering, use fresh pestos, salsas, or vinaigrettes that can be blended in seconds and require zero heat.
- Master the “One-Heat Rule.” Try to only use one heat source—like the grill or the stovetop for a quick sear—and keep the rest of the meal raw or pre-chilled.
- Batch-prep your grains and proteins early in the morning when the air is cool. Store them in the fridge so you can assemble a “Viral Food Board” or a large salad in under 10 minutes when dinner time rolls around.
- Incorporate fruit into savory dishes. A peach salsa over grilled chicken or watermelon in a feta salad adds a refreshing sweetness that is quintessential for summer dining.
- Keep your seasonings simple. When produce is at its peak, you often only need a flake of sea salt, a crack of pepper, and a squeeze of lemon to make the flavors sing.
- Eat according to the light. Aim for meals that can be enjoyed at room temperature, allowing you to dine al fresco without worrying about food cooling down or losing its texture.
The Art of the Effortless Board
Creating a viral food board isn’t about being a professional chef; it’s about being an editor of flavors. By combining these simple, high-impact recipes, you create a tapestry of tastes that invites people to linger and enjoy. Remember, the secret ingredient is always the relaxed atmosphere you create. So, pour a cold drink, set out your board, and let the summer memories begin!