
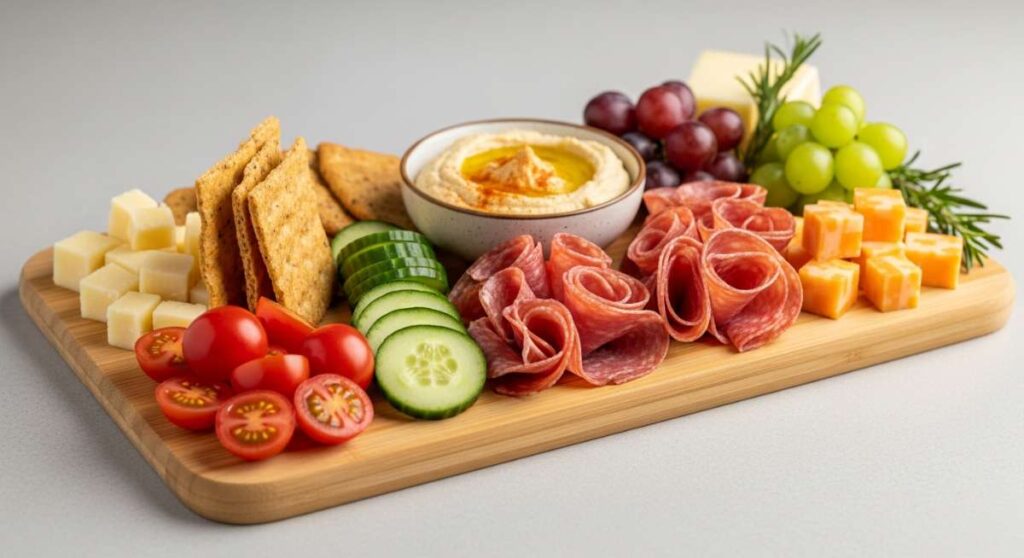
We’ve all seen those stunning food boards scrolling through our feeds—the ones that look like a whole work of art and somehow make a simple Tuesday night feel like a gala. There’s something so deeply nourishing about sharing a meal that’s been curated with love, where the colors pop and every bite feels like a little celebration of life. Whether you’re hosting a backyard bash or just want to treat your family to something special, the food board is the ultimate secret weapon for effortless, viral-worthy entertaining.
I remember the first time I set out a massive board instead of a traditional plated meal; the energy in the room shifted instantly. People started grazing, chatting, and experimenting with different flavor combinations in a way they never do at a formal table. It creates a relaxed, communal atmosphere that turns eating into an experience rather than just a routine. The best part? You don’t have to be a professional chef to master this aesthetic.
Today, I’m breaking down the components that make these boards go viral. From perfectly wrapped handhelds to charred skewers and refreshing sips, we are going to dive into the step-by-step guides for the most requested summer staples. These are the recipes that will have your guests reaching for their phones to snap a photo before they even take their first bite. Let’s get into the delicious details!
5 Best Chicken Caesar Wraps (Step-by-Step Guide)
Why we love this
There is something undeniably satisfying about the crunch of crisp, cold romaine lettuce paired with the savory richness of a classic Caesar dressing. When wrapped in a soft, warm flour tortilla, you get a beautiful contrast of temperatures and textures—the juicy, pan-seared chicken breast provides a hearty warmth that melts against the salty, sharp flakes of parmesan cheese. The aroma of toasted garlic and lemon zest lingers in the air, making this handheld classic feel like a gourmet indulgence that is both refreshing and filling for a sunny afternoon.
Ingredients
- 4 Large flour tortillas
- 2 Large chicken breasts, sliced into strips
- 1 Head of Romaine lettuce, chopped
- 1/2 Cup shaved Parmesan cheese
- 1/2 Cup Caesar dressing (creamy style)
- 1 Cup garlic butter croutons, crushed slightly
- 1 Tbsp Olive oil
- Salt, black pepper, and garlic powder to taste
How to make it
- Begin by seasoning your chicken strips generously with salt, black pepper, and garlic powder to ensure every bite is flavorful.
- Heat olive oil in a large skillet over medium-high heat. Once the oil shimmers, add the chicken. Sear for 5-6 minutes per side until a golden-brown crust forms and the internal temperature reaches 165°F. Remove from heat and let rest for 3 minutes to keep the juices locked in.
- While the chicken rests, toss your chopped Romaine lettuce in a large mixing bowl with the Caesar dressing, shaved parmesan, and slightly crushed croutons. Ensure every leaf is coated for a consistent flavor profile.
- Warm your tortillas in a dry pan or microwave for 10 seconds to make them pliable and prevent tearing.
- Lay a tortilla flat, place a generous portion of the Caesar salad mix in the center, and top with the warm chicken strips.
- Fold the sides of the tortilla inward, then roll from the bottom up tightly. Slice on a diagonal to reveal the beautiful cross-section before serving.
7 Easy Summer Pasta Salads (Step-by-Step Guide)

Why we love this
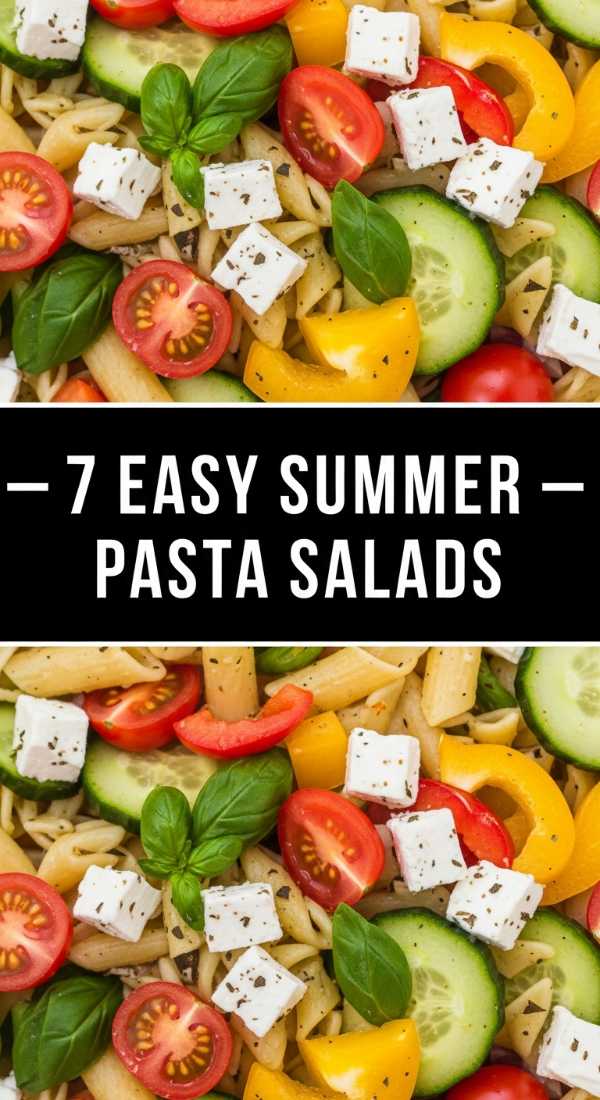
A great pasta salad is the backbone of any summer gathering, offering a vibrant kaleidoscope of colors and a refreshing tang that cuts through the heat of the day. We love the way al dente rotini or farfalle traps little pockets of zesty vinaigrette, releasing a burst of herbaceous flavor with every forkful. The snap of fresh bell peppers and the creamy silkiness of mozzarella pearls create a delightful sensory dance on the palate. It is the kind of dish that actually tastes better as it sits, allowing the aromas of fresh basil and oregano to deeply infuse every ingredient.
Ingredients
- 1 lb Dried pasta (Rotini, Farfalle, or Penne)
- 1 Cup Cherry tomatoes, halved
- 1/2 Cup Cucumber, diced
- 1/2 Cup Red onion, finely minced
- 1/2 Cup Black olives, sliced
- 1 Cup Fresh mozzarella pearls
- 1 Cup Italian herb vinaigrette
- Fresh basil leaves for garnish
How to make it
- Boil a large pot of heavily salted water. Cook the pasta according to package directions but pull it off the heat 1 minute early for a perfect al dente texture that won’t get mushy.
- Drain the pasta and immediately rinse under cold running water. This stops the cooking process and removes excess starch, preventing the pasta from sticking together.
- In a massive mixing bowl, combine the cooled pasta with tomatoes, cucumbers, red onions, olives, and mozzarella pearls.
- Pour 3/4 of the Italian vinaigrette over the mixture. Use a large silicone spatula to gently fold the ingredients together so you don’t break the pasta shapes.
- Cover the bowl with plastic wrap and refrigerate for at least 2 hours. This chilling period is crucial for the flavors to meld and the pasta to absorb the dressing.
- Just before serving, toss with the remaining vinaigrette and top with torn fresh basil for a pop of color and fragrance.
10 Best Summer Crockpot Recipes (Step-by-Step Guide)

Why we love this
The magic of a summer crockpot recipe lies in the ability to create a deeply savory, tender meal without ever turning on the oven and heating up the whole house. Imagine walking into a kitchen filled with the mouthwatering aroma of slow-roasted pulled pork or citrus-infused carnitas that have been simmering for hours. The meat becomes so succulent that it literally falls apart at the touch of a fork, bathed in its own rich juices. It provides a comforting, “low and slow” soulfulness to your food board that balances out the lighter, crisper elements perfectly.
Ingredients
- 3-4 lb Pork shoulder or Chuck roast
- 1 Onion, sliced into rings
- 3 Cloves garlic, smashed
- 1 Cup Beef or chicken broth
- 2 Tbsp Brown sugar
- 1 Tbsp Smoked paprika
- 1 Tsp Cumin and Chili powder
- Salt and pepper to taste
How to make it
- Pat the meat dry with paper towels. Rub the entire surface with a blend of brown sugar, smoked paprika, cumin, chili powder, salt, and pepper. Press the spices into the meat to form a dry crust.
- Place the sliced onions and smashed garlic at the bottom of the slow cooker to act as a natural roasting rack.
- Place the seasoned meat on top of the onions. Pour the broth carefully around the sides of the meat, being careful not to wash off the spice rub.
- Cover and set the slow cooker to “Low” for 8-10 hours or “High” for 5-6 hours. For the most tender results, the low setting is always recommended.
- Once the meat is fork-tender, remove it to a large platter and shred using two forks.
- Discard the excess fat from the liquid in the pot, then toss the shredded meat back into the remaining juices for 20 minutes to soak up all that concentrated flavor before serving.
8 Top Refreshing Summer Cocktails (Step-by-Step Guide)
Why we love this
Nothing says “viral food board” like a row of glistening, condensation-covered glasses filled with vibrant, icy concoctions. We love the ritual of muddling fresh mint and berries, releasing those essential oils that scent the air with a botanical freshness. The tingle of effervescent soda water mixed with a zesty citrus squeeze creates a bright, uplifting finish that cleanses the palate between bites. Whether it’s a mojito or a spiked lemonade, the visual of floating fruit slices and green herbs makes the entire spread feel high-end and incredibly inviting.
Ingredients
- 2 oz Base spirit (Vodka, Gin, or Rum)
- 1 oz Freshly squeezed lime or lemon juice
- 3/4 oz Simple syrup or agave nectar
- Fresh fruit (Berries, Watermelon, or Cucumber)
- Fresh herbs (Mint or Basil)
- Ice cubes (Large or crushed)
- Club soda or Tonic water to top
How to make it
- Place your fresh fruit and herbs into the bottom of a sturdy cocktail shaker. Use a muddler to gently press down 4-5 times to release juices and oils without shredding the leaves.
- Add your base spirit, citrus juice, and simple syrup to the shaker. Fill the shaker halfway with ice.
- Secure the lid and shake vigorously for 15 seconds. You’ll know it’s ready when the outside of the shaker feels frost-cold to the touch.
- Fill a highball or rocks glass with fresh ice. Strain the mixture into the glass to keep the spent pulp and leaves out of the drink.
- Top the glass with a splash of club soda for a crisp fizz.
- Garnish with a fresh sprig of mint and a slice of the featured fruit. Serve immediately while the bubbles are active and the drink is at its coldest.
6 Best Picnic Side Dishes (Step-by-Step Guide)
Why we love this
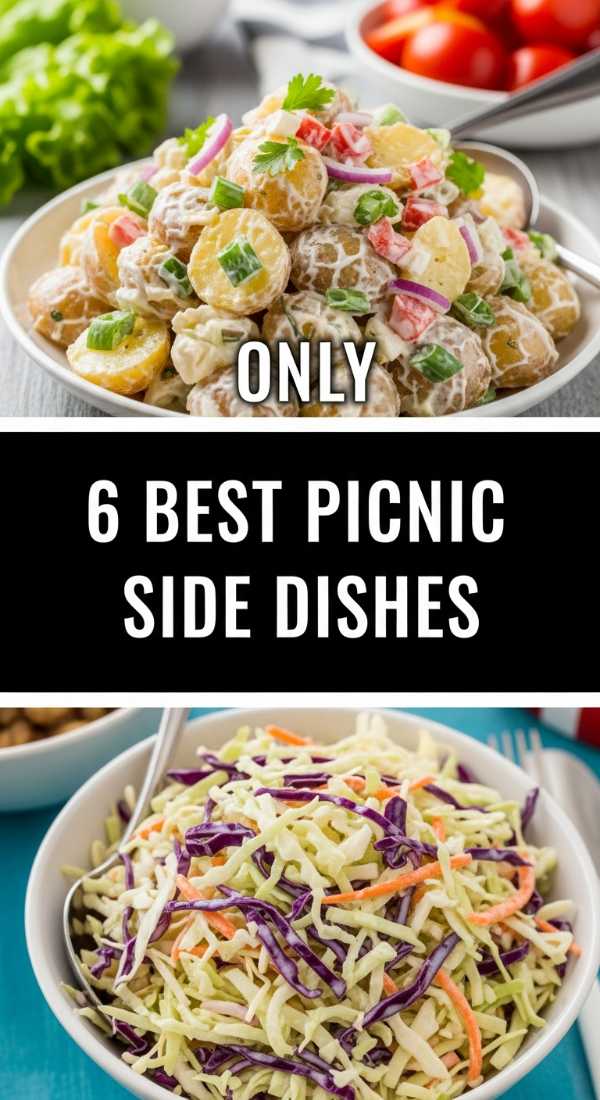
Picnic sides are all about portability and that classic, nostalgic flavor profile that reminds us of childhood summers. We love the creamy, velvety texture of a well-made potato salad or the sweet-and-savory crunch of a broccoli slaw. These dishes bring a hearty, grounded element to your board, providing a satisfying weight that pairs beautifully with lighter proteins. The aroma of vinegar-based dressings and fresh dill adds a sharp, clean note that keeps you coming back for just one more spoonful while you lounge on a picnic blanket.
Ingredients
- 2 lbs Yukon Gold potatoes, cubed
- 1/2 Cup Mayonnaise
- 2 Tbsp Yellow mustard
- 1/4 Cup Red onion, diced
- 2 Hard-boiled eggs, chopped
- 1/4 Cup Celery, finely sliced
- 1 Tbsp Fresh dill, chopped
- 1 Tsp Smoked paprika
How to make it
- Place cubed potatoes in a large pot of cold, salted water. Bring to a boil and cook for 10-12 minutes until just tender when pierced with a fork. Do not overcook or they will turn into mashed potatoes.
- Drain the potatoes and let them cool completely in a single layer on a baking sheet. This ensures they maintain their shape when tossed.
- In a separate bowl, whisk together the mayonnaise, mustard, red onion, celery, and fresh dill to create the creamy dressing base.
- Gently fold the cooled potatoes and chopped eggs into the dressing using a wide spoon. Move slowly to keep the potato cubes intact.
- Transfer to a serving bowl and sprinkle the top with smoked paprika for a smoky aroma and professional finish.
- Chill for at least 4 hours. Picnic sides are best served cold and need time for the starches to bond with the flavors of the dressing.
9 Best Kabobs on Grill (Step-by-Step Guide)

Why we love this
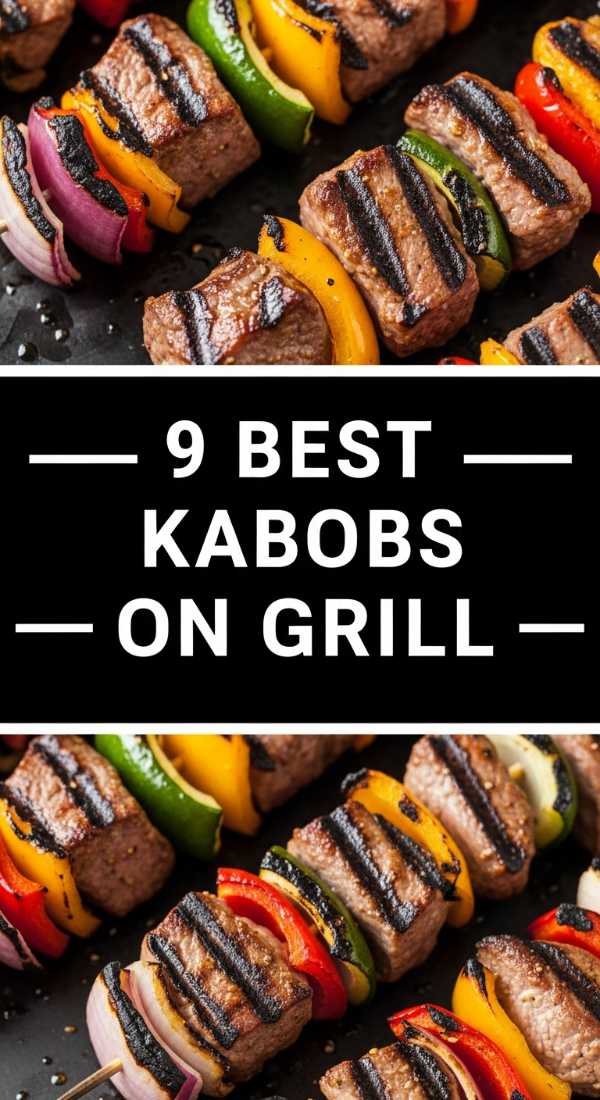
Kabobs are the ultimate visual showstopper, offering a charred, smoky goodness that only a hot grill can provide. There is something primal and exciting about the hiss of meat and vegetables hitting the grates, sending up plumes of aromatic smoke flavored with rosemary and garlic. The edges of the onions and peppers become beautifully caramelized and sweet, while the meat develops a savory crust that yields to a tender, juicy interior. Eating off a stick makes the meal interactive and fun, adding a rustic charm to your viral food board.
Ingredients
- 1.5 lbs Steak or Chicken, cut into 1.5-inch cubes
- 1 Red bell pepper, cut into squares
- 1 Green bell pepper, cut into squares
- 1 Red onion, cut into wedges
- 1 Cup Zucchini rounds
- 1/2 Cup Olive oil
- 3 Tbsp Soy sauce
- 2 Cloves garlic, minced
- Wooden or metal skewers
How to make it
- If using wooden skewers, soak them in water for at least 30 minutes to prevent them from catching fire on the grill.
- Whisk olive oil, soy sauce, and minced garlic in a bowl. Toss the meat cubes in half of this marinade and the vegetables in the other half. Let them marinate for 1 hour in the fridge.
- Thread the ingredients onto the skewers, alternating between meat, pepper, onion, and zucchini. Don’t pack them too tightly; leave a tiny bit of space so the heat can circulate around each piece.
- Preheat your grill to medium-high (about 400°F). Lightly oil the grates to prevent sticking.
- Place skewers on the grill. Close the lid and cook for 4-5 minutes. Flip and cook for another 4-5 minutes. You are looking for distinct grill marks and meat that releases easily from the grate.
- Remove from heat and let them rest for 5 minutes on a platter before serving. This allows the juices to redistribute so the meat stays moist.
5 Top Easy Summer Desserts (Step-by-Step Guide)
Why we love this
No board is complete without a touch of sweetness to round out the savory flavors, and summer desserts are all about celebrating sun-ripened fruit and light, airy textures. We love the way a flaky galette crust shatters to reveal a gooey, bubbling center of peaches or berries, or how a chilled lemon bar provides a tart, buttery finish. The scent of vanilla bean and caramelized sugar creates a warm, inviting aura that signals the perfect end to a meal. These desserts look stunning nestled between clusters of fresh grapes and mint leaves on your board.
Ingredients
- 1 Store-bought pie crust (thawed)
- 3 Cups Fresh berries or sliced peaches
- 1/4 Cup Granulated sugar
- 1 Tbsp Cornstarch
- 1 Tsp Vanilla extract
- 1 Egg (for egg wash)
- Coarse sanding sugar
How to make it
- Preheat your oven to 400°F and line a baking sheet with parchment paper.
- In a bowl, gently toss your fruit with the granulated sugar, cornstarch, and vanilla extract until evenly coated. The cornstarch is the secret to a thick, glossy filling.
- Roll out the pie crust on the parchment paper into a rough 12-inch circle.
- Mound the fruit mixture in the center of the crust, leaving a 2-inch border all the way around.
- Fold the edges of the crust over the fruit, pleating as you go to create a rustic, circular shape. The center should remain open.
- Brush the crust with a beaten egg and sprinkle generously with coarse sanding sugar for a professional-looking crunch.
- Bake for 20-25 minutes until the crust is deep golden brown and the fruit filling is bubbling. Let it cool completely before slicing so the filling sets up perfectly.
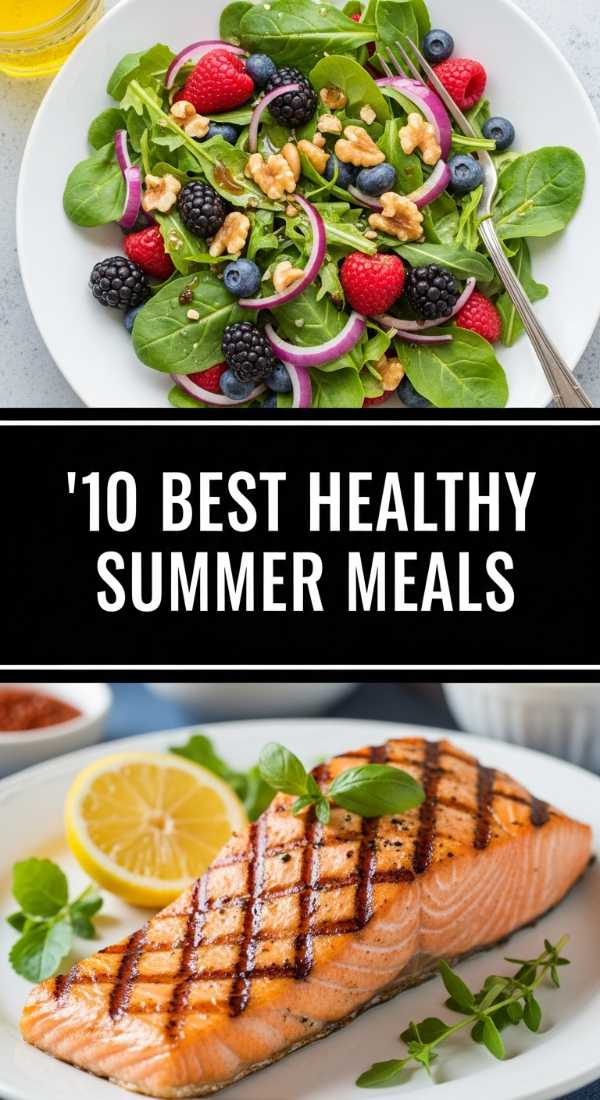
10 Best Healthy Summer Meals (Step-by-Step Guide)
Why we love this
Healthy summer meals are a celebration of the garden, focusing on vibrant nutrients that leave you feeling energized and light rather than weighed down. We love the crisp, clean snap of snap peas and the earthy richness of quinoa or farro bowls topped with creamy avocado. The aroma of fresh lemon zest and cold-pressed olive oil ties everything together with a Mediterranean flair. These dishes bring a “glow” to your board, offering a variety of textures—from crunchy nuts to soft, roasted sweet potatoes—that satisfy every craving while remaining guilt-free.
Ingredients
- 2 Cups Cooked Quinoa
- 1 Cup Chickpeas, rinsed and drained
- 1 Avocado, sliced
- 1/2 Cup Cucumber, chopped
- 1/4 Cup Feta cheese crumbles
- 1/4 Cup Toasted pumpkin seeds
- Lemon-Tahini dressing
- Fresh parsley
How to make it
- Start with a base of fluffy, cooked quinoa that has been cooled to room temperature. This acts as the canvas for your healthy board components.
- In a small skillet over medium heat, toast the pumpkin seeds for 2-3 minutes until they become fragrant and slightly brown. Set aside.
- Prepare the vegetables by slicing the avocado and cucumber. Keeping the cuts uniform makes the board look more professional and “viral.”
- Arrange the quinoa in small mounds or bowls, then top with chickpeas, cucumber, and feta cheese.
- Drizzle the lemon-tahini dressing over the top. To make the dressing, whisk 2 tbsp tahini with the juice of half a lemon and a splash of warm water until smooth.
- Add the avocado slices last to prevent browning and garnish with the toasted pumpkin seeds and fresh parsley for a boost of minerals and healthy fats.
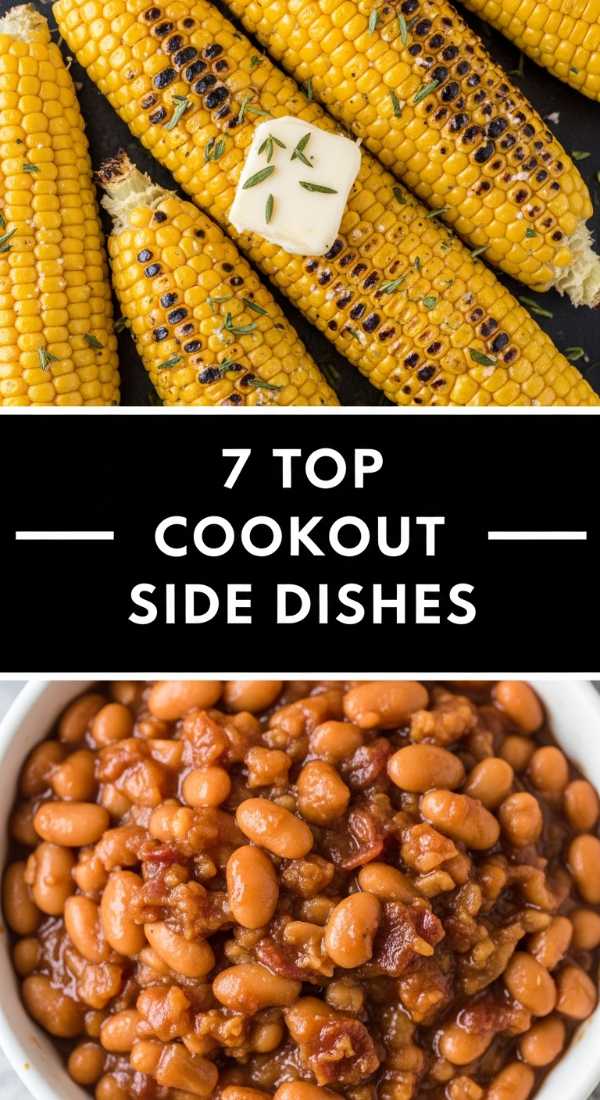
7 Top Cookout Side Dishes (Step-by-Step Guide)
Why we love this
Cookout sides are the ultimate comfort food of the summer, bringing that savory, buttery, and often smoky profile that makes a backyard gathering feel complete. We love the rich, deep umami of baked beans slow-simmered with bacon and molasses, or the charred sweetness of corn on the cob slathered in herb butter. The smell of melting butter and toasted spices is intoxicating, creating an atmosphere of warmth and hospitality. These sides provide the perfect hearty companion to grilled meats, ensuring no one leaves the table feeling anything less than fully satisfied.
Ingredients
- 4 Ears of Corn, shucked
- 4 Tbsp Butter, softened
- 1 Tsp Chili powder
- 1/2 Cup Cotija cheese, crumbled
- Fresh Cilantro, chopped
- Lime wedges
- 1 Can (28oz) Baked beans
- 3 Slices Bacon, chopped
How to make it
- For the corn: Preheat your grill to high. Rub the corn with a little oil and grill for 10-12 minutes, turning frequently until charred spots appear all over.
- While the corn is hot, slather it with the softened butter and sprinkle with chili powder, cotija cheese, and cilantro. Squeeze fresh lime over it just before serving.
- For the beans: In a small saucepan or cast-iron skillet, fry the chopped bacon until crispy.
- Add the entire can of baked beans to the bacon and drippings. Simmer on low heat for 15 minutes, allowing the sauce to thicken and the bacon flavor to infuse the beans.
- If you want a viral look, serve the beans in a small cast-iron crock directly on your food board.
- Arrange the corn in a stack next to the beans to create a vertical element that draws the eye.
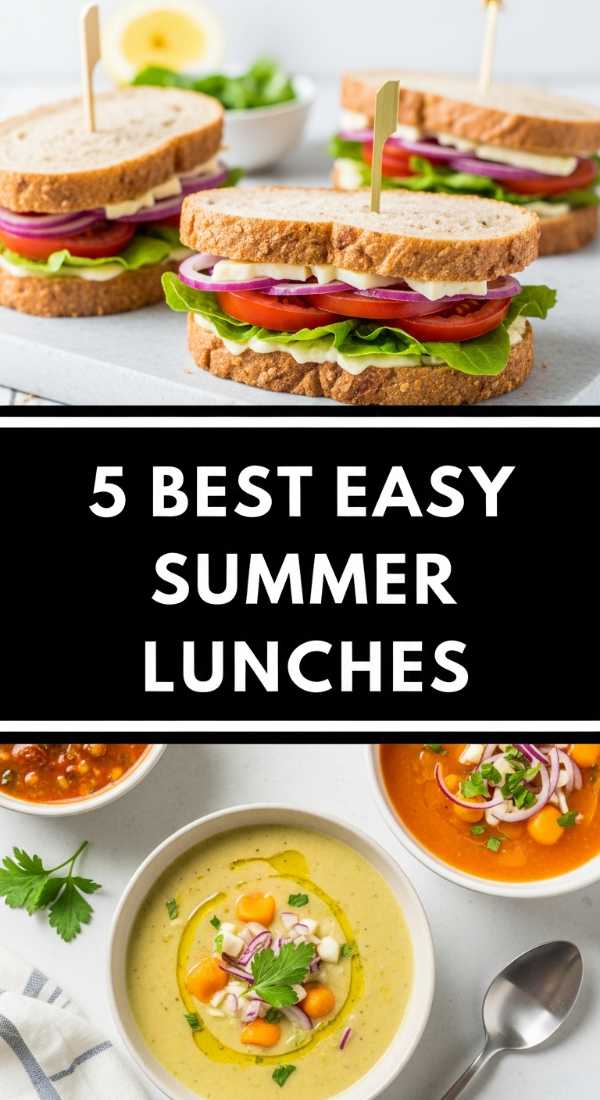
5 Best Easy Summer Lunches (Step-by-Step Guide)
[IMAGE_10]
Why we love this
Easy summer lunches are all about minimizing kitchen time and maximizing flavor with fresh, raw ingredients. We love the simplicity of a Caprese skewer or a crisp turkey and apple wrap that provides a sweet-and-savory crunch without any heavy cooking. The aroma of sliced heirloom tomatoes and fresh balsamic glaze is quintessentially summer, offering a sophisticated but effortless vibe. These lunches are perfect for the “grazing” style of a food board, allowing everyone to pick and choose small, flavorful bites that keep them cool and satisfied during the midday heat.
Ingredients
- 1 lb Deli-sliced Turkey breast
- 1 Granny Smith apple, thinly sliced
- 1 Cup Arugula
- 4 Whole grain wraps
- 1 Cup Fresh Mozzarella pearls
- 1 Cup Cherry tomatoes
- Balsamic glaze for drizzling
- Wooden toothpicks
How to make it
- For the wraps: Lay the whole grain wrap flat and spread a thin layer of honey mustard (optional). Layer turkey, apple slices, and a handful of arugula.
- Roll tightly and slice into 1-inch rounds (pinwheels). Secure each with a toothpick if necessary. The apple provides a surprising, refreshing crunch.
- For the Caprese bites: Thread one cherry tomato, one basil leaf (folded), and one mozzarella pearl onto a small toothpick.
- Repeat until you have a dozen skewers. Arrange them in a circular pattern on your board.
- Just before serving, drizzle the Caprese bites with a thick balsamic glaze. The dark contrast against the white cheese and red tomatoes is visually stunning.
- Keep these items chilled until the very last second to ensure the greens stay crisp and the cheese stays firm.
Conclusion
Creating the perfect viral food board isn’t about being a master chef; it’s about the art of assembly and the joy of sharing. By combining these different categories—from the smoky kabobs to the refreshing cocktails—you create a tapestry of flavors that invites people to slow down and savor the season. Remember to play with heights, colors, and textures to make your board truly pop. Now, grab your biggest platter and start building your masterpiece!