
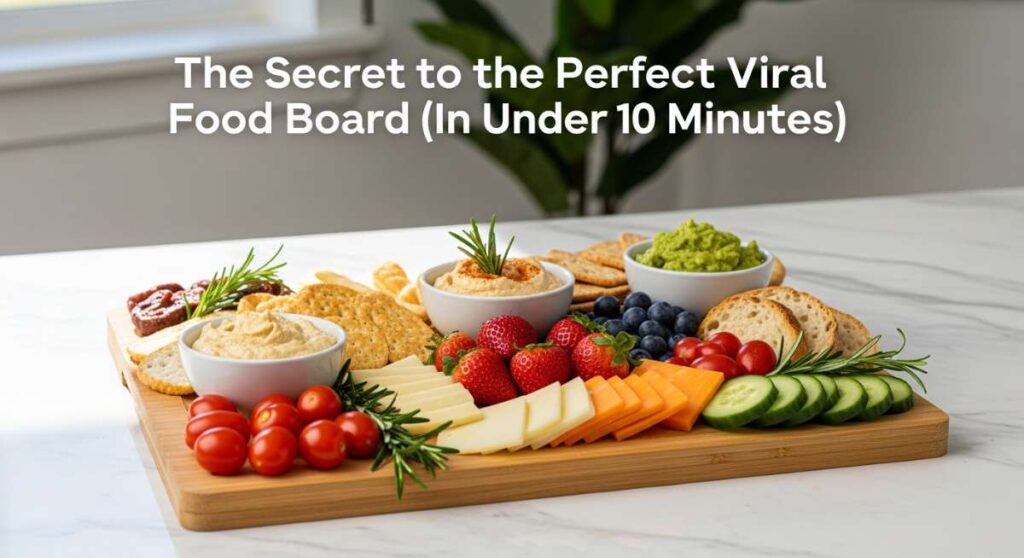
There is something magical about the way a beautifully arranged food board brings people together. I remember the first time I set out a sprawling display of treats for a Sunday brunch; the room instantly filled with laughter and the sound of guests discovering new flavor pairings. It isn’t just about the food; it’s about creating a centerpiece for memories, a visual feast that says, ‘You are welcome here, and I’ve prepared something special just for you.’
The secret to a viral food board isn’t about spending hours in the kitchen or having professional catering skills. It’s about the art of the ‘Simple Food Board’—mixing homemade treats with fresh fruits and aesthetic styling. In this guide, I’m sharing my favorite recipes and business tips to help you build a board that looks like it stepped off a Pinterest feed, but feels like home. Let’s dive into the delicious details that will make your next gathering unforgettable.
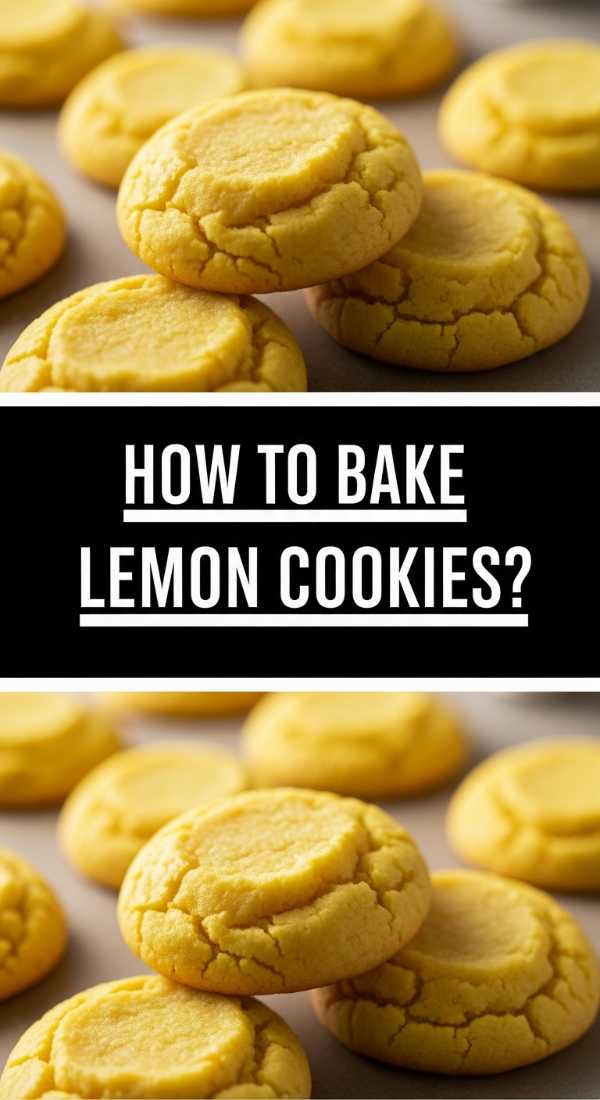
How to bake lemon cookies for summer?
Why we love this
These lemon cookies are the literal definition of sunshine on a plate. When you pull them out of the oven, the aroma of bright citrus zest fills the air, mingling with the scent of rich, creamy butter. Each bite offers a delicate crunch on the edges that gives way to a soft, melt-in-your-mouth center, while the tangy lemon glaze provides a zesty pop that cuts through the sweetness perfectly. It’s a refreshing, light treat that feels exactly like a warm summer breeze in dessert form.
Ingredients
- 2 1/2 cups all-purpose flour
- 1 cup unsalted butter, softened
- 1 cup granulated sugar
- 1 large egg
- 2 tablespoons fresh lemon zest
- 3 tablespoons fresh lemon juice
- 1/2 teaspoon baking soda
- 1/2 teaspoon salt
- Powdered sugar for glaze
How to make it
- Begin by creaming the softened butter and granulated sugar together in a large bowl using a stand mixer or hand mixer on medium-high speed for about 3-4 minutes until the mixture is pale, light, and fluffy.
- Add the egg, lemon zest, and fresh lemon juice to the butter mixture, beating well until fully incorporated and the texture looks smooth.
- In a separate medium bowl, whisk together the flour, baking soda, and salt to ensure even distribution of the leavening agent.
- Gradually add the dry ingredients to the wet ingredients on low speed, mixing just until no streaks of flour remain—be careful not to overmix, as this can make the cookies tough.
- Scoop rounded tablespoons of dough onto a parchment-lined baking sheet, spacing them 2 inches apart, and chill the entire tray in the refrigerator for at least 30 minutes to prevent spreading.
- Preheat your oven to 350°F (175°C) and bake the chilled cookies for 10-12 minutes, or until the edges are just barely golden brown while the centers still look slightly soft.
- Let the cookies cool on the pan for 5 minutes before transferring them to a wire rack; once completely cool, whisk powdered sugar and lemon juice together to drizzle a thick glaze over the top.
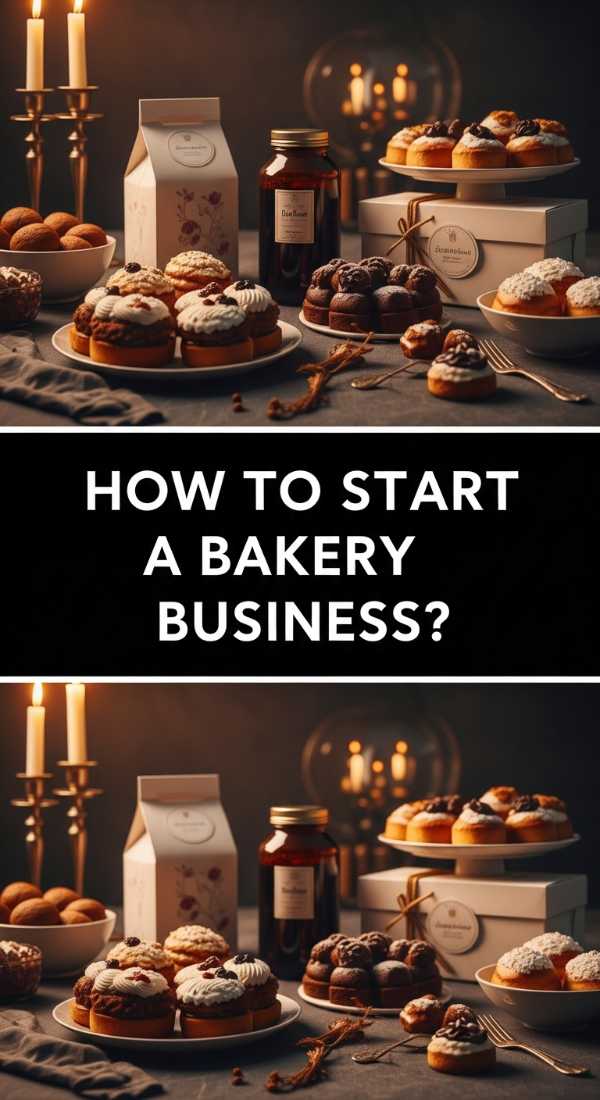
How to start a baking business?
Why we love this
Starting a baking business is about more than just selling flour and sugar; it’s about sharing your heart and soul with your community through edible art. There is an incredible sense of fulfillment when you see a customer’s face light up because your cake is the centerpiece of their celebration. This journey allows you to reclaim your creativity and build a lifestyle centered around your passion, turning your kitchen into a sanctuary of productivity and sweet-smelling success.
Ingredients
- A signature recipe or niche
- A professional business name
- State/Local cottage food license
- Reliable kitchen equipment
- Marketing strategy (Social Media)
- Branded packaging materials
How to make it
- Identify your ‘hero’ product—the one item you bake better than anyone else—and refine the recipe until it is consistent every single time, regardless of humidity or oven temperaments.
- Research your local ‘Cottage Food Laws’ to understand the specific regulations for selling food from a home kitchen, including required permits and labeling standards for allergens.
- Create a simple but cohesive brand identity, including a logo and a color palette that reflects the vibe of your treats, whether it’s rustic, modern, or whimsical.
- Set up a dedicated business Instagram or TikTok account and begin posting high-quality videos of your process (the ‘behind the scenes’) to build trust and excitement with potential local customers.
- Determine your pricing by calculating the exact cost of every ingredient, the cost of packaging, and your desired hourly wage to ensure you are actually making a profit.
- Start taking pre-orders for specific ‘drop dates’ to manage your inventory and work-flow efficiently without the stress of constant on-demand baking.
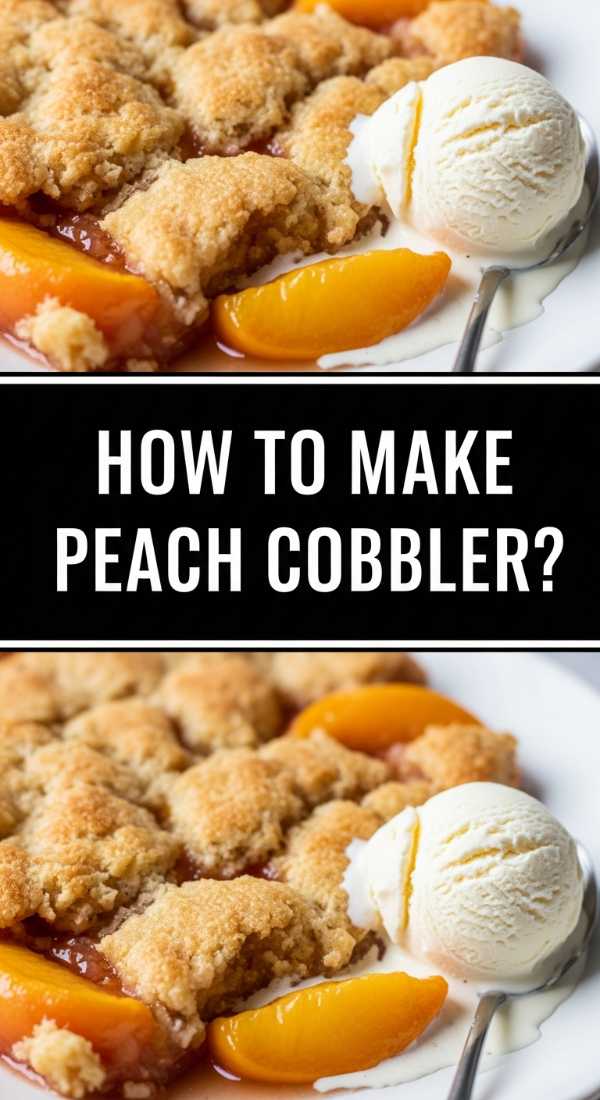
How to make peach cobbler?
Why we love this
Nothing says comfort like a warm peach cobbler fresh from the oven, bubbling with caramelized juices and topped with a golden, biscuit-like crust. The scent of cinnamon and nutmeg wafting through the house creates an instant sense of nostalgia, reminding us of family dinners and slow summer evenings. The contrast between the soft, velvety peaches and the slightly crunchy, sugary topping creates a textural masterpiece that practically begs for a melting scoop of vanilla bean ice cream.
Ingredients
- 6-8 large fresh peaches, sliced
- 1 cup granulated sugar (divided)
- 1 cup all-purpose flour
- 1 tablespoon baking powder
- 1 cup whole milk
- 1/2 cup unsalted butter, melted
- 1 teaspoon ground cinnamon
- 1/4 teaspoon ground nutmeg
How to make it
- Preheat your oven to 375°F (190°C) and place the half-cup of butter in a 9×13 inch baking dish, sliding it into the oven for a few minutes until the butter is completely melted and bubbling.
- In a large bowl, toss the sliced peaches with half of the sugar and the spices, allowing them to macerate for 10 minutes until they release their natural juices.
- In a separate bowl, whisk together the flour, remaining sugar, and baking powder, then slowly pour in the milk, whisking until you have a smooth, thin batter.
- Remove the hot baking dish from the oven and pour the batter directly over the melted butter—do not stir the mixture, as the butter needs to surround the batter for that crispy edge.
- Spoon the peaches and their juices evenly over the batter, again resisting the urge to stir; the batter will naturally rise up around the fruit as it bakes.
- Bake for 40-45 minutes until the top is a deep golden brown and the peach juice is thick and bubbling through the crust.
- Let it rest for at least 15 minutes before serving to allow the sauce to set and thicken into a luscious syrup.
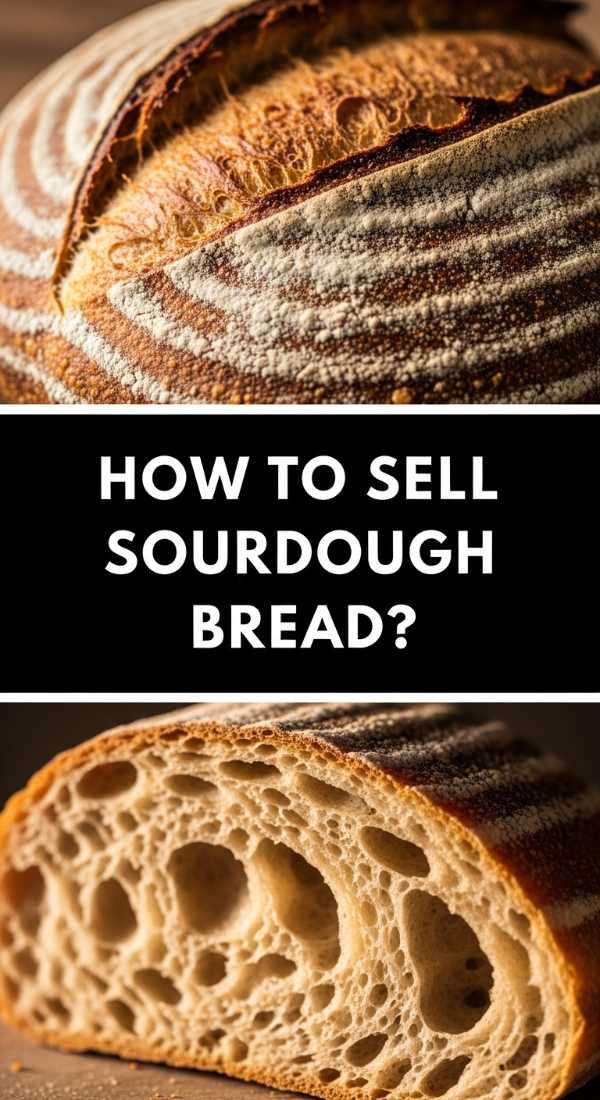
How to sell sourdough bread?
Why we love this
Selling sourdough is an artisanal craft that connects you to ancient traditions and a community of people who value slow, fermented food. There is a deep, tactile satisfaction in feeling the tension of the dough under your hands and hearing the ‘song’ of a crust crackling as it cools. Providing a neighbor with a loaf that has a shatteringly crisp crust and a tangy, airy interior is a way of offering health and soul-sustenance that modern grocery stores simply can’t replicate.
Ingredients
- Active sourdough starter
- High-quality bread flour
- Filtered water
- Sea salt
- Proofing baskets (Bannetons)
- Bread bags or Dutch oven for baking
How to make it
- Develop a consistent 24-hour baking schedule that allows you to cold-ferment your loaves in the fridge, which develops the flavor and makes the logistics of selling much easier.
- Take high-resolution photos of the ‘crumb shot’ (the inside of the loaf) and the ‘ear’ (the crust flap) to showcase your technical skill on social media marketplaces.
- Choose a distribution method that works for you, such as a ‘Porch Pickup’ system where customers pay via app and collect their loaf from a weather-proof bin on your porch.
- Invest in professional bread bags with your logo stamped on them; the presentation is 50% of the value when selling artisanal goods.
- Clearly communicate your ‘order window’—for example, tell customers to order by Tuesday for a Friday bake so you have time to feed your starter accordingly.
- Include a small ‘care card’ with each loaf explaining how to store the bread and how to refresh the crust in the oven for the best eating experience.
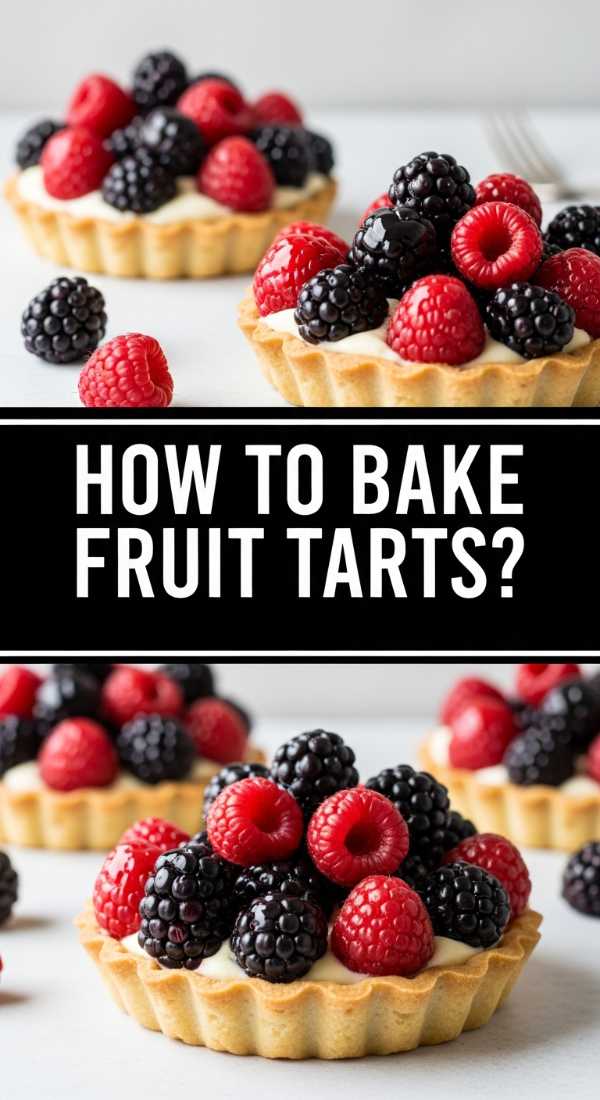
How to bake fruit tarts?
Why we love this
Fruit tarts are the jewelry of the baking world, sparkling with vibrant berries and a glossy apricot glaze that makes them look like they belong in a Parisian patisserie window. The experience of biting through a crisp, buttery shortcrust into a layer of cool, silky vanilla pastry cream is pure decadence. It is the ultimate food board addition because the colors are naturally stunning, and the combination of fresh fruit and rich cream provides a balanced, sophisticated sweetness.
Ingredients
- 1 1/2 cups flour
- 1/2 cup powdered sugar
- 3/4 cup cold butter, cubed
- 2 cups whole milk
- 4 egg yolks
- 1/2 cup granulated sugar
- 1/4 cup cornstarch
- Assorted fresh berries (strawberries, blueberries, kiwi)
How to make it
- Make the crust by pulsing flour, powdered sugar, and cold butter in a food processor until it looks like coarse crumbs, then press it firmly into a tart pan and bake at 350°F for 15-18 minutes until golden.
- Prepare the pastry cream by heating milk until steaming, while whisking egg yolks, sugar, and cornstarch in a separate bowl until pale.
- Temper the eggs by slowly pouring half of the hot milk into the egg mixture while whisking constantly, then pour everything back into the pot.
- Cook over medium heat, whisking vigorously until the mixture suddenly thickens into a glossy custard; remove from heat immediately and stir in vanilla and a pat of butter.
- Press plastic wrap directly onto the surface of the custard and chill for at least 2 hours until completely cold and set.
- Spread the chilled custard into the cooled tart shell and arrange your sliced fruit in concentric circles, starting from the outside and working inward for a professional look.
- Melt a tablespoon of apricot jam with a splash of water and gently brush it over the fruit to give it a high-shine, ‘viral’ finish.
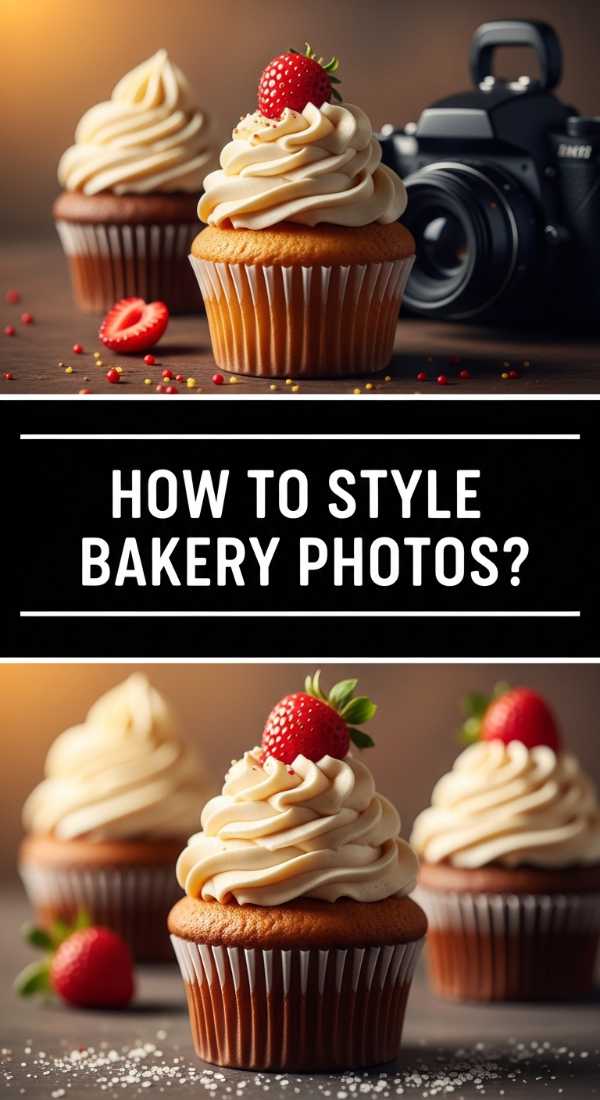
How to style bakery photos?
Why we love this
Styling bakery photos is the bridge between a delicious recipe and a viral post; it’s where you tell the story of your food through light and shadow. There is a creative rush in finding the perfect angle that captures the steam rising from a muffin or the way light hits the dusting of powdered sugar on a tart. Good styling makes the viewer feel like they can almost smell the cinnamon through the screen, transforming a simple snack into an aspirational lifestyle moment.
Ingredients
- Natural light (near a window)
- Neutral backdrops (linen, wood, marble)
- Propping elements (crumbs, herbs, raw ingredients)
- Smartphone or DSLR camera
- Reflector or white foam board
How to make it
- Set up your scene near a large window during ‘golden hour’ or on a cloudy day for soft, diffused light that doesn’t create harsh, unappetizing shadows.
- Choose a neutral background that complements the food without distracting from it; a wrinkled linen cloth adds a ‘human’ and cozy touch to the composition.
- Apply the ‘Rule of Thirds’ by placing your main dish slightly off-center to create a more dynamic and visually interesting frame.
- Add ‘action’ elements like a scattered dusting of flour, a half-eaten cookie, or a spoon resting in a bowl of cream to give the photo a sense of life and movement.
- Use a white foam board opposite your light source to bounce light back onto the darker side of the food, filling in shadows and making the textures pop.
- Edit your photos using apps like Lightroom or VSCO, focusing on increasing the ‘warmth’ and ‘clarity’ just enough to make the colors look vibrant but still natural.
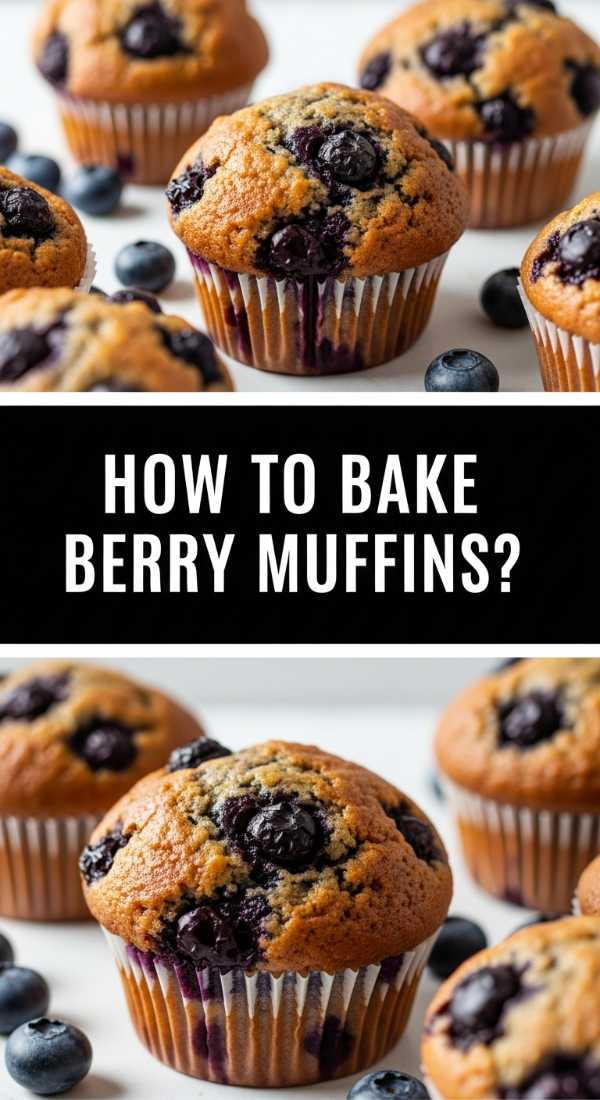
How to bake berry muffins?
Why we love this
A perfect berry muffin is a study in contrasts: a high, craggy muffin top dusted with sparkling coarse sugar that gives way to a tender, moist interior studded with bursting, jammy fruit. As they bake, the berries release their juices, creating beautiful purple and red swirls throughout the golden crumb. They are the ultimate ‘grab-and-go’ luxury for a food board, offering a rustic charm that feels both wholesome and deeply indulgent at the same time.
Ingredients
- 2 cups all-purpose flour
- 1/2 cup granulated sugar
- 1 tablespoon baking powder
- 1/2 teaspoon salt
- 1 egg
- 1 cup whole milk
- 1/3 cup vegetable oil
- 1 1/2 cups fresh blueberries or raspberries
- Coarse sanding sugar for the tops
How to make it
- Whisk your dry ingredients together in one bowl and your wet ingredients (egg, milk, oil) in another; the key to a tender muffin is keeping these separate until the last second.
- Toss your berries in a tablespoon of flour before adding them to the batter; this prevents them from sinking to the bottom of the muffin liners during baking.
- Fold the wet ingredients into the dry ingredients using a rubber spatula, stopping the moment the flour is moistened—the batter should remain lumpy and thick.
- Fill your muffin liners all the way to the top rather than just two-thirds full; this is the secret to getting those ‘bakery-style’ high-domed tops.
- Generously sprinkle the tops of the unbaked muffins with coarse sanding sugar to create a professional, crunchy texture.
- Bake at an initial high heat of 425°F (220°C) for 5 minutes to trigger a rapid rise, then lower the oven to 375°F (190°C) for the remaining 13-15 minutes.
- Test with a toothpick in the center; it should come out clean or with a few moist crumbs, but no raw batter.
How to price home cakes?

Why we love this
Pricing your cakes correctly is the ultimate act of self-respect as a creator. It allows you to sustain your hobby or business without burning out, ensuring you can afford the highest quality organic butters and real vanilla beans your customers deserve. When you value your time and talent, you attract clients who appreciate the ‘slow food’ movement and the hand-crafted nature of your work, making every hour spent decorating feel worth the effort.
Ingredients
- Cost of ingredients (COGS)
- Labor hours (including shopping/cleanup)
- Overhead (electricity, water, marketing)
- Profit margin (typically 20-30%)
- Market research on local competitors
How to make it
- Create a detailed spreadsheet that breaks down the cost of every single egg, cup of flour, and teaspoon of vanilla used in a standard batch of cake and frosting.
- Don’t forget to include ‘hidden costs’ like the cake board, the box, the ribbon, and even the parchment paper used for baking.
- Track your time from the moment you start prepping your pans to the moment you finish cleaning the last bowl; decide on a fair hourly wage (do not settle for minimum wage!).
- Use the formula: (Cost of Ingredients + Packaging) + (Hours x Hourly Rate) + (10% for Overhead) = Base Price.
- Apply a ‘Profit Margin’ on top of your base price to ensure your business can grow and you can invest in new equipment or training.
- Compare your final number to high-end local bakeries—not grocery stores—to ensure you are positioned correctly in the ‘artisanal’ market.
How to make lemon bars?
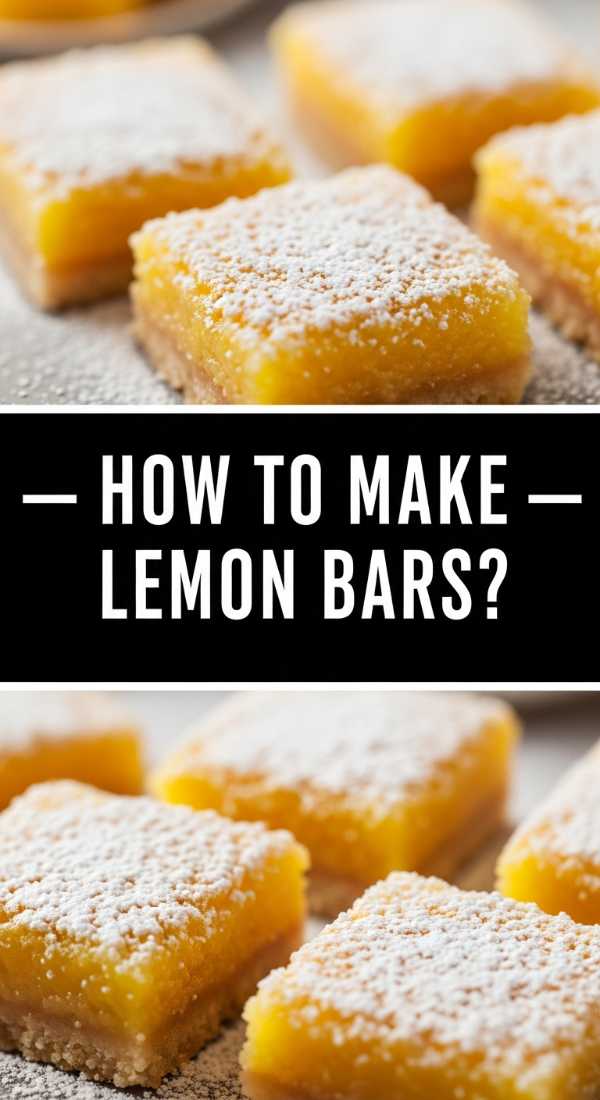
Why we love this
Lemon bars are a masterclass in balance, pairing a buttery, shortbread crust that crumbles perfectly with a sharp, puckeringly sour lemon curd. The bright yellow filling is smooth and luscious, providing a vibrant pop of color to any dessert board that immediately draws the eye. There is something incredibly satisfying about the way the silky topping sets into a firm yet yielding layer, finished with a snowy blanket of powdered sugar that tempers the citrus zing.
Ingredients
- 1 cup butter, softened
- 2 cups all-purpose flour (divided)
- 1/2 cup powdered sugar (plus extra for dusting)
- 4 large eggs
- 1 1/2 cups granulated sugar
- 1/2 cup fresh lemon juice
- 2 tablespoons lemon zest
How to make it
- Preheat your oven to 350°F (175°C) and grease a 9×13 inch pan; start by mixing the butter, 2 cups of flour, and 1/2 cup of powdered sugar into a dough.
- Press this dough firmly into the bottom of the pan to create an even layer and bake for 20 minutes until the edges are a very pale golden brown.
- While the crust is ‘par-baking,’ whisk together the 4 eggs, granulated sugar, remaining 1/4 cup of flour, lemon juice, and lemon zest until completely smooth and frothy.
- Pour this lemon mixture directly over the hot crust as soon as it comes out of the oven; this ‘hot-pour’ method helps the layers bond and prevents the crust from getting soggy.
- Return the pan to the oven and bake for an additional 20-25 minutes, or until the lemon filling is set and doesn’t jiggle when you gently shake the pan.
- Let the bars cool completely at room temperature, then refrigerate for at least 2 hours before cutting; this ensures clean, sharp squares.
- Just before serving, sift a generous layer of powdered sugar over the top to hide any bubbles and add that classic, elegant finish.
How to package bakery goods?

Why we love this
Packaging is the ‘first bite’ your customer or guest takes; it sets the expectations for the quality of the food inside. There is a tactile joy in unwrapping a box tied with twine, peeling back delicate tissue paper to reveal a perfectly baked tart or a stack of cookies. Beautiful packaging transforms a simple baked good into a curated gift, making the recipient feel truly special and showing that you care about every single detail of their experience.
Ingredients
- Food-safe boxes and liners
- Custom stickers or stamps
- Biodegradable twine or silk ribbon
- Grease-proof parchment paper
- Thank you notes or care instructions
How to make it
- Select boxes that are only slightly larger than your product to prevent items from sliding around and breaking during transit; use ‘window’ boxes for items like tarts to show off the colors.
- Line every box with grease-proof parchment or decorative tissue paper to ensure that butter or oils don’t seep through and create unsightly spots on the outer packaging.
- For cookies or bars, use individual compostable bags or ‘glassine’ envelopes to keep them fresh and prevent different flavors from mingling.
- Seal your boxes with a high-quality sticker featuring your logo, or use a custom rubber stamp on plain kraft paper boxes for a rustic, ‘viral’ aesthetic.
- Tie a secure knot using natural jute twine or a color-coordinated ribbon, and tuck a small sprig of dried lavender or rosemary into the knot for a sensory bonus.
- Always include a small, handwritten note or a printed card with storage and reheating instructions to ensure the customer enjoys the food at its peak quality.
Creating Your Perfect Viral Board
Building the perfect food board is a journey of color, texture, and flavor. By combining these homemade elements—from the zingy lemon bars to the rustic berry muffins—you create a tapestry of tastes that invites everyone to the table. Remember, the ‘viral’ part comes from the love and detail you put into the presentation. Don’t be afraid to let a few crumbs fall or a berry roll out of place; it’s those human touches that make a lifestyle blog post (and a party!) feel authentic and inviting. Now, grab your favorite board and start building!