
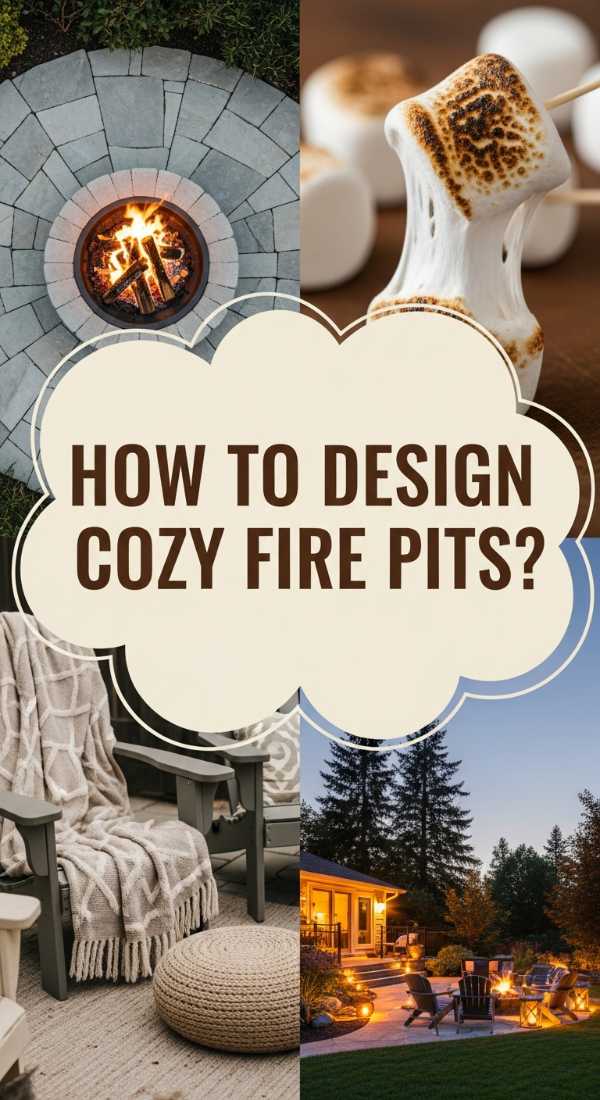
The Secret to the Perfect Night In: Cozy Fire Pit Inspo for Chilly Evenings
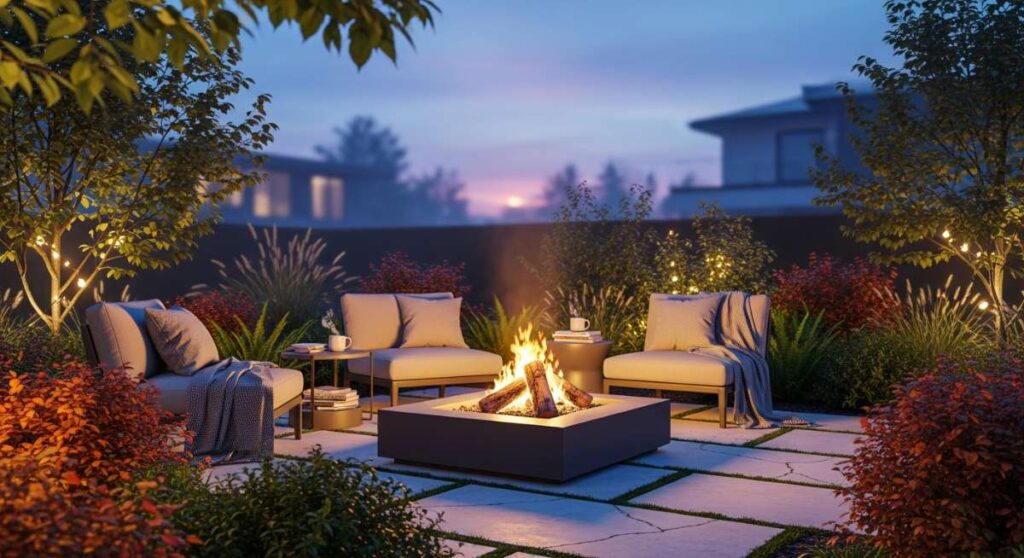
There is something inherently primal and deeply soothing about the crackle of a wood-burning fire as the sun begins to dip below the horizon. As the air turns crisp and the evening shadows stretch across the lawn, the backyard transforms from a simple patch of grass into a sanctuary of warmth and connection. It’s that magical golden hour where the world slows down, the smell of woodsmoke begins to drift through the air, and the only thing on the agenda is cozying up with those you love most.
Creating the perfect fire pit area isn’t just about the structure itself; it’s about crafting an atmosphere that beckons you to stay just a little longer. Whether you are looking for a modern, sleek aesthetic or a rustic, tucked-away retreat, the right fire pit serves as the heartbeat of your outdoor living space. It’s the place where stories are told, marshmallows are toasted to gooey perfection, and the stress of the day simply melts away into the embers.
How to Design a Cozy Backyard Fire Pit for Endless Summer Memories
Why we love this
We absolutely adore this design because it captures the essence of a timeless summer getaway right in your own backyard. Imagine the tactile sensation of smooth river stones underfoot and the rhythmic, comforting sound of wood popping as the flames dance. The aroma of cedar and pine fills the air, mingling with the sweet scent of nearby blooming jasmine, creating a multisensory experience that feels both nostalgic and revitalizing. It’s a space that feels lived-in and loved, encouraging guests to lean back, breathe deeply, and lose track of time under a canopy of stars.
Essential Elements:
- Circular stone or brick pit structure
- Weather-resistant Adirondack chairs
- String bistro lighting overhead
- A dedicated wood storage rack
- Soft, oversized outdoor throw blankets
How to make it
- Start by selecting a flat, open area at least 10 feet away from any structures or low-hanging branches to ensure safety and proper airflow.
- Mark a 10-foot diameter circle on the ground using spray paint or a string-and-stake method to define the seating and pit zone.
- Excavate the inner 4-foot circle to a depth of 6 inches for the pit itself, ensuring the bottom is level to prevent the structure from shifting over time.
- Layer 2 inches of coarse gravel at the bottom of the hole for drainage; this is crucial for preventing water from pooling and damaging your fire pit walls.
- Lay the first tier of fire-rated bricks or stones around the perimeter of the inner circle, using a spirit level to check that each piece is perfectly flat before moving to the next.
- Continue stacking tiers, staggering the joints like a brick wall for structural integrity, until the pit reaches a height of 12-18 inches.
- Fill the center with another 2 inches of decorative lava rock to hide the drainage gravel and provide a heat-resistant base for your wood.
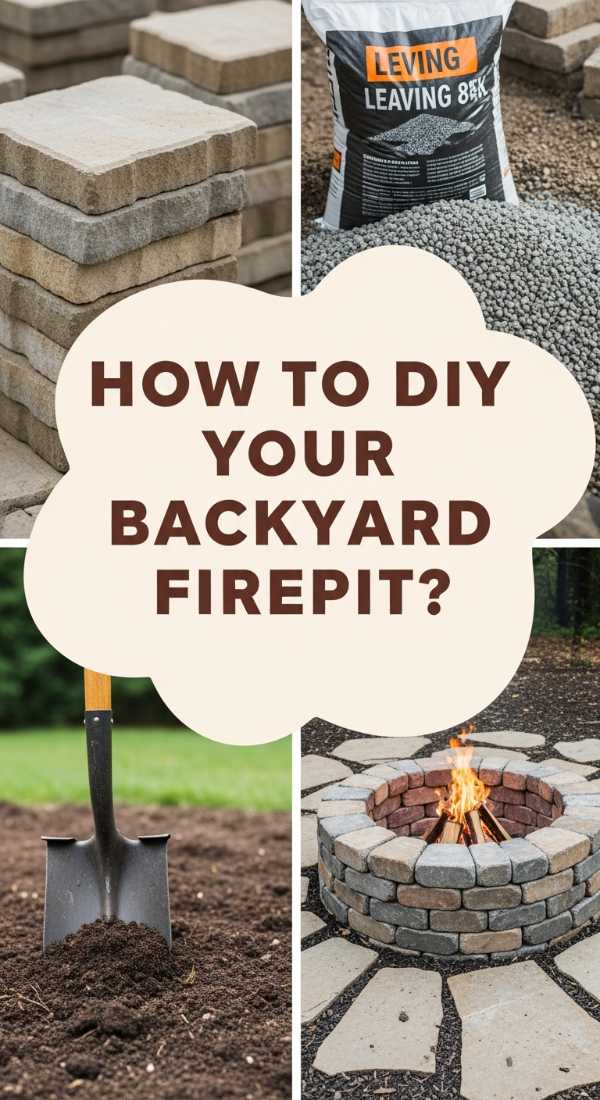
How to Build Your Own Firepit Backyard for a Budget Friendly Glow
Why we love this
There is a unique sense of pride that comes with building something beautiful with your own two hands without breaking the bank. This budget-friendly approach emphasizes raw, earthy textures like textured concrete and rough-hewn stone, providing a grounded, organic feel to your garden. The warmth from the fire radiates through the heavy materials, creating a literal glow that makes the space feel expensive and curated. It’s the perfect spot for a casual Tuesday night toast, where the simple pleasure of a flickering flame is the star of the show.
Essential Elements:
- Pre-cast concrete retaining wall blocks
- Landscape adhesive
- Leveling sand
- Steel fire ring insert
- Pea gravel for the surrounding floor
How to make it
- Identify a safe zone and clear all grass and debris within a 5-foot radius to create a fire-safe perimeter.
- Dig a shallow trench, approximately 4 inches deep, in the shape of your fire ring to act as a foundation for your blocks.
- Pour a 2-inch layer of leveling sand into the trench and tamp it down firmly until it is hard and perfectly horizontal; this prevents the blocks from cracking.
- Place your first layer of retaining wall blocks into the trench, butting them tightly against each other to minimize gaps.
- Apply a bead of high-heat landscape adhesive to the top of the first layer before placing the second layer, ensuring you offset the seams for a professional look.
- Drop in a heavy-duty steel fire ring insert; this protects your blocks from direct heat stress and significantly extends the life of your DIY project.
- Pour 3 inches of pea gravel around the outside of the pit to create a finished look and provide a non-flammable surface for stray sparks.
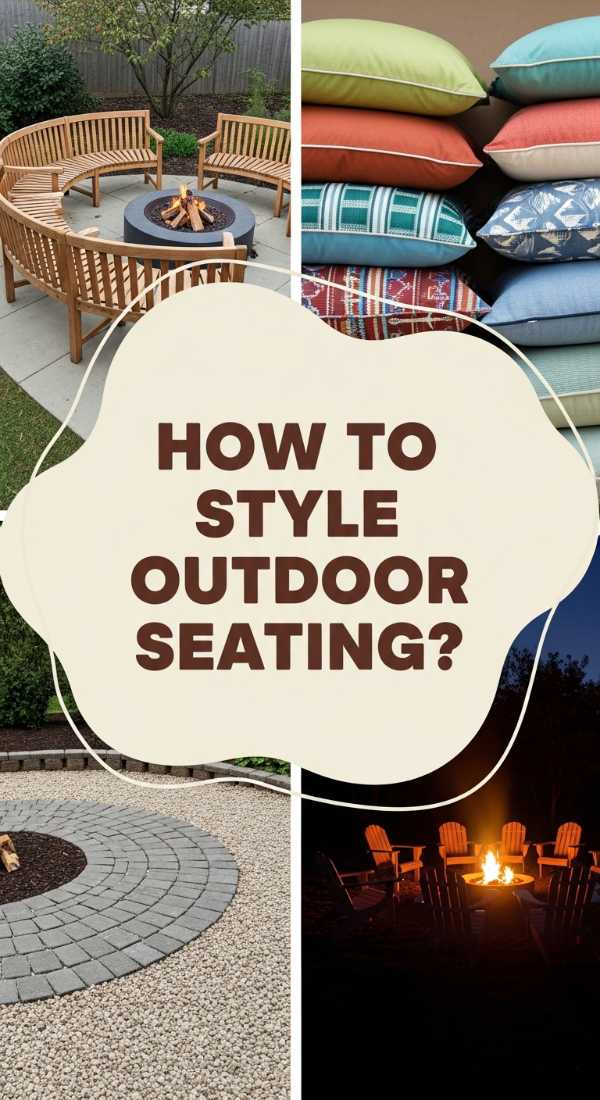
How to Arrange Outdoor Fire Pit Seating for the Ultimate Gathering
Why we love this
The layout of your seating is the secret ingredient to a truly social and inviting fire pit experience. We love an arrangement that feels inclusive and intimate, where every person has a front-row seat to the warmth and the conversation. The texture of plush, weather-proof cushions against sturdy wood frames provides a luxurious contrast that invites you to sink in and stay. The sight of a perfectly arranged circle, balanced by small side tables for drinks, creates a visual harmony that feels sophisticated yet entirely approachable.
Essential Elements:
- Four to six deep-seated lounge chairs
- Small, portable side tables
- Outdoor floor cushions for extra guests
- Centralized fire focal point
- Subtle ground-level path lighting
How to make it
- Place your primary seating at least 24 to 30 inches away from the edge of the fire pit to allow for legroom while staying within the “heat zone.”
- Arrange chairs in a full circle or a horseshoe shape, leaving one side open if there is a particular view (like a sunset or lake) you want to highlight.
- Position a small side table between every two chairs; this ensures everyone has a stable surface for their drinks or s’mores supplies.
- Angle each chair slightly inward toward the center to facilitate natural eye contact and easier conversation between guests.
- Test the “traffic flow” by walking around the chairs; ensure there is at least 3 feet of space behind the seating for people to move freely without disturbing others.
- Layer in soft textures by draping a blanket over the back of every other chair, making the space look immediately more inviting and “styled.”
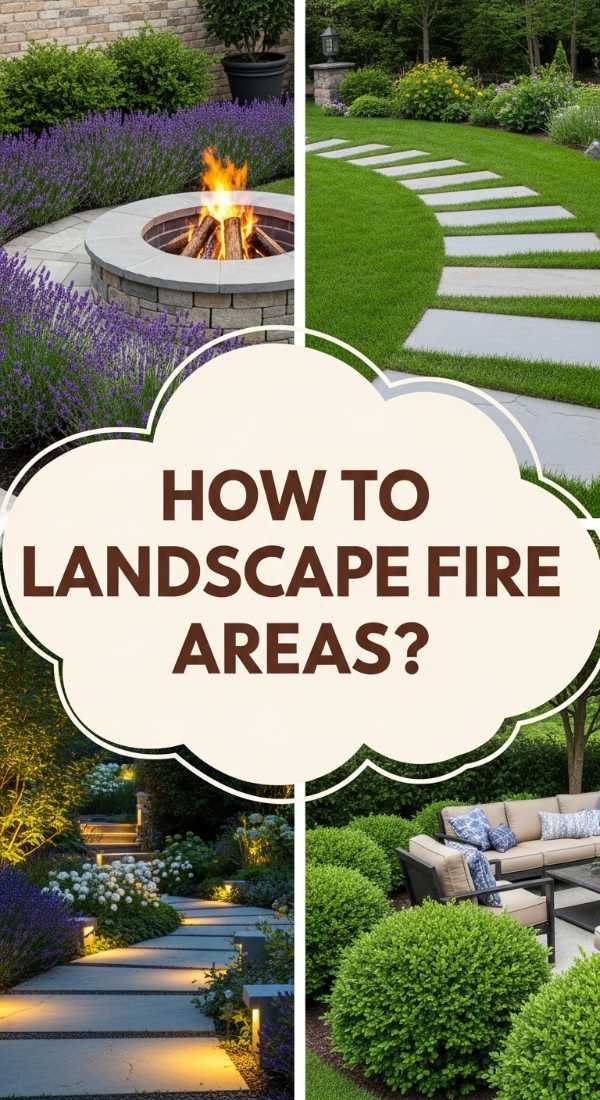
How to Style Fire Pit Landscaping for a High End Garden Aesthetic
Why we love this
A high-end garden aesthetic is all about the marriage of structure and nature, and we love how fire pit landscaping can elevate a simple backyard into a resort-style retreat. The contrast between the flickering orange flames and the deep greens of ornamental grasses or the soft purples of lavender creates a stunning visual palette. The scent of aromatic herbs planted nearby, like rosemary or sage, releases into the air as the evening dew falls, adding a layer of sensory luxury. It feels like a private escape, where every plant and stone has been placed with intention.
Essential Elements:
- Large flagstone pavers
- Ornamental grasses (like Fountain Grass)
- Low-voltage LED uplighting
- Mulched garden beds
- Hardscaped stone borders
How to make it
- Define the fire pit area by laying down large, irregular flagstones with 2-inch gaps, filling the gaps with moss or small pebbles for a high-end, organic look.
- Plant a perimeter of tall ornamental grasses approximately 5 feet away from the pit to create a natural “room” feeling and provide a windbreak.
- Install low-voltage LED spotlights at the base of your larger plants or trees, angling them upward to create dramatic shadows and a soft glow at night.
- Create a clean edge between your fire pit zone and the rest of the lawn using metal or stone edging to maintain a manicured, professional appearance.
- Incorporate aromatic perennials in nearby beds; the heat from the fire area helps carry their fragrance throughout the seating zone.
- Finish the look by applying a fresh layer of dark cedar mulch to the surrounding beds, which provides a crisp color contrast against the stone and greenery.
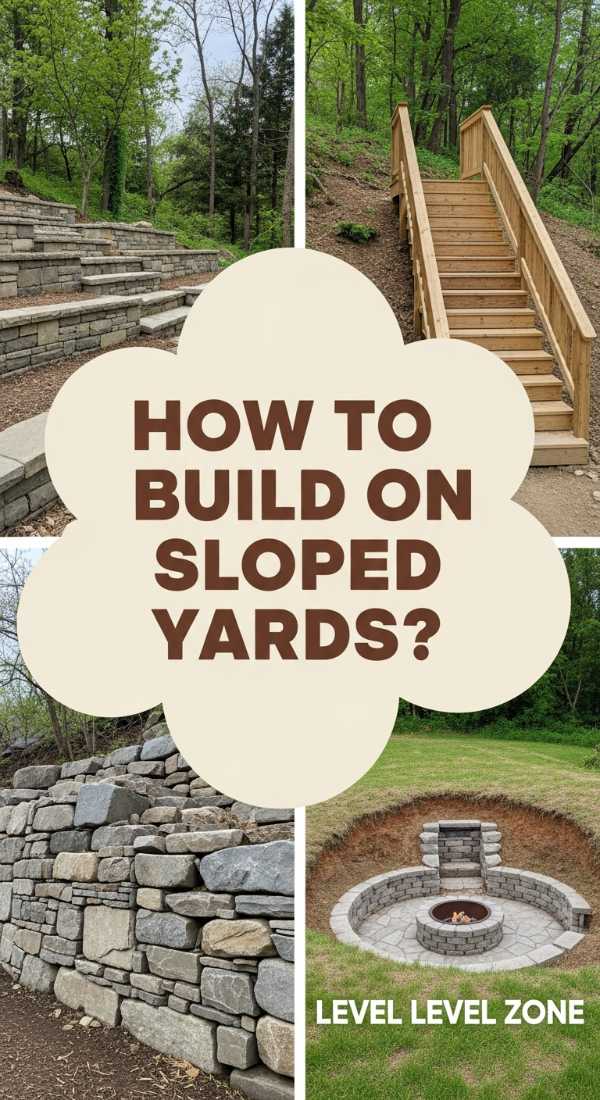
How to Install a Fire Pit on Sloped Yard for a Unique Terraced Look
Why we love this
We are obsessed with the architectural drama that a sloped yard provides; it’s an opportunity to create a multi-level masterpiece that feels totally custom. The terraced look adds depth and dimension, offering different vantage points of the fire and the surrounding landscape. The feeling of being “nestled” into the hillside provides a sense of security and privacy that flat yards often lack. The cool, solid feel of the retaining walls combined with the rising heat from the pit creates a dynamic environment that feels like a hidden grotto.
Essential Elements:
- Structural retaining wall blocks
- Drainage pipes and gravel
- Leveling equipment (laser level recommended)
- Heavy-duty stone steps
- Reinforced base material
How to make it
- Excavate the slope to create a flat “shelf” for the fire pit, ensuring you cut into the hill enough to allow for a 6-foot wide level area.
- Build a semi-circular retaining wall on the high side of the slope to hold back the earth; use a perforated drain pipe behind the wall to prevent water pressure buildup.
- Ensure the base of the retaining wall is set in a 6-inch deep trench filled with compacted crushed stone for maximum stability on the incline.
- Level the ground of the terrace using a plate compactor and a thick layer of paver base to ensure the fire pit and seating don’t settle unevenly.
- Install stone steps leading down (or up) to the terrace, ensuring each tread is wide and slip-resistant for nighttime safety.
- Construct the fire pit in the center of the new level terrace, following standard safety distances from the retaining wall itself.
- Add capstones to the retaining wall to provide extra “perch” seating for large gatherings.
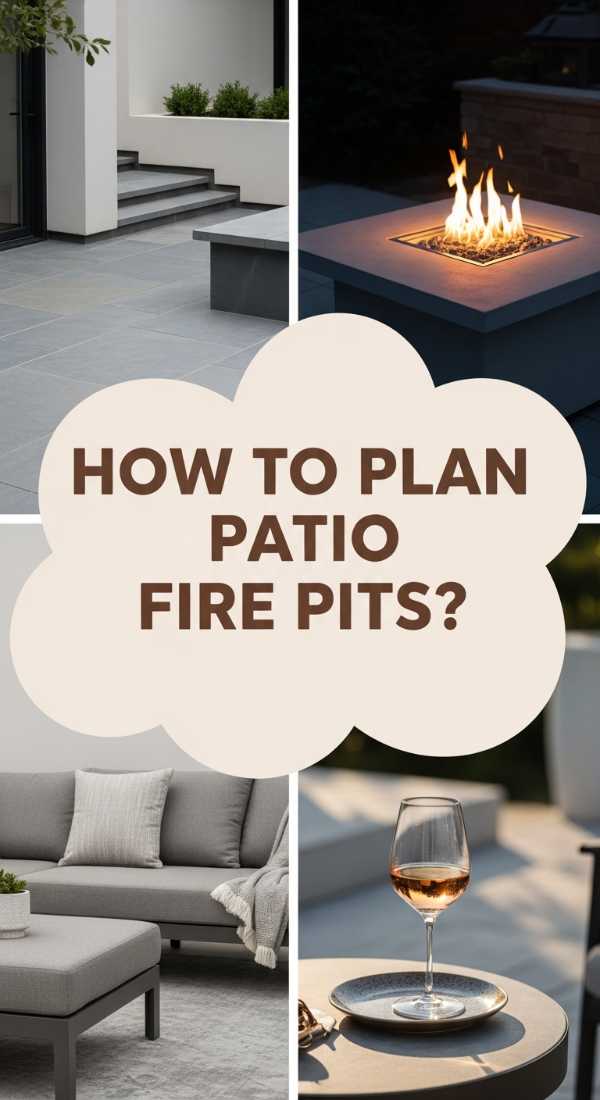
How to Incorporate a Patio Fire Pit for Seamless Indoor Outdoor Living
Why we love this
This approach is the epitome of modern luxury, where the transition from your living room to your patio is almost imperceptible. We love how a patio-integrated fire pit acts as a literal extension of the home, drawing people outside even on the coldest nights. The sleek, clean lines of a gas-powered pit against porcelain or slate tiles feel incredibly polished. The aroma of a wood-burning fire is replaced here by the clean, effortless heat of gas, allowing you to focus entirely on the ambiance and the conversation without the work of hauling logs.
Essential Elements:
- Propane or natural gas fire table
- High-quality patio pavers or tile
- Coordinating outdoor sectional sofa
- Sliding glass or accordion doors
- Hidden fuel tank storage
How to make it
- Select a fire table that matches the height and style of your existing outdoor furniture to maintain a cohesive interior-design-inspired look.
- If using natural gas, hire a professional to run a dedicated gas line under your patio surface before the final pavers are laid.
- For propane models, choose a unit with an integrated tank storage compartment or purchase a matching “tank hide” that doubles as a side table.
- Position the fire pit directly in line with your home’s main glass doors to create a visual “anchor” that draws the eye from the inside out.
- Ensure the patio surface is rated for the weight of the fire pit and that any flammable materials (like rugs) are kept at a safe distance from the burner.
- Style the area with indoor-inspired accessories like outdoor-safe lamps and decorative trays to blur the line between the two spaces.
How to Create Backyard Fire Pit Ideas Lounge Areas for Maximum Comfort

Why we love this
There’s a reason we call this the “lounge” area—it’s designed for the ultimate slow-down. We love the indulgent feeling of sinking into an oversized sectional, wrapped in a weighted blanket, while the fire provides a hypnotic focal point. The sensory experience is all about softness: the plushness of the cushions, the gentle flicker of the flames, and the muffled sounds of the night. It’s a space that feels like a warm hug, perfect for long, deep conversations that last well into the midnight hours.
Essential Elements:
- Modular outdoor sectional
- Fire glass or lava rock media
- Weatherproof area rug
- Ambient string lighting
- Weighted outdoor blankets
How to make it
- Select a modular sectional that allows you to customize the shape; a “U-shape” is best for encircling a fire pit while maximizing seating capacity.
- Place a large, durable outdoor rug under the seating area to define the space and provide a soft texture underfoot that mimics an indoor living room.
- Choose a fire pit with “fire glass” media; the reflective surface of the glass amplifies the light of the flames, creating a modern, sparkling effect.
- Install dimmable string lights overhead, hung in a “zigzag” pattern to provide a soft, even glow that doesn’t compete with the fire’s light.
- Add plenty of throw pillows in varying textures (knits, canvases, and outdoor velvets) to provide lumbar support and extra coziness.
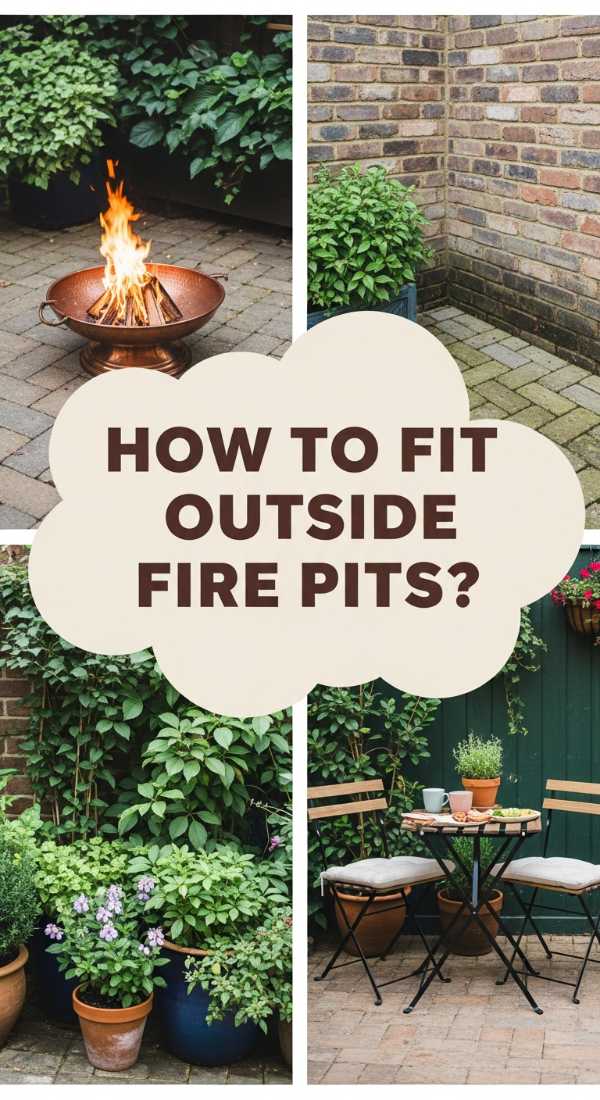
How to Fit an Outside Fire Pit for a Charming Small Space Retreat
Why we love this
Small spaces have a natural intimacy that larger yards often struggle to achieve, and we find that absolutely charming. This design is all about making the most of every square inch to create a cozy, secret garden vibe. The warmth of the fire feels more concentrated in a smaller area, making it feel like a private sanctuary away from the rest of the world. It’s the perfect setting for a romantic evening for two or a quiet moment of reflection with a hot cup of cocoa and a good book.
Essential Elements:
- Compact tabletop fire bowl
- Bistro-style seating for two
- Vertical wall garden or trellis
- Potted evergreens for privacy
- Soft, battery-operated lanterns
How to make it
- Opt for a compact, smokeless fire pit or a tabletop fire bowl to save space while still providing the essential heat and light of a fire.
- Use vertical space to your advantage by installing a trellis with climbing vines or a wall-mounted herb garden to create a lush backdrop without taking up floor space.
- Select furniture with a small footprint, like slim metal bistro chairs or stools that can be tucked away when not in use.
- Place large potted plants around the perimeter of your small space to create a “green screen” that provides privacy from neighbors.
- Use a light-colored gravel or small pavers to make the area feel larger and brighter than it actually is.
How to Craft an Outdoor Fire Pit Oasis for Peaceful Midnight Star Gazing
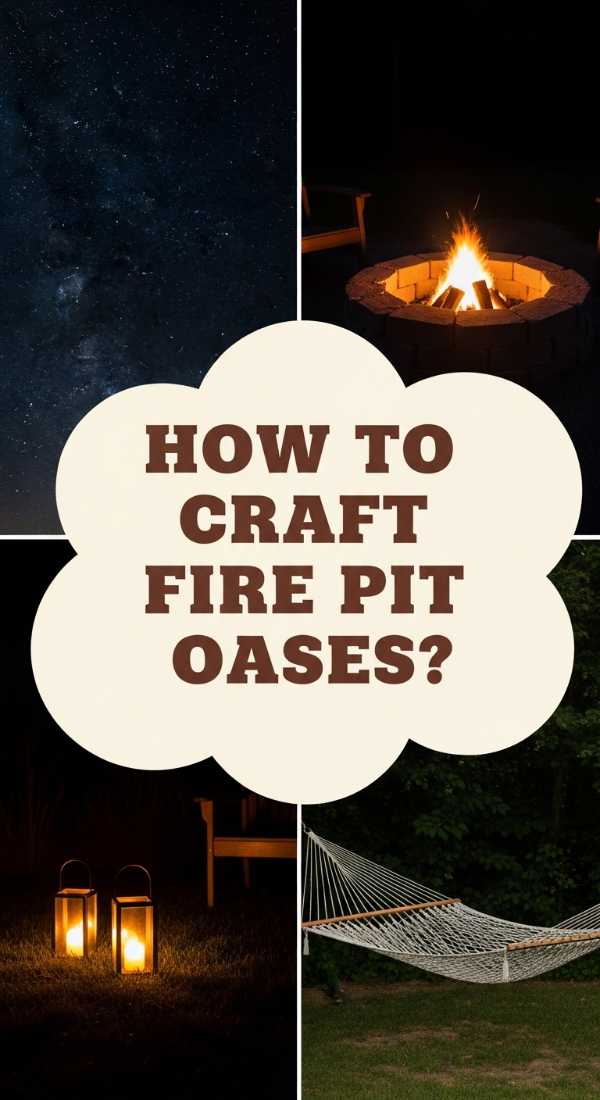
Why we love this
For those who find peace in the vastness of the night sky, this star-gazing oasis is a dream come true. We love the focus on low-impact lighting and reclined seating that allows you to comfortably look upward. The silence of the night, punctuated only by the low crackle of the fire and the hoot of a distant owl, creates a meditative atmosphere. The air feels thinner and cleaner, and the silver glow of the moon reflecting off the fire pit stones adds a touch of celestial magic to the entire experience.
Essential Elements:
- Reclined lounge chairs (zero-gravity styles)
- Low-lumen, downward-facing path lights
- A smokeless fire pit model
- A telescope station
- Warm, insulated mugs
How to make it
- Choose a location in your yard with the clearest view of the sky, away from tall trees or bright streetlights that might cause light pollution.
- Select reclined seating that allows your neck to be supported while looking at the stars; zero-gravity chairs are excellent for long-term comfort.
- Use a “smokeless” fire pit to ensure that your view of the stars isn’t obscured by a haze of smoke or drifting ash.
- Install only essential lighting at ground level, using warm-toned bulbs (under 2700K) to preserve your night vision for better star viewing.
- Create a stable, level spot nearby for a telescope or a pair of high-powered binoculars for close-up views of the moon and planets.
How to Elevate Your Fire Pit Backyard with Modern Minimalist Details
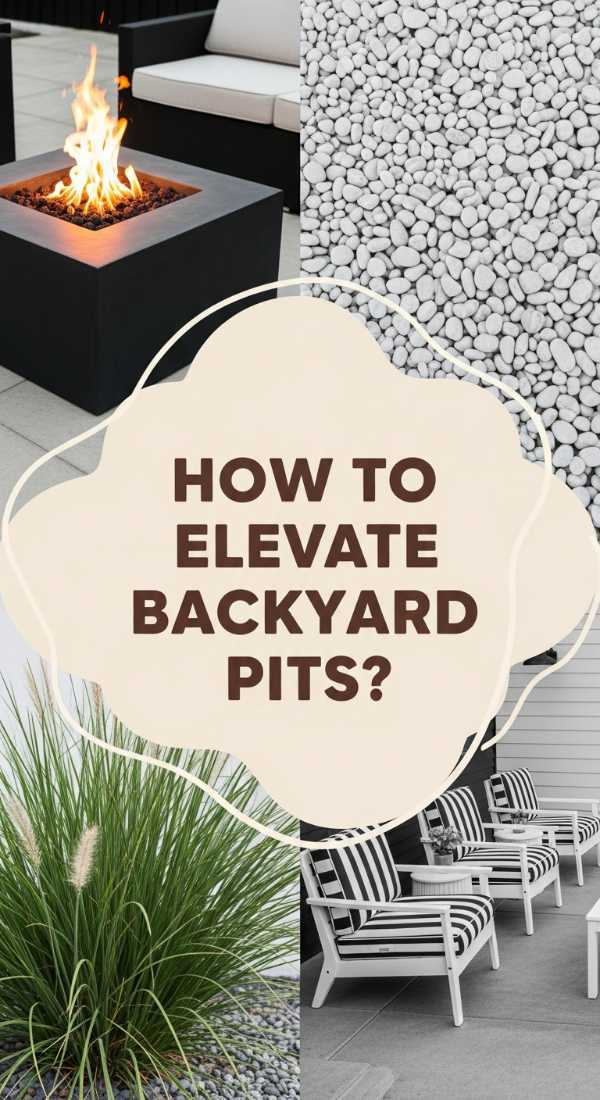
Why we love this
Modern minimalism is all about “less is more,” and we love how this philosophy creates a clean, calming environment. The sharp lines of a rectangular concrete fire pit paired with monochromatic furniture feel incredibly sophisticated and architectural. The sensory experience is defined by smooth surfaces, cool tones, and the organized beauty of the flames. It’s a space that feels curated and intentional, where the clutter of the world is stripped away, leaving only the essential elements of light, heat, and comfort.
Essential Elements:
- Rectangular concrete fire basin
- Black basalt or grey slate gravel
- Low-profile, minimalist furniture
- Monochromatic color palette
- Hidden LED strip lighting
- Linear gas burner
How to make it
- Select a fire pit with a geometric shape—rectangles and squares offer a more modern look than traditional rounds.
- Stick to a strict color palette of grey, black, and white to maintain the minimalist aesthetic; use pops of wood only to add a touch of warmth.
- Use large-format concrete pavers with narrow joints to create a seamless, floor-like appearance for your fire pit area.
- Choose furniture with slim metal frames and neutral-toned fabrics to keep the visual weight of the space low and airy.
- Incorporate black basalt stones inside the fire pit; the dark color provides a striking contrast when the bright orange flames are lit.
- Hide LED strip lighting under the lip of the fire pit or seating benches to provide a subtle, high-tech glow that highlights the architectural lines of the space.
The Final Glow: Wrapping Up Your Fire Pit Journey
As you can see, the perfect fire pit is more than just a place to burn wood; it is a canvas for your lifestyle and a catalyst for connection. Whether you’ve chosen the DIY route of a budget-friendly stone ring or the high-end luxury of a modern patio integrated gas table, the goal remains the same: to create a space that feels like home. The warmth of the fire is simply the backdrop for the warmth of the memories you will create there. So, grab your favorite blanket, pour a glass of something warm, and step outside. Your backyard oasis is waiting, and the stars are just beginning to come out.
Frequently Asked Questions
What is the safest distance for a fire pit?
For safety, a fire pit should be located at least 10 to 20 feet away from any structure, including your house, deck, or overhanging trees. Always check your local fire codes as they can vary by city.
Wood-burning vs. Gas fire pits: Which is better?
It depends on your priorities! Wood-burning pits offer the classic aroma and crackle of a campfire, but they require more cleanup and wood storage. Gas pits are smokeless, turn on instantly, and are generally easier to maintain, making them ideal for patios.
How do I maintain my fire pit in the winter?
If you have a metal or gas pit, use a heavy-duty waterproof cover to protect it from snow and ice. For stone pits, ensure you remove ash regularly, as wet ash can become acidic and damage the stone over time.