
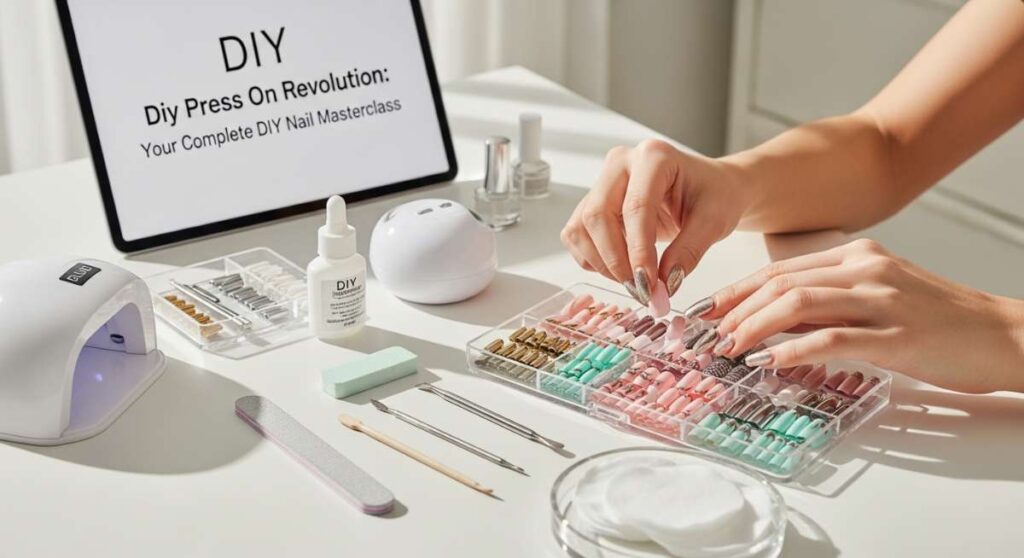
The Press On Revolution: Your Complete DIY Nail Masterclass Guide
Hello my loves! Pull up a chair and grab a warm cup of matcha, because we are about to dive into something that has truly changed my life—and my morning routine. For the longest time, I felt like I had to choose between spending hours (and a small fortune) at the salon or settling for bare, chipped nails that didn’t reflect the spark I feel inside. But then, the press-on revolution happened, and suddenly, my vanity became a tiny sanctuary of creativity and self-care.
There is something so deeply soothing about taking twenty minutes out of a hectic Tuesday to give yourself a fresh set of claws. It’s not just about the aesthetic, though let’s be real, the sparkle helps! It’s about that quiet moment of ‘me time’ where you focus on nothing but making yourself feel beautiful. I’ve spent months testing every glue, every shape, and every design trick in the book, and today, I’m opening up my heart and my toolkit to give you the ultimate masterclass.
Whether you’re a busy student, an aspiring nail-preneur, or just someone who loves a good floral moment, I’ve got you covered. This isn’t just a tutorial; it’s a cloud-soft embrace for your hands. Let’s make some magic together, shall we?
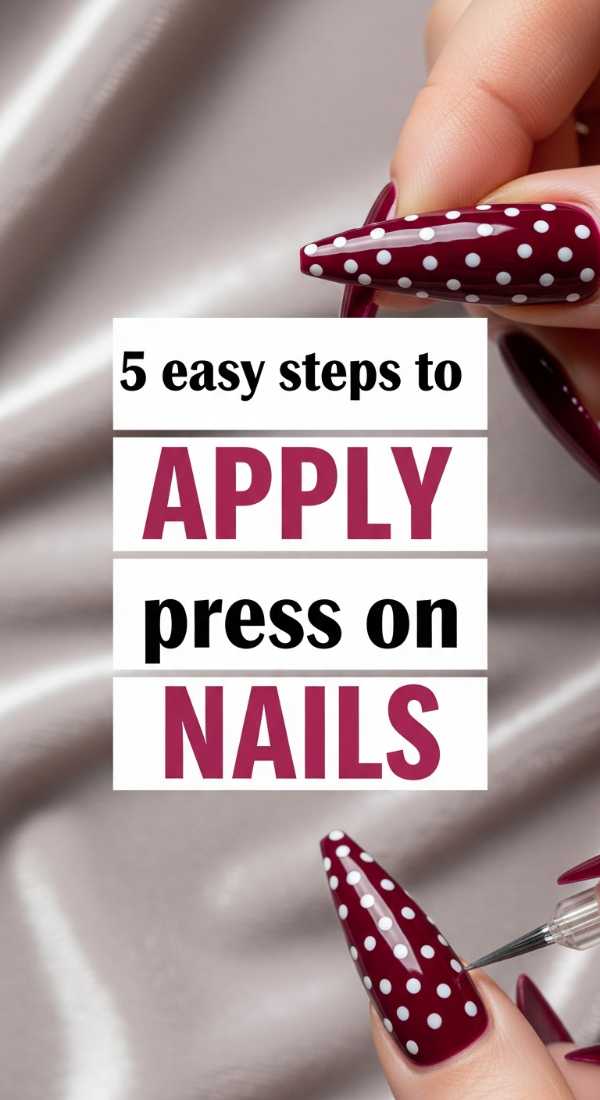
5 Easy Steps to Apply Press On Nails
Why to love these Nails:
Oh, my loves, the classic application is the foundation of everything. It’s the ultimate self-care hack for anyone who wants that ‘just stepped out of a high-end boutique’ look without the three-figure price tag. It’s reliable, chic, and feels like a warm hug for your confidence.
Essential Items:
- High-quality press-on kit
- Buffer block
- Alcohol prep pads
- Professional nail glue
- Cuticle pusher
How to Prepare:
- Gently push back your cuticles to create a clean canvas.
- Buff the surface of your natural nails to remove shine; this helps the glue grab hold.
- Wipe each nail with an alcohol pad to remove oils and dust.
- Size your press-ons beforehand, laying them out in order from pinky to thumb.
- Apply a small drop of glue to both your natural nail and the press-on, then press and hold for 30 seconds.
Budget Range
- KISS Bare but Better Kit – $8.99
- Nailene Ultra Quick Glue – $4.49
- Glass Nail File – $6.00
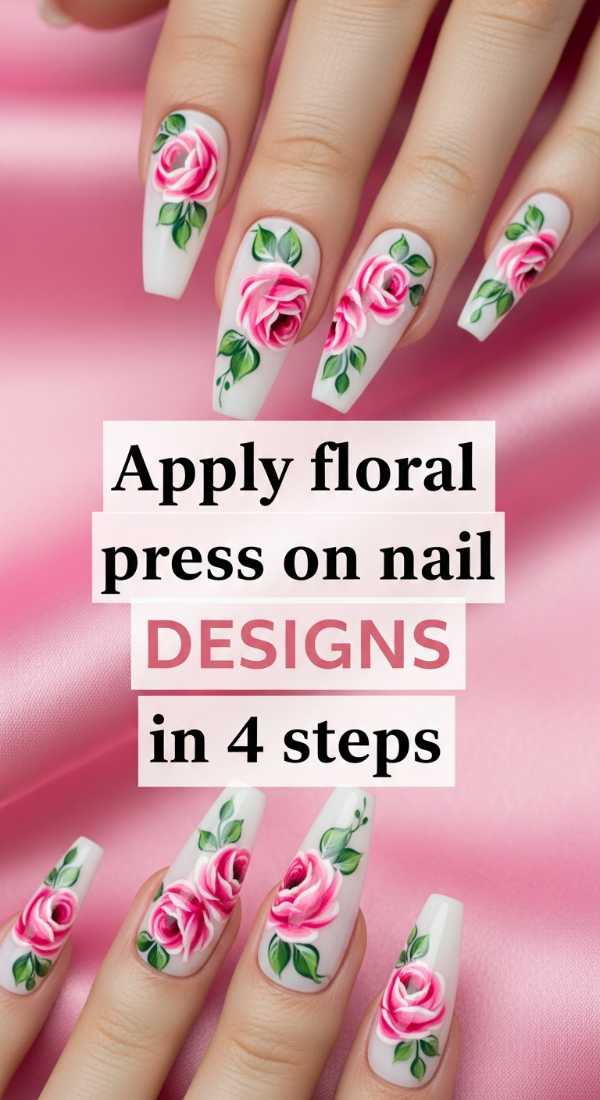
Apply Floral Press On Nail Designs in 4 Steps
Why to love these Nails:
There is nothing quite like wearing a garden on your fingertips. Floral designs bring such a soft, feminine energy to your day, reminding you that even in the busiest seasons, you are blooming. It’s like carrying a tiny bouquet everywhere you go!
Essential Items:
- Plain pastel press-ons
- Floral nail decals or stickers
- Fine-tip tweezers
- Clear top coat
How to Prepare:
- Apply your base press-on nail following the standard prep steps.
- Use tweezers to carefully peel your favorite floral decal from the sheet.
- Press the decal onto the nail, smoothing out any tiny air bubbles.
- Seal the design with a thick layer of clear top coat for a glossy, salon-grade finish.
Budget Range
- Olive & June Floral Decals – $7.50
- Static Nails Individual Pastels – $14.00
- Seche Vite Dry Fast Top Coat – $9.95
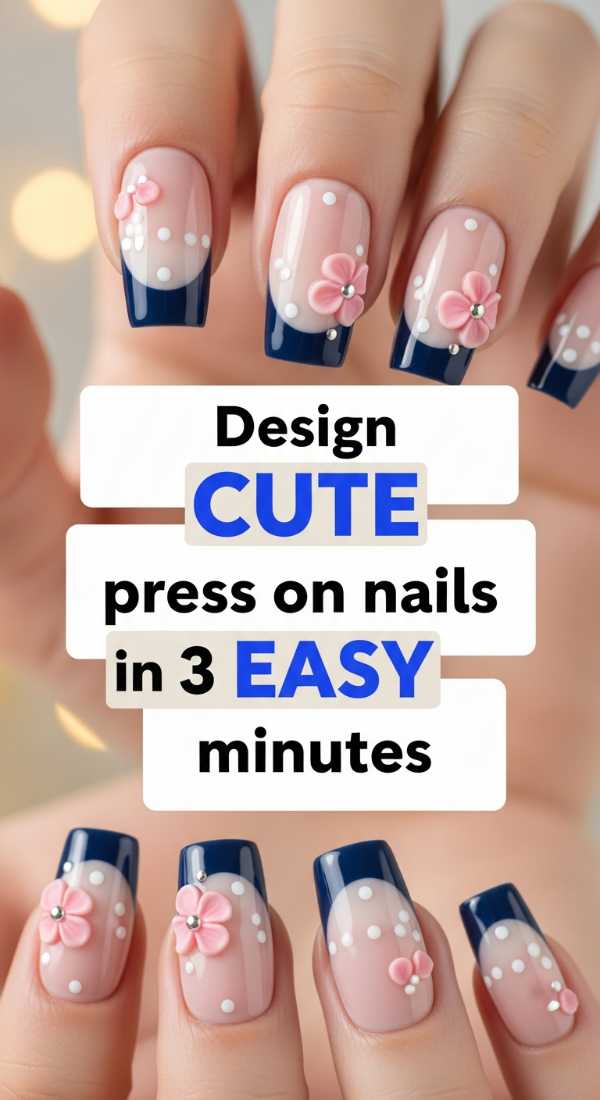
Design Cute Press On Nails in 3 Easy Minutes
Why to love these Nails:
We all have those mornings where we’re rushing out the door but still want to feel put together. These ‘express’ cute designs are my go-to for an instant mood lift. They are playful, sweet, and proof that beauty doesn’t have to be complicated.
Essential Items:
- Pre-designed ‘accent’ nails
- Quick-dry adhesive tabs
- Nail clipper
How to Prepare:
- Select 2 accent nails with hearts or dots and 8 solid colors.
- Peel the adhesive tab and press it onto your natural nail firmly.
- Align the press-on and hold for 10 seconds—done and dusted!
Budget Range
- Dashing Diva Magic Press – $11.00
- Adhesive Nail Tabs Multipack – $5.99
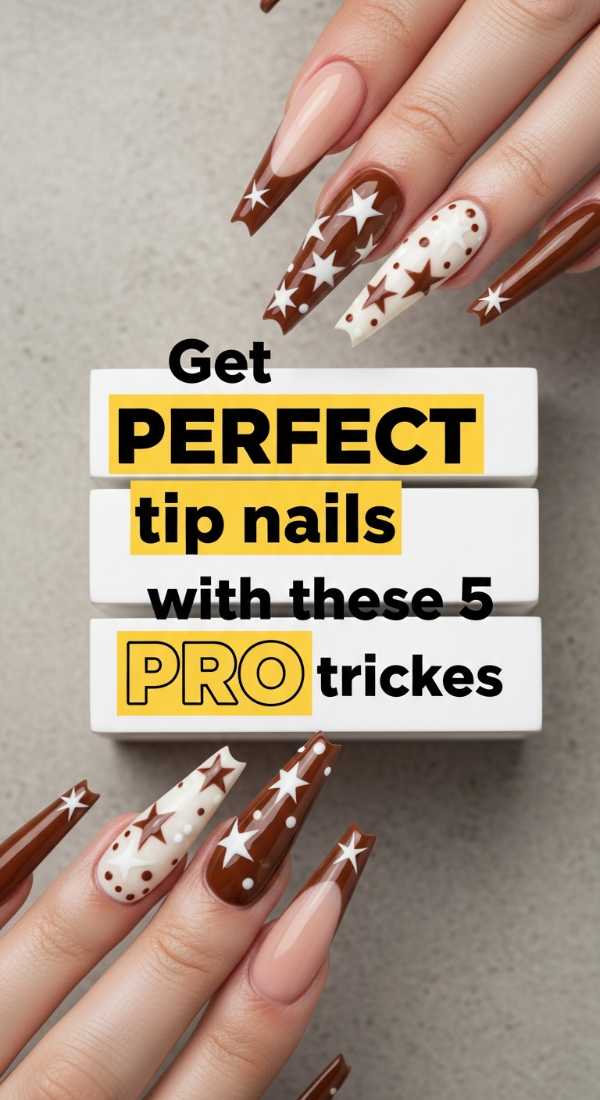
Get Perfect Tip Nails with these 5 Pro Tricks
Why to love these Nails:
The classic French tip is the ‘little black dress’ of the nail world. It’s sophisticated, clean, and makes your hands look incredibly elongated and elegant. Mastering the tip is a total game-changer for your DIY repertoire.
Essential Items:
- French tip press-on set
- Base coat (tinted pink or nude)
- UV lamp (optional for gel finish)
- Nail file
How to Prepare:
- Dehydrate the nail plate thoroughly—oils are the enemy of the French tip!
- Apply a tinted base coat to your natural nail to hide the ‘line’ where your natural nail ends.
- Apply the press-on slightly below the cuticle line for a seamless grow-out.
- File the edges in one direction only to prevent splintering.
- Finish with a high-shine UV top coat for that professional ‘hard gel’ feel.
Budget Range
- Glamnetic French Press – $19.99
- SunUV Mini Lamp – $15.00
- Essie Hard to Resist Base Coat – $11.00
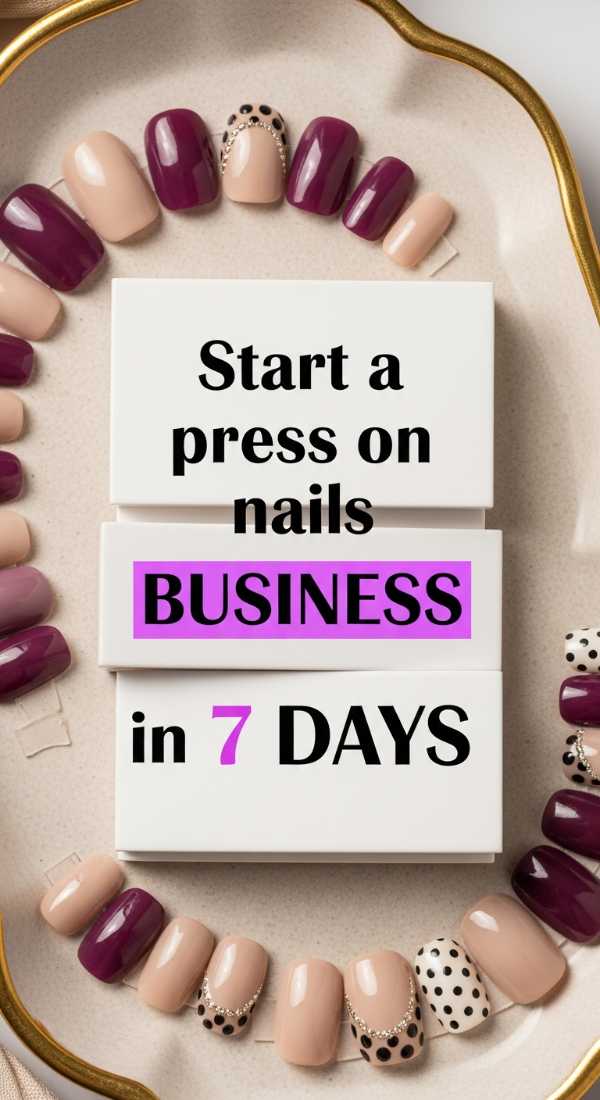
Start a Press On Nails Business in 7 Days
Why to love these Nails:
Turning your passion into a business is the ultimate form of self-empowerment. Selling custom press-ons allows you to share your art with the world from the comfort of your own home. It’s about building a community of loves who appreciate your unique touch.
Essential Items:
- Bulk full-cover nail tips
- Nail stands for painting
- Branding (business cards/stickers)
- Shipping mailers
How to Prepare:
- Days 1-2: Define your ‘vibe’ and order your bulk supplies.
- Days 3-4: Practice 5 signature designs and take high-quality photos in natural light.
- Days 5-6: Set up an Etsy shop or Instagram storefront.
- Day 7: Launch your first collection and share your story with the world!
Budget Range
- Bulk Tips (500 count) – $12.00
- Nail Display Stands – $8.00
- Custom Logo Stickers (Small Batch) – $20.00
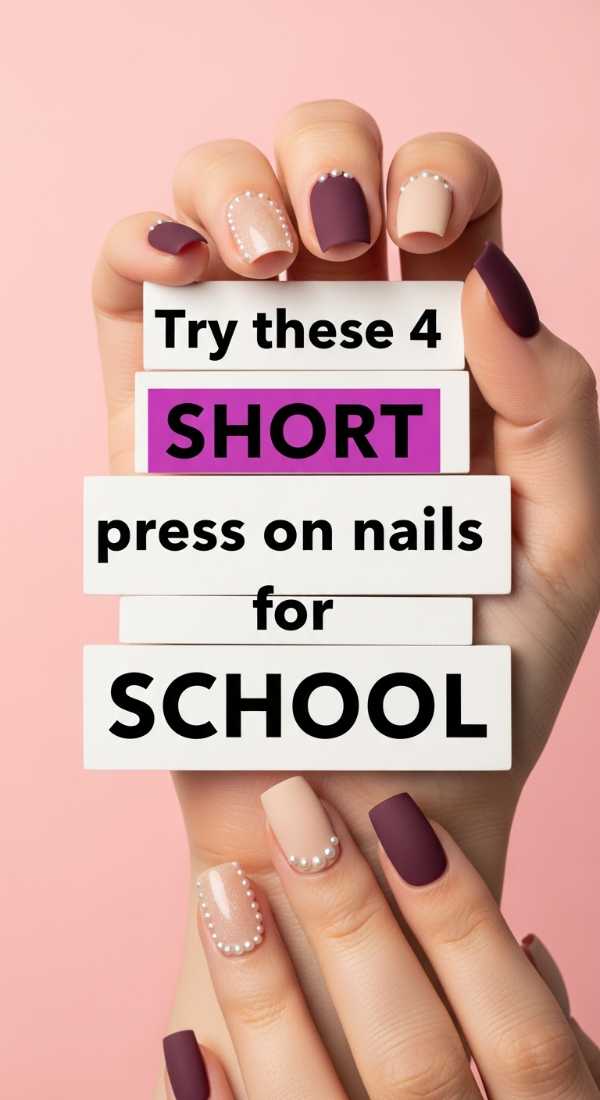
Try These 4 Short Press On Nails for School
Why to love these Nails:
For my students out there, short nails are the perfect blend of style and practicality. You can type that essay, play your instruments, and stay active without worrying about a long nail popping off. They are understated but oh-so-chic.
Essential Items:
- Short ‘Active’ length press-ons
- Matte top coat
- Gentle nail glue
How to Prepare:
- Trim your natural nails down so they don’t peek out from under the short press-on.
- Lightly sand the underside of the press-on for better grip.
- Apply with a thin layer of glue to avoid bulkiness.
- Swipe on a matte top coat for a trendy, ‘clean girl’ aesthetic.
Budget Range
- Impress Color Short Nails – $7.99
- Sally Hansen Matte Top Coat – $6.50
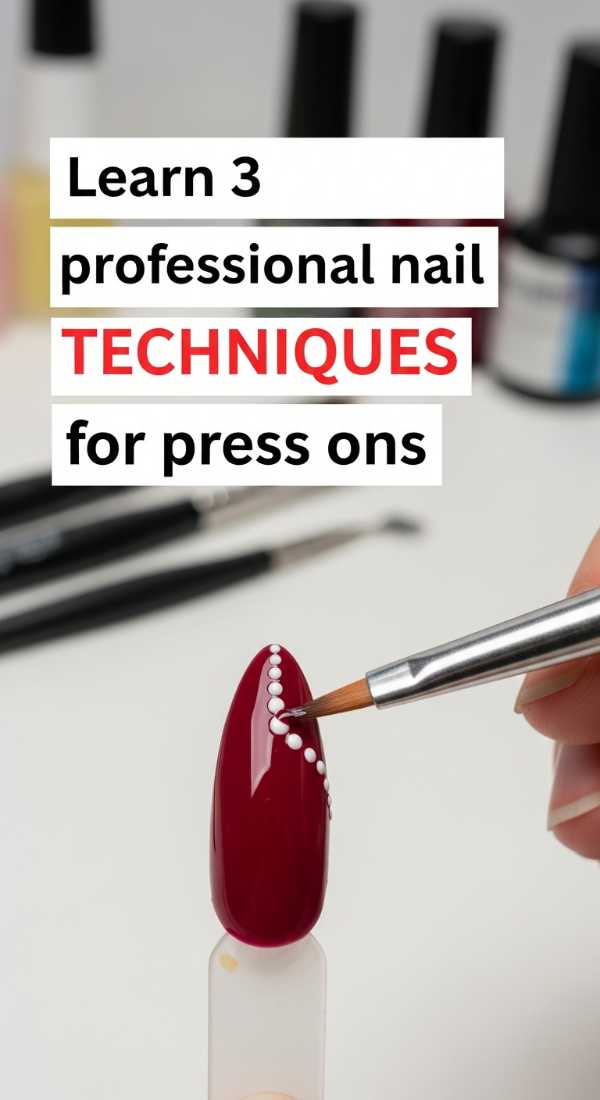
Learn 3 Professional Nail Techniques for Press Ons
Why to love these Nails:
Stepping up your technique is so rewarding! Learning professional secrets makes your press-ons indistinguishable from acrylics. It’s about that refined finish that makes people stop and ask, ‘Where did you get those done?’
Essential Items:
- Electric nail file (E-file)
- Solid nail glue (UV cure)
- Cuticle oil
How to Prepare:
- The ‘Underside Etch’: Use an E-file to roughen the inside of the press-on.
- The ‘Invisible Cuticle’: File the bottom of the press-on until it’s paper-thin so it sits flush.
- The ‘UV Bond’: Use solid gel glue and cure under a lamp for a 3-week wear time.
Budget Range
- MelodySusie Portable E-File – $25.00
- Beatles Solid Nail Glue – $9.99
- Cuccio Revitalize Oil – $10.00
Finish Your Press On Nails Tutorial in 5 Minutes
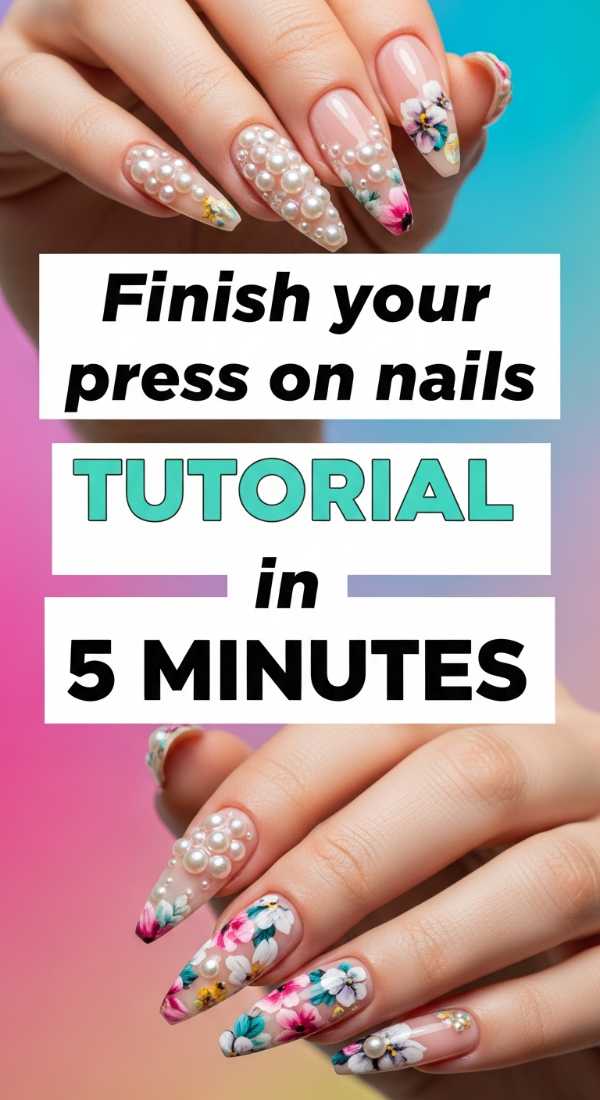
Why to love these Nails:
Speed doesn’t mean sacrificing quality. This rapid-fire method is for the girl on the go who needs a reset between meetings or classes. It’s efficient, effective, and keeps you looking polished on a tight schedule.
Essential Items:
- Pre-glued press-on nails
- Alcohol wipes
How to Prepare:
- Quick-clean: Wipe all ten nails simultaneously.
- Quick-stick: Peel the backing from the pre-glued nails.
- Quick-press: Apply from pinky to thumb, spending exactly 15 seconds per nail.
Budget Range
- imPRESS Press-on Manicure – $6.97
Find 6 Viral Press On Nails Ideas for Spring
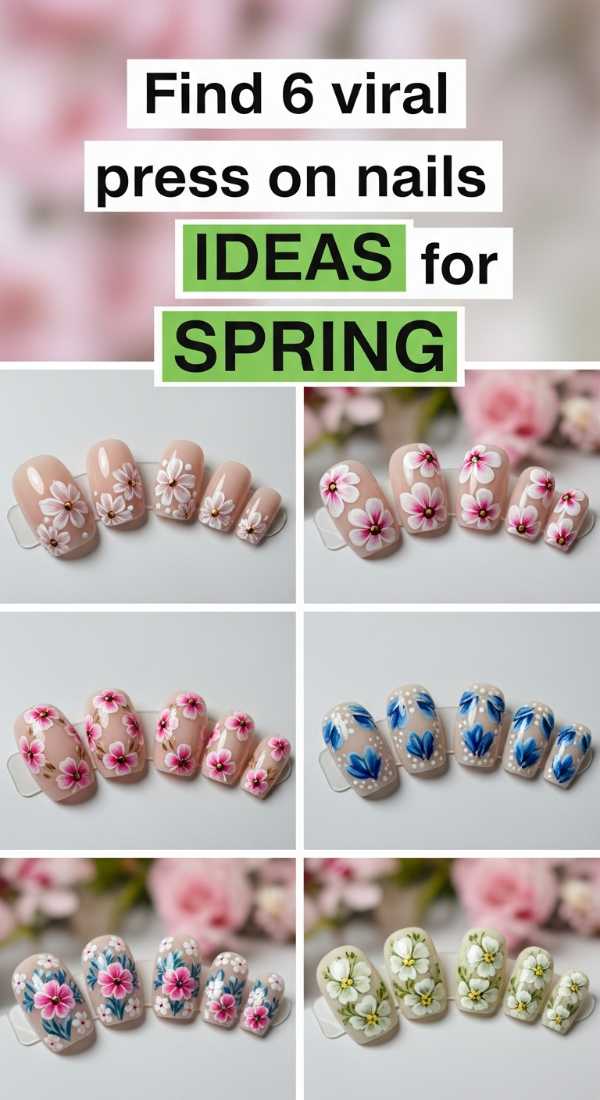
Why to love these Nails:
Spring is all about renewal! Staying on top of trends like ‘glazed donut’ finishes or ‘aura nails’ keeps your look fresh and exciting. These viral styles are a conversation starter and a way to play with your personality.
Essential Items:
- Chrome powder
- Pastel jelly polishes
- Sponge applicators
How to Prepare:
- Look for ‘aura’ patterns (gradient circles in the center).
- Try the ‘Glazed’ look by rubbing chrome powder over a soft white press-on.
- Experiment with 3D ‘water droplets’ using thick top coat.
- Incorporate ‘velvet’ finishes using magnetic polish.
- Try mismatched pastel sets.
- Add tiny fruit charms for a whimsical touch.
Budget Range
- Artdone Chrome Powder Set – $12.99
- Born Pretty Jelly Polish – $8.00
Master 3D Nail Techniques in 4 Simple Stages
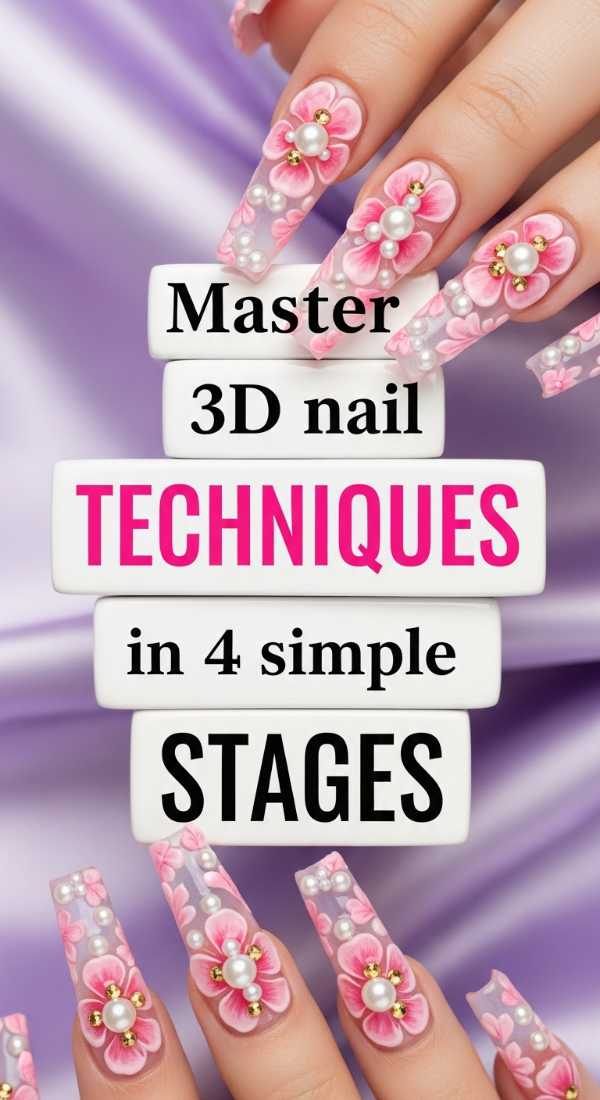
Why to love these Nails:
3D art is the ultimate expression of ‘more is more.’ It adds texture, dimension, and a sculptural quality to your hands. It’s avant-garde and incredibly fun to touch and look at throughout the day!
Essential Items:
- 3D Builder Gel
- Rhinestones or charms
- Pointed brush
- UV Lamp
How to Prepare:
- Apply your base press-on nail as usual.
- Take a small bead of 3D builder gel and shape it into swirls or ‘blobs’ on the nail surface.
- Place a rhinestone or charm into the wet gel.
- Cure under the UV lamp for 60 seconds to lock the 3D art in place.
Budget Range
- Makartt Rhinestone Glue Gel – $10.00
- Mixed Nail Art Charms – $9.00
- Modelones Builder Gel – $12.00
Wrapping Your Hands in Love
And there you have it, my loves! The world of press-ons is your oyster. I hope this guide makes you feel empowered to take a little time for yourself, to experiment with color, and to find joy in the small details. Remember, your hands do so much for you every single day—they write your stories, they hug your friends, and they build your dreams. Treat them with a little extra kindness this week. You deserve to feel like a masterpiece, right down to your fingertips. Sending you so much love and sparkle!