
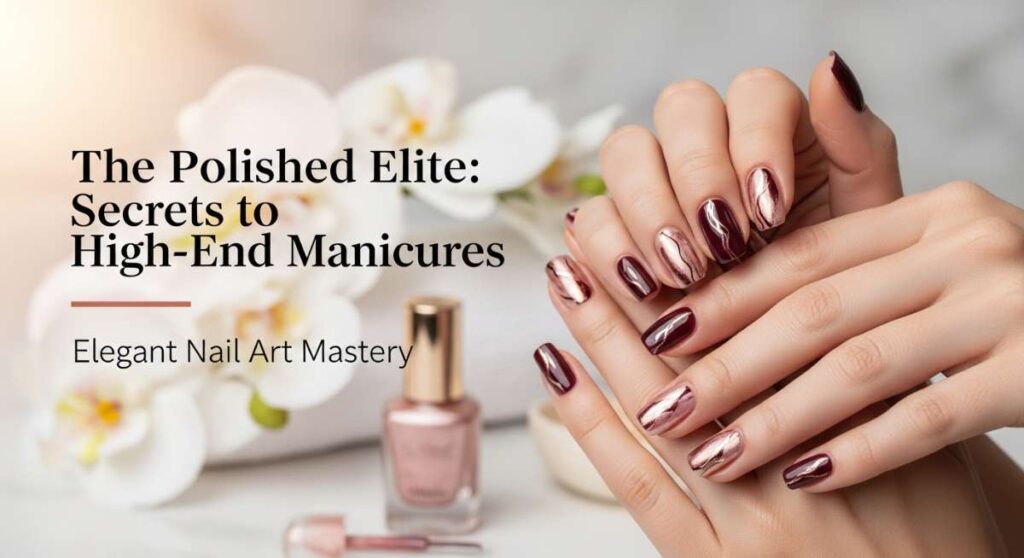
The Polished Elite: Secrets to High-End Manicures
Hello, my loves! Welcome back to our cozy little corner of the internet. There is something truly magical about the way a fresh manicure feels, isn’t there? It’s more than just polish on your fingertips; it’s that soft click against your coffee mug, the way your hands look as you tuck a stray hair behind your ear, and that quiet moment of self-care we all so desperately deserve. Today, we’re diving into the world of elegant nail art mastery, turning our homes into the most serene boutiques.
I’ve always believed that our hands tell our stories. They hold the ones we love, create the things we’re proud of, and deserve to be draped in the finest colors. Whether you’re a minimalist at heart or someone who loves a bit of artistic flair, this guide is designed to feel like a cloud-soft embrace for your creativity. Let’s slow down, pour a cup of tea, and transform your nails into high-end masterpieces together.
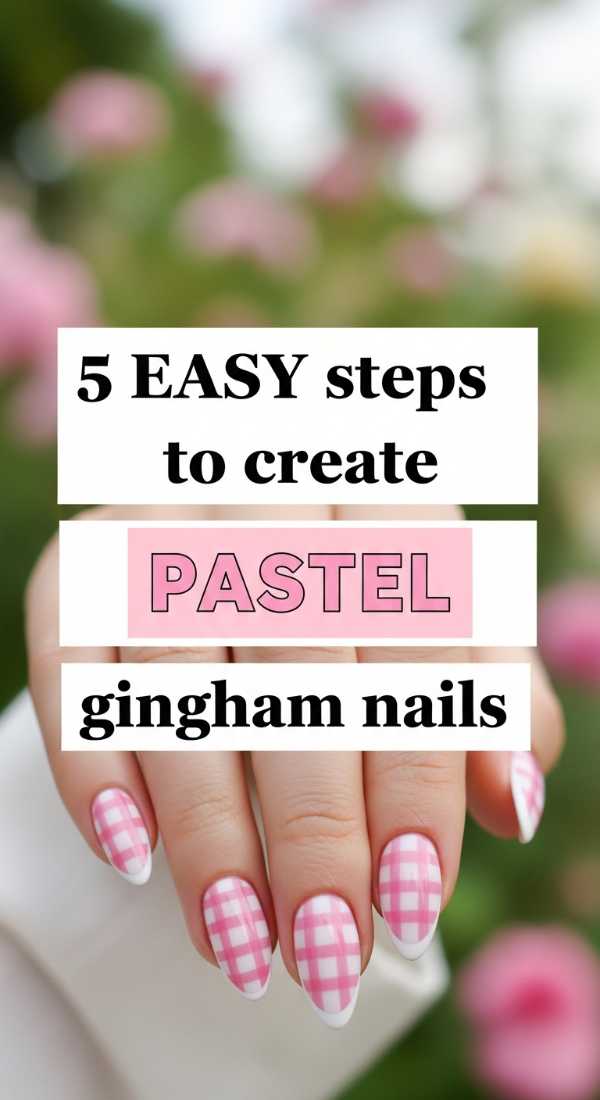
5 Easy Steps to Create Pastel Gingham Nails
Why to love these Nails:
Oh, my loves, gingham is the ultimate cottagecore dream. It’s like a soft picnic blanket for your nails, evoking feelings of spring breezes and sunshine. These are perfect for when you want something playful yet sophisticated and sweet.
Essential Items:
- White base polish
- Semi-transparent pastel polish (lilac or mint)
- Fine striping brush
- Opaque pastel polish in a matching shade
- Glossy top coat
How to Prepare:
- Apply two coats of white base and let dry completely.
- Paint three thin vertical stripes using the semi-transparent pastel.
- Paint three thin horizontal stripes intersecting the vertical ones.
- In the small squares where lines overlap, add a tiny dot of opaque polish to deepen the color.
- Seal with a high-shine top coat for that porcelain finish.
Budget Range
- Essie Marshmallow ($10)
- Zoya Pastel Collection ($12)
- Nail Art Brush Set ($6)
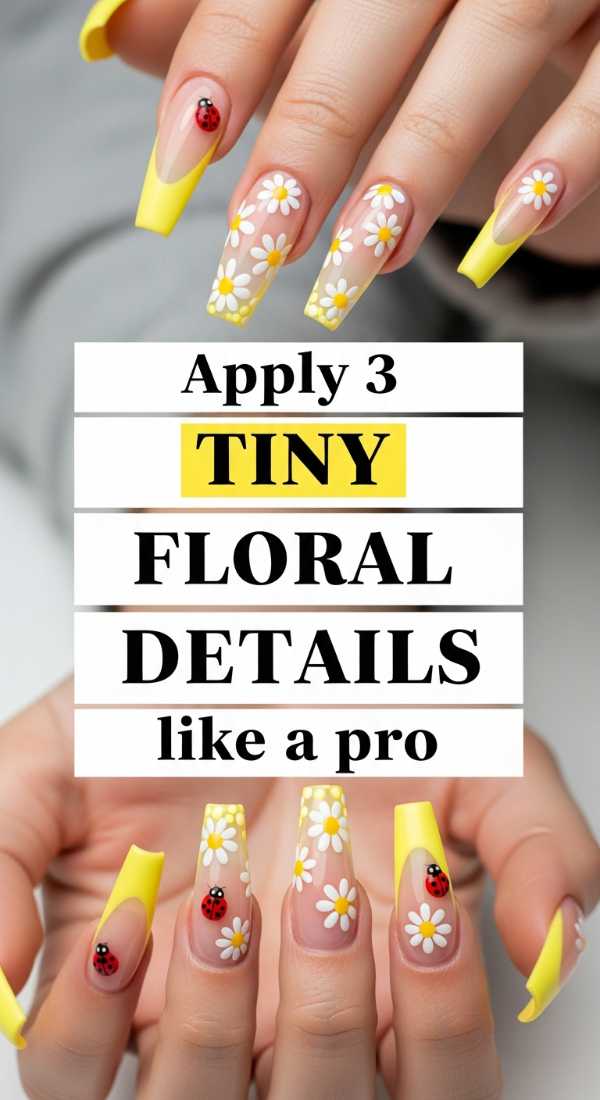
Apply 3 Tiny Floral Details Like a Pro
Why to love these Nails:
These tiny blooms are so delicate they look like they’ve been hand-painted by a fairy. They add a whisper of femininity to any look without being overwhelming, making your hands look absolutely timeless.
Essential Items:
- Nude or sheer pink base
- Dotting tool or a toothpick
- Yellow polish for centers
- White or soft rose polish for petals
How to Prepare:
- Start with a clean, sheer base coat.
- Dip your dotting tool in the petal color and place 5 small dots in a circle.
- Place a tiny yellow dot in the center of the petal circle.
Budget Range
- OPI Bubble Bath ($11)
- Sally Hansen Insta-Dri White ($6)
- Amazon Dotting Tools ($5)
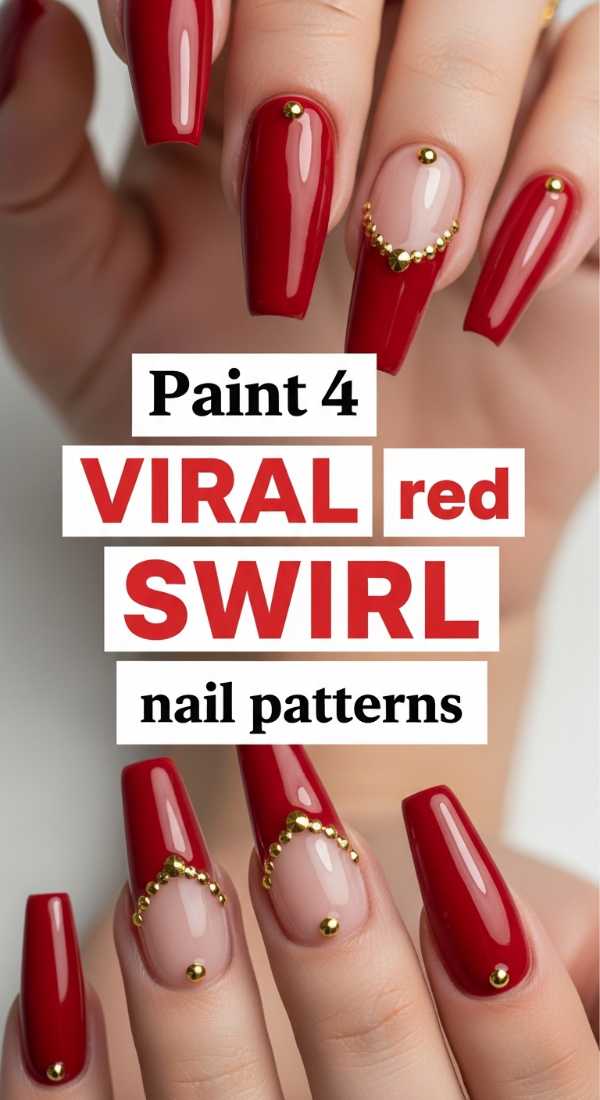
Paint 4 Viral Red Swirl Nail Patterns
Why to love these Nails:
Red swirls are the high-fashion statement of the season. They are bold, energetic, and surprisingly flattering on every nail shape. They give off a retro-chic vibe that screams “I’ve just arrived from Paris.”
Essential Items:
- Classic red cream polish
- Long liner brush
- Clear base or nude base
- Clean-up brush with acetone
How to Prepare:
- Apply a sheer nude base.
- Load your liner brush with red and draw a long, sweeping ‘S’ curve.
- Add a second, thicker swirl following the first curve.
- Create a tiny accent swirl at the tip.
- Add a final teardrop-shaped swirl near the cuticle for balance.
Budget Range
- Revlon Red ($8)
- Orly Bonder Base ($12)
- Pure Acetone ($4)
Get 4 Elegant Bridal Nail Looks at Home
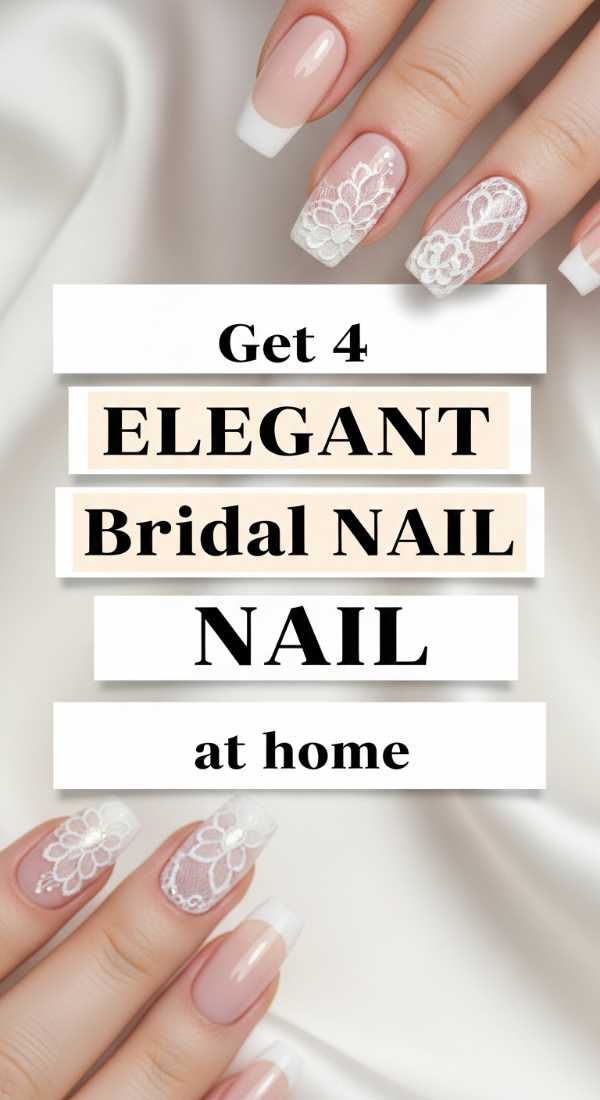
Why to love these Nails:
Whether it’s your big day or you just love the aesthetic of pure elegance, these bridal looks are all about grace. They focus on pearlescent finishes and soft whites that make your hands glow from within.
Essential Items:
- Pearl powder or iridescent polish
- Sheer milky white polish
- Tiny rhinestones
- Nail glue
How to Prepare:
- The Classic Glow: Two coats of milky white.
- The Pearl Overlay: Apply iridescent powder over a dry white base.
- The Subtle Sparkle: Place one rhinestone at the base of the ring finger.
- The Soft Gradient: Sponge a bit of white onto the tips of a nude base.
Budget Range
- Essie Ballet Slippers ($10)
- Holographic Pearl Powder ($8)
- Swarovski Small Crystals ($15)
Draw 2 Cute Cherry Patterns in Minutes
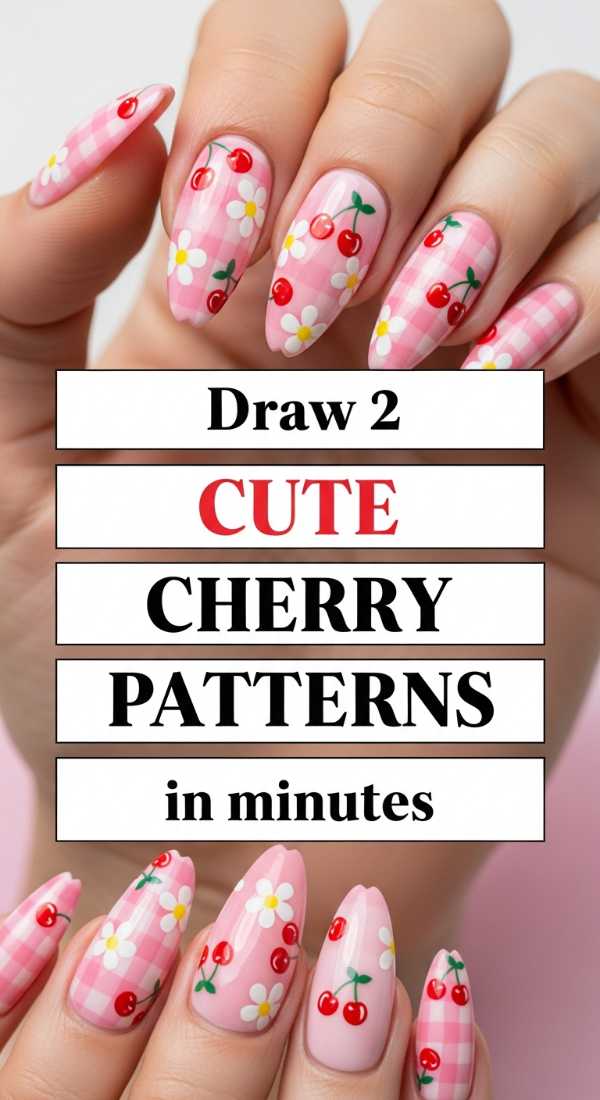
Why to love these Nails:
Cherries are just so darling! They add a pop of vintage red and green that feels fresh and youthful. It’s a design that never fails to bring a smile to my face when I see it on my own nails.
Essential Items:
- Bright red polish
- Forest green polish
- Large dotting tool
- Small detail brush
How to Prepare:
- Use the dotting tool to place two red dots side-by-side.
- Use the detail brush to draw two tiny green stems meeting at the top.
Budget Range
- China Glaze Ruby Pumps ($9)
- Essie Win-Me-Over Green ($10)
- Wooden Manicure Sticks ($3)
Apply 5-Minute Luxury Press On Nails Perfectly
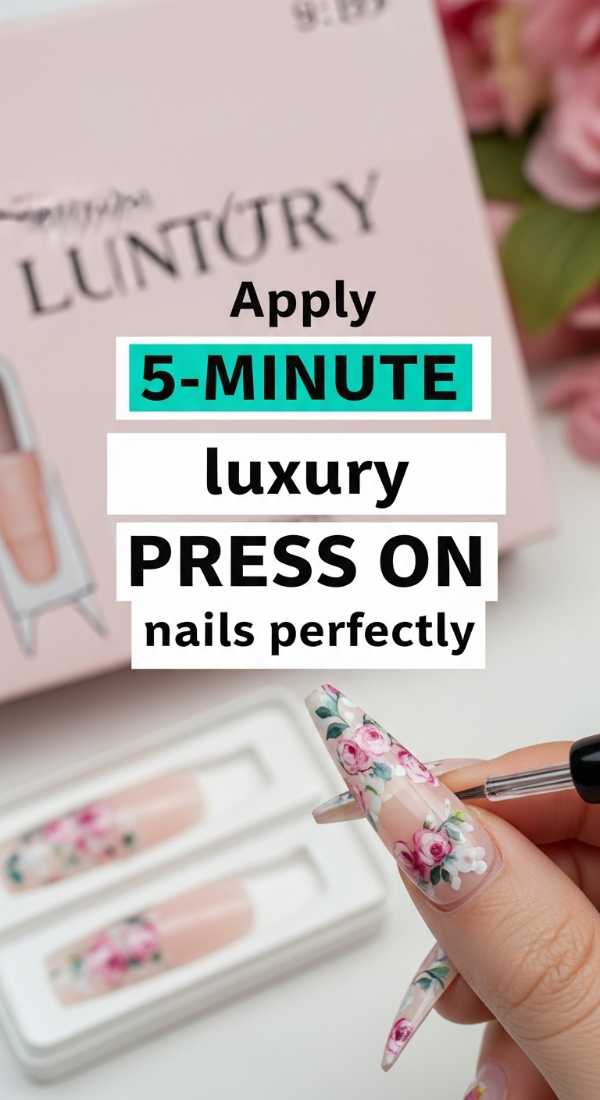
Why to love these Nails:
Loves, we don’t always have an hour to paint! High-end press-ons are the secret weapon of the busy elite. They look exactly like a professional gel set but can be done while you’re waiting for your tea to steep.
Essential Items:
- Luxury press-on nail kit
- Nail dehydrator or alcohol wipe
- Buffer block
- Professional grade nail glue
How to Prepare:
- Push back your cuticles and gently buff the surface of your natural nails.
- Wipe each nail with alcohol to remove any oils.
- Apply a drop of glue to both your nail and the press-on.
- Press down firmly starting from the cuticle and hold for 15 seconds.
- File the edges for a seamless, custom fit.
Budget Range
- Static Nails Reusable Set ($16)
- Olive & June Press-ons ($10)
- KDS Nail Glue ($7)
Style 7 Chic Looks for Short Nails
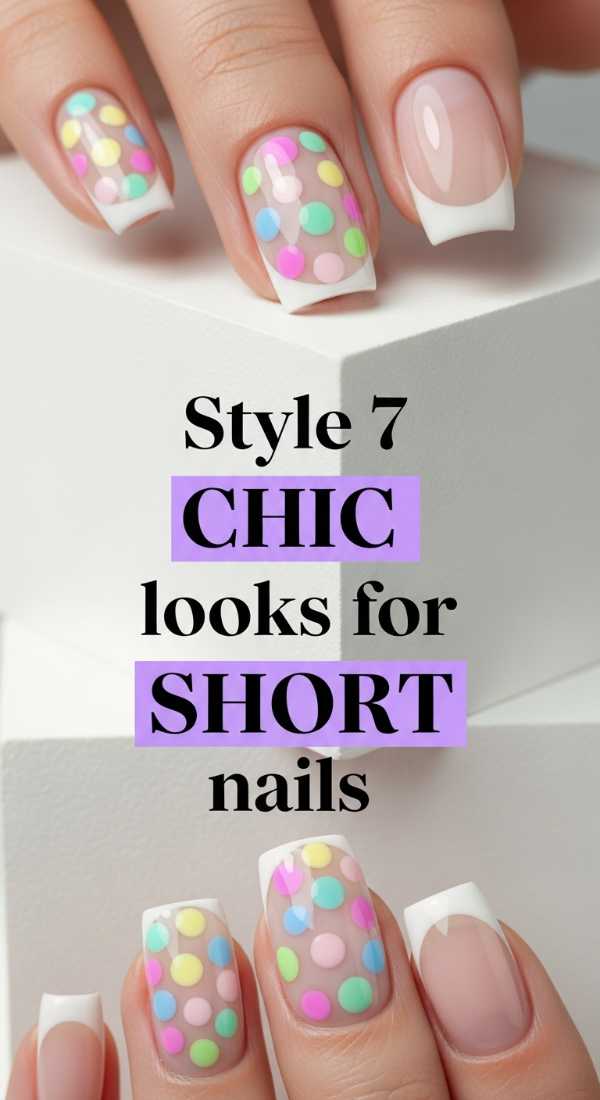
Why to love these Nails:
Short nails are so incredibly chic and practical. They look clean, intentional, and modern. These styles emphasize the natural beauty of a shorter length with dark moody tones and minimalist accents.
Essential Items:
- Deep navy or burgundy polish
- Gold foil flakes
- Matte top coat
- Micro-shimmer polish
How to Prepare:
- The Power Dark: Solid burgundy with a high-shine finish.
- The Matte Minimalist: Nude polish with a matte top coat.
- The Gilded Edge: A tiny bit of gold foil on the ring finger tip.
- The Micro-French: A hairline thin white tip.
- The Celestial: A single star decal on a navy base.
- The Vertical Stripe: One gold line down the center to elongate.
- The Velvet Look: A magnetic polish effect.
Budget Range
- Butter London Proper Do ($18)
- Sally Hansen Matte Top Coat ($7)
- Gold Leaf Flakes ($5)
Create 3 High-End Luxury Nail Designs Easily
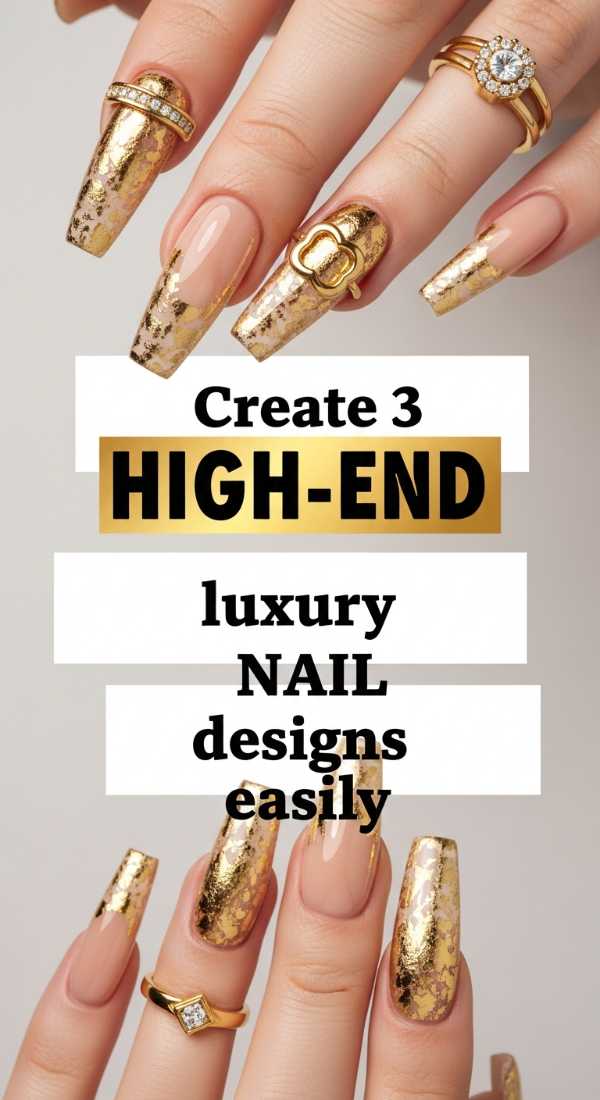
Why to love these Nails:
These designs are inspired by the runway—think marble textures and tortoiseshell patterns. They look expensive and complex but are actually quite therapeutic to create once you know the secret.
Essential Items:
- Blooming gel or clear base coat
- Black and grey polish (for marble)
- Amber and brown polish (for tortoiseshell)
- Gold leaf
How to Prepare:
- The Marble: Apply wet clear base, drop tiny bits of grey, and swirl with a brush.
- The Tortoise: Layer amber jelly polish with random brown blobs, then repeat.
- The Gold Vein: Apply thin lines of gold leaf over any solid neutral color.
Budget Range
- Cirque Colors Tortoise Kit ($30)
- Born Pretty Blooming Gel ($8)
- Gold Foil Sheets ($6)
Master 6 Modern French Tip Variations Today
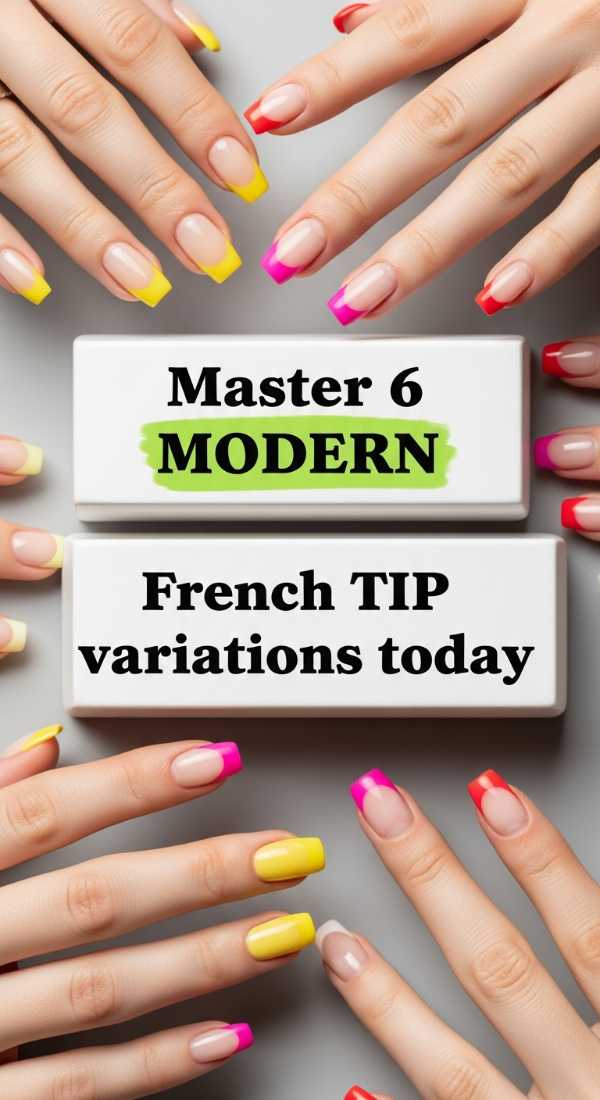
Why to love these Nails:
The French manicure has had a total glow-up! No longer just the thick white bands of the 90s, these modern versions are sleek, colorful, and so very flattering. They make your fingers look miles long.
Essential Items:
- Nude base polish
- Various colored polishes
- French tip guides or a silicone stamper
- Thin liner brush
How to Prepare:
- The Micro-French: Use a liner brush for a paper-thin tip.
- The Double Tip: Two thin lines at the tip.
- The Side Tip: A diagonal sweep on just one side.
- The V-Shape: Two lines meeting in a point.
- The Neon Tip: A bright pop of color on a nude base.
- The Reverse French: A thin line of color along the cuticle.
Budget Range
- Silicone Nail Stamper ($7)
- Holler and Glow Neon Polish ($5)
- Zoya Naked Manicure Base ($12)
Mix 3 Trendy Pastel Nail Polish Colors
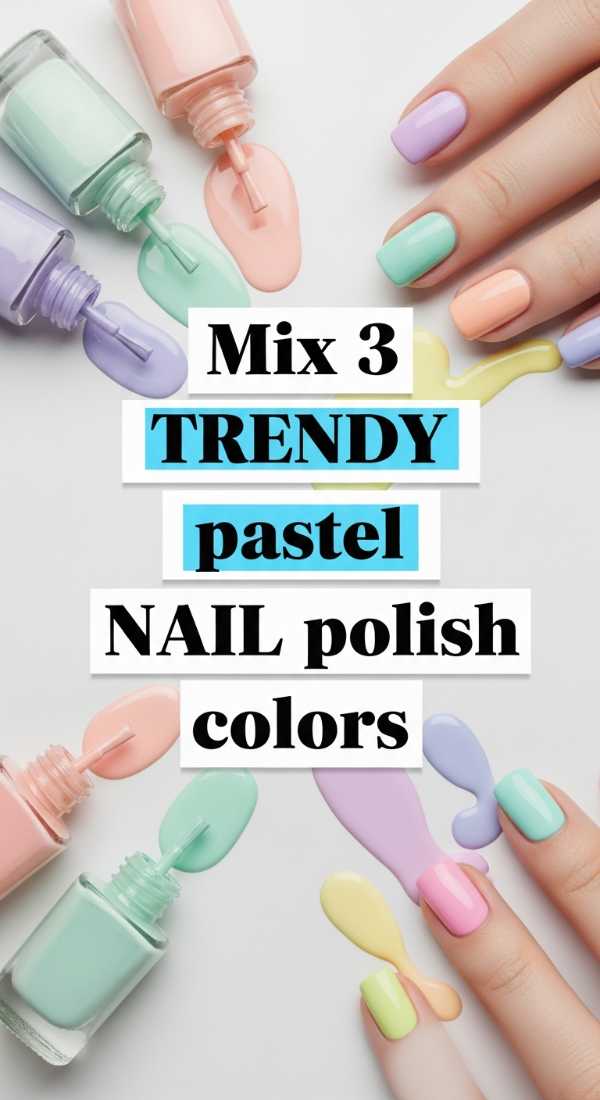
Why to love these Nails:
Why choose one when you can have a palette? Mixing pastels creates a soft, skittle-style manicure that looks curated and intentional. It’s like wearing a bouquet of flowers on your hands.
Essential Items:
- Pastel yellow, lavender, and mint polish
- White polish (to lighten shades)
- Mixing palette or a piece of foil
How to Prepare:
- Mix 1: Lavender and a drop of white for a ‘Cloud Lilac’.
- Mix 2: Mint and a tiny bit of yellow for ‘Pistachio Dream’.
- Mix 3: Yellow and white for ‘Buttercream’.
Budget Range
- Barry M Gelly Hi Shine ($6 each)
- Plastic Mixing Palette ($2)
- Wet n Wild White Polish ($2)
Wrap Your Hands in Luxury
Thank you for spending this beautiful time with me, my loves. I hope these ideas inspire you to take a moment for yourself this week. Remember, your nails are the canvas, and you are the artist of your own joy. Whether you’re rocking a simple short chic look or an intricate marble design, wear it with confidence and a soft heart. Until next time, stay polished and stay kind.