
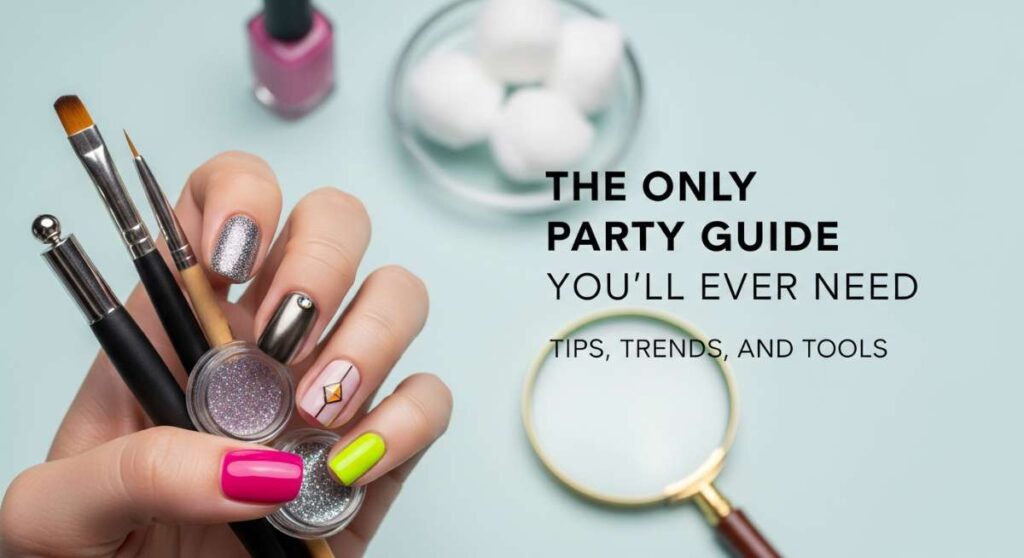
The Only Party Nail Guide You’ll Ever Need: Tips, Trends, and Tools
Hello, my loves! There is something so incredibly magical about the way a fresh manicure makes us feel, isn’t there? It’s like a tiny, sparkling suit of armor that we wear right on our fingertips. Whether you’re clinking glasses at a bachelorette bash or sipping Earl Grey at a sun-drenched tea party, your nails are the silent narrators of your personal style story. I’ve spent so many late nights huddled over my vanity, experimenting with glitters and gels, just to find that perfect sparkle that makes my heart skip a beat.
I wanted to create this guide as a warm, cloud-soft embrace for all of you who feel a little overwhelmed by the endless options out there. Think of this as our little digital coffee date where I spill all my secrets. We’re going to dive into the trends that are making waves right now, from the daintiest pearls to the boldest 3D art, ensuring you feel like the absolute queen of every room you walk into. Let’s get those hands looking as beautiful as the soul inside them!
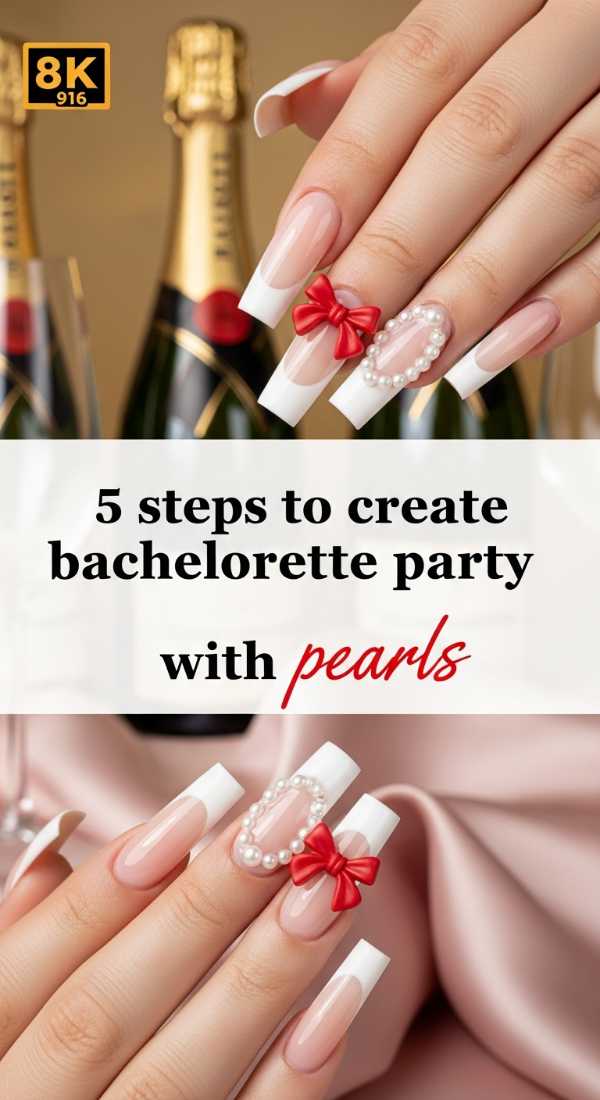
Pearl Perfection for the Bachelorette Bash
Why to love these Nails:
Oh, loves, there is nothing quite as timeless as a pearl. For a bachelorette party, they bring this ethereal, bridal-adjacent glow that feels both sophisticated and celebratory. It’s like wearing tiny drops of moonlight on your fingers, and they catch the light so beautifully when you’re dancing the night away!
Essential Items:
- Soft white or iridescent base polish
- Flat-back nail pearls (varying sizes)
- Precision nail glue or a thick top coat
- Tweezers or a wax picker tool
How to Prepare:
- Apply two thin coats of your chosen iridescent base and let dry completely.
- Place a tiny dot of nail glue where you want your first pearl to sit.
- Using your wax tool, gently press the pearl into the glue.
- Repeat in a scattered ‘raindrop’ pattern across the nail.
- Seal the edges of the pearls (but not the tops!) with a glossy top coat for extra security.
Budget Range
- Essence Shine Last & Go in ‘White Tea’ ($4)
- Amazon Nail Pearl Wheel ($6)
- Makartt Nail Glue ($7)
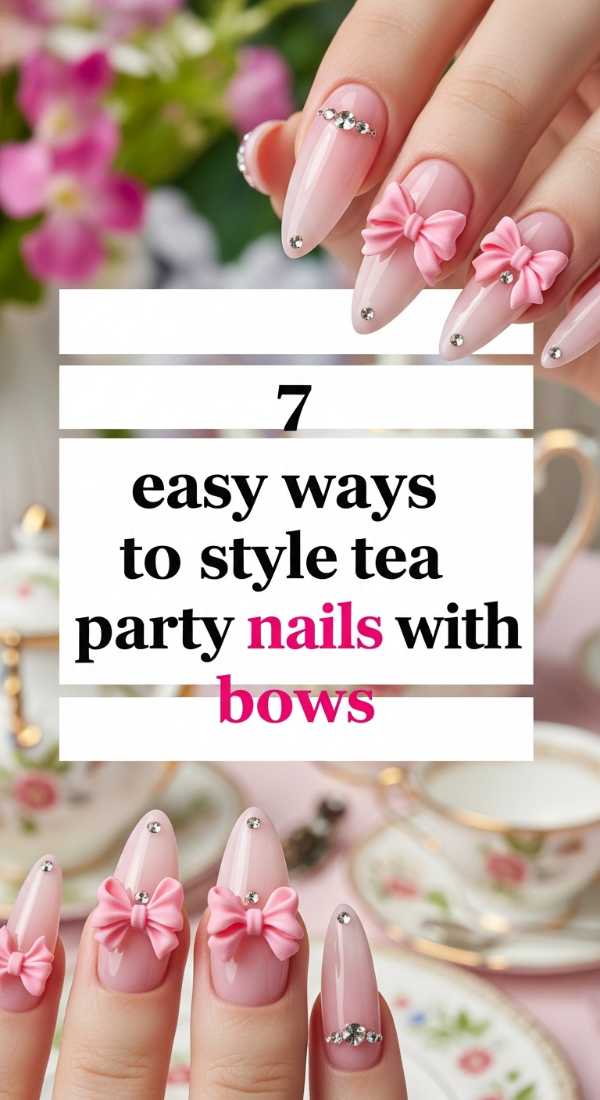
Coquette Vibes: Tea Party Nails with Bows
Why to love these Nails:
If you’re heading to a garden tea party, bows are the absolute moment. They are the epitome of the ‘coquette’ aesthetic—feminine, playful, and just a little bit nostalgic. Every time you reach for your teacup, that little bow is going to make you feel like a literal princess.
Essential Items:
- Pale pink or lavender polish
- Ultra-fine nail art brush
- White acrylic paint or polish
- Steady hand and a cup of tea!
How to Prepare:
- Paint your base in a soft pastel shade.
- Use your fine brush to paint two small triangles meeting at the center.
- Add two little ‘ribbon’ tails flowing downwards from the center.
- Add a tiny dot in the middle of the triangles to finish the knot.
- Style with a matte top coat for a fabric-like feel.
- Let them dry while you pick out your favorite floral dress.
- Finish with cuticle oil for that healthy glow.
Budget Range
- Holo Taco ‘Pink Fizz’ ($13)
- Winstonia Detail Brush Set ($10)
- Sally Hansen Matte Top Coat ($6)
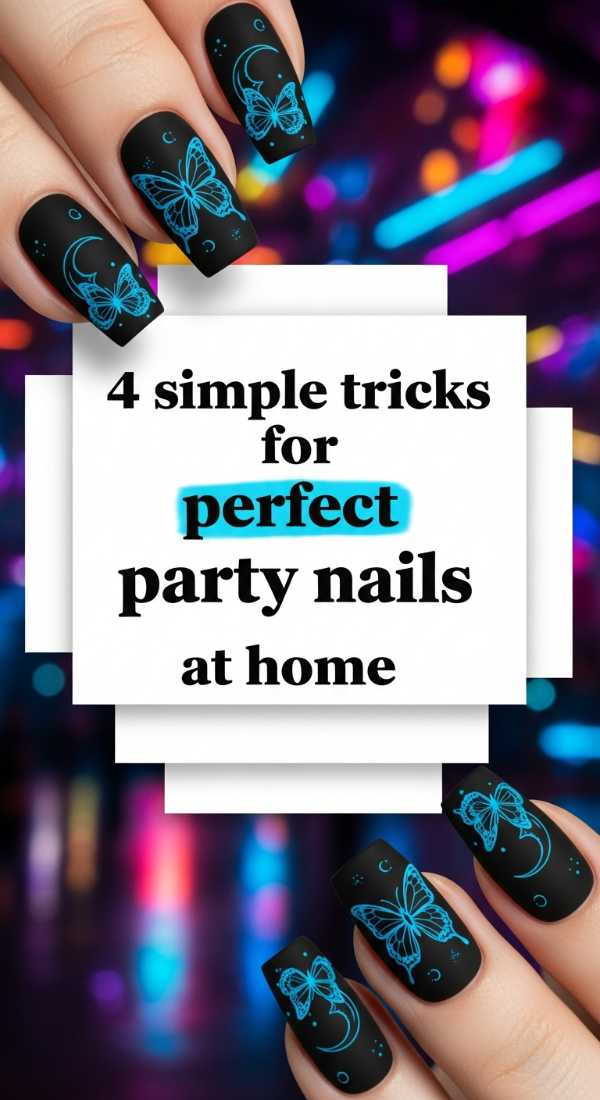
Your Home Salon: Secrets to Perfect Party Nails
Why to love these Nails:
There is such a deep sense of self-care in doing your own nails at home. It’s a quiet moment for you to breathe and create beauty. These tricks aren’t just about the look; they’re about making that professional salon finish last through all the party festivities without a single chip.
Essential Items:
- High-quality glass nail file
- Nail dehydrator or rubbing alcohol
- Professional grade top coat
- Cuticle pusher
How to Prepare:
- Shape your nails in one direction with a glass file to prevent splitting.
- Wipe the nail bed with alcohol to remove any natural oils.
- Apply very thin layers of polish, allowing each to dry for 2 minutes.
- Always ‘cap the free edge’ by running the brush along the very tip of your nail.
Budget Range
- Mont Bleu Glass Nail File ($12)
- Seche Vite Dry Fast Top Coat ($9)
- Zoya Remove Plus ($10)
Love in the Air: Sweet Bachelorette Hearts
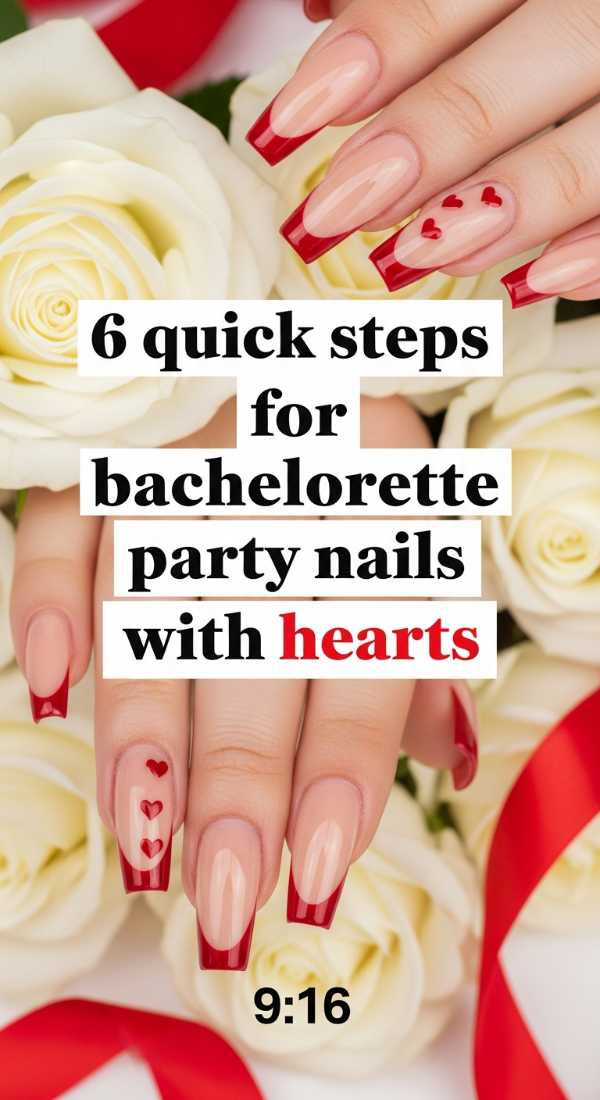
Why to love these Nails:
Hearts are the universal language of a bachelorette celebration! They are so sweet and celebratory. I love doing these in a classic red or a soft gold chrome to symbolize the love the bride is about to step into. It’s a literal ‘heart on your sleeve’—or rather, your nails!
Essential Items:
- Nude or sheer base polish
- Red or pink polish for the hearts
- A double-ended dotting tool
How to Prepare:
- Start with a clean, sheer base for a modern look.
- Dip the large end of your dotting tool into the red polish.
- Place two dots side-by-side on the nail.
- Use the smaller end of the tool to drag the bottom of the dots into a ‘V’ shape.
- Fill in any gaps to perfect the heart shape.
- Lock it in with a high-shine top coat.
Budget Range
- OPI ‘Bubble Bath’ ($11)
- Essie ‘Rock the Runway’ Red ($10)
- Nail Art Dotting Tool Set ($5)
Secretly Sophisticated: The Elegant Tea Party Look
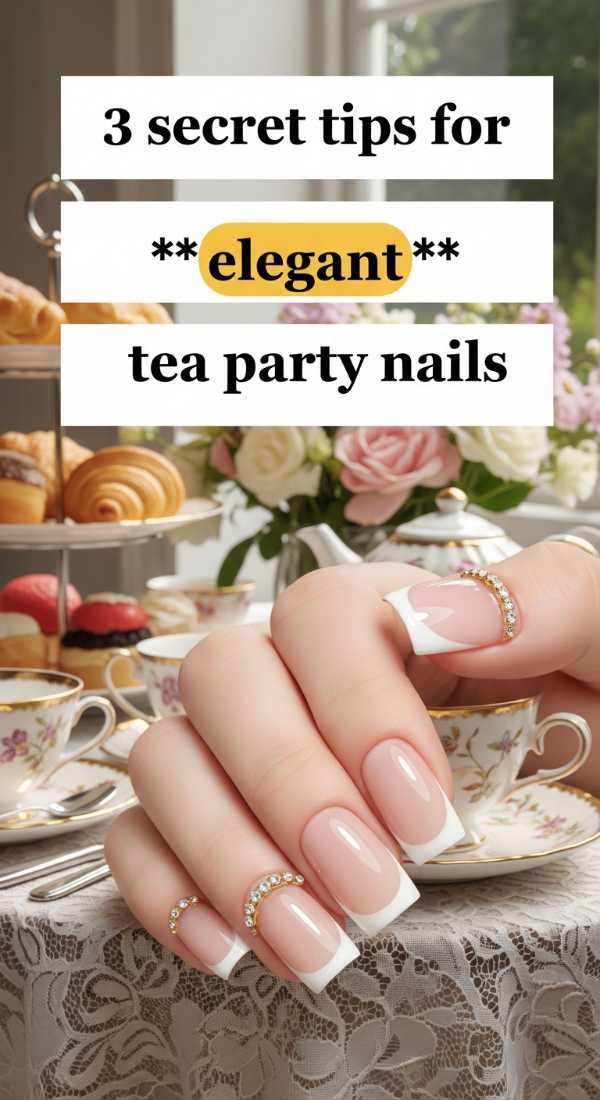
Why to love these Nails:
Sometimes, the loudest statement is the most whispered one. Elegant tea party nails are all about that ‘clean girl’ aesthetic—groomed, healthy, and subtly luxurious. It’s the kind of manicure that makes your hands look elongated and effortlessly chic.
Essential Items:
- Sheer ‘your nails but better’ polish
- Fine gold leaf or gold foil flakes
- Clear base coat
How to Prepare:
- Apply one coat of a sheer, milky polish.
- While tacky, use tweezers to place tiny flecks of gold foil near the cuticle.
- Smooth the foil down gently with a dry finger.
- Apply a thick gel-effect top coat to encapsulate the foil.
Budget Range
- Cirque Colors ‘Rose Jelly’ ($12)
- Mona Lisa Gold Leaf Sheets ($8)
- Revlon ColorStay Gel Envy ($8)
Modern Matte: The Cool-Girl Party Essential
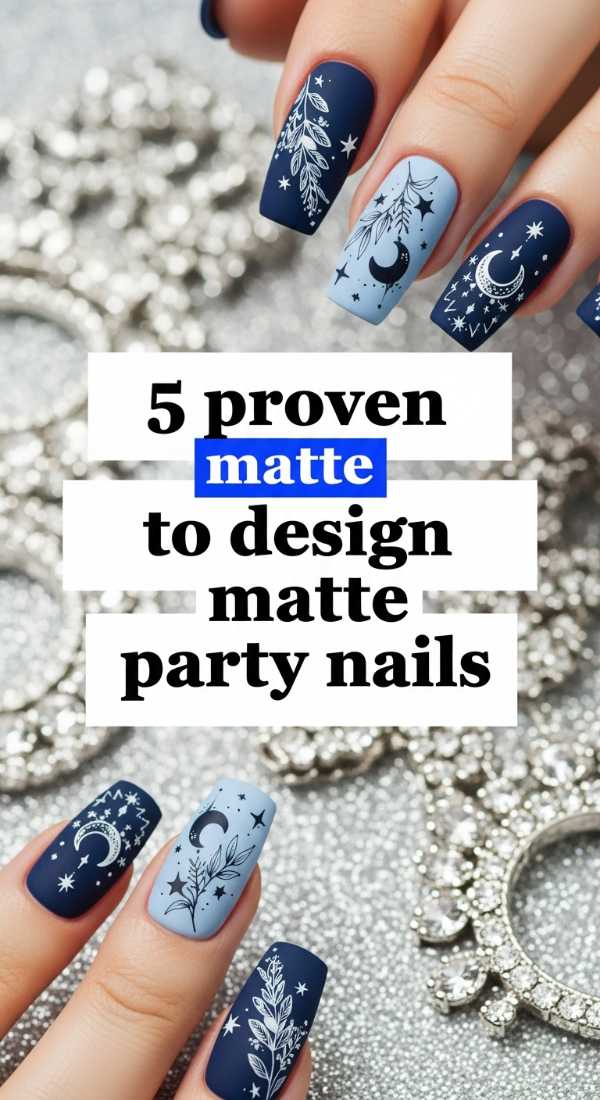
Why to love these Nails:
Matte nails are for the girl who loves a little edge with her elegance. It transforms any standard color into something moody and architectural. It’s perfect for a night-time party where you want your look to feel a bit more grounded and ‘fashion-forward’.
Essential Items:
- Deep jewel-toned polish (navy, emerald, or plum)
- High-quality matte top coat
How to Prepare:
- Apply two even coats of your dark jewel tone.
- Wait for the color to be almost dry to the touch.
- Apply the matte top coat in long, slow strokes to avoid streaking.
- Keep your hands still until it fully transforms from glossy to velvet.
- Avoid applying lotion immediately after to keep the matte finish crisp.
Budget Range
- Zoya ‘Courtney’ Wine Red ($12)
- OPI Matte Top Coat ($11)
Dimensional Dreams: 3D Art for the Bride Squad
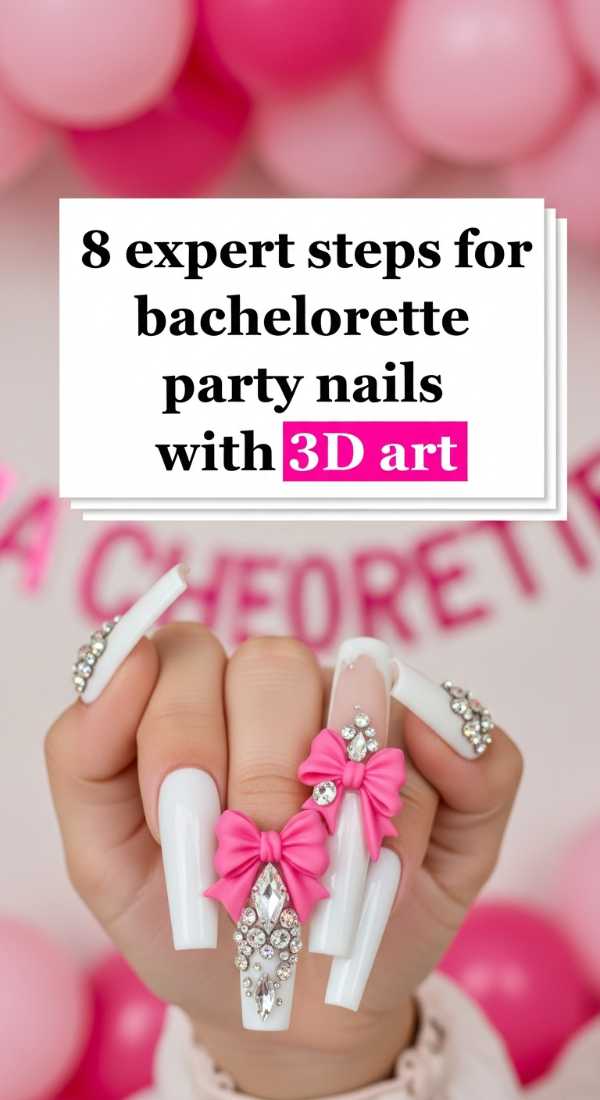
Why to love these Nails:
This is for my bold loves! 3D art is such a conversation starter. Adding texture like ‘sweater’ patterns or raised gems makes your manicure a literal piece of sculpture. It feels so high-end and special, like you’ve spent hours at a luxury boutique salon.
Essential Items:
- Building gel or thick ‘3D’ gel
- UV/LED Lamp
- Fine liner brush
How to Prepare:
- Apply your base gel color and cure under the lamp.
- Dip your liner brush into the building gel.
- Draw raised lines, swirls, or droplets onto the nail.
- Immediately cure in the lamp so the shape doesn’t ‘slump’.
- Repeat for extra height if desired.
- Wipe away the tacky layer with alcohol.
- Apply a top coat and cure one last time.
- Show them off to everyone!
Budget Range
- Beetles Gel Polish Starter Kit ($25)
- Modelones 3D Sculpture Gel ($9)
Dainty Details for Your High Tea
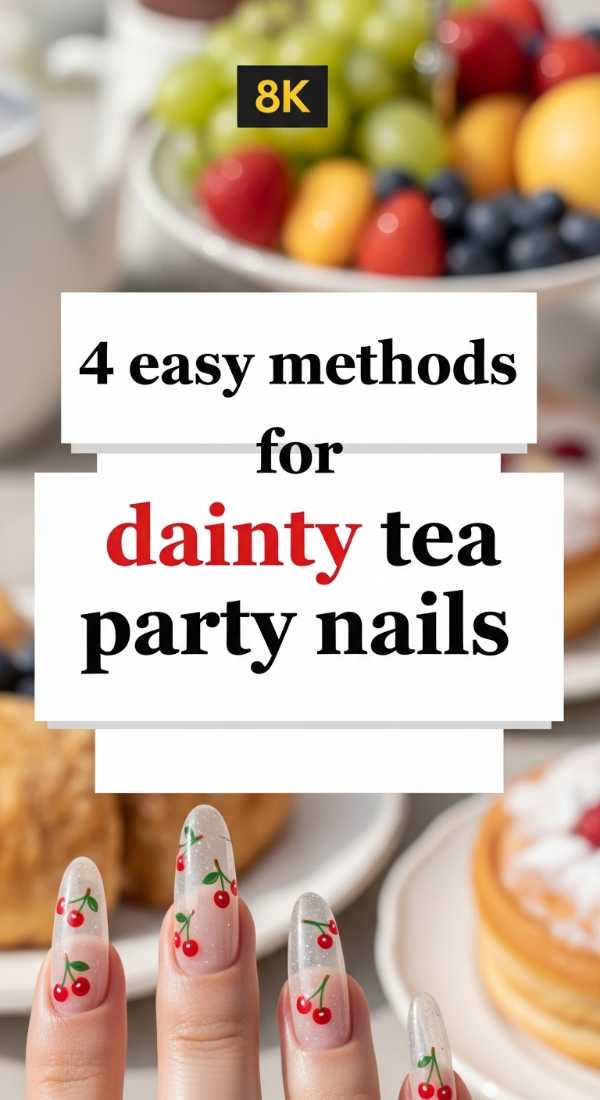
Why to love these Nails:
Dainty nails are like a soft whisper in a crowded room. They are perfect for those of us who love the ‘cottagecore’ vibe. Think tiny daisies and soft lines that look like they were painted by a fairy. They go perfectly with lace and linen!
Essential Items:
- White and yellow polish for daisies
- Nude base coat
- Toothpick (if you don’t have tools!)
How to Prepare:
- Paint a clean nude base.
- Use a toothpick to place 5 tiny white dots in a circle.
- Place a tiny yellow dot in the center of the white dots.
- Keep the placement sporadic—one flower on one nail, three on another.
Budget Range
- Olive & June ‘KMC’ ($9)
- Orly White Tips ($10)
Cherry Bomb: Sweet and Sassy Party Vibes
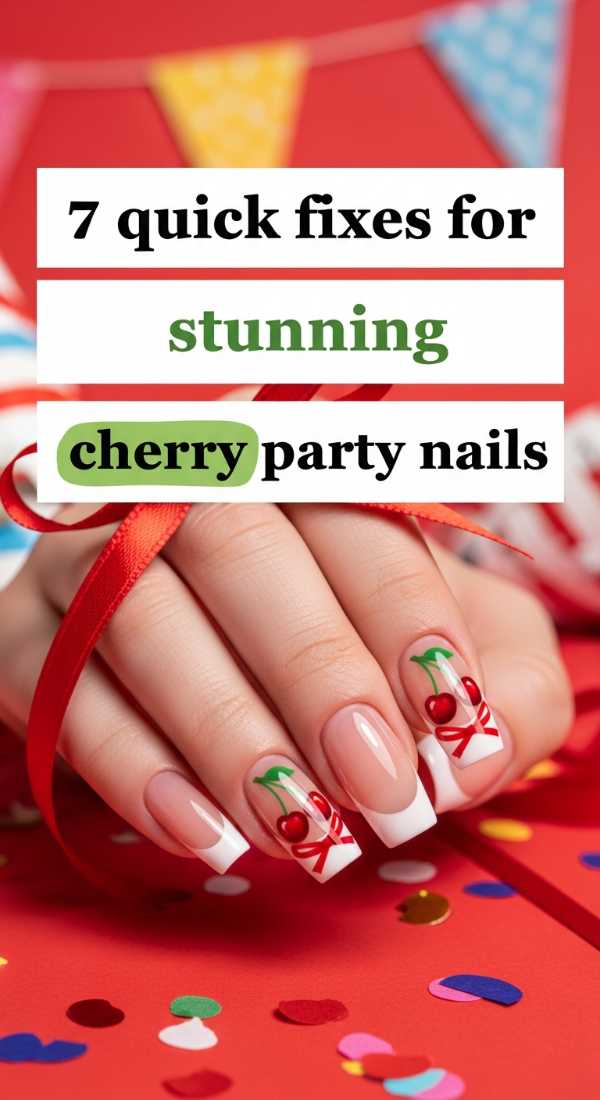
Why to love these Nails:
Cherries are the ultimate viral trend right now! They are fruity, fun, and have a gorgeous vintage pop-art feel. They add a splash of color that is just so incredibly cheerful. You can’t help but smile when you see them on your nails!
Essential Items:
- Red polish
- Deep green polish for stems
- Small dotting tool
How to Prepare:
- Choose a light base color (pale blue or cream looks amazing).
- Dot two red circles close together.
- Repeat across the nail for multiple cherry pairs.
- Use a tiny brush or toothpick to draw thin green stems meeting at the top.
- Add a tiny green leaf if you’re feeling fancy.
- Add a ‘highlight’ dot of white on each cherry for shine.
- Seal with a glossy top coat.
Budget Range
- Lights Lacquer ‘Paper Snow’ ($13)
- Essie ‘Grass Never Greener’ ($10)
Charmed & Dangerous: The Ultimate Bachelorette Bling
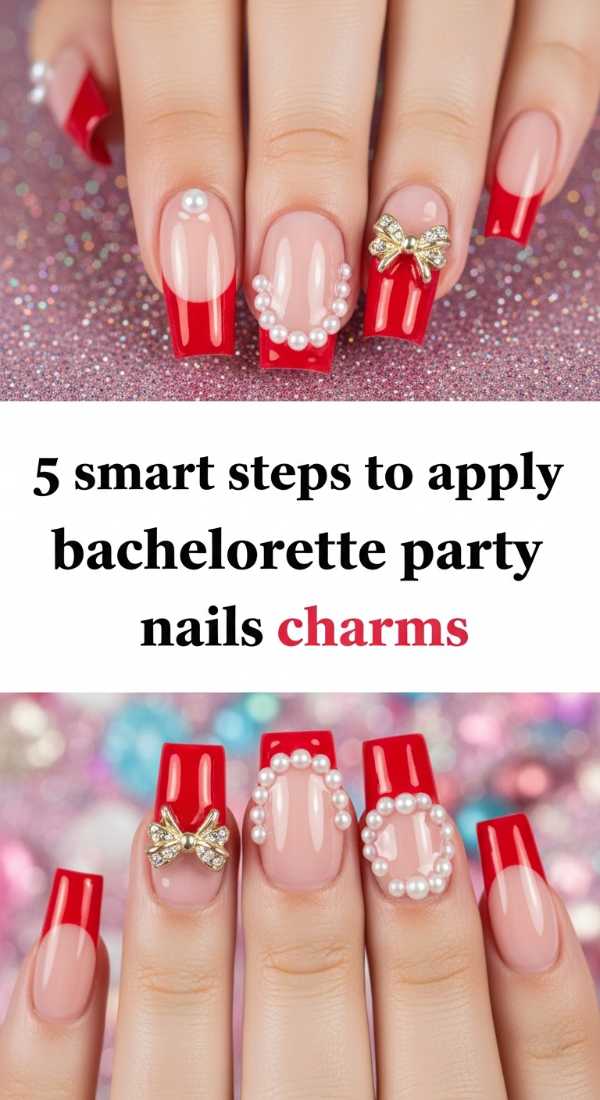
Why to love these Nails:
For the bride or the maid of honor, charms are the way to go. We’re talking gold initials, tiny champagne bottles, or dangling crystals. It’s maximalism in the best way possible. It’s loud, it’s proud, and it’s completely fabulous!
Essential Items:
- Metal nail charms
- Strong nail glue or gem gel
- Tweezers
How to Prepare:
- Apply your final color coat and let dry.
- Identify the flattest part of your nail for the charm.
- Apply a generous drop of glue or gel.
- Press the charm down and hold for 15-30 seconds.
- Use a fine brush to fill any gaps under the charm with top coat to prevent hair from snagging.
Budget Range
- Daily Charme Initial Charms ($5 each)
- IBD 5 Second Nail Glue ($6)
Conclusion
I hope this guide feels like a little spark of inspiration for your next big event, my loves. Whether you go for the quiet elegance of a tea party bow or the high-energy sparkle of bachelorette charms, remember that your nails are an extension of your beautiful light. Don’t be afraid to experiment, to make mistakes, and to find the style that makes you feel most like *you*. Go out there and shine—I can’t wait to see what you create!