
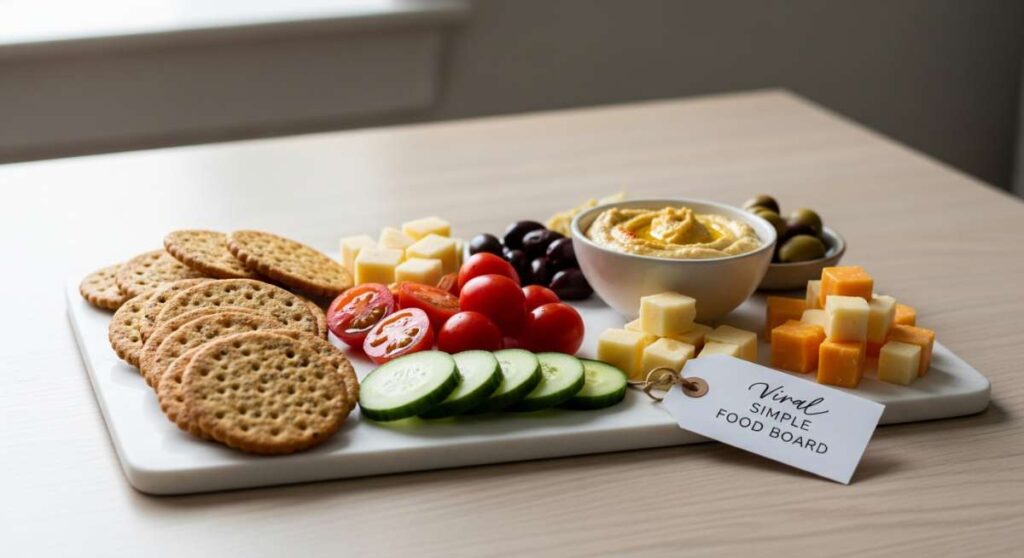
The Minimalist’s Guide to Creating a Crowd-Pleasing Viral Board
There is something inherently magical about the way a simple board of food can bring people together. I remember the first time I hosted a small gathering in my sun-drenched backyard; I was so stressed about complicated courses that I forgot to actually enjoy my friends. That’s when the shift happened. I realized that the most viral-worthy moments aren’t about perfection; they’re about the tactile, sensory joy of sharing high-quality, simple ingredients presented with love and intentionality.
Creating a ‘Viral Simple Food Board’ is less about being a chef and more about being a curator of experiences. It’s about the way the light hits a jar of homemade jelly, the crunch of a perfectly styled salad, and the aroma of herbs that lingers in the air long after the last bite is gone. In this guide, I’m sharing my favorite minimalist secrets to help you craft a spread that is as stunning as it is delicious, focusing on fresh summer flavors and effortless prep.
How to make dandelion jelly
Why we love this
Dandelion jelly is like capturing sunshine in a jar, offering a delicate, honey-like floral flavor that feels incredibly nostalgic and sophisticated all at once. When you spread this golden nectar over a warm piece of crusty bread, the aroma of a blooming meadow fills the room, reminding you of slow spring mornings and the simple gifts of the earth. Its texture is silky and translucent, shimmering with a soft amber glow that adds a rustic, artisanal touch to any food board, making it an instant conversation starter for your guests.
Ingredients
- 2 cups of bright yellow dandelion petals (no green parts)
- 4 cups of boiling water
- 4 cups of granulated sugar
- 2 tablespoons of bottled lemon juice
- 1 box (1.75 oz) of powdered pectin
- Optional: A few drops of yellow food coloring for vibrancy
How to make it
- Begin by foraging for fresh dandelions in a clean area away from roads or pesticides. Carefully pluck the yellow petals from the green base; this is crucial because any green bits will introduce a bitter taste to your jelly. Aim for roughly 2 packed cups of petals.
- Place the petals in a heat-proof glass bowl and pour 4 cups of boiling water over them. Stir gently, cover with a cloth, and let this steep for at least 8 hours or overnight at room temperature to create a strong ‘dandelion tea’.
- After steeping, strain the liquid through a fine-mesh sieve or cheesecloth, squeezing the petals to extract every bit of flavor. You should have approximately 3.5 to 4 cups of golden liquid.
- In a large, heavy-bottomed pot, combine the dandelion tea and the lemon juice. The lemon juice provides the necessary acidity for the pectin to set and prevents a dull color.
- Whisk in the powdered pectin until completely dissolved. Place the pot over high heat and bring the mixture to a ‘rolling boil’—one that cannot be stirred down with a spoon.
- Once the rolling boil is achieved, pour in all the sugar at once. Stir constantly and return the mixture to a full rolling boil. Let it boil hard for exactly one minute, keeping a close eye to ensure it doesn’t boil over.
- Remove the pot from the heat. Skim off any foam that has formed on the surface with a metal spoon. Quickly ladle the hot jelly into sterilized glass jars, leaving about 1/4 inch of headspace.
- Wipe the rims clean, apply lids and bands, and process in a boiling water bath for 10 minutes to ensure a shelf-stable seal. Let the jars sit undisturbed for 24 hours to set completely.
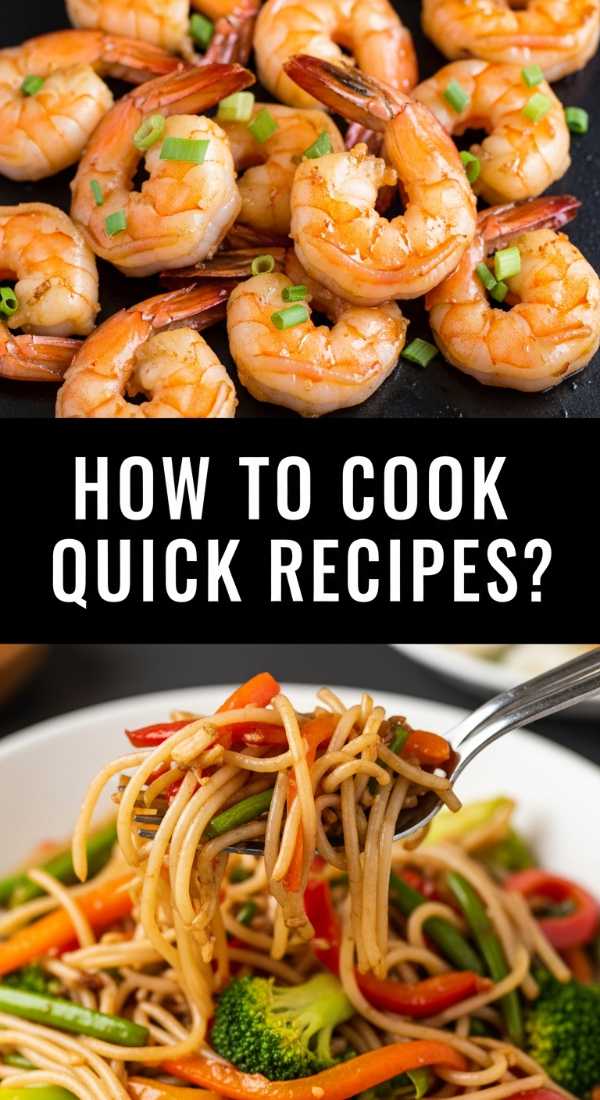
How to cook quick recipes
Why we love this
The beauty of a quick recipe lies in the liberation it provides, allowing you to serve a gourmet-feeling meal without the exhaustion of hours in the kitchen. There is a specific rhythm to high-speed cooking—the sizzle of a hot pan, the rapid chop of fresh herbs, and the satisfaction of seeing a beautiful dish come together in under twenty minutes. It’s about focusing on maximum flavor impact with minimal steps, using high heat and fresh aromatics to create a sensory experience that feels intentional and curated rather than rushed.
Ingredients
- 1 pound of thin-cut protein (shrimp, chicken strips, or tofu)
- 2 cups of quick-cooking greens (spinach or bok choy)
- 3 cloves of garlic, minced
- 1 inch of fresh ginger, grated
- 2 tablespoons of high-smoke-point oil (avocado or grapeseed)
- 1 tablespoon of soy sauce or tamari
- 1 teaspoon of toasted sesame oil for finishing
How to make it
- The secret to quick cooking is ‘mise en place’—having everything ready before the heat is on. Prep your protein into small, uniform pieces to ensure they cook in under 5 minutes. Mince the garlic and grate the ginger into a small bowl.
- Heat a large wok or cast-iron skillet over high heat until it just begins to smoke. This high heat is essential for achieving a ‘char’ without overcooking the interior of your ingredients.
- Add the high-smoke-point oil and swirl to coat the pan. Immediately drop in your protein. Spread it out into a single layer and let it sear undisturbed for 60-90 seconds until a golden-brown crust forms.
- Toss the protein and add the garlic and ginger. Stir-fry for 30 seconds; you’ll know it’s ready when the aroma becomes intensely fragrant but before the garlic turns dark brown and bitter.
- Add your quick-cooking greens. Use tongs to toss them through the heat until they just begin to wilt and turn a vibrant, emerald green. This usually takes less than 2 minutes.
- Deglaze the pan by pouring in the soy sauce. The liquid will steam and bubble instantly, lifting the flavorful browned bits from the bottom of the pan to coat your ingredients.
- Turn off the heat immediately. Drizzle with the toasted sesame oil for a nutty aroma and a glossy sheen. Serve instantly while the steam is still rising.
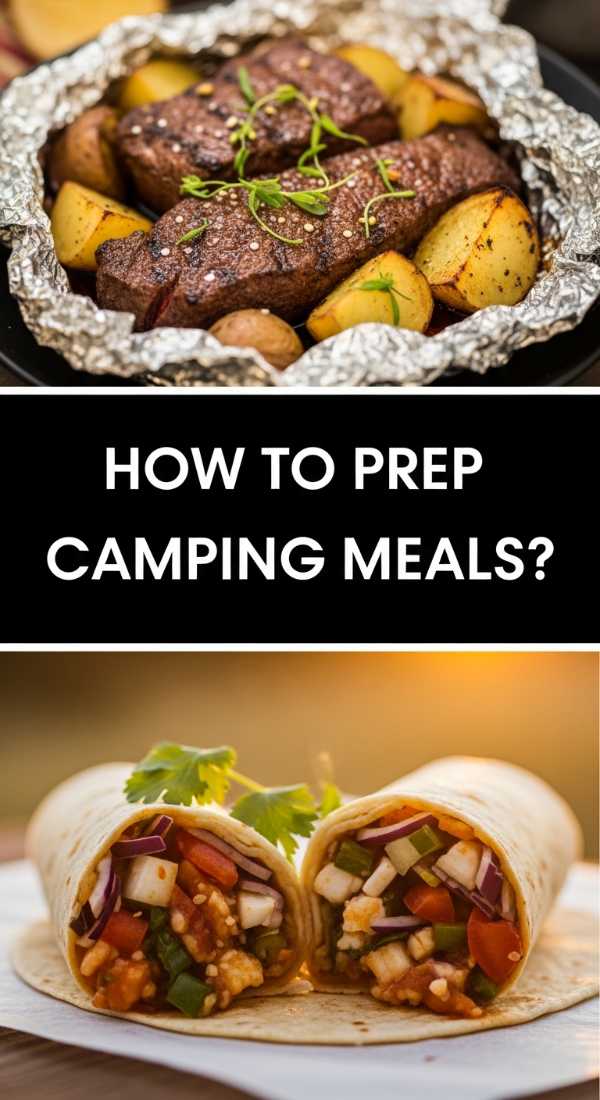
How to prep camping meals
Why we love this
Camping meals are the ultimate expression of minimalist living, where the smoky scent of a wood fire enhances every single ingredient. There is a deep, primal satisfaction in eating a warm, hearty meal while surrounded by the whispering pines and the cool evening air. By prepping ahead, you transform outdoor cooking from a chore into a ritual, allowing you to focus on the crackle of the embers and the taste of food that has been kissed by the flame, creating memories that stay with you long after the tents are packed away.
Ingredients
- 4 large sheets of heavy-duty aluminum foil
- 1 pound of pre-marinated steak tips or chicken thighs
- 2 cups of chopped potatoes (cut into small 1/2 inch cubes)
- 1 cup of baby carrots
- 1 bell pepper, sliced thinly
- 4 tablespoons of salted butter
- 1 tablespoon of steak seasoning or dried herbs
How to make it
- At home, cut all your vegetables into uniform sizes. The potatoes must be small (about 1/2 inch) to ensure they cook at the same rate as the meat. Place the meat in a leak-proof bag with your favorite marinade.
- Lay out four large squares of heavy-duty aluminum foil. If you only have standard foil, use a double layer to prevent tearing and burning.
- Center a portion of the meat, potatoes, carrots, and peppers on each piece of foil. Sprinkle generously with your seasoning blend.
- Place a tablespoon of butter right on top of the pile. As the butter melts over the fire, it will create a rich sauce and steam the vegetables to a tender consistency.
- Fold the long sides of the foil together and crimp them tightly to create a sealed ‘tent’. Fold the ends in securely to ensure no juices can leak out. Store these flat in your cooler.
- When at the campsite, build a fire and let it burn down until you have a thick bed of glowing red coals. Avoid placing the packets directly into licking flames, as this will char the outside while leaving the inside raw.
- Place the foil packets onto a grate over the coals or directly onto the cooler edges of the ash. Cook for about 20-25 minutes, turning once halfway through using long-handled tongs.
- Carefully open one packet to check the potatoes; if they are fork-tender, the meal is ready. Let the packets rest for 5 minutes before opening fully to allow the steam to subside.
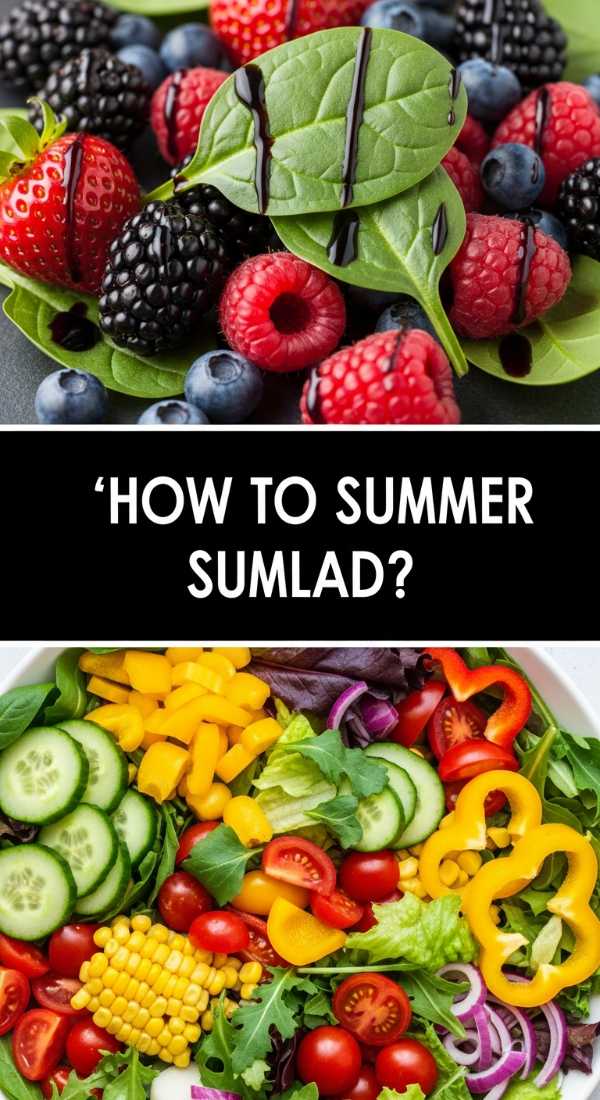
How to make summer salad
Why we love this
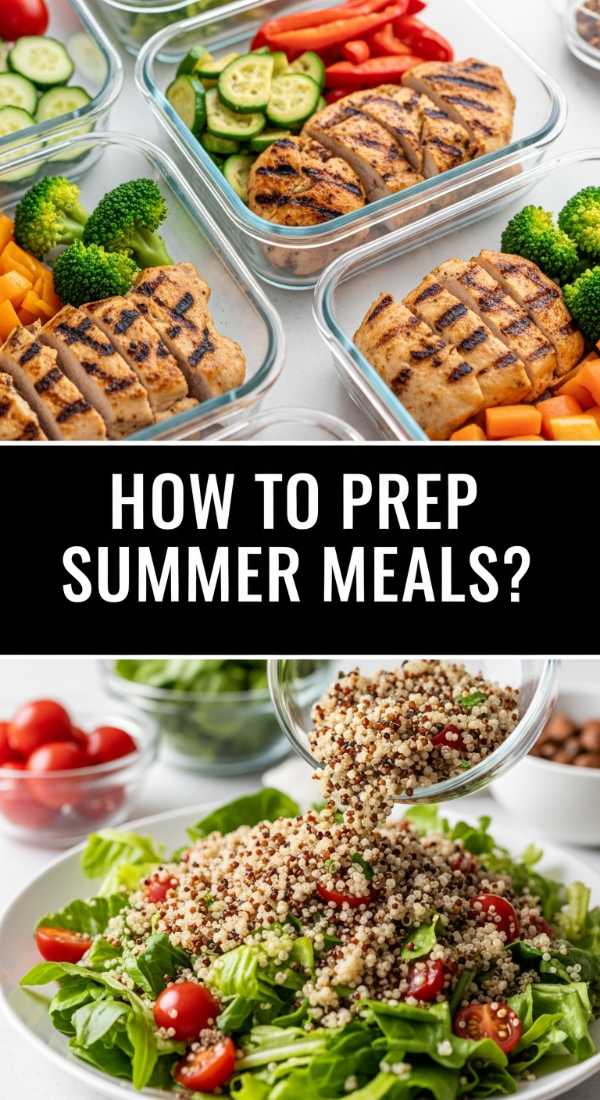
A true summer salad is a celebration of peak-season vibrance, featuring textures that dance between the snap of cold cucumbers and the buttery softness of ripe avocado. When you take a bite, you’re greeted with an explosion of juice from heirloom tomatoes and the refreshing zing of a citrus-based dressing that cuts through the summer heat. It’s light, hydrating, and aesthetically stunning, with colors so bright they look like a painter’s palette on your board, making you feel nourished and energized from the very first forkful.
Ingredients
- 3 cups of mixed baby greens or arugula
- 2 large heirloom tomatoes, cut into wedges
- 1 English cucumber, thinly sliced
- 1/2 red onion, shaved into translucent half-moons
- 1/4 cup of crumbled feta or goat cheese
- 1/4 cup of toasted pine nuts or sunflower seeds
- For the dressing: 3 parts olive oil, 1 part fresh lemon juice, salt, and cracked pepper
How to make it
- Start by washing your greens in ice-cold water. This ‘shocks’ the leaves, ensuring they are maximumly crisp. Spin them completely dry in a salad spinner; moisture is the enemy of a good salad as it dilutes the dressing.
- In a small jar, whisk together the olive oil, lemon juice, salt, and pepper until emulsified. This dressing should be sharp and bright to balance the sweet summer produce.
- Place the dry greens in a very large mixing bowl. Drizzle a small amount of dressing around the edges of the bowl and toss gently with your hands or tongs until every leaf has a faint, glistening coating.
- Add the cucumber and red onion to the greens and toss once more. By dressing the base first, you ensure even flavor without bruising the more delicate ingredients like tomatoes.
- Transfer the dressed greens to your serving platter or board. Now, artfully nestle the heirloom tomato wedges into the greens. This prevents the tomatoes from losing their juices into the bottom of the bowl.
- Sprinkle the crumbled cheese and toasted nuts over the top. This adds layers of texture—creamy and crunchy—that make each bite interesting.
- Finish with a final, very light drizzle of dressing and a pinch of flaky sea salt directly on the tomatoes to draw out their natural sweetness.
How to prep summer meals

Why we love this
Prepping summer meals is an act of kindness toward your future self, allowing you to spend those long, golden afternoons at the beach or in the garden instead of standing over a stove. There’s a calming rhythm to the Sunday morning prep—chopping cool vegetables, marinating proteins in bright herbs, and organizing glass containers in the fridge. It turns your kitchen into a grab-and-go sanctuary where every meal feels like a fresh, refrigerated gift, keeping you cool and satisfied even when the temperature climbs.
Ingredients
- 3 different proteins (e.g., grilled chicken, hard-boiled eggs, chickpeas)
- A variety of ‘hard’ vegetables (carrots, bell peppers, radishes)
- 2 types of grains (quinoa, farro, or cold noodles)
- 2 signature sauces (a creamy herb tahini and a zesty vinaigrette)
- Fresh herbs (parsley, mint, and cilantro) stored in damp paper towels
How to make it
- Dedicate a two-hour window in the cool of the morning. Start by cooking your grains. Rinse quinoa or farro thoroughly, boil until al dente, and spread them out on a baking sheet to cool rapidly. This prevents them from becoming mushy in storage.
- While grains cook, prepare your proteins. Grill chicken or poach shrimp with simple salt and lemon. If using plant-based proteins like chickpeas, rinse and dry them thoroughly before tossing with spices.
- Wash and chop all ‘hard’ vegetables. Store these in airtight glass containers with a slightly damp paper towel at the bottom. This keeps them crisp for up to five days.
- Whisk together your two sauces. Making these from scratch is the ‘viral’ secret—homemade dressings have a depth of flavor that store-bought versions lack. Store them in small jars.
- Process your fresh herbs. Remove the stems, wash the leaves, and dry them completely. Chop them only when you are ready to eat to maintain their bright green color and volatile oils.
- Organize your fridge using the ‘first-in, first-out’ method. Place your prepped containers at eye level so they are the first thing you grab when hunger strikes.
- To assemble a meal, simply grab a base of grains, a handful of veggies, a portion of protein, and a generous drizzle of sauce. This ‘modular’ approach ensures you never get bored.
How to make pasta salad
Why we love this
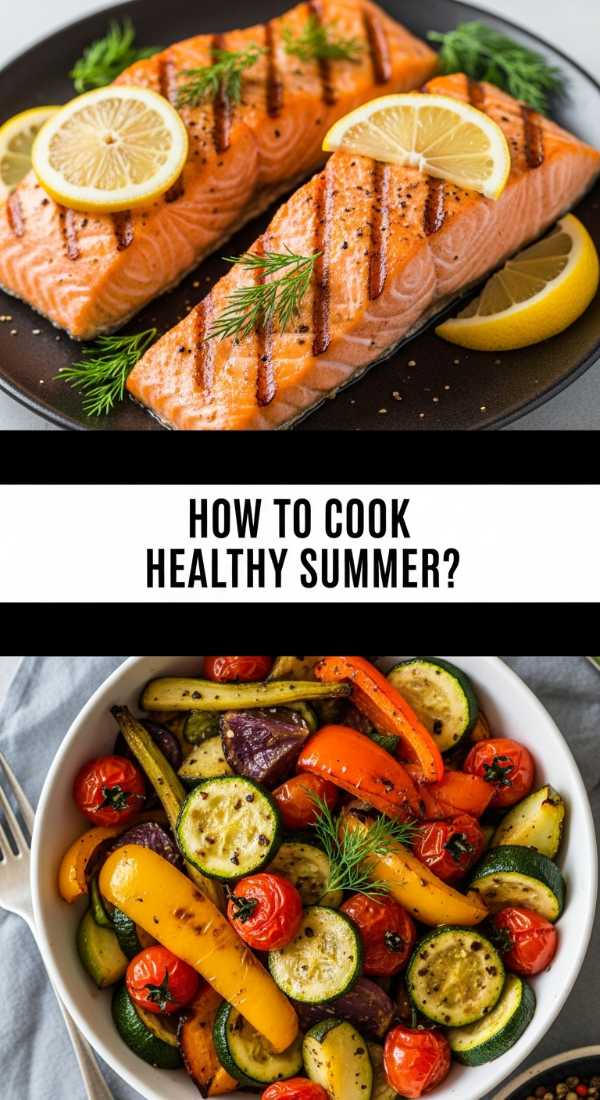
Pasta salad is the ultimate nostalgic comfort food, reimagined for a modern, minimalist board. We love it for the way the pasta ridges catch the herb-infused oil, and how the saltiness of olives and capers provides little ‘flavor bombs’ in every mouthful. It’s a dish that actually improves with time, as the pasta absorbs the dressing, becoming more savory and tender. Served cold or at room temperature, it’s the perfect, hearty anchor for a summer spread, offering a satisfying bite that feels both rustic and refined.
Ingredients
- 1 pound of short, textured pasta (fusilli, rotini, or gemelli)
- 1/2 cup of sun-dried tomatoes in oil, chopped
- 1/2 cup of kalamata olives, pitted and halved
- 1 cup of mini mozzarella pearls
- 1/4 cup of fresh basil, chiffonade (cut into thin ribbons)
- 1/2 cup of Italian-style vinaigrette
- 1/4 cup of grated Parmesan cheese
How to make it
- Bring a large pot of heavily salted water to a boil. The water should taste like the sea; this is your only chance to season the pasta itself.
- Cook the pasta for 1-2 minutes less than the package directions specify. You want it ‘al dente’—firm to the bite—because it will soften as it sits in the dressing.
- Drain the pasta and immediately spread it out on a flat baking sheet. Drizzle with a tablespoon of olive oil and toss. Do NOT rinse with cold water, as this removes the starch that helps the sauce stick. Let it cool to room temperature.
- In a large bowl, combine the cooled pasta with the sun-dried tomatoes, olives, and mozzarella pearls. The variety of shapes and colors is what makes this dish ‘viral’ on a board.
- Pour half of the vinaigrette over the mixture and toss thoroughly. Let it sit for at least 30 minutes in the fridge to allow the flavors to penetrate the pasta.
- Just before serving, add the remaining dressing. This ensures the salad looks glossy and fresh rather than dry.
- Gently fold in the fresh basil ribbons and the grated Parmesan. The basil should be added last to prevent it from wilting or turning black from the acidity in the dressing.
- Serve in a wide, shallow bowl or directly on the board, garnished with a few whole basil leaves for a pop of color.
How to cook healthy summer
Why we love this
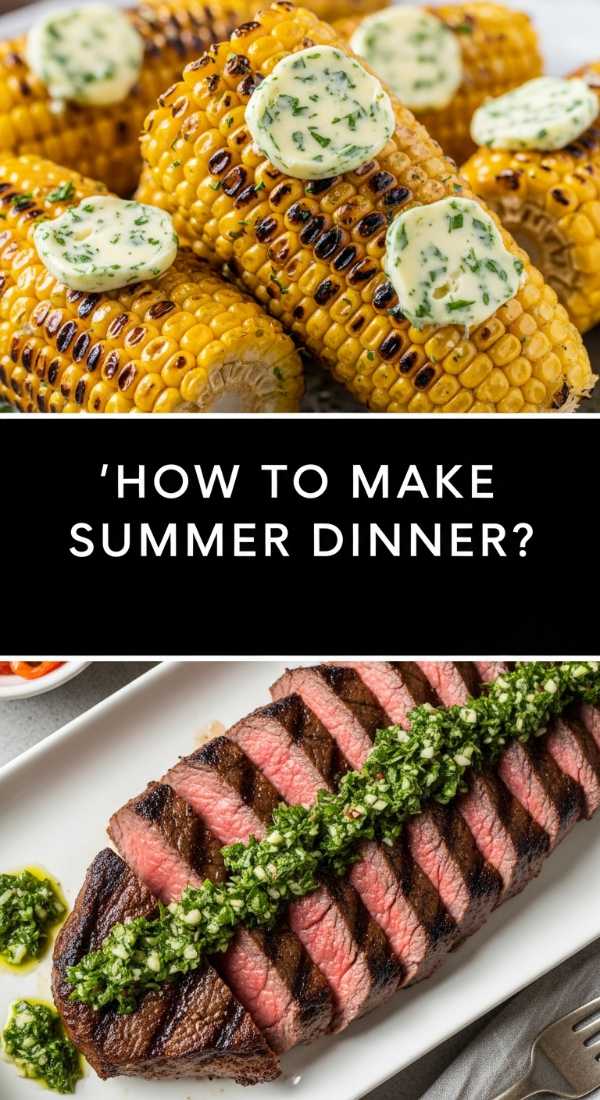
Cooking healthy in the summer isn’t about restriction; it’s about abundance and the celebration of ingredients in their most natural state. We love this approach because it focuses on lean proteins, vibrant antioxidant-rich berries, and the healthy fats that make your skin glow. There is a lightness to this style of cooking that mirrors the season—clean flavors, bright citrus finishes, and a lack of heavy sauces that leave you feeling refreshed and ready for an evening walk rather than needing a nap. It’s about eating the rainbow and feeling the vitality in every bite.
Ingredients
- 2 large salmon fillets or blocks of extra-firm tofu
- 1 bunch of thin asparagus, ends trimmed
- 1 cup of fresh blueberries or blackberries
- Zest and juice of 1 organic lemon
- 2 tablespoons of extra virgin olive oil
- 1 tablespoon of raw honey or maple syrup
- A handful of microgreens for garnish
How to make it
- Preheat your oven to 400°F (200°C) or prepare a medium-high grill. For a ‘healthy’ cook, we want to use high heat to lock in moisture without needing excess fats.
- Pat your protein (salmon or tofu) completely dry with paper towels. This is the secret to a good sear. Brush lightly with olive oil and season with a pinch of sea salt.
- Arrange the asparagus on a baking sheet. Drizzle with a tiny bit of oil and toss to coat. Move them to one side to make room for the protein.
- Place the protein on the sheet or the grill. For salmon, cook for about 10-12 minutes until it flakes easily with a fork. For tofu, grill until distinct char marks appear on all sides.
- While the main components cook, create a ‘summer glow’ glaze. Whisk together the lemon juice, lemon zest, honey, and a teaspoon of olive oil.
- Two minutes before the protein is finished, scatter the fresh berries onto the baking sheet or into a grill basket. You want them to just begin to burst and release their juices, but not turn into jam.
- Remove everything from the heat. Immediately drizzle the lemon-honey glaze over the warm protein and asparagus. The residual heat will slightly thicken the glaze.
- Plate the dish beautifully by layering the asparagus, topping with the protein, and spooning the warmed berries over the top. Garnish with microgreens for a hit of concentrated nutrients.
How to make summer dinner
Why we love this
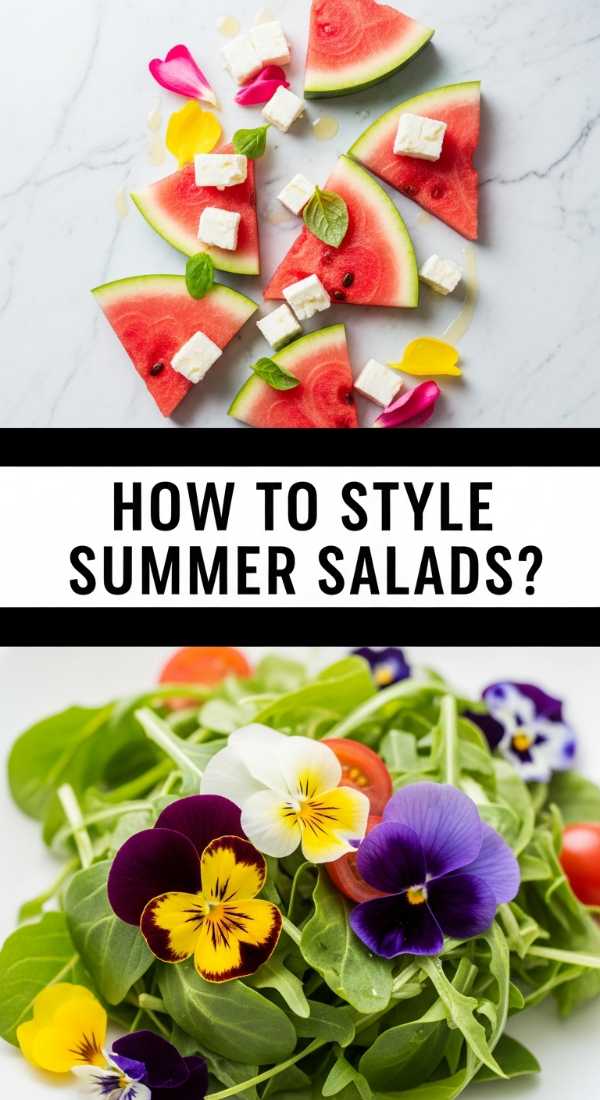
A true summer dinner is an informal, leisurely affair that blurs the lines between cooking and entertaining. It’s the kind of meal where the dishes are placed in the center of the table, and everyone helps themselves as the sun begins to dip below the horizon. We love the ease of these dinners—the way a simple grilled protein can be elevated by a side of stone fruits or a pile of fresh herbs. It’s about capturing the ‘golden hour’ in food form: warm, inviting, and effortlessly beautiful, creating a relaxed atmosphere where the conversation flows as easily as the chilled wine.
Ingredients
- 1.5 pounds of skirt steak or large portobello mushroom caps
- 3 ripe peaches or nectarines, halved and pitted
- 1 head of radicchio or romaine hearts, halved lengthwise
- A small jar of chimichurri or pesto
- Flaky sea salt and high-quality balsamic glaze
- Fresh baguette, sliced and lightly toasted
How to make it
- Prepare your grill for direct, high-heat cooking. Ensure the grates are clean and well-oiled to prevent sticking.
- Season your steak or mushrooms generously with salt and pepper. Let them sit at room temperature for 20 minutes; this ensures even cooking throughout.
- Place the steak on the hottest part of the grill. For a perfect medium-rare, cook for 3-4 minutes per side. If using mushrooms, grill for 5 minutes per side until tender and juicy.
- While the protein rests (essential for keeping the juices inside!), place the peach halves and lettuce hearts directly on the grill.
- Grill the peaches for 2-3 minutes until charred grill marks appear and the sugars begin to caramelize. Grill the lettuce for only 60 seconds per side, just until the edges are singed and smoky.
- Slice the rested steak against the grain into thin, elegant strips. If using mushrooms, slice them into thick ‘steaks’.
- Assemble the dinner on a large wooden board. Lay the grilled lettuce as a bed, arrange the sliced protein on top, and nestle the charred peaches around the edges.
- Drizzle the chimichurri over the protein and a small amount of balsamic glaze over the peaches. The contrast between the savory meat and the sweet, smoky fruit is the hallmark of a viral summer dinner. Serve with the toasted baguette to soak up all the juices.
How to style summer salads
Why we love this
Styling a salad is where the ‘minimalist’ meets the ‘artist,’ turning a simple bowl of vegetables into a centerpiece that demands to be photographed. We love this process because it forces us to slow down and appreciate the geometry of a radish slice or the delicate curve of a pea shoot. When a salad is styled with intention—using height, color contrast, and negative space—it tastes better because we eat with our eyes first. It transforms a side dish into a viral sensation, making the healthy choice the most exciting one on the board.
Ingredients
- A base of varied greens (different textures and shades of green)
- ‘Pop’ ingredients: Watermelon radish, edible flowers, or purple carrots
- Texture elements: Shaved nuts, hemp hearts, or crispy chickpeas
- Tools: A mandoline for paper-thin slices, tweezers for placement, and a wide, shallow plate
How to make it
- Choose your vessel carefully. A wide, shallow ceramic bowl or a flat wooden board works better for styling than a deep bowl, as it allows all the ingredients to be seen rather than buried.
- Create a ‘mound’ of greens in the center. Use your hands to lift and fluff the leaves, creating height and airiness. Avoid packing them down.
- Use a mandoline to shave your ‘pop’ vegetables (like radishes or carrots) into translucent discs. Place these into a bowl of ice water for 5 minutes; they will curl and become extra crisp.
- Begin the ‘layering’ phase. Don’t toss the ingredients; place them. Tuck the curled radish slices into the greens at different angles so they catch the light.
- Cluster your ingredients in odd numbers (3s or 5s). Place three small mounds of feta or three groups of berries. Our brains find odd-numbered groupings more aesthetically pleasing.
- Add your texture elements last. Sprinkle them from a height of about 12 inches; this creates a natural, ‘scattered’ look rather than a clumped appearance.
- The final touch is the garnish. Use kitchen tweezers to place delicate edible flowers or micro-herbs on the very top of the ‘peaks’ of your salad.
- Wipe the rim of your plate or board with a clean, damp cloth to remove any stray drips of dressing or specs of pepper. This ‘clean’ finish is what makes the dish look professional and viral-ready.
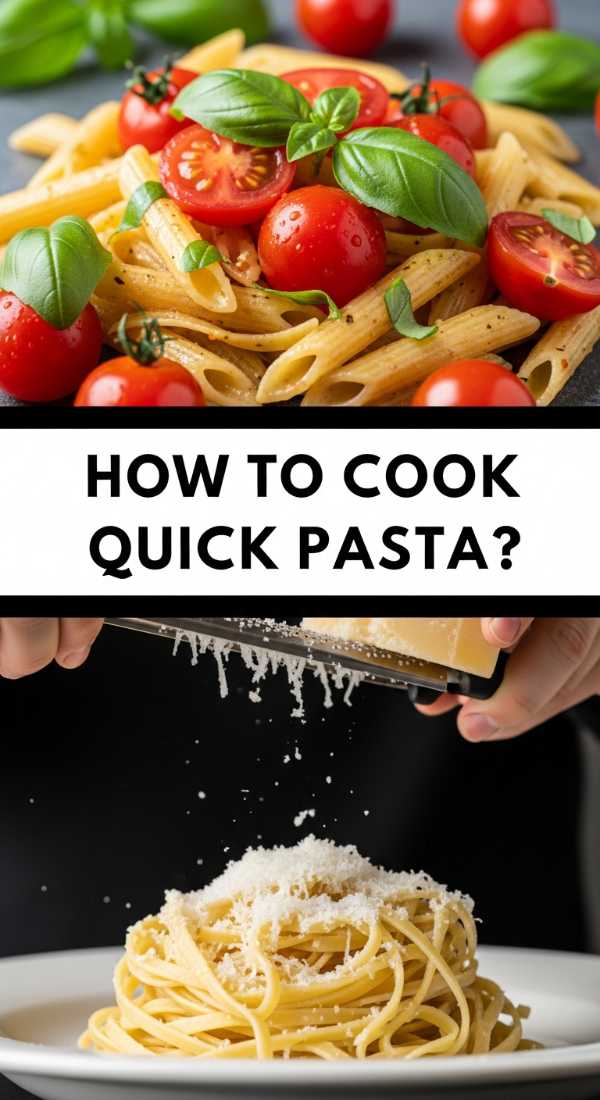
How to cook quick pasta
[IMAGE_10]
Why we love this
Quick pasta is the ultimate ‘ace up your sleeve’ for spontaneous summer gatherings. We love it because it relies on the magic of emulsion—the way starchy pasta water and a little fat can create a silky, restaurant-quality sauce in seconds. The aroma of garlic sautéing in butter, combined with the brightness of fresh lemon zest, creates a scent profile that is universally loved. It’s a warm, comforting hug of a dish that feels incredibly indulgent but takes no longer to make than it does to boil the noodles, proving that you don’t need a lot of time to create something spectacular.
Ingredients
- 1/2 pound of spaghetti or linguine
- 3 tablespoons of unsalted butter
- 2 cloves of garlic, sliced razor-thin
- 1 teaspoon of red pepper flakes
- 1/2 cup of freshly grated Pecorino Romano or Parmesan
- A big splash of starchy pasta cooking water
- Fresh parsley, finely chopped
How to make it
- Boil your pasta in a pot of salted water. The key here is to use slightly less water than usual; this concentrates the starch, which is the ‘liquid gold’ needed for your sauce.
- While the pasta cooks, place the butter in a large skillet over medium-low heat. Add the sliced garlic and red pepper flakes. Cook slowly—you want the garlic to become soft and golden, not brown and crispy. This infuses the butter with a mellow, sweet heat.
- When the pasta is about 2 minutes away from being done, use tongs to transfer it directly from the boiling water into the skillet with the butter. Don’t worry about the water dripping into the pan; we want that!
- Add about 1/4 cup of the pasta cooking water to the skillet. Increase the heat to medium.
- Toss the pasta vigorously with the butter and water. This movement is essential to create the emulsion. The liquid will begin to look creamy and opaque.
- Remove the pan from the heat. This is crucial—if the pan is too hot, the cheese will clump rather than melt. Sprinkle half the cheese over the pasta and toss until melted. Repeat with the second half.
- If the sauce looks too thick or dry, add another tablespoon of pasta water. The result should be a glossy, silken coating on every strand of pasta.
- Finish with a shower of fresh parsley and an extra crack of black pepper. Serve immediately in warm bowls, perhaps topped with a little extra lemon zest for a summer lift.
Conclusion
Building a viral board isn’t about following a rigid set of rules; it’s about embracing the season and the people you share it with. Whether you’re foraging for dandelions to make golden jelly or quickly emulsifying a silky pasta sauce, the heart of the minimalist lifestyle is finding beauty in the simple and the fresh. I hope these recipes and styling tips inspire you to slow down, fire up the grill, and create a spread that nourishes both the body and the soul. Happy hosting!