
The Micro-French Revolution: Chic, Barely-There Nail Art You Can Do in Minutes
Hi loves, welcome back to my little corner of the internet. Have you ever had those mornings where you just want to feel ‘put together’ without spending three hours in a salon chair? There is something so restorative about looking down at your hands and seeing clean, delicate lines that whisper elegance rather than shouting for attention. It’s like a soft cashmere sweater for your fingertips.
Today, I’m so excited to share the ‘Micro-French’ revolution with you. We’re moving away from the thick, chunky tips of the early 2000s and embracing something much more ethereal. These designs are about celebrating your natural beauty while adding that tiny spark of joy that only a fresh manicure can bring. Let’s dive into these dreamy, minimalist designs together.
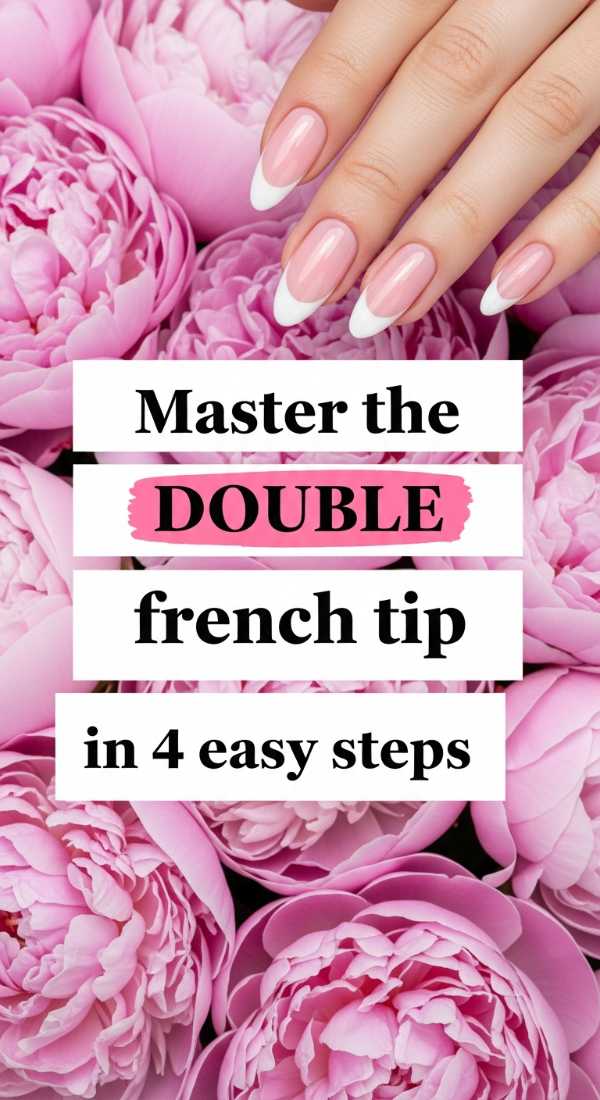
Master the double french tip in 4 easy steps
Why to love these Nails:
The double French tip is the ultimate ‘cool girl’ upgrade to a classic. It adds a touch of architectural depth to your nails without feeling heavy or cluttered. It’s perfect for when you want to feel a little more modern and edgy while staying completely sophisticated and professional.
Essential Items:
- Sheer nude base polish
- Ultra-fine striper brush
- Crisp white nail lacquer
- High-shine top coat
How to Prepare:
- Apply two thin coats of your sheer nude base and let dry completely.
- Using the striper brush, draw a whisper-thin arc at the very tip of the nail.
- Parallel to the first line, draw a second even thinner line just slightly below it.
- Seal the look with a glossy top coat to blend the layers seamlessly.
Budget Range
- Essie Skinny Dip: $10.00
- Beetles Nail Art Liner Brushes: $6.99
- Seche Vite Dry Fast Top Coat: $9.95
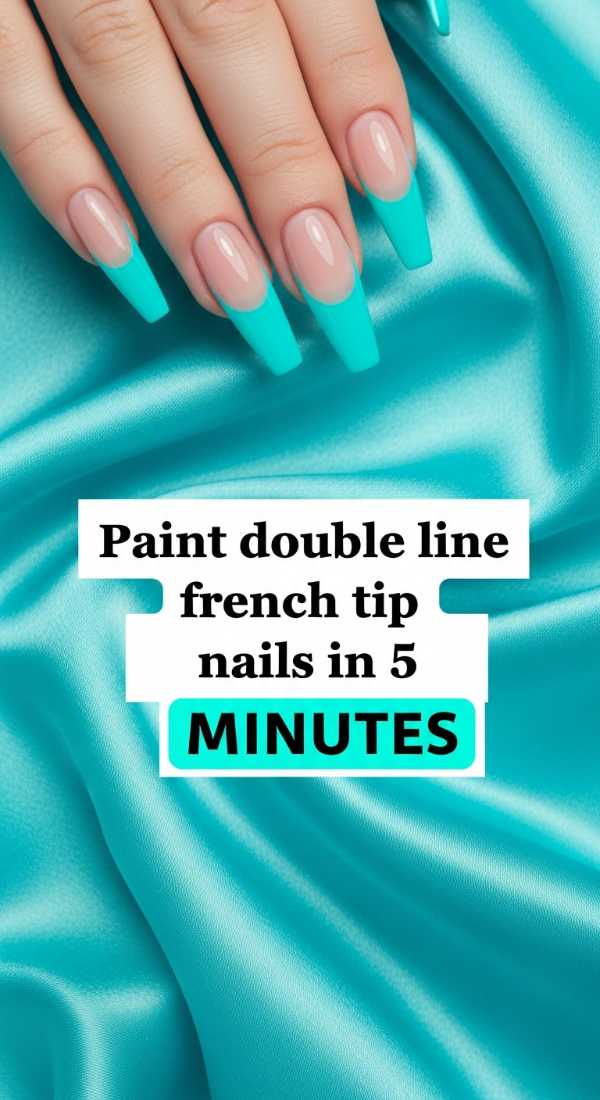
Paint double line french tip nails in 5 minutes
Why to love these Nails:
We all have those hectic days where we need to look polished in a flash. This 5-minute version focuses on speed and impact. It’s the manicure equivalent of a ‘no-makeup’ makeup look—effortless, bright, and surprisingly easy to achieve even if your hands aren’t the steadiest.
Essential Items:
- Fast-dry base color
- Contrast polish (gold or silver works beautifully)
- Fast-setting top coat
How to Prepare:
- Swipe on a quick-dry base color.
- Load your brush with very little polish to avoid globs.
- Quickly flick two lines across the tips following the natural curve.
- Wait 60 seconds and apply top coat.
Budget Range
- Sally Hansen Insta-Dri: $7.00
- Wet n Wild Fast Dry AF: $4.00
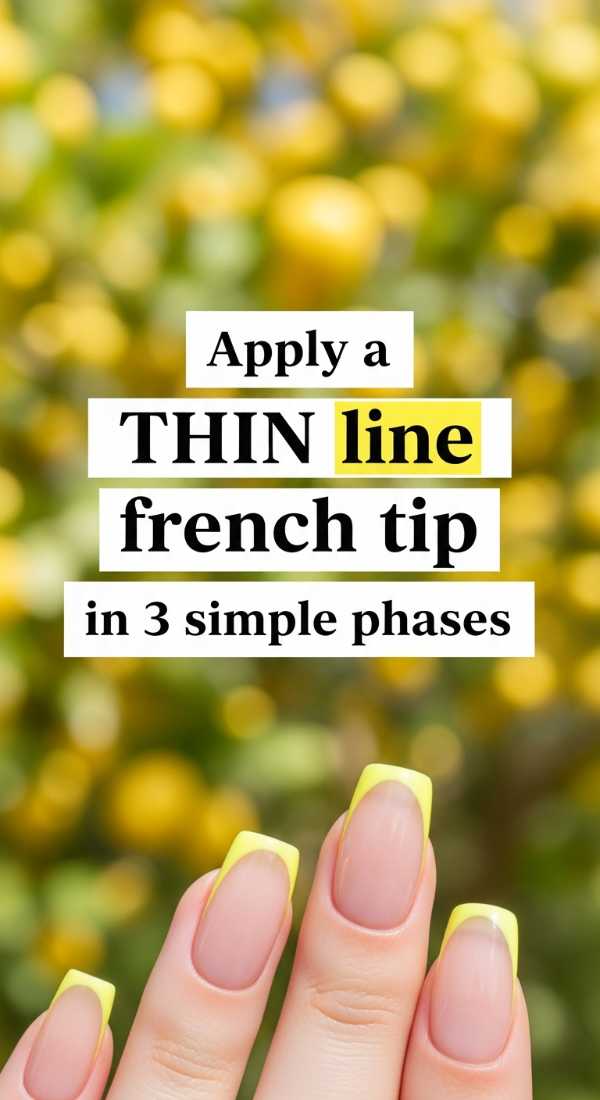
Apply a thin line french tip in 3 simple phases
Why to love these Nails:
This is the ‘Micro-French’ in its purest form. It’s so subtle that people might not notice it until they get close, creating an air of mystery and intentionality. It makes your nail beds look longer and your fingers more slender.
Essential Items:
- Opaque white polish
- Detailing brush
- Acetone for clean-up
How to Prepare:
- Phase 1: Sketch the center point of the tip to ensure symmetry.
- Phase 2: Connect the edges to the center in one fluid motion.
- Phase 3: Clean up the underside of the line with a brush dipped in acetone for a razor-sharp finish.
Budget Range
- OPI Alpine Snow: $11.50
- Clean-up brush: $5.00
Create a lace french tip in 6 detailed steps
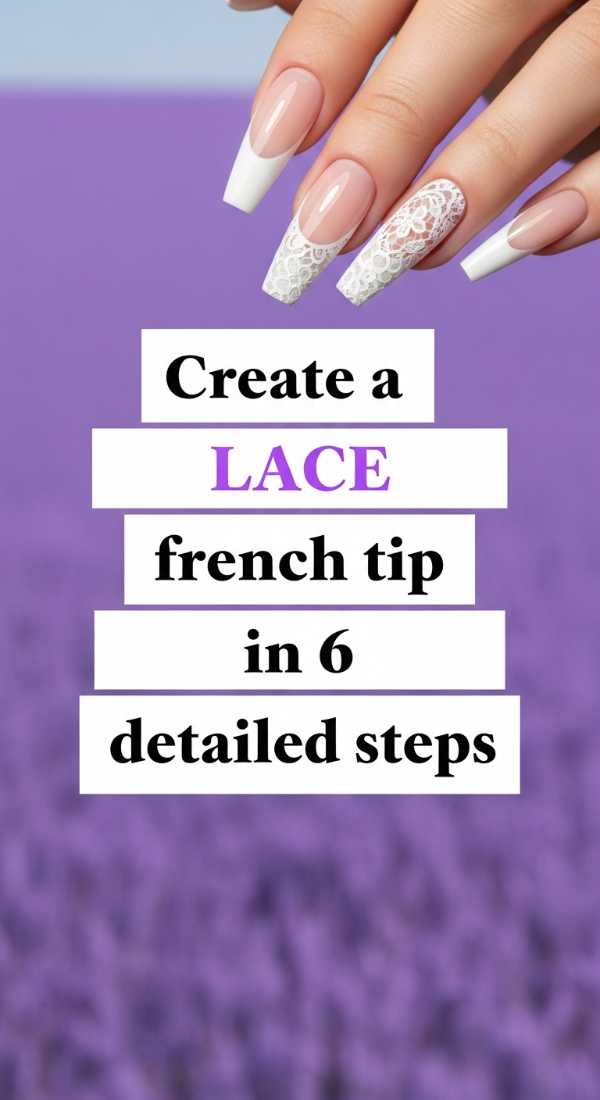
Why to love these Nails:
If you’re a romantic at heart, the lace French tip is for you. It mimics the delicate texture of vintage lace or a bridal veil. It’s incredibly feminine and adds a soft, tactile dimension to your look that feels like a tiny piece of art.
Essential Items:
- Creamy white polish
- Dotting tool (or a toothpick!)
- Matte top coat (optional for a fabric look)
How to Prepare:
- Paint a standard thin French tip as your base.
- Using a dotting tool, place three tiny dots along the bottom of the line.
- Connect the dots with tiny U-shaped swoops.
- Add even smaller dots inside the swoops.
- Let dry for at least 5 minutes.
- Apply a matte top coat to give it that authentic lace feel.
Budget Range
- Zoya Purity: $12.00
- Nail Art Dotting Tool Set: $5.00
Achieve straight line french tip nails with 2 tools
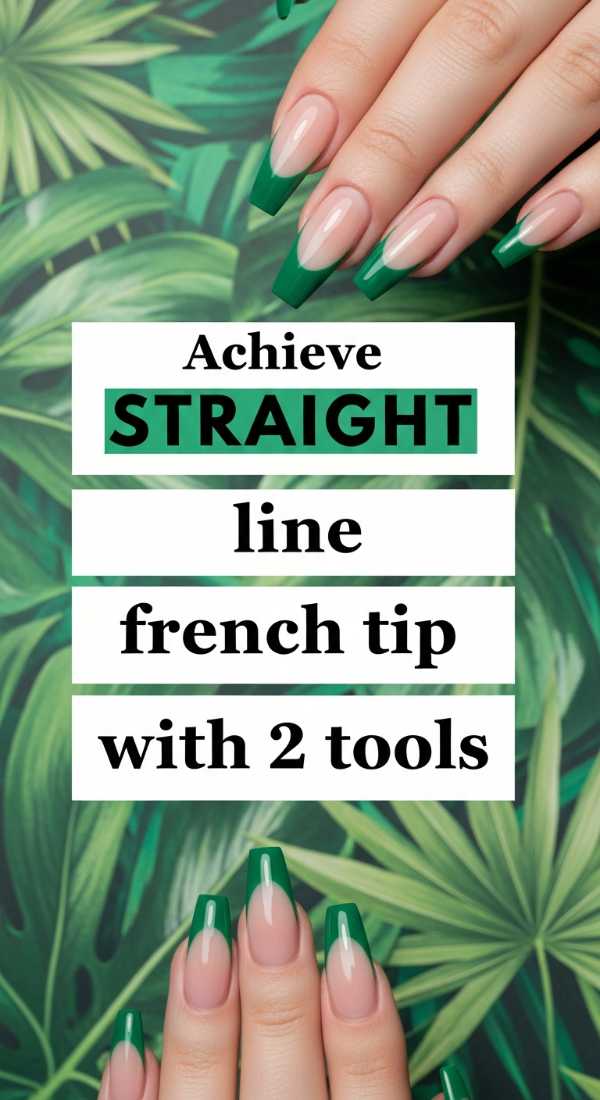
Why to love these Nails:
Sometimes curves feel too traditional. A straight-line French tip offers a geometric, modern aesthetic that feels very ‘editorial.’ It’s the easiest way to make a statement with the least amount of effort, especially if you love a minimalist wardrobe.
Essential Items:
- Nail striping tape
- Tweezers
How to Prepare:
- Place a piece of striping tape horizontally across the top 10% of your nail.
- Paint the tip above the tape and immediately peel the tape away with tweezers for a perfect line.
Budget Range
- Line Tape Dispenser: $3.00
- Precision Tweezers: $8.00
Draw line french tip nails in 5 seconds per finger
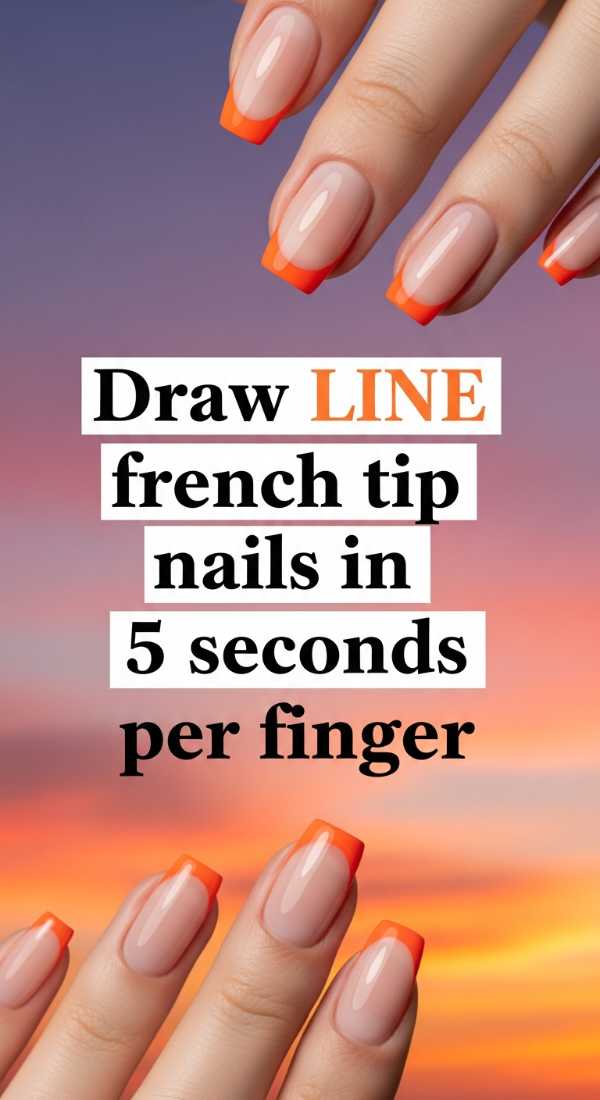
Why to love these Nails:
This is the ultimate hack for my busy loves. By using a silicone stamper, you get a perfect, symmetrical curve every single time. It’s foolproof, fun to do, and feels like a little magic trick happening right on your vanity.
Essential Items:
- Silicone nail stamper
- Highly pigmented polish
How to Prepare:
- Apply a small amount of polish to the silicone head of the stamper.
- Gently press your fingernail into the silicone at a 45-degree angle.
- Lift straight up and admire the perfect line.
- Clean the stamper with a lint roller.
- Top coat and go!
Budget Range
- Clear Jelly Stamper: $9.00
- Lint Roller: $2.00
Perfect the double lined french tip using 4 techniques
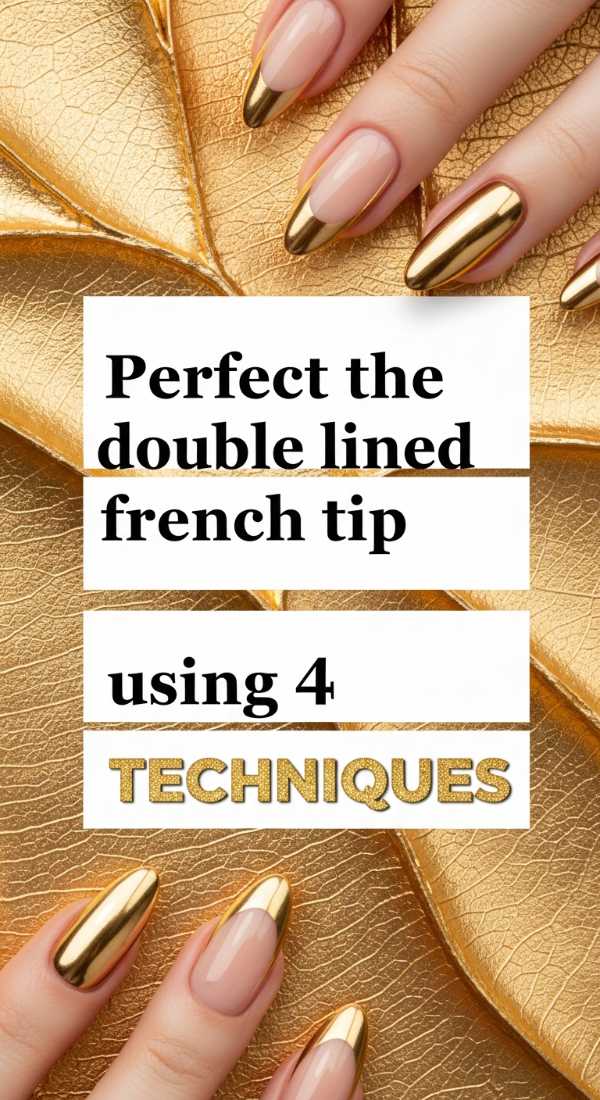
Why to love these Nails:
This look plays with negative space, leaving a tiny gap between two thin lines. It’s a sophisticated way to show off your natural nail health while still feeling ‘done.’ It’s versatile enough for a wedding or a casual coffee date.
Essential Items:
- Guide stickers
- Dual-ended nail brush
How to Prepare:
- Use a ‘freehand’ technique for the first line to get a natural flow.
- Use a ‘stamping’ technique for the second line to ensure it’s straight.
- Use ‘tape’ for the side edges to keep them clean.
- Use a ‘dry brush’ technique to soften any harsh intersections.
Budget Range
- French Manicure Guides: $4.00
- Dual Brush Set: $12.00
Style your thin line french tip for 7 days of wear
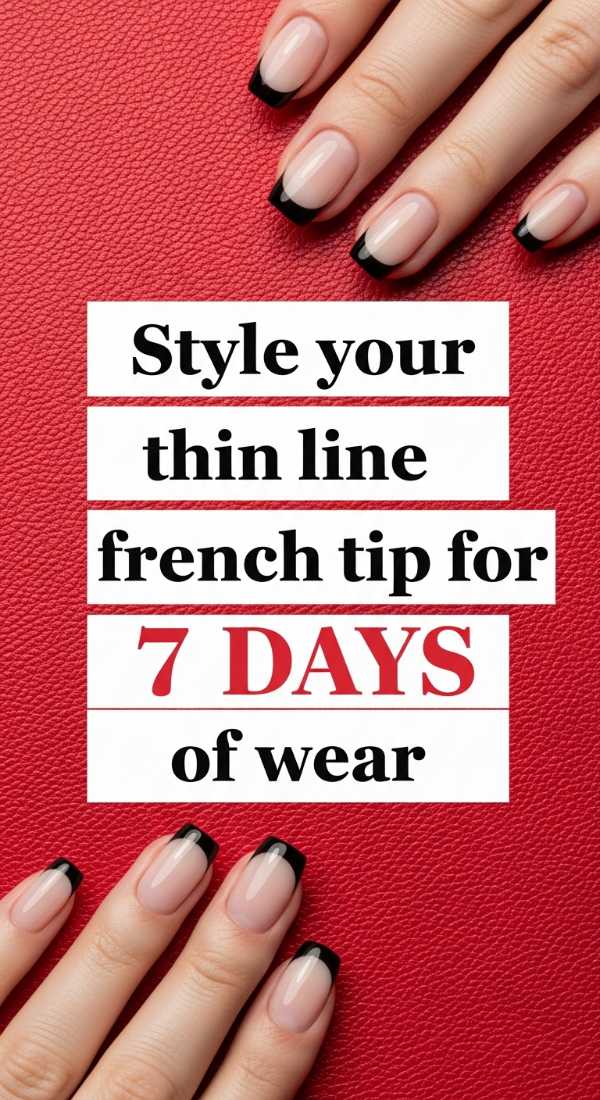
Why to love these Nails:
There is nothing worse than a chip the day after you paint. By styling and prepping specifically for longevity, your micro-French can last a full week. This is about making your self-care ritual last as long as possible.
Essential Items:
- Nail dehydrator
- Sticky base coat
- UV/LED Top Coat (optional)
How to Prepare:
- Dehydrate the nail plate with alcohol or a professional dehydrator.
- Apply a ‘sticky’ base coat to grab the polish.
- Always ‘cap’ the free edge of your nail with both the tip polish and the top coat.
Budget Range
- Orly Bonder Base: $10.00
- Modelones Dehydrator: $7.00
Finish a lace french tip in 10 minutes at home
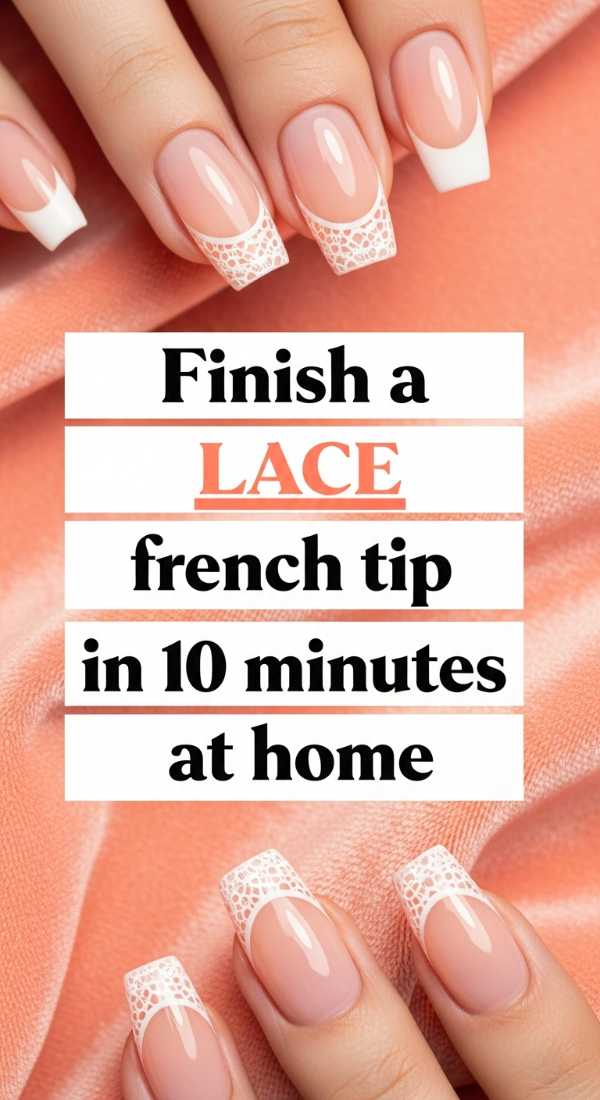
Why to love these Nails:
This version uses the ‘stenciling’ shortcut. It’s perfect for those who love the intricate look of lace but don’t have the steady hand for manual dotting. It’s high-impact glamour in the time it takes to brew a pot of tea.
Essential Items:
- Lace-patterned nail vinyls
- Sponge wedge
How to Prepare:
- Apply the vinyl stencil to a dry nail.
- Dab white polish onto a sponge and lightly tap over the stencil.
- Remove the vinyl immediately while wet.
Budget Range
- What’s Up Nails Vinyls: $5.00
- Makeup Sponges: $3.00
Layer a double french tip in 3 pro-level steps
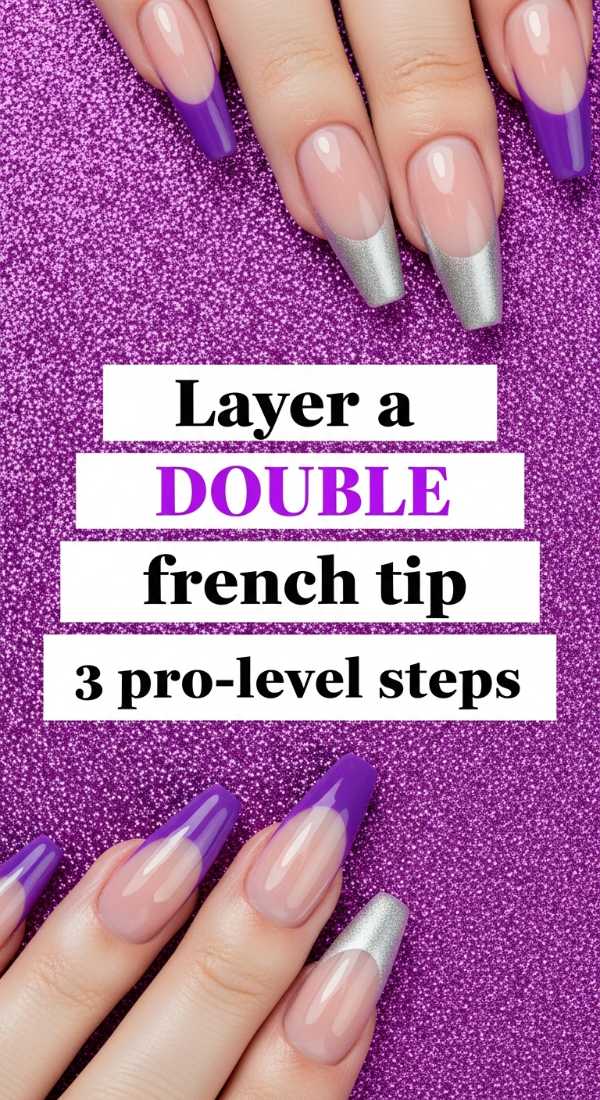
Why to love these Nails:
This uses sheer, ‘jelly’ polishes to create a layered, stained-glass effect. It adds a professional dimension that looks like you spent $100 at a high-end boutique. It’s deep, glossy, and incredibly chic.
Essential Items:
- Jelly/Sheer polish
- White liner
How to Prepare:
- Step 1: Apply one coat of jelly polish.
- Step 2: Draw your first white line and let it dry.
- Step 3: Apply a second coat of jelly polish over the whole nail, then add the second white line on top.
Budget Range
- Cirque Colors Jelly Collection: $12.50
- Holo Taco Not Milky White: $11.00
Conclusion
Sweet friends, I hope this guide inspires you to take ten minutes for yourself this week. Whether you choose the architectural straight line or the romantic lace, remember that beauty doesn’t have to be loud to be powerful. These micro-designs are a gentle reminder that even the smallest details in our lives can be filled with intention and grace. Tag me in your nail selfies—I can’t wait to see your beautiful creations!