
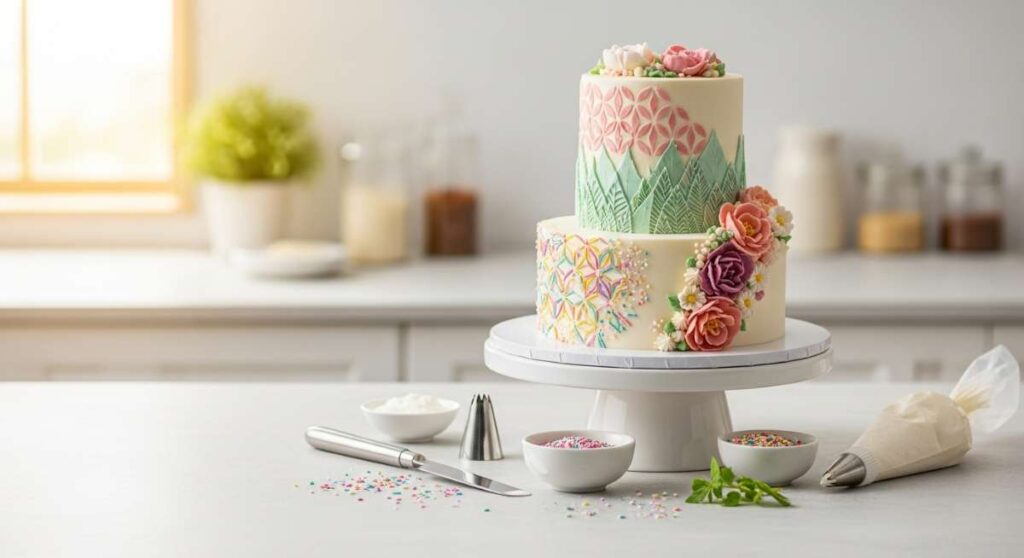
The Icing on the Cake: Artful Designs for Every Home Baker
Hello my loves! There is something so incredibly grounding about the scent of vanilla wafting through a sun-drenched kitchen on a Saturday afternoon. It’s like a warm, cloud-soft embrace that whispers, ‘Slow down, create something beautiful.’ For me, baking has never been just about the sugar; it’s about the heart we pour into every whisk and the sparkle in a loved one’s eyes when they see a cake made just for them.
Today, I’m opening up my recipe binder to share some of my favorite artful designs with you. Whether you’re celebrating a graduate’s big leap or just the arrival of strawberry season, I want you to feel empowered to pick up that spatula. Let’s turn your kitchen into a sanctuary of sweetness together!
6 easy steps to decorate a graduation cake

Why to love this recipe:
This design is the ultimate tribute to their hard work and late-night study sessions. It combines a classic, clean look with a touch of celebratory flair that makes any graduate feel like a superstar.
Essential Ingredients:
- Two 8-inch round cakes
- White vanilla buttercream
- Black fondant for the cap
- Gold luster dust
- Piping bags and tips
- A small tassel
How to Prepare:
- Level your cakes and stack them with a thick layer of frosting in between.
- Apply a smooth crumb coat and chill for 30 minutes to lock in those pesky crumbs.
- Add a final, thick layer of white buttercream, smoothing the sides with a bench scraper.
- Roll out black fondant and cut a square and a circle to assemble a mini mortarboard.
- Place the cap on top and pipe a beaded border around the base using a round tip.
- Dust the edges with gold luster dust for that final ‘honor roll’ shine.
Budget Range
- Wilton Icing Colors: $4.99
- Gold Luster Dust: $8.50
- Reusable Piping Bags: $12.00
5 simple ways to bake a floral mother’s day cake

Why to love this recipe:
Moms deserve the world, and this cake is like a bouquet you can actually eat. It’s soft, delicate, and carries the fragrance of a garden in full bloom, making it the perfect centerpiece for a brunch.
Essential Ingredients:
- Lemon zest sponge cake
- Swiss meringue buttercream
- Edible pansies or rose petals
- Small offset spatula
- Fresh berries
How to Prepare:
- Bake a light lemon sponge and let it cool completely to avoid melting your flowers.
- Whip up a batch of airy Swiss meringue buttercream for a silky finish.
- Apply a rustic ‘naked’ frosting style, letting the golden cake peek through.
- Gently press edible flowers into the sides of the cake in a cascading pattern.
- Top with a handful of fresh raspberries for a pop of natural color.
Budget Range
- Organic Edible Flowers: $15.00
- Microplane Zester: $14.99
- Organic Raspberries: $5.00
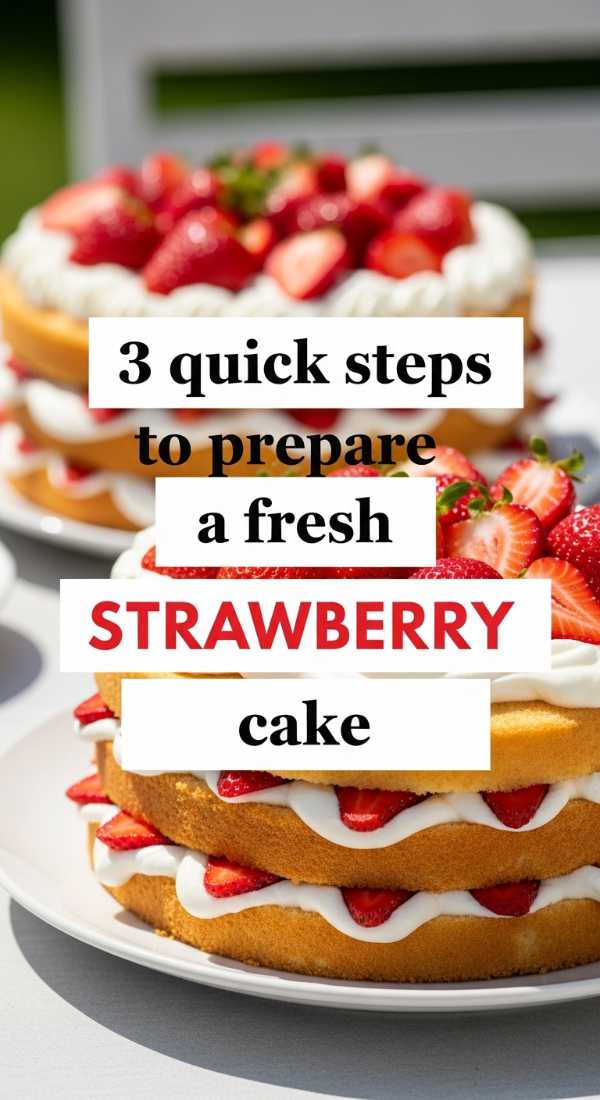
3 quick steps to prepare a fresh strawberry summer cake
Why to love this recipe:
Summer in a bite! This cake is all about celebrating the peak of the season. It’s light, airy, and highlights the juicy sweetness of sun-ripened strawberries without any fuss.
Essential Ingredients:
- Chantilly cream
- Freshly sliced strawberries
- Shortcake-style sponge
How to Prepare:
- Slice your sponge cake horizontally and soak lightly with a touch of simple syrup.
- Spread a generous layer of Chantilly cream and a mountain of sliced berries in the middle.
- Top with the second layer and finish with a rustic dollop of cream and more berries.
Budget Range
- Local Farmer’s Market Strawberries: $6.00
- Heavy Whipping Cream: $4.50
- Pure Vanilla Paste: $18.00
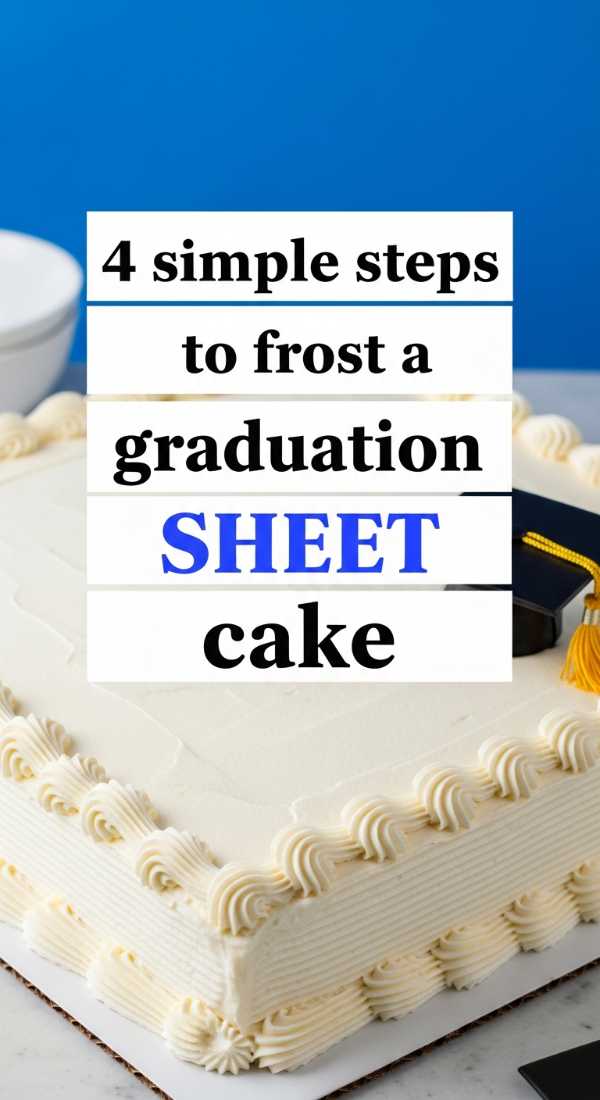
4 simple steps to frost a graduation sheet cake
Why to love this recipe:
Sheet cakes are the unsung heroes of big parties! This method ensures every slice gets the perfect amount of frosting while looking professional and polished for the big celebration.
Essential Ingredients:
- 9×13 sheet cake
- Large batch of crusting buttercream
- Angled spatula
- Graduation-themed sprinkles
How to Prepare:
- Scoop a large amount of frosting onto the center of the cooled sheet cake.
- Use your angled spatula to push the frosting toward the edges in long, smooth strokes.
- Create a textured ‘swirl’ pattern by making small ‘C’ shapes with the tip of your spatula.
- Generously scatter graduation sprinkles around the perimeter for an instant party vibe.
Budget Range
- Aluminum 9×13 Cake Pan: $12.00
- Graduation Confetti Sprinkles: $6.00
- Angled Spatula Set: $9.00
7 easy ways to design a golf themed birthday cake

Why to love this recipe:
Perfect for the ‘hole-in-one’ enthusiast in your life! This design is playful, creative, and surprisingly easy to achieve using common kitchen tools to mimic the textures of a golf course.
Essential Ingredients:
- Green food coloring
- Crushed graham crackers (for sand traps)
- White chocolate balls (for golf balls)
- Grass piping tip (Wilton 233)
- Blue gel frosting (for water hazards)
How to Prepare:
- Frost your cake with a base of light green buttercream.
- Use the grass tip to pipe patches of ‘rough’ around the edges.
- Create a ‘sand trap’ by clearing a small area and filling it with graham cracker crumbs.
- Pipe a small circle of blue gel to act as a water hazard.
- Place a white chocolate ball on a small tee or directly on the ‘green’.
- Add a toothpick with a small paper flag for the hole number.
- Smooth out a section of green frosting to act as the ‘putting green’.
Budget Range
- Wilton Grass Tip #233: $2.50
- Blue Sparkle Gel: $3.99
- Graham Crackers: $4.00
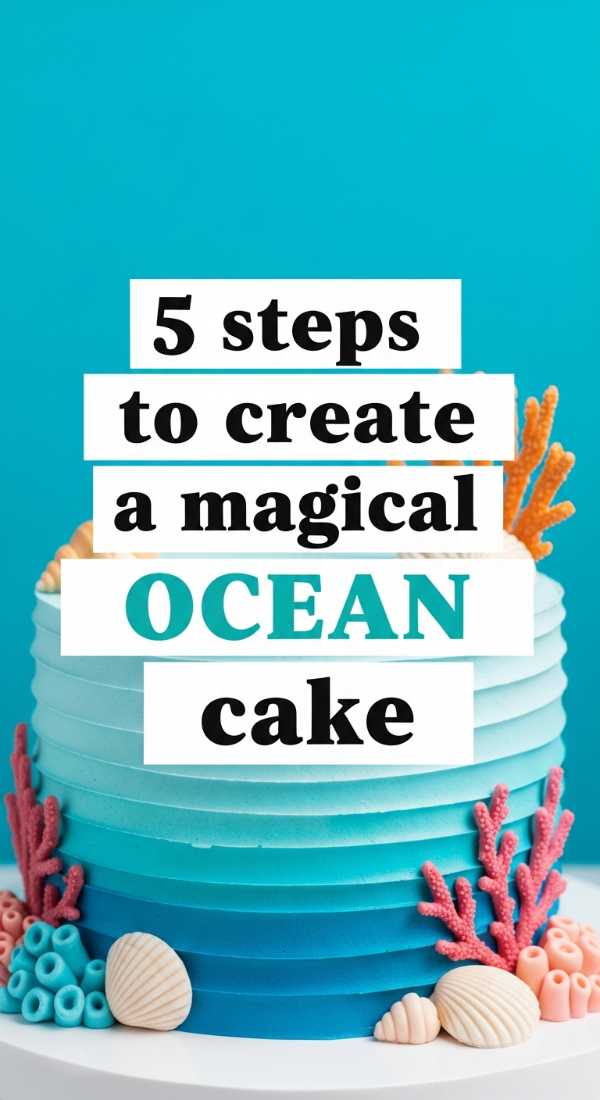
5 steps to create a magical ocean birthday cake
Why to love this recipe:
This cake is a dive into an underwater wonderland. With its ombre blues and shimmering details, it’s a dreamy choice for any little mermaid or ocean lover celebrating another year.
Essential Ingredients:
- Blue and teal gel colors
- White chocolate shells
- Edible glitter
- Brown sugar (for sea sand)
- Vanilla frosting
How to Prepare:
- Divide your frosting into three bowls and tint them light blue, medium teal, and deep navy.
- Apply the navy at the bottom, teal in the middle, and light blue at the top.
- Blend the colors together with a bench scraper to create a beautiful sea ombre.
- Press brown sugar around the base to look like the ocean floor.
- Decorate with chocolate shells and a dusting of ‘seafoam’ edible glitter.
Budget Range
- Ocean Theme Silicone Molds: $11.00
- Edible Teal Glitter: $7.00
- White Chocolate Melts: $5.50
8 fun ways to make gourmet cakesicles at home
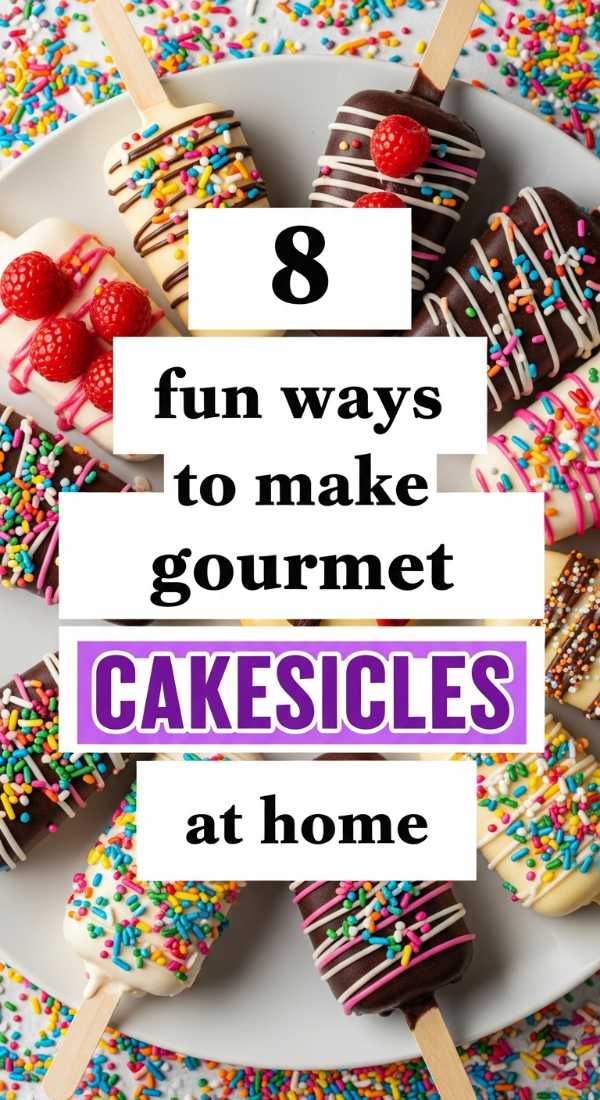
Why to love this recipe:
Cakesicles are the trendy, portable cousins of the cake world. They are bite-sized pieces of joy that allow for endless creativity with decorations and flavors, perfect for gifting.
Essential Ingredients:
- Leftover cake crumbs
- Frosting
- Chocolate melting wafers
- Popsicle sticks
- Sprinkles and drizzles
How to Prepare:
- Mix cake crumbs and frosting until it reaches a dough-like consistency.
- Coat your silicone cakesicle molds with melted chocolate and chill.
- Press the cake mixture into the chocolate shells, leaving room at the top.
- Insert popsicle sticks and cover the back with more melted chocolate.
- Chill until firm, then gently pop them out of the molds.
- Drizzle with contrasting chocolate colors.
- Add sprinkles while the drizzle is still wet.
- Wrap in cellophane bags for a professional, gourmet look.
Budget Range
- Silicone Cakesicle Molds: $9.99
- Ghirardelli Melting Wafers: $6.50
- Cellophane Treat Bags: $5.00
4 easy steps for a western cowgirl birthday cake
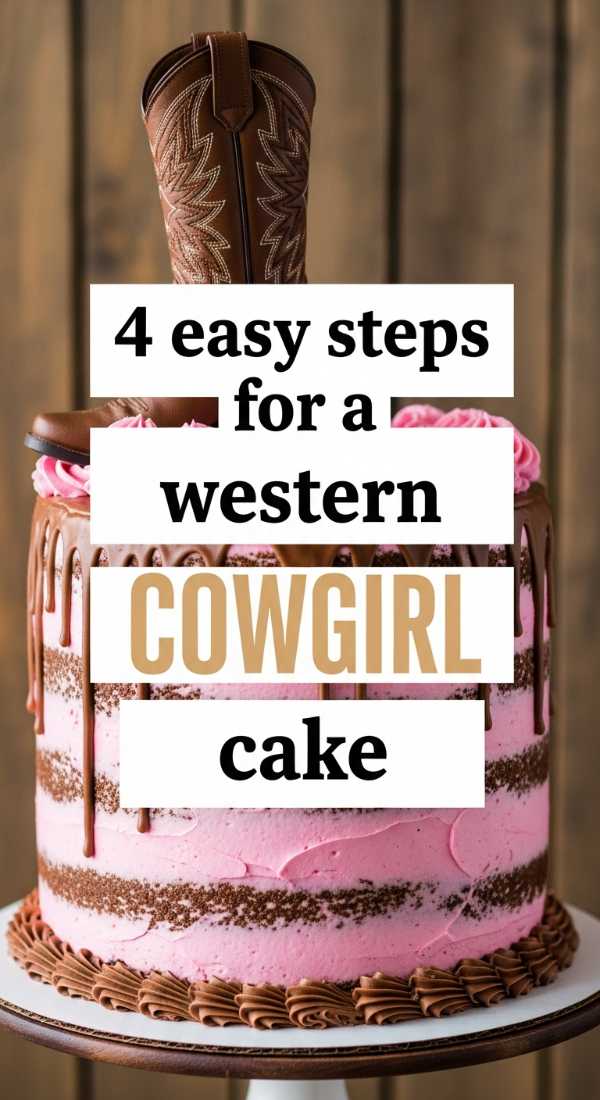
Why to love this recipe:
Giddy up! This western-themed cake is all about rustic charm and spirited fun. It’s a wonderful way to bring a bit of the frontier to your dessert table with simple, bold elements.
Essential Ingredients:
- Pink and brown frosting
- Plastic toy horses or a cowgirl hat topper
- Bandana-print ribbon
- Rope-style piped border
How to Prepare:
- Frost the cake in a soft ‘dusty rose’ pink buttercream.
- Pipe a thick ‘rope’ border around the top and bottom using a star tip and tan frosting.
- Place a clean cowgirl hat topper or small plastic horses in the center.
- Tie a bandana ribbon around the cake board for that final western touch.
Budget Range
- Pink Gel Food Color: $3.50
- Cowgirl Cake Topper: $7.00
- Pink Bandana Ribbon: $4.00
5 elegant steps to style a 1st communion cake
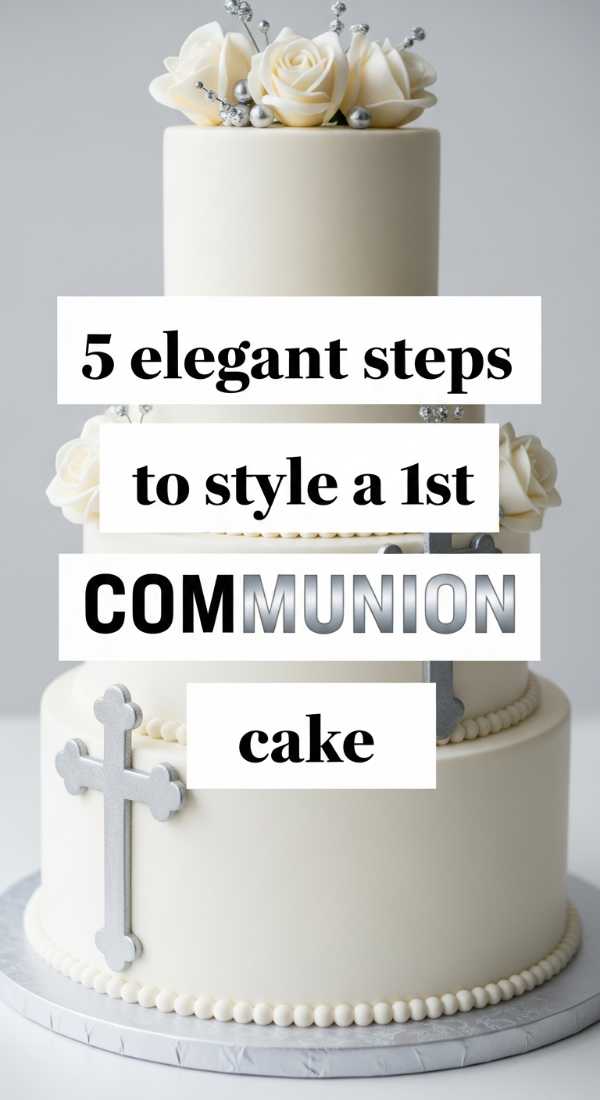
Why to love this recipe:
This design emphasizes purity and grace. It’s sophisticated and understated, focusing on clean lines and symbolic details that honor the solemnity of the occasion.
Essential Ingredients:
- White fondant or extra-smooth buttercream
- Sugar pearls
- Small fondant cross or silver topper
- Fresh white lilies (non-toxic variety)
How to Prepare:
- Frost the cake in a pristine, pure white finish.
- Place a silver or white fondant cross prominently in the center.
- Carefully arrange a single row of sugar pearls around each tier’s base.
- Add a few fresh, clean white flowers to one side for a touch of organic beauty.
- Keep the board white and clean to maintain the ethereal aesthetic.
Budget Range
- Edible Sugar Pearls: $5.99
- Silver Cross Cake Topper: $10.00
- Fondant Rolling Pin: $12.00
6 creative ways to bake a whimsical birthday cake
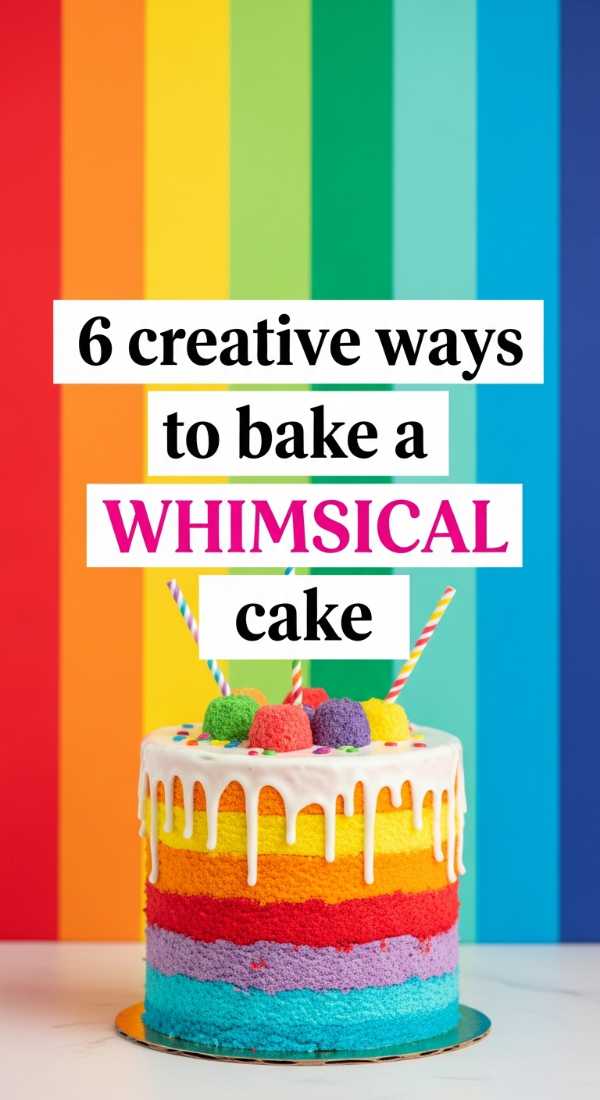
Why to love this recipe:
This cake is all about letting your imagination run wild! It’s quirky, colorful, and defies the ‘rules’ of traditional baking to create something that looks like it stepped out of a storybook.
Essential Ingredients:
- Neon food colors
- Lollipops and candy
- Macarons
- Gold leaf
- Funfetti cake batter
How to Prepare:
- Bake multiple layers of bright, funfetti-filled cake.
- Use mismatched, vibrant frosting colors for each layer’s filling.
- Apply a ‘watercolor’ frosting effect on the outside with splashes of neon.
- Stick lollipops and colorful macarons into the top at varying heights.
- Apply small flecks of gold leaf for a touch of magical sparkle.
- Finish with an oversized, glittery ‘Happy Birthday’ sign.
Budget Range
- Neon Food Coloring Set: $13.00
- Edible Gold Leaf Sheets: $9.00
- Assorted Macarons: $12.00
A Sweet Farewell
Baking is such a beautiful journey, isn’t it? It’s one of the few ways we can take simple ingredients like flour and sugar and turn them into a core memory. I hope these designs inspire you to tie on your apron and find your own ‘icing on the cake.’ Remember, it doesn’t have to be perfect to be filled with love. Until next time, keep your oven warm and your heart full! I can’t wait to see what you create, my loves.