
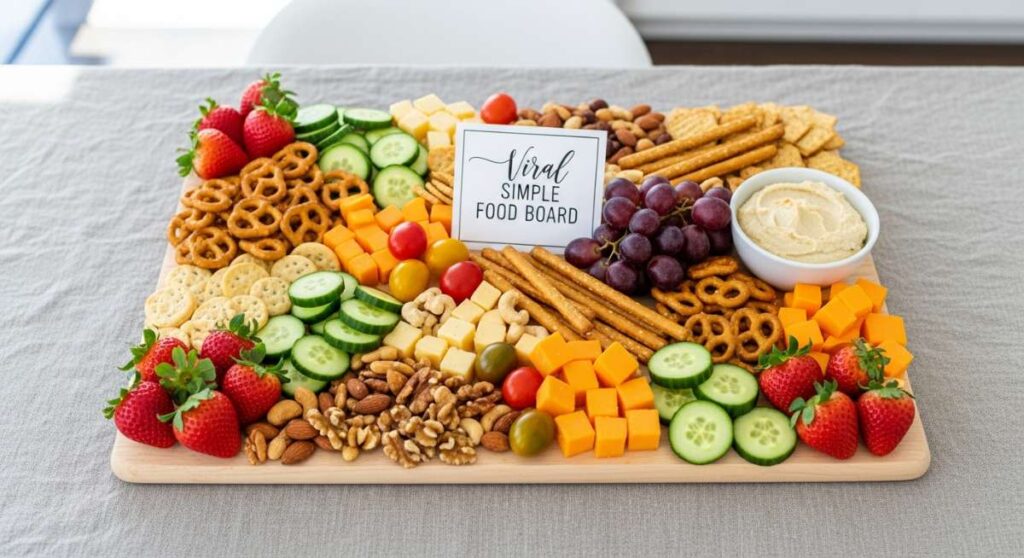
Have you ever walked into a gathering and felt that instant wave of comfort when you see a massive, colorful board spread across the kitchen island? There is something uniquely magical about the snack board trend—it’s not just about the food, but the communal experience of grazing, sharing stories, and reaching for that one perfect bite. It’s the ultimate ‘no-stress’ hosting hack that turns a simple Tuesday night into a celebration of flavors and textures.
Lately, my social media feeds have been exploding with a new evolution of the classic charcuterie: the Viral Simple Food Board. Instead of just crackers and cheese, we’re seeing deconstructed meals and vibrant, hot-and-cold pairings that make everyone lean in closer. Whether you are hosting a backyard summer bash or just want to treat your family to a fun, interactive dinner, these easy-to-follow components are the secret to a board that looks like a masterpiece but feels like home.
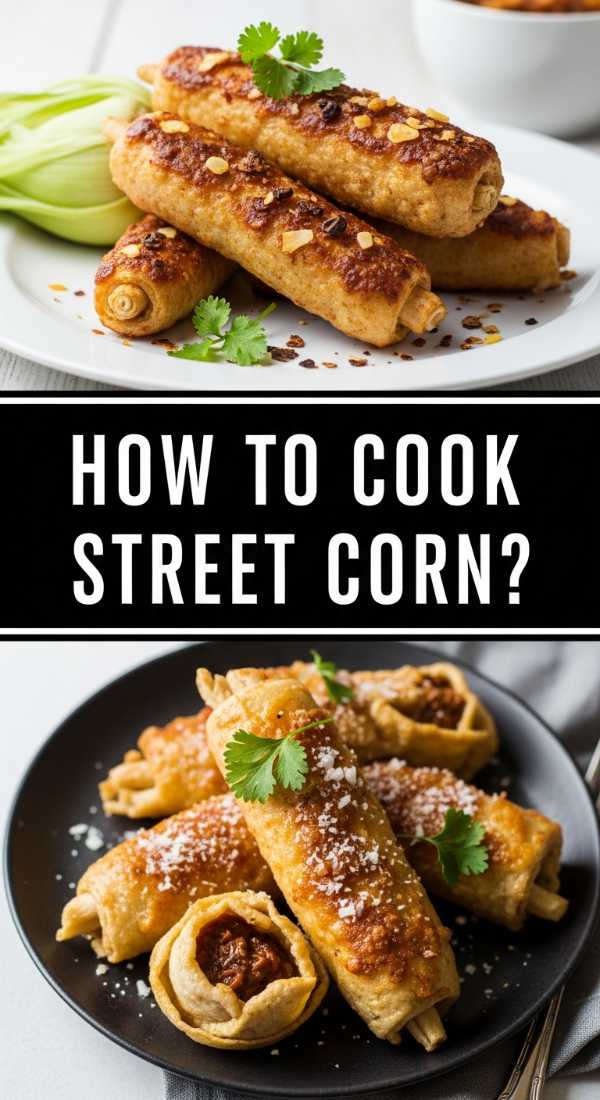
How to cook street corn?
Why we love this
There is nothing quite like the smoky, charred aroma of street corn to transport your senses straight to a vibrant outdoor market. The contrast between the sweet, juicy kernels and the rich, creamy slathering of mayo and crema creates a decadent mouthfeel that is heightened by the salty crumble of cotija cheese. Every bite offers a symphony of textures—the slight crunch of the char, the velvetiness of the sauce, and the bright, zesty zing of fresh lime juice and chili powder that lingers beautifully on the palate.
Ingredients
- 4 ears of fresh sweet corn, husked
- 1/4 cup mayonnaise
- 1/4 cup Mexican crema or sour cream
- 1/2 cup crumbled cotija cheese
- 1/2 cup chopped fresh cilantro
- 1 teaspoon chili powder or ancho chili powder
- 1 lime, cut into wedges
- 1 tablespoon unsalted butter, melted
How to make it
- Preheat your grill or a heavy cast-iron skillet over medium-high heat until it is smoking slightly; this high heat is crucial for achieving the signature blackened char without overcooking the interior of the corn.
- Brush each ear of corn lightly with melted butter to promote even browning and prevent sticking.
- Place the corn onto the hot surface and grill for about 8 to 10 minutes, using tongs to rotate the ears every 2 minutes so that the kernels become golden brown and slightly charred on all sides.
- In a small bowl, whisk together the mayonnaise and Mexican crema until smooth, then use a pastry brush to apply a generous, even layer of the mixture over the hot, charred corn.
- Immediately roll the coated corn in the crumbled cotija cheese and sprinkle with chili powder and cilantro, pressing the toppings gently so they adhere to the creamy base. Serve warm with an extra squeeze of lime.
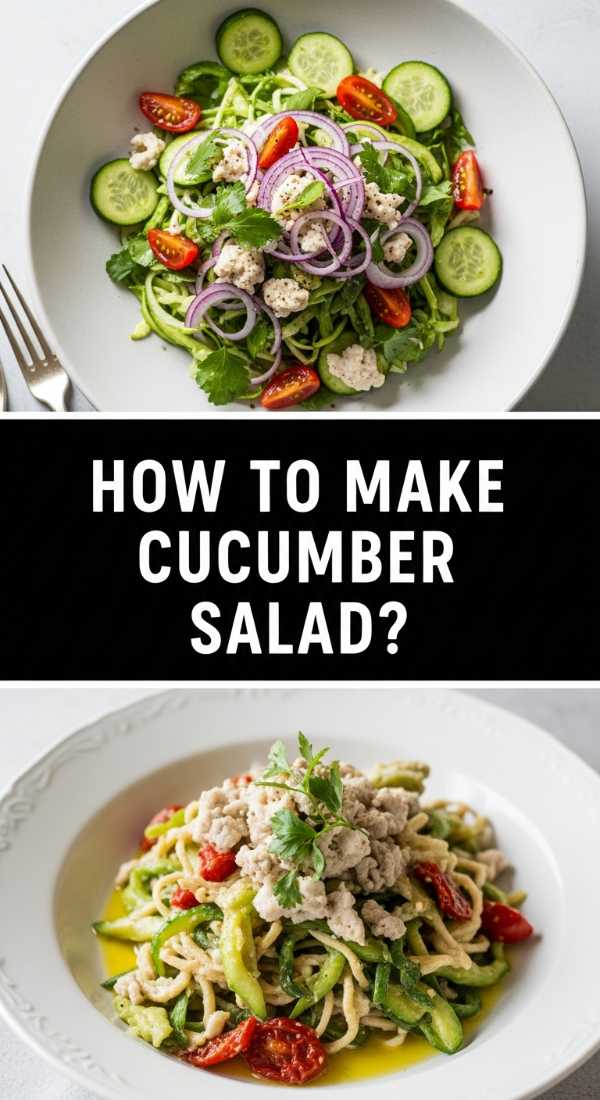
How to make cucumber salad?
Why we love this
This cucumber salad is the ultimate palate cleanser, offering a crisp, cooling sensation that balances out the bolder, spicier elements of any snack board. The translucent, paper-thin slices of cucumber soak up the tangy rice vinegar dressing, creating a refreshing crunch that is both light and deeply satisfying. As you eat, the subtle aroma of toasted sesame oil and the gentle bite of red onion mingle to create a clean, garden-fresh profile that feels like a breath of fresh air on a warm afternoon.
Ingredients
- 2 large English cucumbers, thinly sliced
- 1/2 small red onion, very thinly sliced
- 1/4 cup rice vinegar
- 1 tablespoon honey or sugar
- 1 teaspoon toasted sesame oil
- 1/2 teaspoon red pepper flakes (optional)
- Salt and cracked black pepper to taste
- 1 tablespoon toasted sesame seeds
How to make it
- Begin by slicing the English cucumbers into very thin rounds; using a mandoline on a thin setting is recommended here to ensure uniform slices that will absorb the marinade quickly and evenly.
- Place the sliced cucumbers in a colander and sprinkle with a pinch of salt, letting them sit for about 10 minutes to draw out excess moisture, which prevents the salad from becoming watery.
- In a large mixing bowl, whisk together the rice vinegar, honey, toasted sesame oil, and red pepper flakes until the honey is completely dissolved and the dressing is emulsified.
- Pat the cucumbers dry with a paper towel and add them to the bowl along with the thinly sliced red onions, tossing thoroughly to ensure every slice is coated in the dressing.
- Cover and refrigerate for at least 30 minutes to allow the flavors to marry, then garnish with toasted sesame seeds and fresh black pepper just before serving on your board.
How to prepare steak tacos?

Why we love this
Steak tacos are the robust, savory heart of any viral food board, offering a deeply satisfying richness that anchors the lighter sides. The smell of searing beef seasoned with cumin and garlic is incredibly evocative, promising a tender, juicy interior and a perfectly caramelized crust. When tucked into a charred tortilla, the warmth of the meat interacts with the cool toppings to create a rustic, handheld experience that feels both indulgent and soulful, making it the most reached-for item on the spread.
Ingredients
- 1 lb flank steak or skirt steak
- 2 tablespoons olive oil
- 2 cloves garlic, minced
- 1 teaspoon ground cumin
- 1 teaspoon smoked paprika
- Salt and pepper to taste
- 8 small corn or flour tortillas
- Fresh cilantro and lime wedges for serving
How to make it
- Start by marinating the steak: in a shallow dish, combine the olive oil, minced garlic, cumin, smoked paprika, salt, and pepper, rubbing the mixture thoroughly into both sides of the meat and letting it rest at room temperature for 20 minutes.
- Heat a heavy cast-iron skillet over high heat until it is searing hot; you want to see a slight wisp of smoke to ensure you get a professional-grade crust.
- Place the steak in the pan and sear for 4-5 minutes per side for medium-rare; avoid moving the meat during the first few minutes so the Maillard reaction can develop a deep, flavorful brown exterior.
- Remove the steak from the heat and transfer it to a cutting board, letting it rest for a full 10 minutes; this allows the juices to redistribute throughout the fibers, ensuring every bite is moist.
- Slice the steak against the grain into thin strips and serve immediately inside warm, lightly charred tortillas with a sprinkle of cilantro.
How to bake lemon chicken?

Why we love this
Lemon chicken brings a bright, sunny energy to the table, with its golden-brown skin and the intoxicating scent of roasted citrus and herbs. The texture is a delightful contrast between the crispy, savory exterior and the tender, succulent meat that practically melts in your mouth. There is a nostalgic, home-cooked warmth to this dish that feels sophisticated yet approachable, providing a zesty acidity that cuts through richer board components and keeps your palate excited for more.
Ingredients
- 1.5 lbs chicken thighs, bone-in and skin-on
- 2 large lemons (one sliced, one juiced)
- 3 tablespoons olive oil
- 4 cloves garlic, smashed
- 2 teaspoons dried oregano
- 1 teaspoon kosher salt
- 1/2 teaspoon black pepper
- Fresh parsley for garnish
How to make it
- Preheat your oven to 400°F (200°C) and lightly grease a large baking dish with olive oil to prevent the skin from sticking.
- In a small bowl, whisk together the lemon juice, olive oil, oregano, salt, and pepper to create a vibrant marinade that will tenderize the chicken as it bakes.
- Pat the chicken thighs completely dry with paper towels—this is the most important step for achieving crispy skin—then place them in the baking dish.
- Pour the marinade over the chicken and tuck the lemon slices and smashed garlic cloves between the pieces, ensuring the garlic is submerged so it doesn’t burn.
- Bake for 35 to 40 minutes, or until the internal temperature reaches 165°F and the skin is a deep golden brown; let the chicken rest for 5 minutes before serving to lock in the citrus-infused juices.
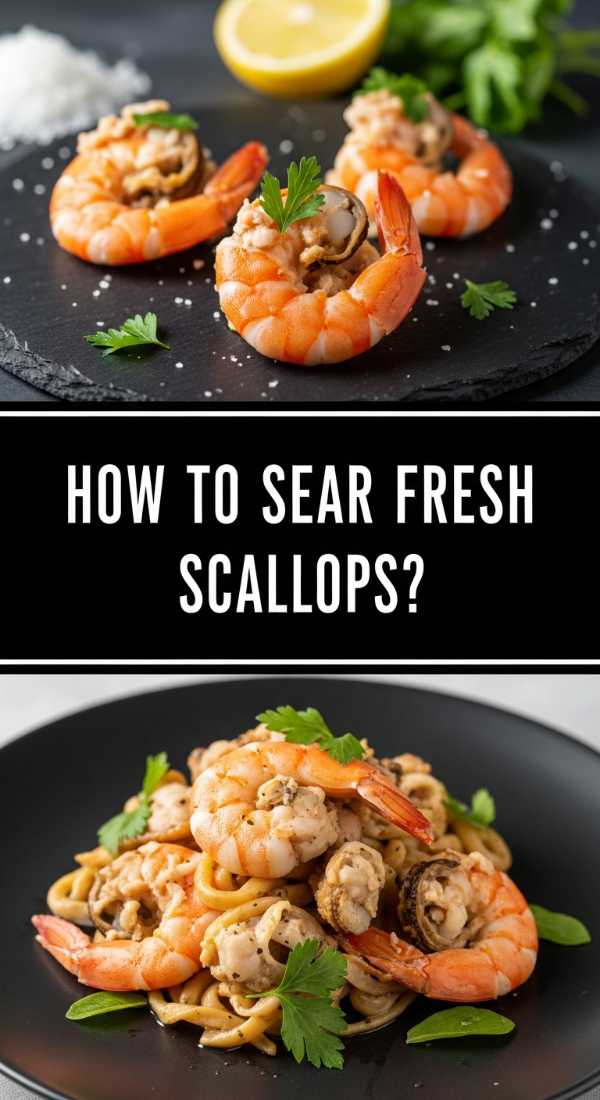
How to sear fresh scallops?
Why we love this
Fresh scallops are the ultimate luxury addition to a snack board, offering a delicate, buttery texture that feels incredibly elevated. When seared correctly, they develop a gorgeous, thin golden crust that gives way to a sweet, tender center that is almost marshmallow-like in its softness. The aroma of browning butter and sea salt creates an irresistible invitation to indulge, making these small but mighty bites the undisputed star of the show for anyone looking to impress their guests.
Ingredients
- 1 lb large sea scallops, tough side muscle removed
- 2 tablespoons unsalted butter
- 1 tablespoon high-smoke point oil (like grapeseed or avocado)
- Salt and freshly ground black pepper
- A squeeze of fresh lemon
- Microgreens for garnish
How to make it
- The secret to a perfect sear is dryness; place your scallops on a plate lined with paper towels and pat the tops and bottoms firmly until they are completely bone-dry to the touch.
- Season the scallops generously with salt and pepper only seconds before they hit the pan to prevent the salt from drawing out moisture and steaming the meat.
- Heat the oil and butter in a stainless steel or cast-iron skillet over high heat until the butter stops foaming and begins to turn a very light brown.
- Carefully place the scallops in the pan, ensuring they do not touch, and press down lightly with a spatula for 2 minutes without moving them until a thick golden crust forms.
- Flip the scallops and sear for only 60 to 90 seconds on the other side; they should be opaque but still soft. Remove immediately and finish with a spritz of lemon juice.
How to grill chicken fajitas?
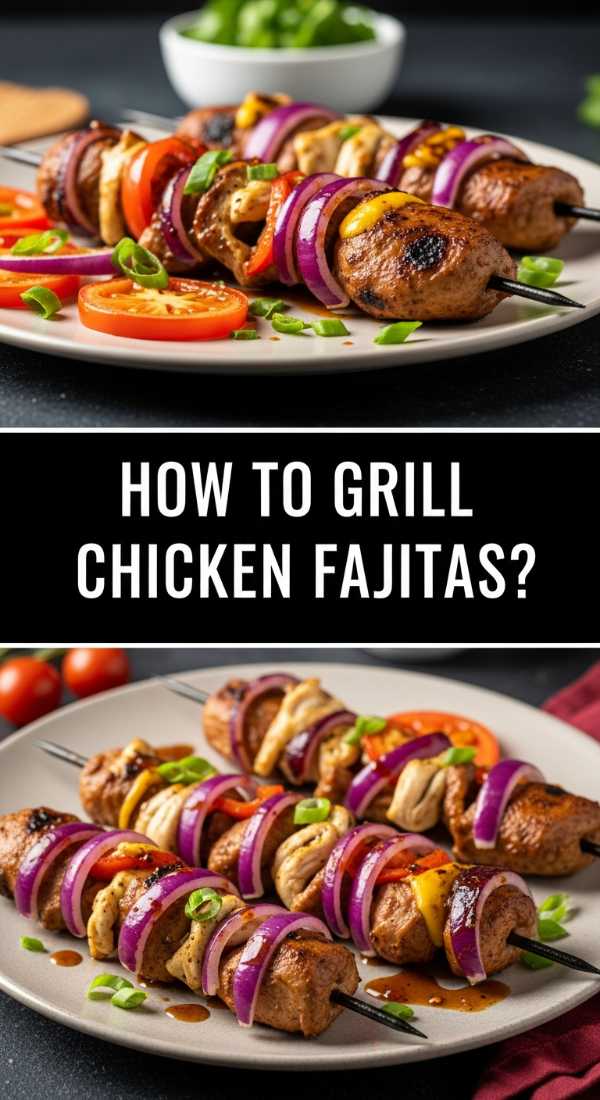
Why we love this
There is a theatrical element to grilled chicken fajitas, especially when the smoke from the grill carries the scent of caramelized peppers and onions across the patio. The chicken takes on a beautiful char that contrasts with the vibrant, crunch-tender strips of bell pepper, creating a visual and flavor-filled explosion. It’s a messy, joyful eating experience that encourages guests to build their own bites, making it a perfect interactive centerpiece for a large, communal snack board.
Ingredients
- 1 lb boneless skinless chicken breasts, sliced into strips
- 3 bell peppers (mixed colors), sliced into strips
- 1 large yellow onion, sliced
- 3 tablespoons vegetable oil
- 1 tablespoon chili powder
- 1 teaspoon cumin
- 1/2 teaspoon garlic powder
- Salt and lime juice
How to make it
- In a large bowl, toss the chicken strips, peppers, and onions with the oil and spices until every piece is vibrantly coated in the seasoning.
- Prepare your grill for direct medium-high heat (about 400°F) and use a grill basket to ensure the smaller vegetable strips don’t fall through the grates.
- Spread the chicken and vegetables evenly across the grill basket or directly on the grates if they are large enough, listening for that immediate, aggressive sizzle.
- Grill for 8 to 12 minutes, tossing frequently with long-handled tongs, until the chicken is charred and cooked through and the vegetables have softened and developed dark, sweet edges.
- Remove from the heat and immediately douse with fresh lime juice while still hot; this creates a steam effect that keeps the meat succulent as it heads to the serving board.
How to roast zucchini boats?
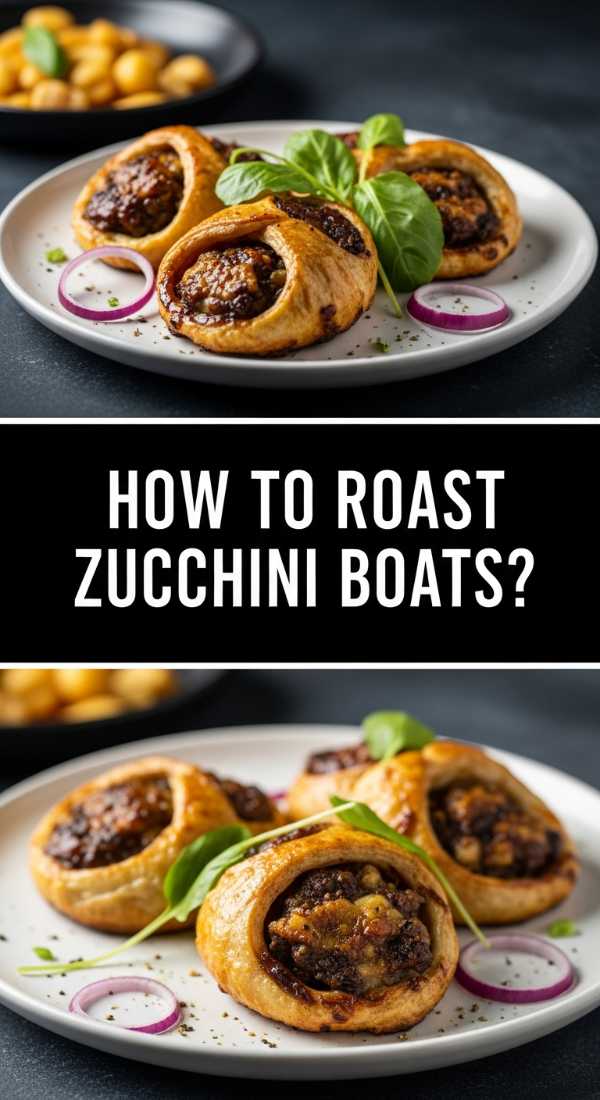
Why we love this
Zucchini boats are a whimsical and healthy way to add structure to your board, acting as edible vessels for melted cheese and savory toppings. The roasting process transforms the zucchini into a tender, mild base that beautifully absorbs the flavors of the herbs and garlic. There is a cozy, gratinated comfort in the bubbly cheese topping that makes these feel like a mini-meal, providing a satisfying, earthy depth that pairs perfectly with crisper, raw vegetables.
Ingredients
- 3 medium zucchinis, halved lengthwise
- 1/2 cup shredded mozzarella or parmesan cheese
- 1/4 cup breadcrumbs
- 2 tablespoons olive oil
- 1 teaspoon Italian seasoning
- 1/2 teaspoon garlic salt
- Fresh basil for garnish
How to make it
- Preheat your oven to 400°F (200°C) and line a baking sheet with parchment paper to ensure easy cleanup and prevent the zucchini from sticking.
- Using a small metal spoon, gently scoop out the seedy center of each zucchini half to create a shallow “boat” or channel, being careful not to puncture the skin.
- Brush the insides of the zucchini with olive oil and sprinkle with garlic salt and Italian seasoning to build a foundation of flavor directly on the vegetable.
- Fill each cavity with a mixture of shredded cheese and breadcrumbs, pressing the filling down slightly so it stays in place during the roasting process.
- Roast for 15 to 18 minutes, then turn the broiler on for the last 2 minutes to get the cheese bubbly and the breadcrumbs golden brown; serve warm for the best texture.
How to make watermelon salad?
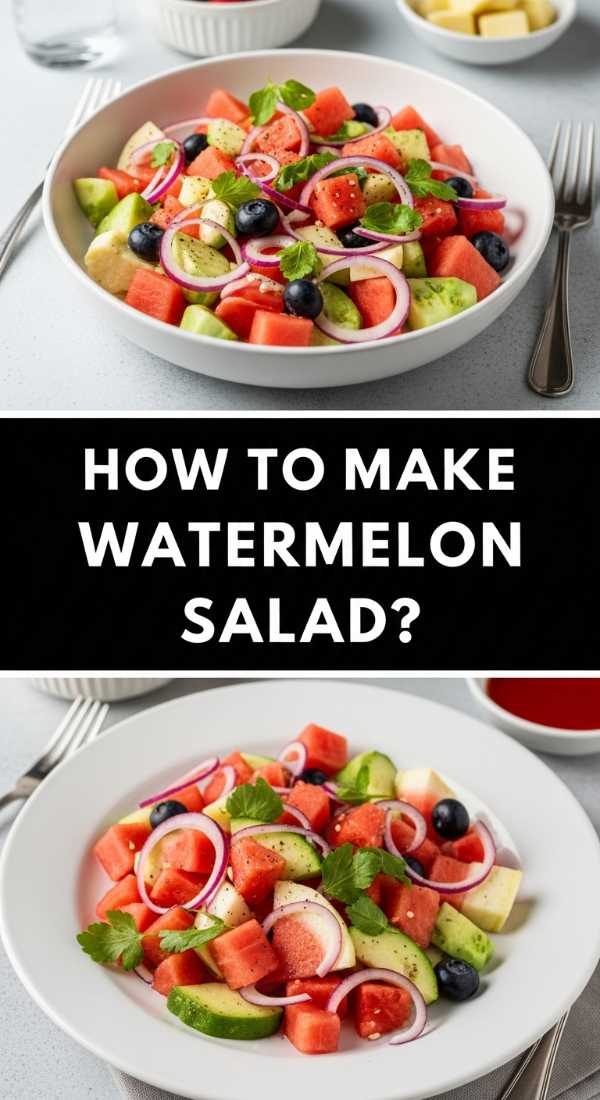
Why we love this
Watermelon salad is the ultimate summer showstopper, providing a stunning visual contrast of deep pink fruit and snow-white feta cheese. The flavor profile is an addictive balance of sweet, salty, and herbaceously fresh, with the mint adding a cooling finish that lingers on the tongue. It’s incredibly hydrating and crisp, offering a light, airy bite that makes the entire board feel energized and sophisticated, especially when drizzled with a rich balsamic glaze.
Ingredients
- 4 cups seedless watermelon, cubed
- 1/2 cup feta cheese, crumbled
- 1/4 cup fresh mint leaves, torn
- 2 tablespoons extra virgin olive oil
- 1 tablespoon balsamic glaze
- A pinch of flaky sea salt
How to make it
- Start with a cold watermelon; the temperature contrast is essential for the refreshing quality of the salad. Cube the fruit into uniform 1-inch squares for a clean aesthetic.
- Arrange the watermelon cubes in a shallow bowl or directly on a section of your snack board, ensuring they are spread out to receive equal amounts of toppings.
- Scatter the crumbled feta cheese evenly over the fruit; the saltiness of the feta will naturally draw out the sweetness of the watermelon juice.
- Drizzle the olive oil and balsamic glaze in a zigzag pattern across the top, which creates a beautiful professional-looking finish and adds a hit of acidity.
- Finish by scattering the torn mint leaves and a tiny pinch of flaky sea salt over the top right before serving to keep the herbs from wilting and the salt from melting.
How to cook garlic shrimp?
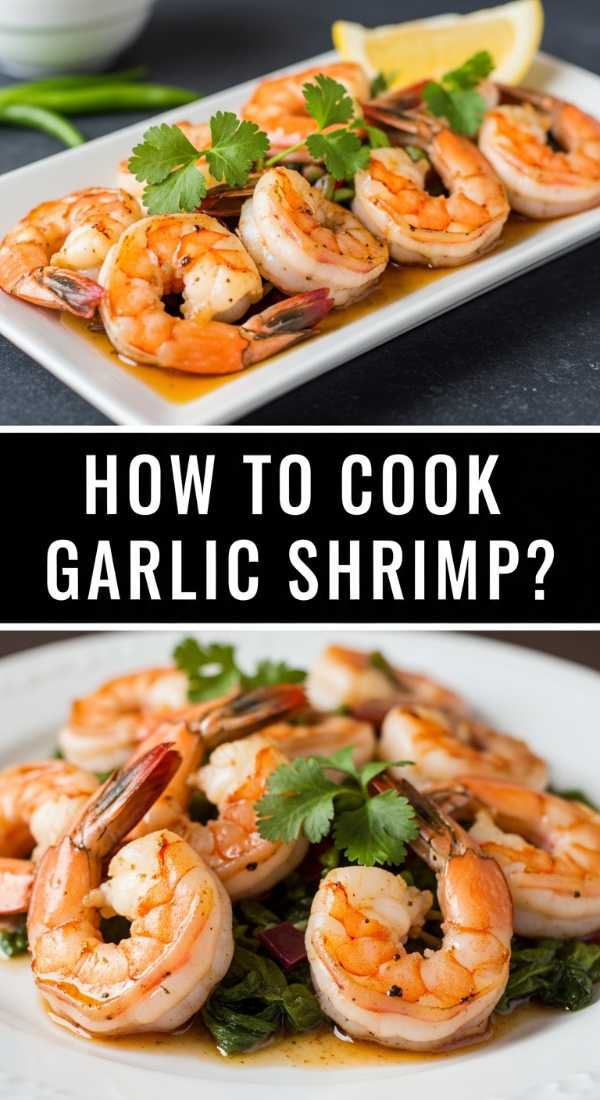
Why we love this
Garlic shrimp are the quintessential crowd-pleaser, offering a snappy, firm texture and a bold, aromatic punch that fills the room. The combination of sizzling butter and minced garlic creates a sauce so flavorful you’ll want to dip everything on the board into it. These little bites are savory, slightly sweet, and take only minutes to prepare, making them a fantastic high-protein addition that feels fancy without the effort.
Ingredients
- 1 lb large shrimp, peeled and deveined
- 4 tablespoons unsalted butter
- 4 cloves garlic, minced
- 1/4 teaspoon red pepper flakes
- 2 tablespoons fresh parsley, chopped
- 1 tablespoon lemon juice
- Salt to taste
How to make it
- In a large skillet, melt the butter over medium heat until it begins to bubble gently; be careful not to let it brown too much at this stage as you want to infuse it with garlic.
- Add the minced garlic and red pepper flakes to the butter, sautéing for about 1 minute until the garlic is fragrant and softened but not browned, which can make it bitter.
- Increase the heat to medium-high and add the shrimp in a single layer; let them cook undisturbed for 2 minutes until the bottoms turn pink and opaque.
- Flip the shrimp and cook for another 1 to 2 minutes on the other side; they are done as soon as they form a ‘C’ shape—avoid overcooking them into a tight ‘O’ or they will become rubbery.
- Stir in the lemon juice and fresh parsley, tossing the shrimp in the garlic butter sauce to glaze them completely before transferring to your board.
How to make pico de gallo?

Why we love this
Pico de gallo is the bright, chunky soul of the board, offering a burst of garden-fresh acidity that wakes up the taste buds. The combination of vine-ripened tomatoes, sharp onions, and spicy jalapeños creates a texture that is simultaneously crunchy and juicy. It’s a versatile condiment that brings a pop of color and a clean, zesty finish to tacos, grilled meats, or even just a simple chip, making it an essential component for any successful spread.
Ingredients
- 4 Roma tomatoes, finely diced
- 1/2 medium white onion, finely diced
- 1/2 cup fresh cilantro, chopped
- 1 jalapeño, seeded and minced
- 2 tablespoons fresh lime juice
- 1/2 teaspoon salt
- 1/4 teaspoon cumin
How to make it
- Core the Roma tomatoes and remove the watery seeds before dicing; this ensures your pico de gallo stays chunky and vibrant rather than becoming a soup.
- In a medium glass or ceramic bowl, combine the diced tomatoes, white onion, and minced jalapeño (wear gloves when handling the pepper to avoid skin irritation).
- Add the finely chopped cilantro and pour the fresh lime juice over the mixture; the acid in the lime will slightly soften the onions and mellow their sharp bite.
- Stir in the salt and cumin, tasting as you go to ensure the balance of acidity and saltiness is to your liking.
- Let the mixture sit at room temperature for at least 15 minutes before serving; this rest period is critical as it allows the salt to draw out just enough juice to create a cohesive flavor.
The Art of the Finished Board
Building the perfect food board is less about following strict rules and more about embracing the joy of variety. By combining these hot, seared proteins with cool, crisp salads and zesty dips, you create a dining experience that caters to every craving. Remember to fill the gaps with extra lime wedges, a handful of chips, or a few sprigs of fresh herbs to give it that “viral” professional look. Now, all that’s left is to pour a cold drink and invite everyone to dig in!