
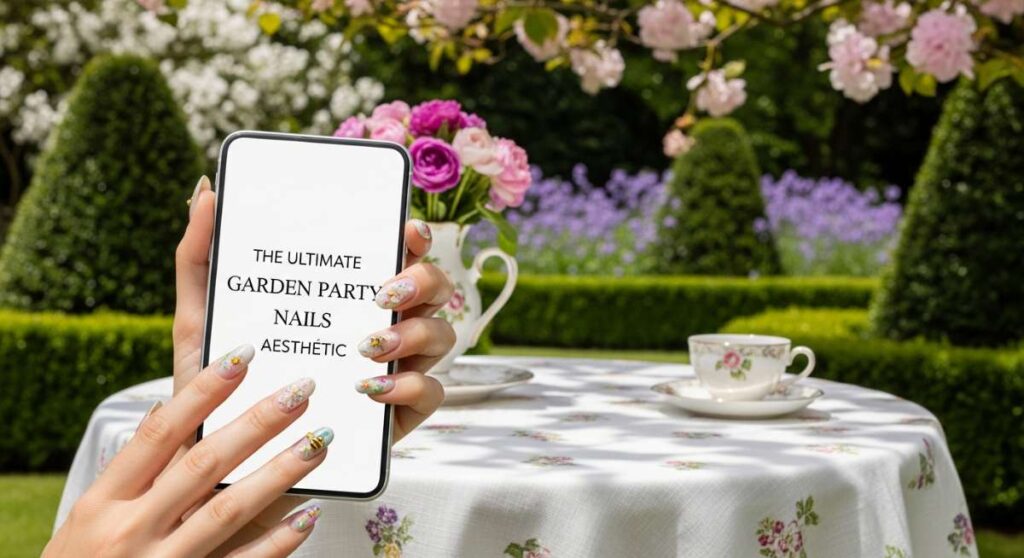
The Chicest Garden Party Nails for Your Next Outdoor Soirée
Hello, my loves! There is something truly magical about that first real garden party of the season, isn’t there? The way the golden hour light filters through the budding trees, the clinking of vintage tea cups, and that soft, lingering scent of jasmine in the air. It’s like a warm, cloud-soft embrace from nature itself, and I want your hands to feel just as beautiful as the blooming peonies around you.
When we gather outdoors, our hands are always in motion—sipping elderflower spritz, reaching for a delicate finger sandwich, or gesturing wildly while sharing a secret with a dear friend. That’s why your manicure is more than just a beauty choice; it’s a tiny canvas that tells the story of your joy. I’ve gathered my favorite whimsical designs to help you feel like the garden goddess you truly are.
The Ultimate Garden Party Nails Aesthetic
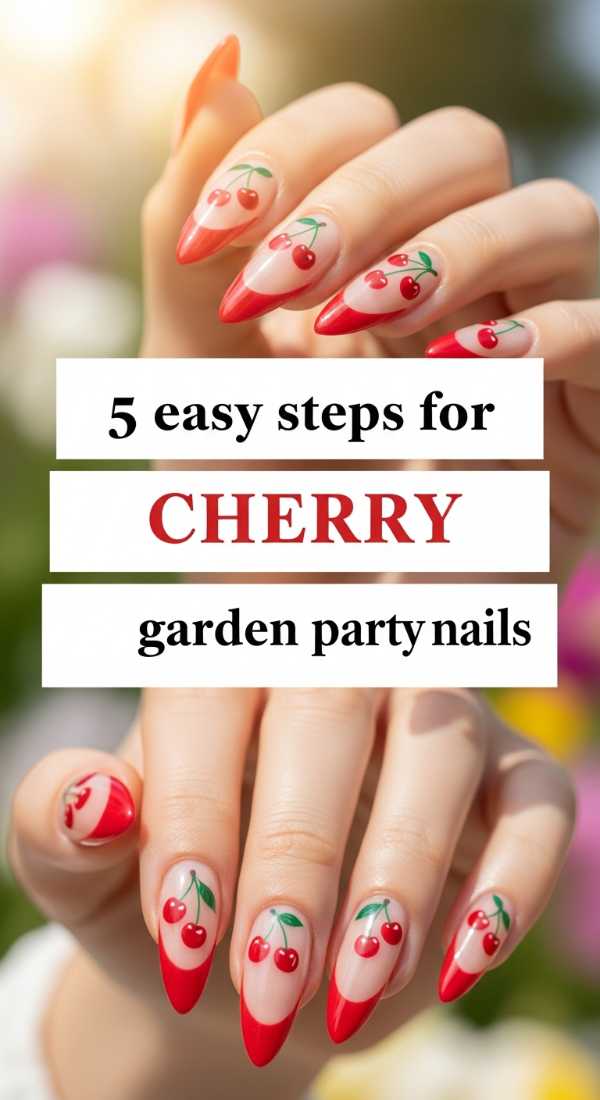
Why to love these Nails:
These cherry garden party nails are the epitome of sweet nostalgia. They remind me of those lazy afternoons picking fruit in the orchard, with the juice staining our fingertips red and hearts full of laughter. It’s a classic look that feels both playful and incredibly sophisticated.
Essential Items:
- Pale pink base polish
- Vibrant red polish
- Forest green striper or toothpick
- Top coat
How to Prepare:
- Apply two coats of your pale pink base and let dry completely.
- Using a dotting tool, place two small red dots side-by-side to create the cherry body.
- Take your green striper and draw two tiny stems meeting at a point above the cherries.
- Add a tiny green leaf to one side of the stem.
- Seal with a high-shine top coat for that juicy finish.
Budget Range
- Essie ‘Sugar Daddy’ ($10)
- OPI ‘Big Apple Red’ ($11)
- Sally Hansen Green Striper ($6)
3D Cherry Party Nails
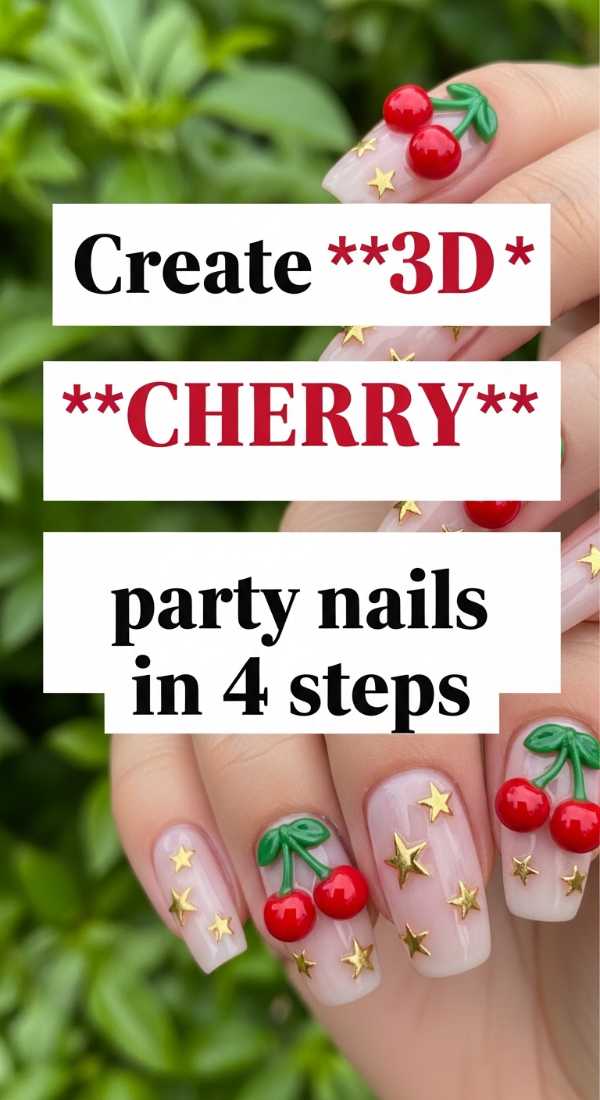
Why to love these Nails:
If you want your nails to be the conversation starter of the afternoon, these 3D cherries are your best friend. They add a touch of tactile whimsy that looks so expensive and artistic, catching the light every time you reach for a macaron.
Essential Items:
- Red rhinestones or 3D gel beads
- Nail glue or thick builder gel
- Green gel polish
- UV lamp (if using gel)
How to Prepare:
- Apply your base color and cure.
- Place two drops of nail glue where you want your cherries to sit.
- Press the red rhinestones into the glue and hold until set.
- Paint thin green stems connecting the stones using a detail brush.
Budget Range
- Amazon Nail Rhinestone Kit ($8)
- Makartt Nail Glue ($7)
- Beatles Green Gel Polish ($6)
Mastering Checkered Party Nails
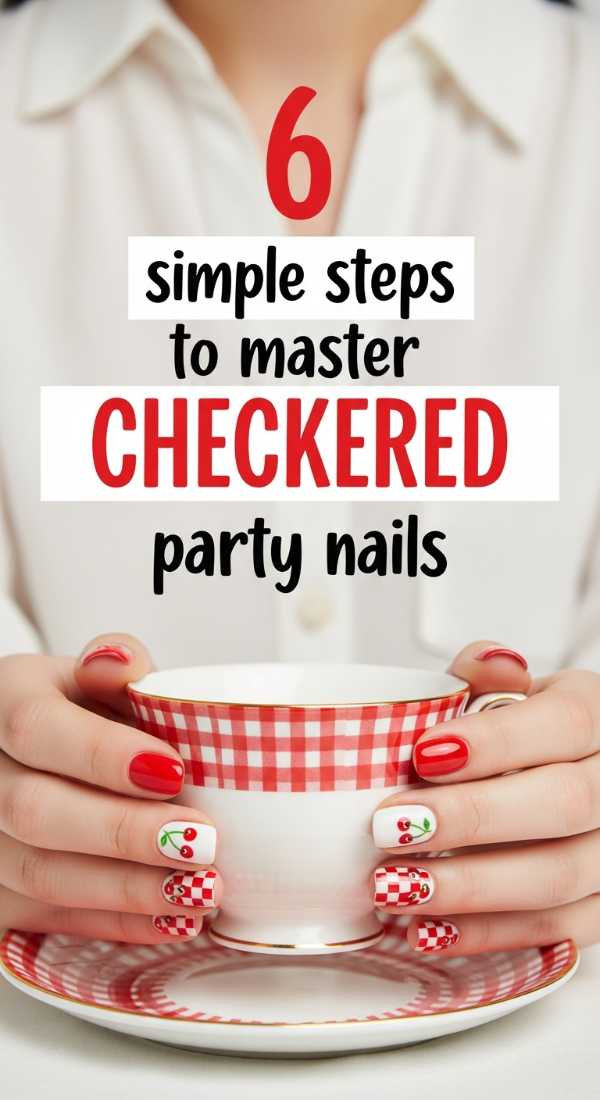
Why to love these Nails:
There is nothing quite like the charm of a gingham picnic blanket spread across the grass. These checkered nails bring that cozy, vintage picnic vibe right to your fingertips, looking effortlessly chic with a white linen dress.
Essential Items:
- White opaque polish
- Pastel blue or lavender polish
- Square-tipped nail brush
- Steady hand
How to Prepare:
- Start with a solid white base.
- Paint three vertical stripes of pastel blue evenly across the nail.
- Wait for the vertical stripes to dry fully.
- Paint three horizontal stripes of the same blue over the vertical ones.
- Fill in the overlapping squares with a slightly darker shade of blue for depth.
- Finish with a matte top coat for a fabric-like feel.
Budget Range
- Zoya ‘Purity’ ($12)
- Essie ‘Bikini So Teeny’ ($10)
- Nail Art Brush Set ($5)
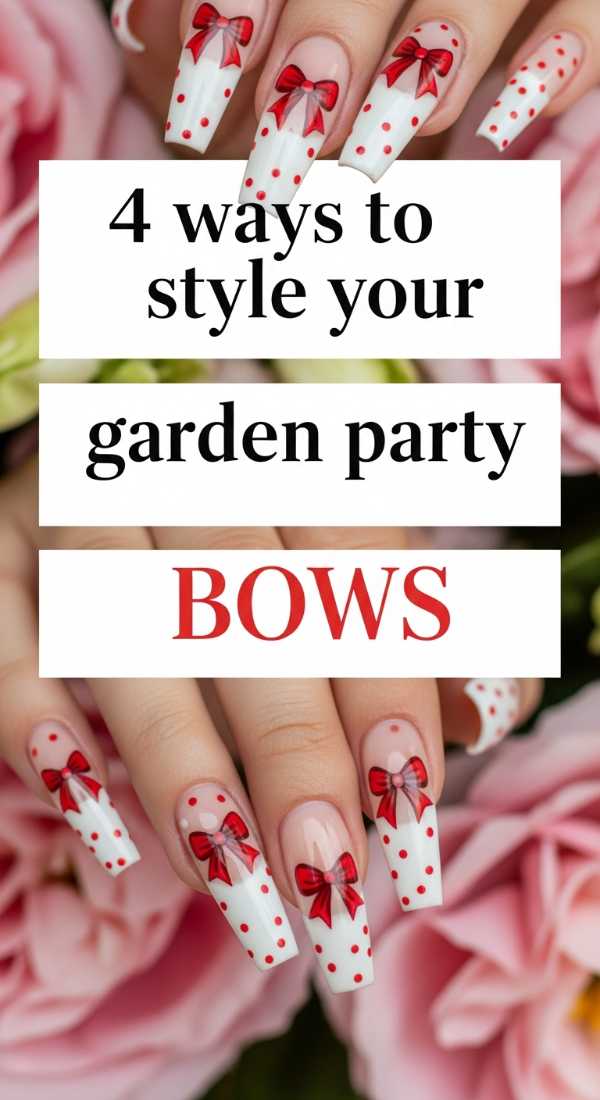
Style Your Garden Party Bows
Why to love these Nails:
Bows are the ultimate symbol of the coquette aesthetic we all adore. They feel like little gifts you’ve wrapped for yourself, adding a soft, feminine touch that pairs perfectly with lace sleeves and floral crowns.
Essential Items:
- Thin ribbon or nail stickers
- Clear top coat
- Tweezers
- Sheer nude polish
How to Prepare:
- Placement: Place a single bow at the base of your ring finger for a subtle accent.
- Layering: Wrap a tiny silk ribbon around your nail and seal it with builder gel.
- Hand-painted: Use a striper to draw two loops and two tails for a flat, elegant look.
- Contrast: Use a black bow over a sheer pink base for a ’60s French vibe.
Budget Range
- Decal Bow Stickers ($6)
- Olive & June ‘BEB’ ($9)
- Precision Tweezers ($4)
Starry Party Nail Decals
Why to love these Nails:
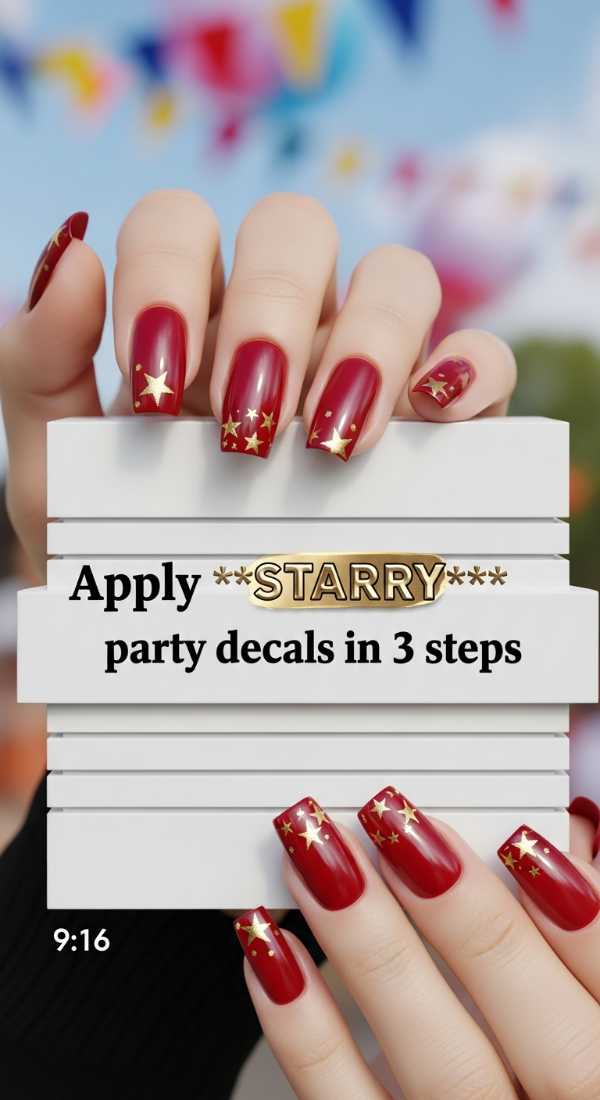
As the garden party transitions into a twilight soirée, these starry decals will begin to twinkle under the fairy lights. It’s a dreamlike aesthetic that feels both magical and modern, perfect for those of us who love a bit of celestial energy.
Essential Items:
- Gold star decals
- Deep navy or sheer base
- Top coat
How to Prepare:
- Apply your base color and wait until it is ‘tacky’ but not wet.
- Use tweezers to place star decals randomly across the nail surface.
- Press down firmly and seal with two layers of top coat to prevent lifting.
Budget Range
- Gold Star Nail Foil ($5)
- Holo Taco ‘Navy Dream’ ($14)
- Seche Vite Top Coat ($9)
Tips for Coquette Garden Party Nails
Why to love these Nails:
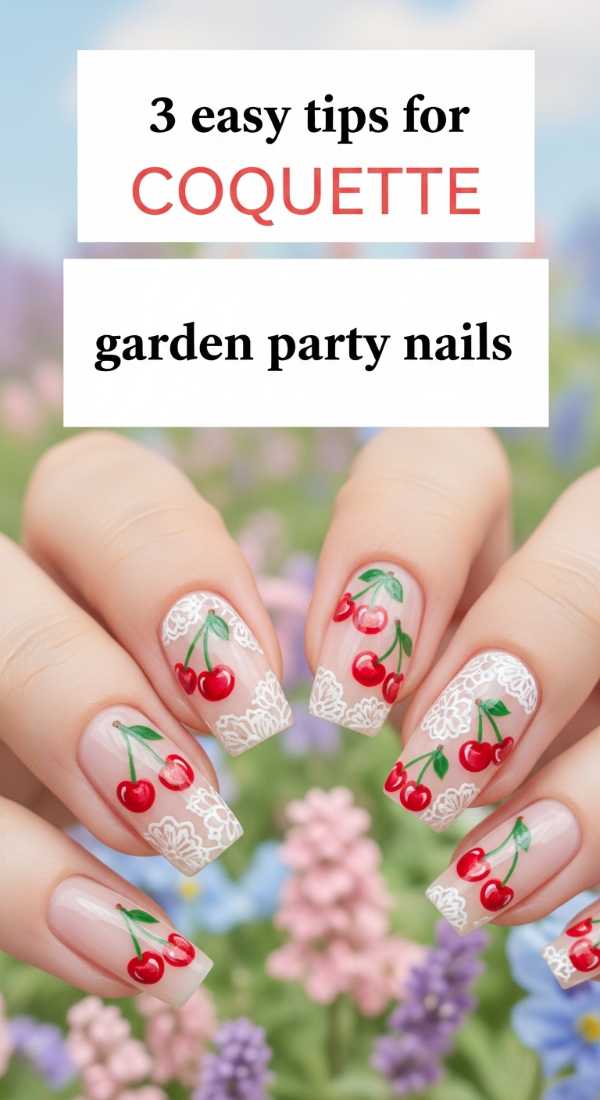
The coquette look is all about embracing your most delicate, romantic self. These tips will help you achieve that ‘soft girl’ garden aesthetic that feels like a whisper of lace and the petal of a rose.
Essential Items:
- Pearl accents
- Sheer milky white polish
- Soft pink tint
How to Prepare:
- Tip 1: Use a ‘Milky’ base to create a soft, blurred look that hides any imperfections.
- Tip 2: Add a single tiny pearl at the cuticle of each nail for an understated luxury.
- Tip 3: Keep the nail shape almond or oval to elongate the fingers and maintain softness.
Budget Range
- Cirque Colors ‘Chiffon’ ($12)
- Half-Pearl Nail Gems ($7)
- Nail File Buffer Set ($4)
Design Retro Garden Party Nails
Why to love these Nails:
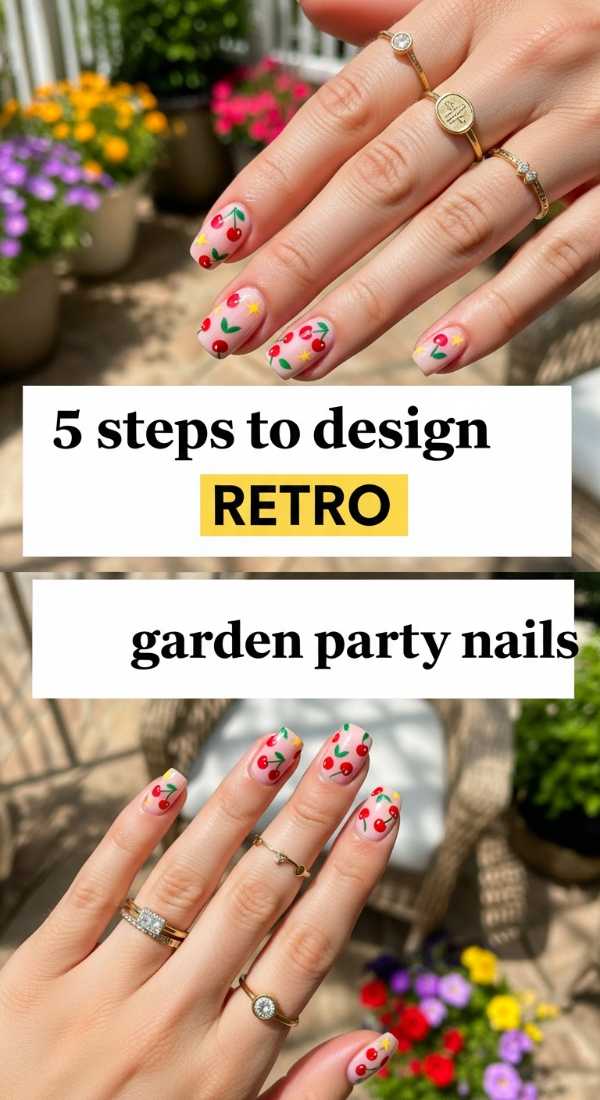
Retro florals take us back to the groovy garden parties of the 1960s. They are bold, colorful, and full of life—exactly the kind of energy you want when dancing barefoot on the lawn.
Essential Items:
- Mustard yellow polish
- Muted orange polish
- Large dotting tool
How to Prepare:
- Paint your nails a soft cream color.
- Use a large dotting tool to place five dots in a circle using the yellow polish.
- Place a single orange dot in the center of the yellow circle.
- Repeat the pattern once more near the tip of the nail.
- Add small green leaves if space permits.
Budget Range
- Lights Lacquer ‘Paper Snow’ ($13)
- Orly ‘Golden Afternoon’ ($15)
- Basic Dotting Tool ($3)
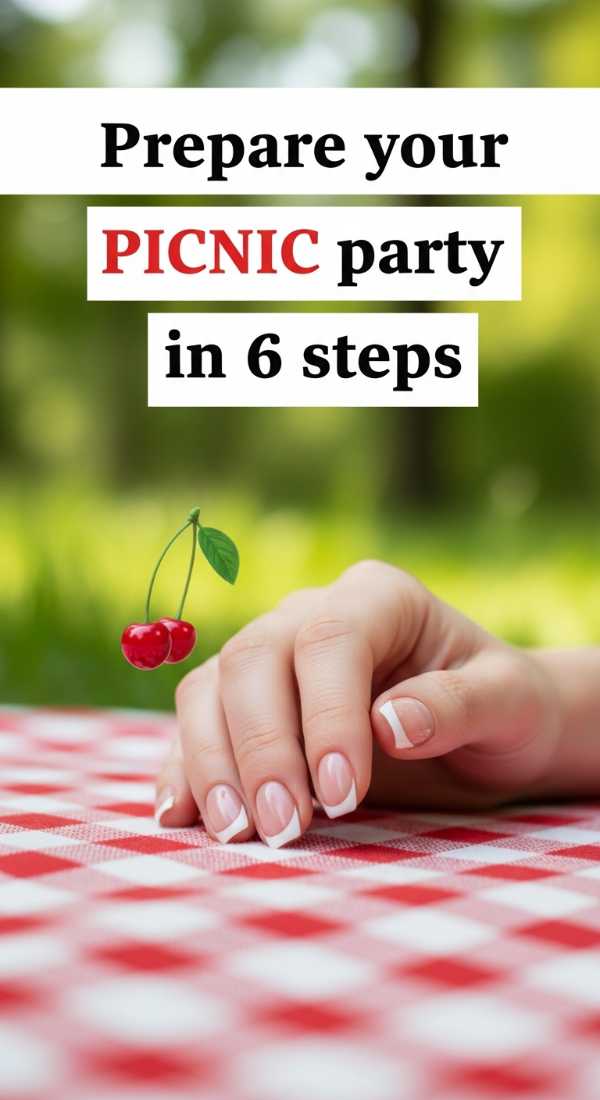
Prepare Your Picnic Party Nails
Why to love these Nails:
Picnic-themed nails are just pure, unadulterated fun. They capture the spirit of a summer spread, making every reach for a strawberry feel like a curated photo opportunity.
Essential Items:
- Strawberry decals or red polish
- Fine liner brush
- Light green polish
How to Prepare:
- Start with a clean, buffed nail.
- Paint a small red oval for the strawberry body.
- Add tiny yellow dots for seeds.
- Draw a small green crown at the top for the stem.
- Add a thin white line for a ‘highlight’ to make the fruit pop.
- Seal with a glossy top coat.
Budget Range
- Holler and Glow Nail Stickers ($4)
- China Glaze ‘Secondary’ ($8)
- Detail Brush Set ($6)
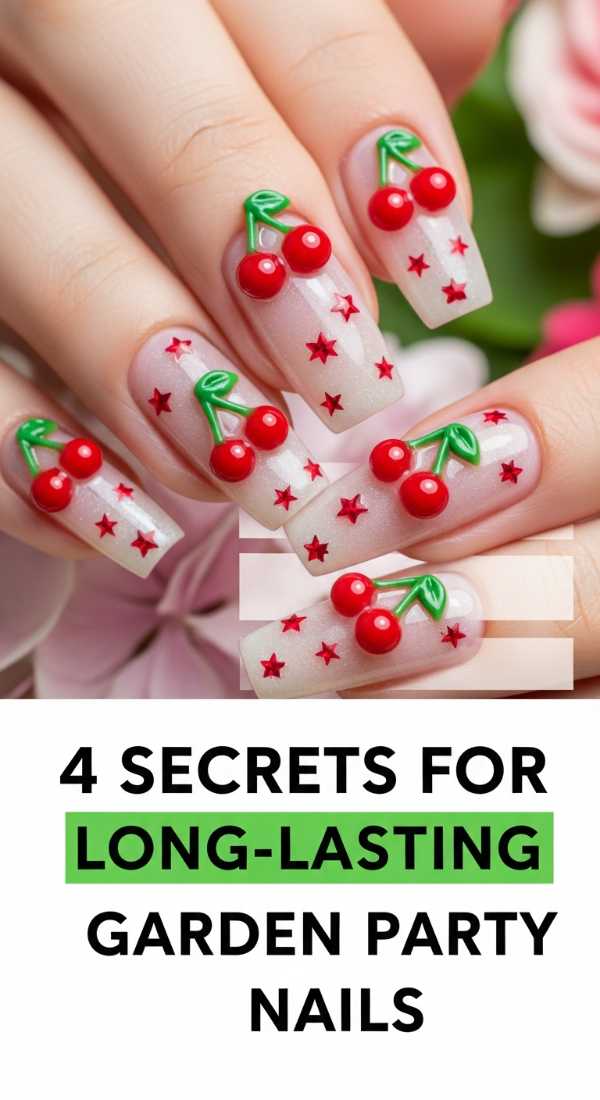
Secrets for Long-lasting Garden Party Nails
Why to love these Nails:
There is nothing worse than a chip right before you head out the door! These secrets ensure your garden party manicure survives the gardening, the hosting, and the dancing without losing its luster.
Essential Items:
- Dehydrator or rubbing alcohol
- High-quality base coat
- Edge-capping top coat
How to Prepare:
- Secret 1: Always swipe your nails with alcohol before polishing to remove natural oils.
- Secret 2: Wrap the tip! Always run your polish brush along the very edge of the nail to seal it.
- Secret 3: Re-apply a thin layer of top coat every two days to keep the shine alive.
- Secret 4: Use cuticle oil daily; hydrated nails are flexible and less likely to snap.
Budget Range
- CND Stickey Base Coat ($12)
- SolarOil Cuticle Oil ($9)
- Rubbing Alcohol ($3)
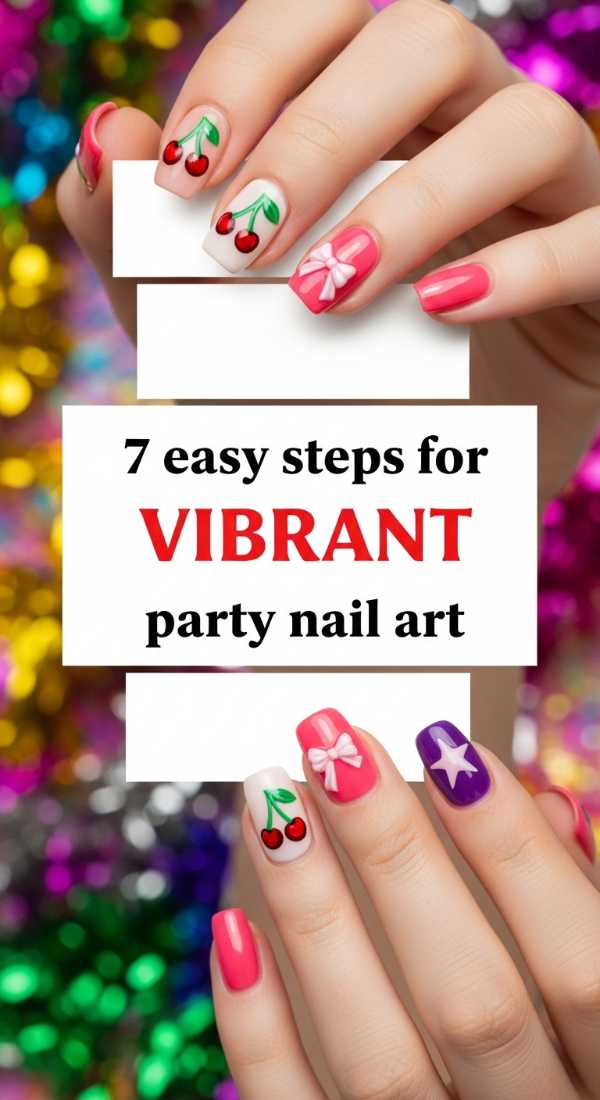
Vibrant Party Nail Art
Why to love these Nails:
Sometimes a garden party needs a burst of modern energy! Vibrant art uses the colors of the brightest tropical flowers to make your hands stand out against the greenery of the garden.
Essential Items:
- Neon pink polish
- Bright turquoise polish
- Sponge for gradients
How to Prepare:
- Apply a white base coat to make neons pop.
- Apply pink and turquoise side-by-side on a makeup sponge.
- Dab the sponge onto the nail to create a sunset gradient.
- Repeat until the opacity is reached.
- Clean up the edges with a brush dipped in acetone.
- Add a silver glitter line where the colors meet.
- Finish with a super-glossy top coat.
Budget Range
- Color Club Neon Kit ($15)
- Makeup Sponges ($2)
- Pure Acetone ($5)
A Soft Farewell to My Loves
As you prepare for your next outdoor gathering, remember that the most beautiful thing you can wear is your own happiness. Whether you choose tiny cherries, elegant bows, or vibrant neons, let your nails be a reflection of the light you bring to the world. I hope these designs make you feel pampered, polished, and ready to enjoy every sun-drenched moment. Stay beautiful, my loves!