
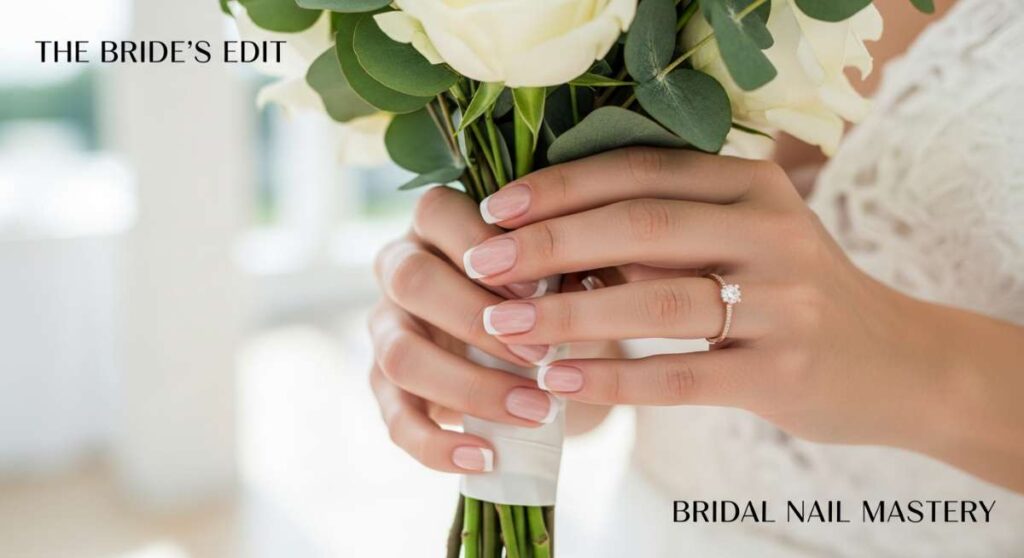
The Bride’s Edit: Mastering Elegant Nails for Your Big Day
Hello, my loves! There is something so incredibly ethereal about the weeks leading up to your wedding day. It’s a season of soft whispers, lace fittings, and the kind of glow that only comes from a heart full of love. Between the venue walkthroughs and the floral consultations, I want you to take a deep breath and remember to pamper yourself. Your hands are going to be such a focal point—from the moment your partner slides that ring onto your finger to the way you hold your bouquet as you walk toward your forever.
In this little corner of the internet today, I’m sharing my ultimate guide to bridal nail mastery. Think of this as a cloud-soft embrace for your hands. We’re moving away from the stress of perfection and toward the beauty of elegance. Whether you’re a DIY queen or a bride-to-be looking for the perfect inspo to show your tech, let’s dive into these dreamy looks that will make you feel like the goddess you are.
5 Fun Ways to Style Bridal Nails
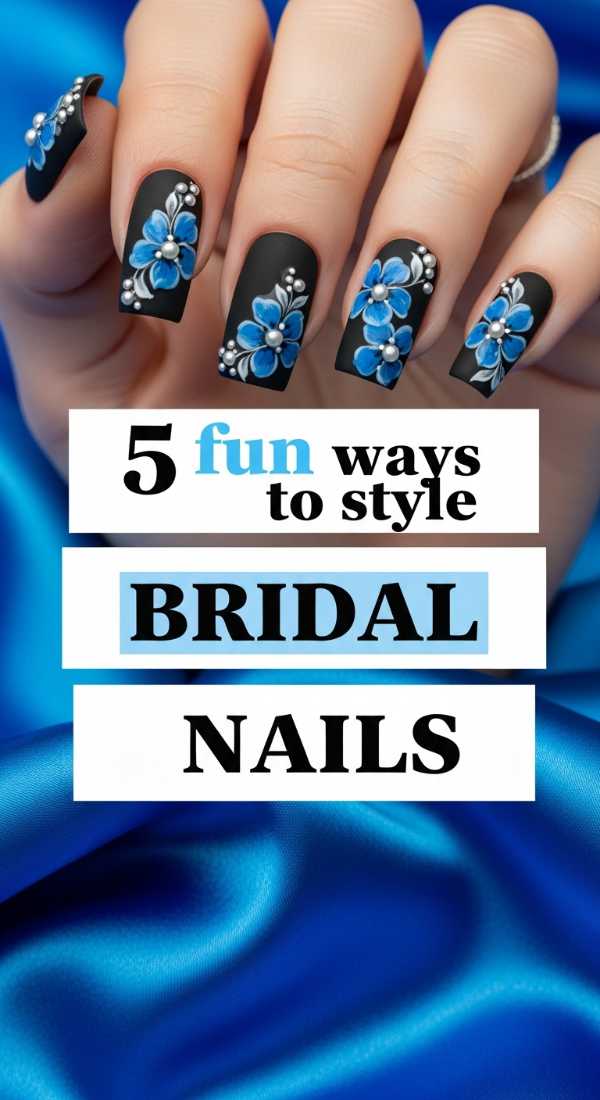
Why to love these Nails:
It’s all in the details, darling! Your bridal style is a reflection of your soul, and these five fun ways to style your nails allow your personality to shine through every gesture. From subtle shimmer to delicate art, these styles bridge the gap between tradition and modern flair.
Essential Items:
- Tiny seed pearls
- Rose gold nail foil
- Ultra-fine detail brush
- Sheer iridescent topper
- Matte top coat
How to Prepare:
- Cleanse your nails thoroughly with an alcohol wipe to ensure a smooth canvas.
- Apply a sheer base color like a soft petal pink.
- Use your detail brush to add your chosen accent, like a single pearl at the base or a touch of gold leaf.
- Seal with a high-shine top coat for that bridal glow.
- Hydrate your cuticles with rose-scented oil.
Budget Range
- Essie ‘Ballet Slippers’ – $10.00
- Nail Art Pearl Kit – $8.00
- Seche Vite Dry Fast Top Coat – $9.95
Get Short Bridal Nails in 4 Easy Steps

Why to love these Nails:
Short nails are having a major moment, and for a good reason! There is something so effortlessly chic and ‘quiet luxury’ about a perfectly manicured short nail. They are practical, modern, and allow your wedding ring to be the true star of the show.
Essential Items:
- Glass nail file
- Soft buffing block
- Nude crème polish
- Cuticle softener
How to Prepare:
- Trim your nails to a uniform length just above the fingertip.
- Gently push back cuticles after applying a softener for a clean look.
- Apply two thin coats of a ‘your-nails-but-better’ nude shade.
- Finish with a glossy top coat to add depth and dimension.
Budget Range
- Olive & June ‘BEB’ Polish – $9.00
- Revlon Glass Nail File – $6.00
- Sally Hansen Cuticle Remover – $7.50
Shape Perfect Bridal Nails Square in 3 Minutes

Why to love these Nails:
The square shape is a timeless classic that provides a strong, sophisticated silhouette. It’s perfect for the bride who wants a clean, architectural look that feels both grounded and incredibly polished.
Essential Items:
- High-grit nail file
- Straight-edge nail clipper
- Buffing oil
How to Prepare:
- Clip the top of the nail in a straight line across using the flat edge of your clipper.
- File the sides in a perfectly vertical motion to ensure they are parallel.
- Lightly soften the very corners with one or two strokes to prevent snagging on your veil.
Budget Range
- Tweezerman Stainless Steel Clipper – $12.00
- OPI Crystal File – $15.00
- Flowery Buffing Block – $2.00
Create Simple Bridal Nails with 2 Basic Tools
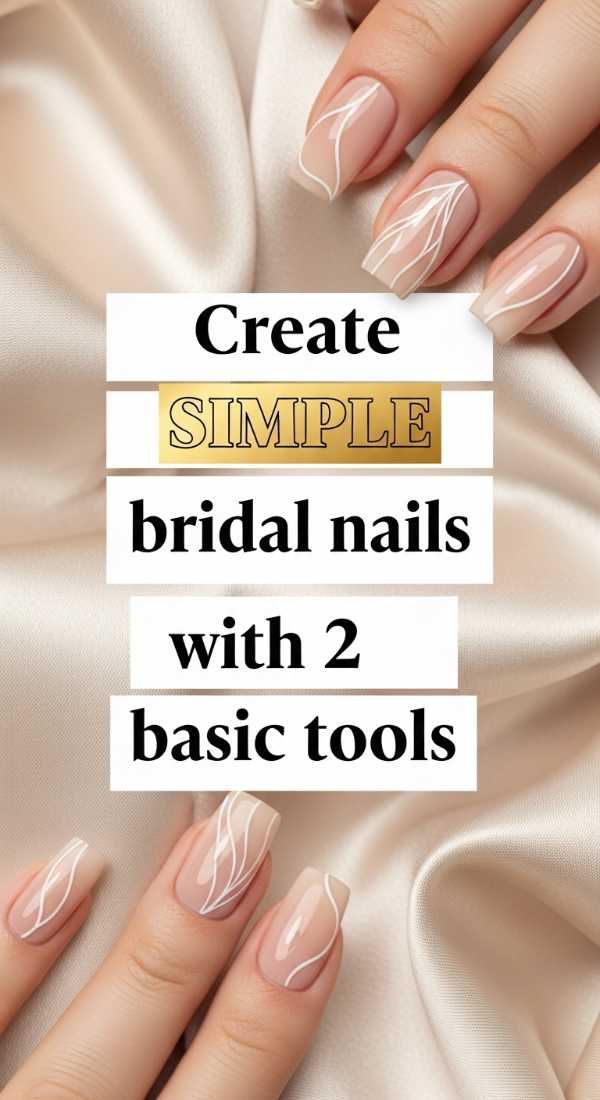
Why to love these Nails:
Sometimes, simplicity is the ultimate sophistication. This look is for the minimalist bride who wants her natural beauty to radiate without any fuss. It’s the easiest way to look put-together in minutes.
Essential Items:
- A high-quality buffer
- A clear, strengthening treatment
How to Prepare:
- Buff the surface of each nail until it has a natural, healthy shine.
- Apply two coats of the strengthening treatment to provide a protective, glossy finish.
Budget Range
- NailTek Strengthener – $14.00
- Tropical Shine 4-Way Buffer – $4.00
Design Your Bridal Nails Wedding Look in 6 Steps
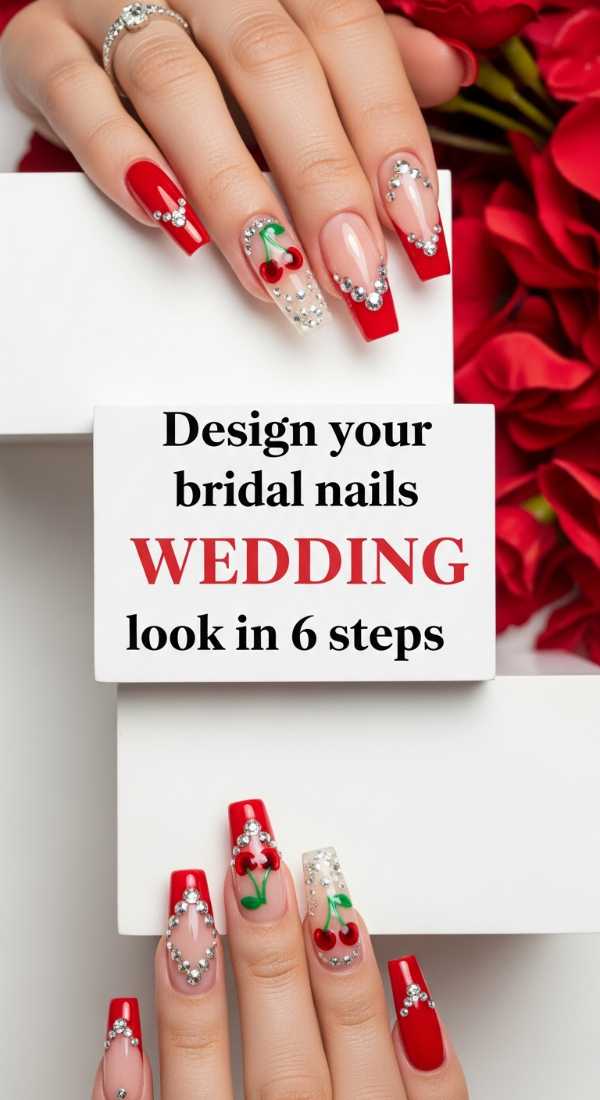
Why to love these Nails:
Designing a cohesive look is like painting a masterpiece. This process ensures your nails aren’t just an afterthought but a curated part of your entire wedding ensemble, matching your dress, flowers, and jewelry.
Essential Items:
- Mood board (Pinterest or physical)
- Color swatches from your bridesmaids’ dresses
- Base coat, Color, and Top coat
How to Prepare:
- Identify your ‘wedding white’ (cool vs. warm tones).
- Test your chosen polish against your gown fabric in natural light.
- Exfoliate your hands the night before with a sugar scrub.
- Apply a stain-preventing base coat.
- Layer your color in three thin strokes for maximum evenness.
- Finish with a UV-protectant top coat to keep the color pure.
Budget Range
- Zoya ‘Naked Manicure’ Kit – $25.00
- Lush ‘Lemony Flutter’ Cuticle Butter – $19.00
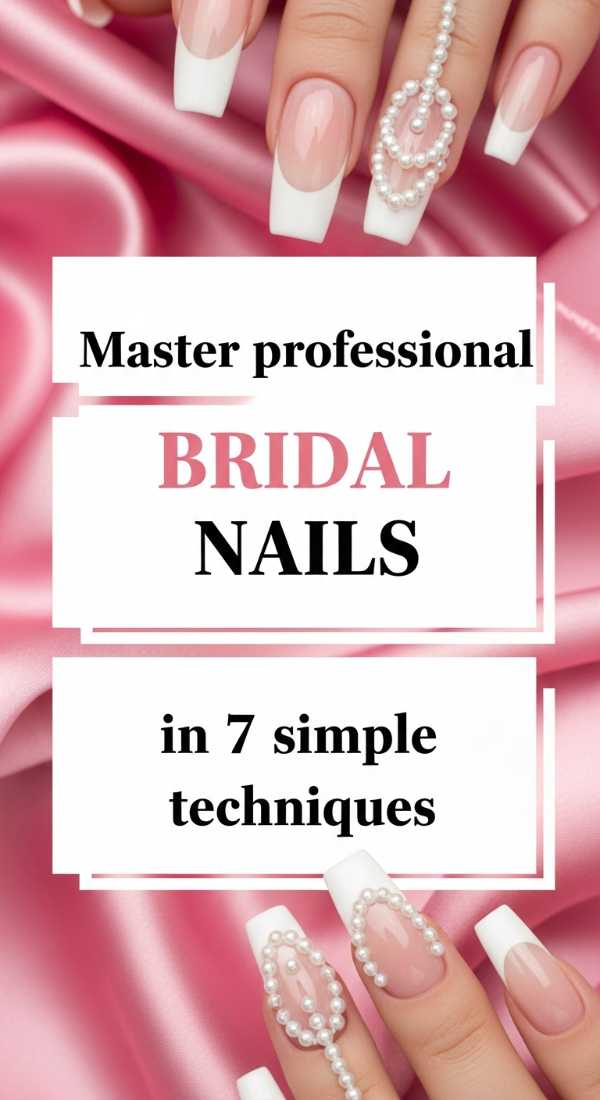
Master Professional Bridal Nails in 7 Simple Techniques
Why to love these Nails:
You don’t need a salon visit to achieve a professional finish. Mastering these little pro-tips will give your bridal manicure that high-end, long-lasting look that photographers love to capture.
Essential Items:
- Clean-up brush
- Acetone
- Non-greasy hand cream
- LED lamp (if using gel)
How to Prepare:
- Dehydrate the nail plate with a swipe of pure acetone.
- Apply a ‘sticky’ base coat to anchor the polish.
- Cap the free edge (the tip) of the nail with every layer.
- Use a clean-up brush dipped in acetone to fix any flooded cuticles.
- Thin your coats—never go too thick!
- Wait 5 minutes between layers.
- Apply a second layer of top coat 24 hours after the first for extra durability.
Budget Range
- CND Vinylux Long Wear Polish – $11.00
- Orly Bonder Base Coat – $12.00
- Clean-up Brush – $6.00
Apply 4 Fun Accents to Short Bridal Nails

Why to love these Nails:
Short nails shouldn’t miss out on the fun! Adding tiny, meaningful accents can make a short manicure feel festive and bridal without being overwhelming or ‘too much’ for a smaller canvas.
Essential Items:
- Micro-glitter polish
- White floral decals
- Dotting tool
- Silver stripping tape
How to Prepare:
- Paint a neutral base and let it dry completely.
- Place a single dot of glitter at the base of your ring finger nail.
- Apply a tiny floral decal to the outer corner of your thumb.
- Seal everything with a thick ‘plumping’ top coat for a gel-like finish.
Budget Range
- Deco Miami Nail Art Stickers – $8.00
- ILNP Holographic Topper – $10.00
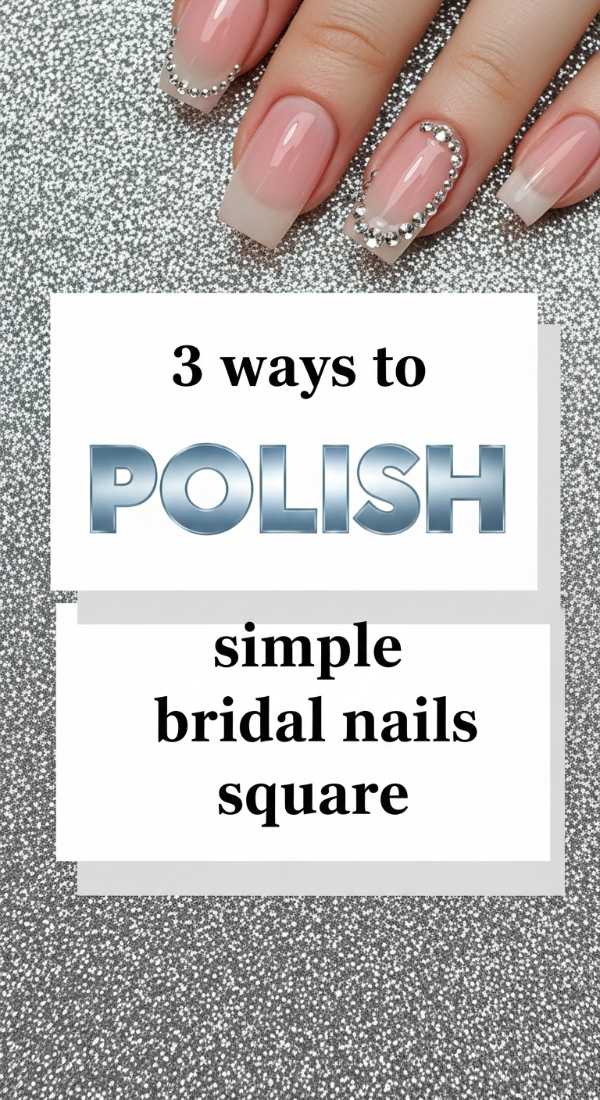
3 Ways to Polish Simple Bridal Nails Square
Why to love these Nails:
The square shape offers the perfect ‘frame’ for different polishing styles. Whether you like a classic French, a solid milky white, or a sheer peach, these techniques highlight the clean lines of your nails.
Essential Items:
- French tip guides
- Milky white polish
- Peach-tinted base
How to Prepare:
- For the French look, use guides to ensure a perfectly straight tip across the square edge.
- For the ‘Milky’ look, layer three ultra-sheer coats of white.
- For the ‘Peach’ look, use a tinted ridge filler for a smooth, healthy glow.
Budget Range
- OPI ‘Funny Bunny’ – $11.50
- Orly Ridgefiller – $10.00
8 Secrets to Long-Lasting Bridal Nails Wedding Day

Why to love these Nails:
The last thing you want to worry about while cutting your cake is a chipped nail! these secrets are the insurance policy for your manicure, keeping it flawless from the rehearsal dinner to the morning-after brunch.
Essential Items:
- Gloves for cleaning
- Cuticle oil (used daily)
- Top coat ‘refresh’ bottle
How to Prepare:
- Avoid water submersion for 2 hours before and after polishing.
- Wear gloves if you’re doing any last-minute wedding prep or cleaning.
- Apply cuticle oil every single night leading up to the wedding.
- Seal the tips of your nails daily with a fresh swipe of top coat.
- Avoid using your nails as ‘tools’—no opening soda cans!
- Keep your hands moisturized but keep the nail plate dry.
- Use a long-wear formula specifically designed for 7+ day wear.
- Store your polish in a cool, dark place to keep the formula smooth.
Budget Range
- SolarOil Cuticle Care – $9.00
- Dior Abricot Fortifying Cream – $30.00
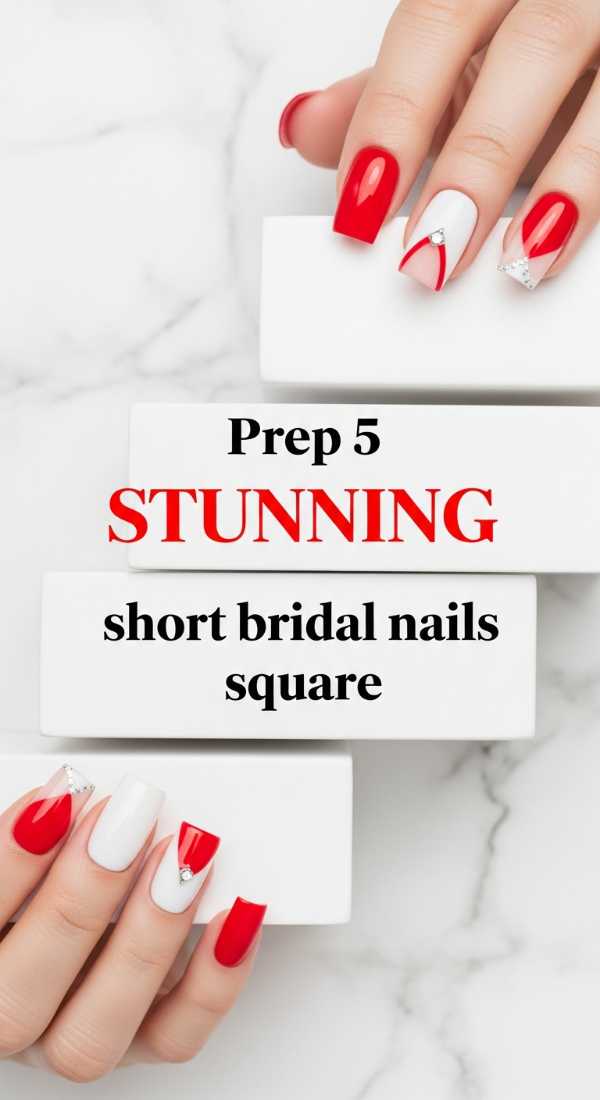
Prep 5 Stunning Short Bridal Nails Square
Why to love these Nails:
Combining the practicality of short length with the chicness of the square shape creates a stunning, modern bridal look. This prep guide ensures they look healthy and ‘expensive’ even on a budget.
Essential Items:
- Exfoliating hand scrub
- Brightening nail treatment
- Precision file
How to Prepare:
- Exfoliate hands to remove dull skin and reveal a glow.
- Use a brightening treatment to remove any yellowing or stains.
- Shape into a short, soft square.
- Apply a sheer, high-shine nude.
- Add a tiny sparkle on the pinky nail for a ‘hidden’ detail.
Budget Range
- Tree Hut Shea Sugar Scrub – $8.00
- Londontown Illuminating Nail Veil – $20.00
A Love Letter to Your Wedding Glow
As you prepare to step into this beautiful new chapter, I hope you remember that the most beautiful thing you can wear on your wedding day is your joy. These nail tips are just a way to enhance the magic that’s already there. Your hands will hold the person you love most, they will wipe away happy tears, and they will toast to a future filled with wonder. Take this time for yourself, breathe in the love, and let your light shine—right down to your fingertips. Congratulations, my sweet bride!