
The Aesthetic Edit: Your Blueprint for Contemporary Nail Art
Hello, my loves. Welcome back to our little corner of the internet where we slow down, breathe, and find beauty in the smallest details. Today, I wanted to talk about something that brings me so much quiet joy: the ritual of painting our nails. There is something so incredibly grounding about taking twenty minutes out of a chaotic day to focus on these tiny canvases at our fingertips. It’s more than just polish; it’s a soft whisper of self-care, a way to tell the world—and ourselves—that we are worth the extra sparkle.
I’ve curated this guide to be your cloud-soft embrace through the world of modern aesthetics. Whether you’re preparing for a milestone moment or just want to feel a bit more ‘put together’ while sipping your morning matcha, these guides are designed for you. Let’s dive into these dreamy palettes and textures together, shall we?
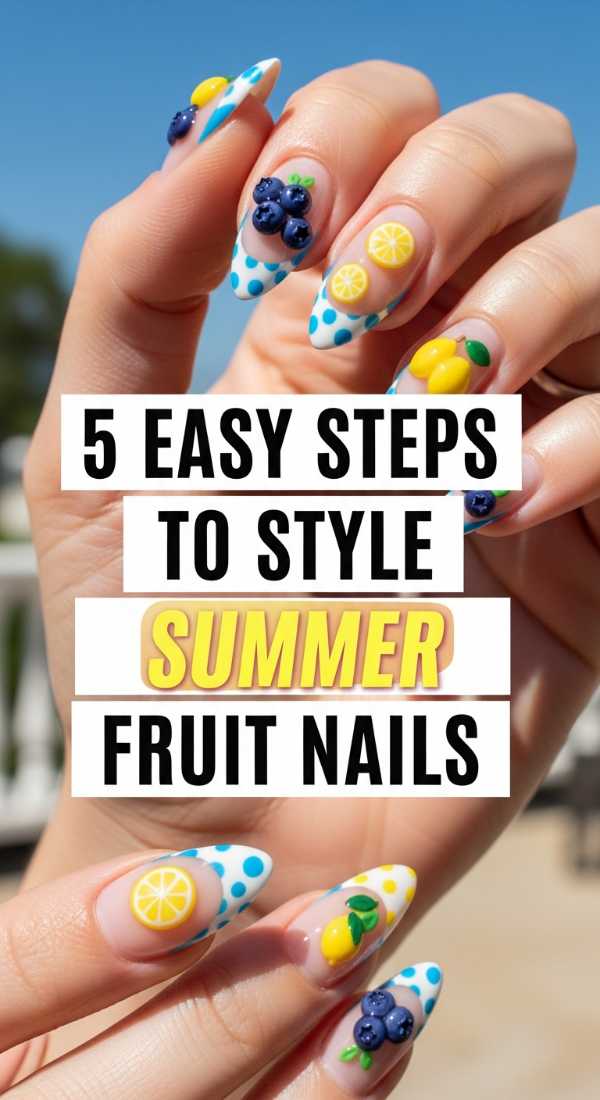
Zesty & Sweet: 5 Easy Steps to Style Summer Fruit Nails
Why to love these Nails:
These nails are like a refreshing glass of cold lemonade on a humid July afternoon. They capture that playful, sun-drenched energy that makes summer feel so magical and fleeting. It’s all about embracing your inner child while keeping the look chic and modern with minimalist fruit accents.
Essential Items:
- Sheer nude base polish
- Red and green detailing pens
- Fine-tipped nail brush
- Glossy top coat
- Cuticle oil
How to Prepare:
- Apply two thin coats of a sheer nude base to create a clean canvas.
- Using a dotting tool, place two small red dots for cherries or a green triangle for watermelon.
- Add tiny stems or seeds using your fine-tipped brush.
- Wait for the art to dry completely to avoid smearing.
- Seal with a high-shine top coat for that ‘juicy’ finish.
Budget Range
- Essie Skinny Dip ($10)
- Sally Hansen Nail Art Pens ($8)
- Seche Vite Dry Fast Top Coat ($9)
Timeless Grace: 4 Elegant Ways to Prep Wedding Guest Nails

Why to love these Nails:
When you’re a guest at a wedding, you want your nails to whisper elegance rather than scream for attention. These styles are the ultimate ‘clean girl’ aesthetic, designed to complement any dress color without competing with the bride’s big moment.
Essential Items:
- Soft mauve or petal pink polish
- Crystal glass file
- Buffing block
- Nourishing hand cream
How to Prepare:
- Shape nails into a soft oval or almond to elongate the fingers.
- Buff the nail surface to a natural shine before applying color.
- Apply one coat of a semi-transparent pink for a ‘your nails but better’ look.
- Finish with a moisturizing hand massage to ensure your skin looks as soft as your polish.
Budget Range
- OPI Bubble Bath ($11)
- Glass Nail File ($6)
- L’Occitane Shea Butter Hand Cream ($13)
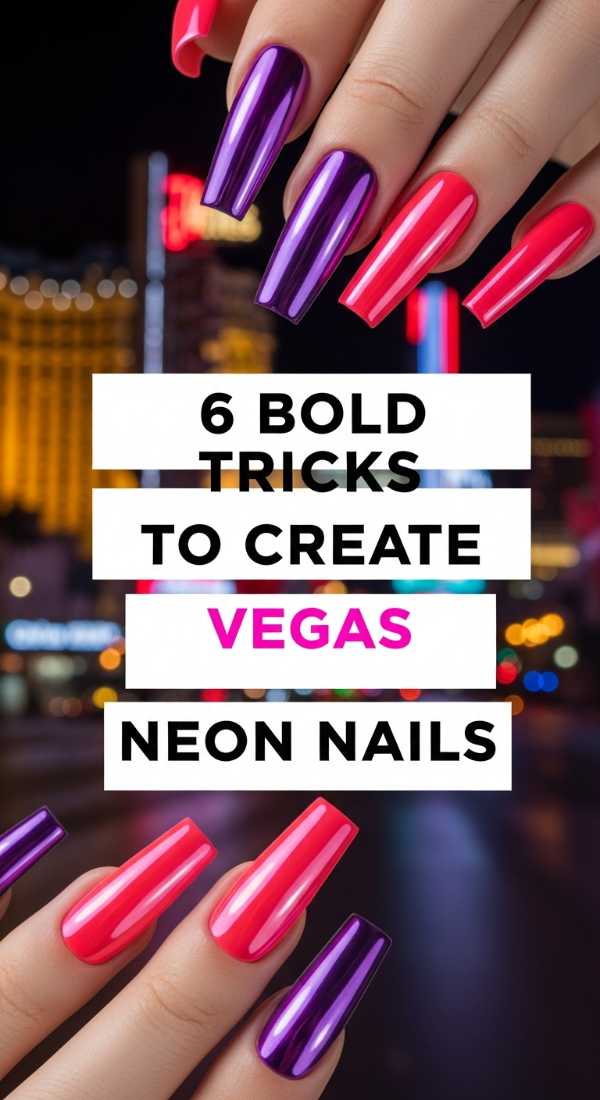
Electric Nights: 6 Bold Tricks to Create Vegas Neon Nails
Why to love these Nails:
Vegas is all about the lights, the energy, and the unapologetic glamour. These neon nails are your permission slip to be loud and vibrant. They glow under the desert sun and pop against the midnight neon of the Strip.
Essential Items:
- White base polish (to make neon pop)
- Electric lime or hot pink neon polish
- Matte top coat
- Cleanup brush
- Acetone
How to Prepare:
- Start with a crisp white base coat; this makes the neon colors truly vibrant.
- Apply two coats of your chosen neon shade.
- Use a cleanup brush dipped in acetone to ensure perfectly sharp edges.
- Try a matte top coat for a sophisticated, ‘velvet neon’ look.
- Add a single rhinestone to the ring finger for that Vegas sparkle.
- Keep the shape ‘stiletto’ or ‘long coffin’ for maximum impact.
Budget Range
- Orly Neon Earth Collection ($12)
- Holler and Glow Neon Polish ($5)
- Clean-up Brush Set ($7)
Rustic Soul: 7 Quick Tips for Western Country Nails

Why to love these Nails:
There is a rugged, earthy beauty in the Western aesthetic. These nails blend the warmth of the desert with the chic vibes of a modern boutique ranch. Think turquoise stones, cowhide prints, and the colors of a prairie sunset.
Essential Items:
- Warm terracotta or cream polish
- Dark brown polish for spots
- Turquoise accent gems
- Nail glue
- Matte finish
How to Prepare:
- Apply a cream-colored base coat to three fingers.
- Use terracotta on the remaining fingers for an earthy contrast.
- On the cream nails, use a sponge to lightly dab irregular brown spots for a cow-print vibe.
- Apply a tiny turquoise gem at the base of the thumb.
- Use a matte top coat to give it a ‘suede’ feel.
- Keep the nails short and squoval for a practical, rustic look.
- Hydrate cuticles with a woodsy-scented oil.
Budget Range
- Zoya Terracotta Tones ($12)
- Nail Art Gem Kit ($10)
- Essie Matte About You ($11)
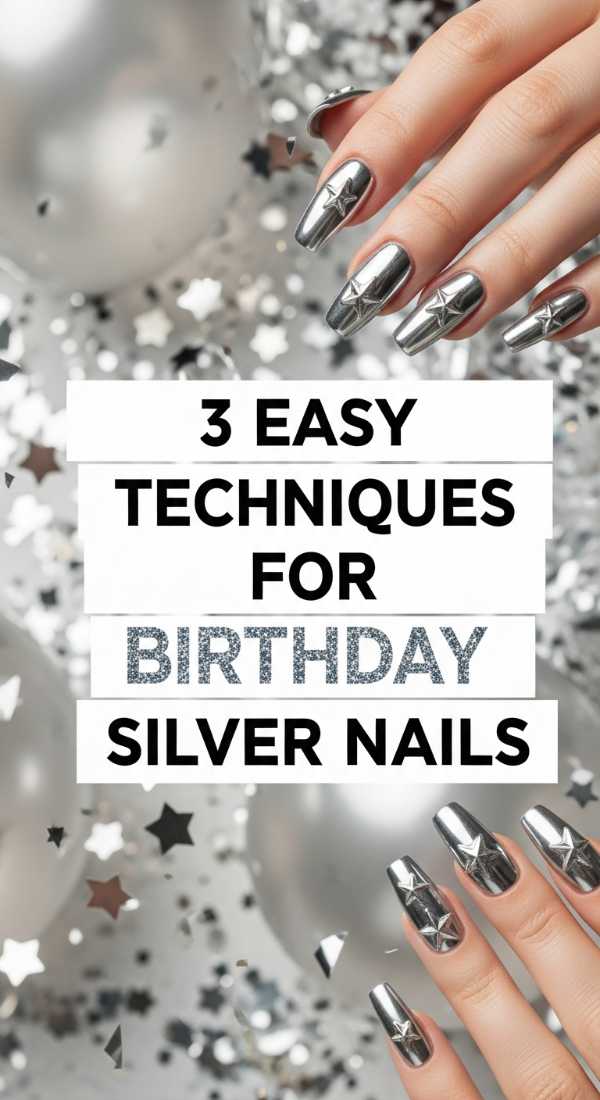
Shine Bright: 3 Easy Techniques for Birthday Silver Nails
Why to love these Nails:
It’s your personal new year, and you deserve to shine like the star you are! Silver nails are futuristic, celebratory, and incredibly flattering under party lights. They turn your hands into jewelry.
Essential Items:
- Silver chrome powder
- No-wipe gel top coat
- UV Lamp (optional) or silver foil
How to Prepare:
- Apply a smooth gray or black base coat.
- Rub silver chrome powder over the surface until it mirrors your reflection.
- Seal with a high-gloss top coat to lock in the metallic sheen.
Budget Range
- Born Pretty Chrome Powder ($7)
- Beetles Gel Top Coat ($8)
- Sally Hansen Insta-Dri Silver ($6)
New Beginnings: 5 Classy Ideas for Graduation White Nails

Why to love these Nails:
Graduation is a clean slate, a fresh chapter. Crisp white nails symbolize that purity and potential. They look stunning against a graduation gown and pop beautifully in those photos where you’re finally holding your diploma.
Essential Items:
- Opaque white polish
- Gold striping tape
- Strengthening base coat
How to Prepare:
- Apply a strengthening base coat to protect your nails during finals stress.
- Apply three thin coats of white to ensure it’s fully opaque without being ‘chalky’.
- Add a single horizontal gold stripe for a ‘honor cord’ look.
- Shape in a professional square style.
- Finish with a fast-drying spray to ensure no smudges during the ceremony.
Budget Range
- OPI Alpine Snow ($11)
- Gold Striping Tape ($4)
- Drip Dry Drops ($10)
Golden Hour: 8 Luxury Steps for Prom Gold Nails

Why to love these Nails:
Prom is the ultimate night of magic, and gold is the color of royalty. These nails feel like liquid luxury. They are designed to catch the light on the dance floor and make you feel like you’re wearing the crown all night long.
Essential Items:
- Gold leaf flakes
- Metallic gold liner
- Nude polish
- Tweezers
How to Prepare:
- Start with a clean nude base.
- Apply gold leaf flakes to the tips using tweezers.
- Use a metallic liner to frame the cuticle.
- Add a second layer of flakes for depth.
- Smooth out the surface with two layers of top coat.
- Gently buff the edges for a snag-free night.
- Add a tiny gold dot on the pinky for luck.
- Mist with a shimmer setting spray.
Budget Range
- Nail Gold Leaf Kit ($9)
- Essie Good as Gold ($10)
- Seche Vive Gel Effect ($12)
Sunkissed Toes: 4 Fresh Routines for Orange Toe Nails
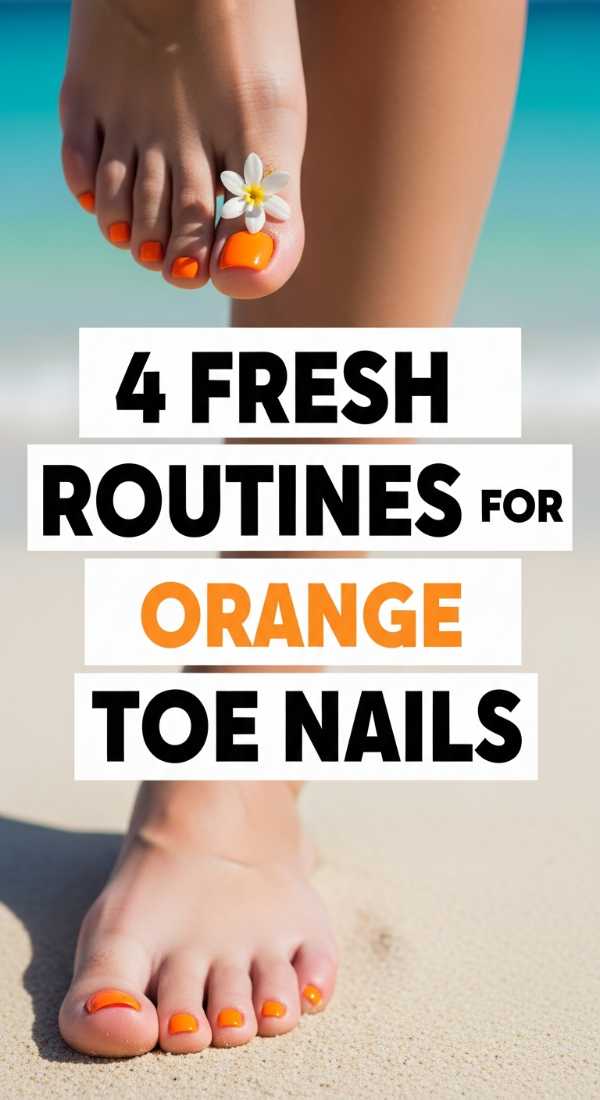
Why to love these Nails:
Orange is the unsung hero of the pedicure world. It’s vibrant, warm, and makes any skin tone look instantly sun-kissed. It’s the color of confidence and tropical vacations.
Essential Items:
- Bright tangerine polish
- Exfoliating foot scrub
- Toe separators
How to Prepare:
- Exfoliate your feet to ensure a smooth canvas.
- Use toe separators for a mess-free application.
- Apply two coats of bright tangerine.
- Finish with a high-gloss oil to keep the color looking wet and fresh.
Budget Range
- China Glaze Orange Knockout ($8)
- Tree Hut Foot Scrub ($9)
- Revlon Toe Separators ($3)
Dreamy Haze: 6 Aesthetic Ways to Apply Milky Nails
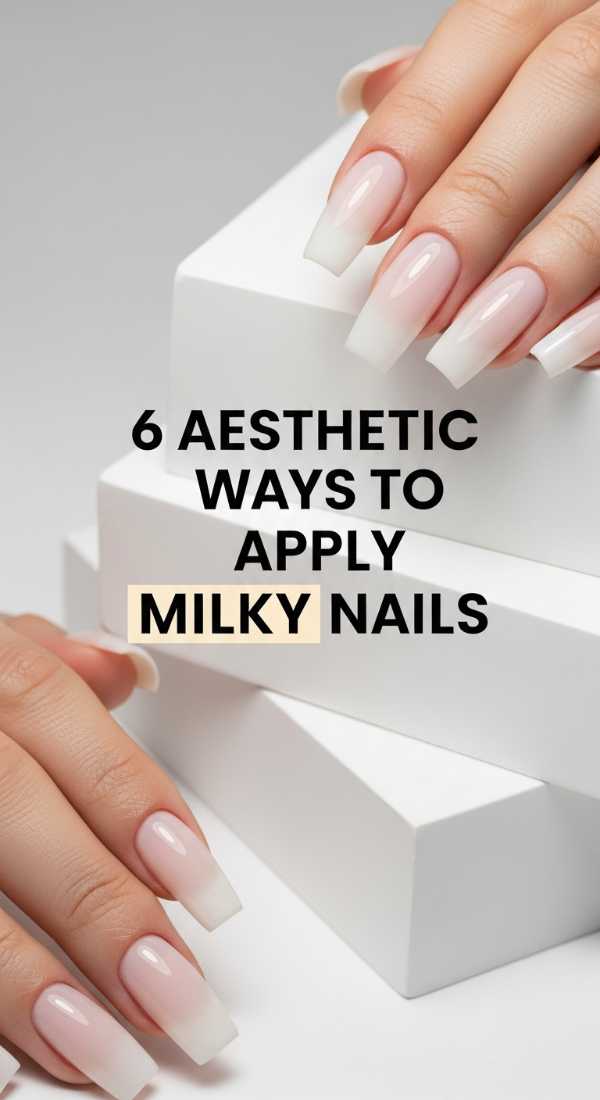
Why to love these Nails:
Milky nails are the ultimate in soft-girl aesthetic. They are ethereal, translucent, and incredibly soothing to look at. It’s like wearing a soft cloud or a splash of oat milk on your fingertips.
Essential Items:
- Sheer white polish
- Leveling base coat
- Soft buffer
How to Prepare:
- Start with a leveling base to hide any ridges.
- Apply one very thin coat of sheer white.
- Wait for it to dry completely, then add a second thin coat.
- Buff the edges for a soft, rounded look.
- Use a milky top coat to blur the colors together.
- Keep the length medium-short for a modern feel.
Budget Range
- Londontown Illuminating Nail Concealer ($20)
- Orly Barely There ($12)
- Butter London Hardwear Top Coat ($15)
Center Stage: 7 Creative Methods for Concert Nails

Why to love these Nails:
Concerts are about expressing your fandom and your personality! These nails are designed to be durable (for all that clapping and dancing) and visually striking enough to be seen from the front row.
Essential Items:
- Holographic glitter
- Black gel polish
- 3D nail charms
- Strong nail glue
How to Prepare:
- Apply a dark base to make glitters stand out.
- Dab holographic glitter onto the center of the nail.
- Apply a 3D charm (like a star or heart) using strong glue.
- Seal the charm edges with a thick top coat.
- Cure under a lamp for maximum durability.
- Test the ‘snag’ factor by running your hair through your fingers.
- Add a glow-in-the-dark top coat for the encore!
Budget Range
- Holographic Glitter Pots ($6)
- Beetles Black Gel Polish ($7)
- Music Note Nail Charms ($5)
Embrace Your Inner Artist
My loves, I hope these guides inspire you to take a little moment for yourself this week. Whether you choose the soft whisper of milky nails or the electric roar of Vegas neon, remember that your nails are an extension of your beautiful, unique spirit. There are no rules in art—only feelings. So, grab your favorite polish, put on a soothing playlist, and let your creativity flow. You deserve this moment of peace.