
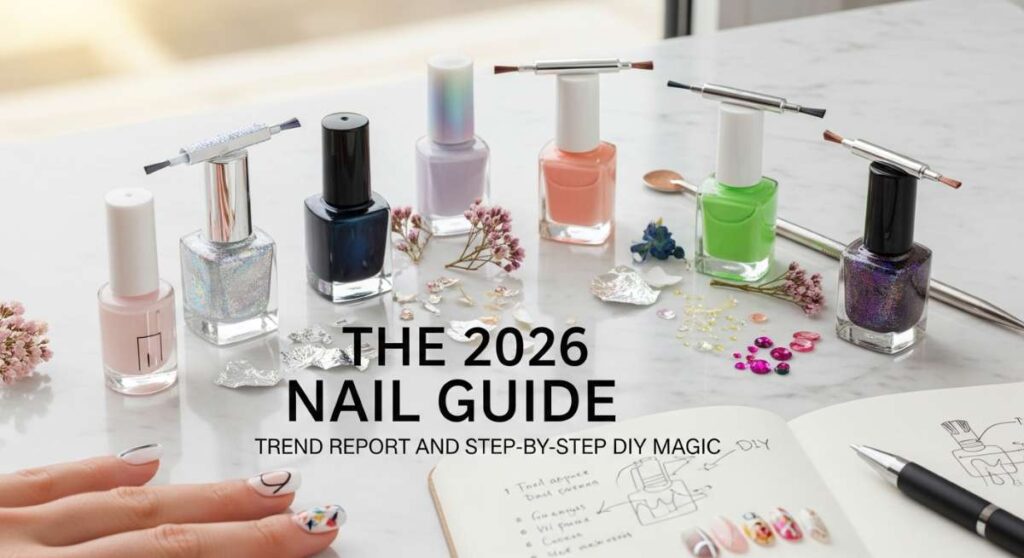
The 2026 Nail Guide: Trend Report and Step-by-Step DIY Magic
Oh, my loves, can you feel it? There’s a certain magic in the air as we step into 2026. It’s like the world has exhaled a soft, glittering breath, and suddenly everything feels a bit more vibrant, a bit more intentional. For me, self-care has always been about those quiet moments of ritual—the clink of a glass bottle, the soft sweep of a brush, and the way a fresh set of nails can make you feel like you’ve finally found your center again. This year, we aren’t just following trends; we are painting our stories onto our fingertips.
I’ve spent the last few weeks dreaming up the perfect color palettes and textures that represent this beautiful year ahead. Whether you’re looking for the sharp edge of a gothic spring or the sun-drenched sweetness of a lemon grove, I’ve gathered everything you need right here. Pull up a chair, grab a warm cup of tea, and let’s dive into our shared canvas. This is your year to shine, one polish stroke at a time.
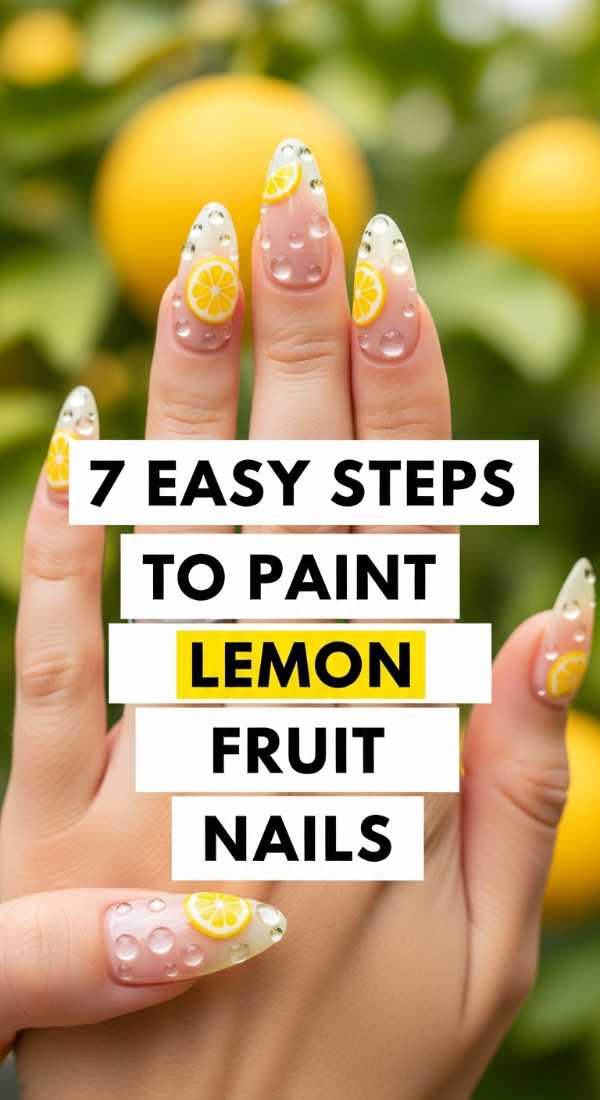
Zesty Refresh: 7 Easy Steps to Paint Lemon Fruit Nails
Why to love this Design:
There is something so inherently joyful about citrus. These lemon fruit nails are like a burst of sunshine on a cloudy day, bringing a sense of Italian summer and fresh beginnings to your hands. They are playful, bright, and impossible not to smile at every time you check your phone.
Essential Elements:
- Opaque White base polish
- Bright Canary Yellow polish
- Forest Green detail paint
- Ultra-fine liner brush
- Glossy top coat
How to Prepare:
- Cleanse nails and apply a nourishing base coat.
- Apply two thin layers of white polish for a crisp canvas.
- Using a dotting tool, place two small yellow circles near the tips.
- Elongate the circles into slightly oval ‘lemon’ shapes.
- Use your liner brush to add a tiny green leaf to each lemon.
- Add a tiny white ‘highlight’ dot on the lemon for dimension.
- Seal with a high-shine top coat for that juicy look.
Budget Range
- Essie ‘Blanc’ – $10
- Holler and Glow Yellow – $6
- Detail Brush Set – $8
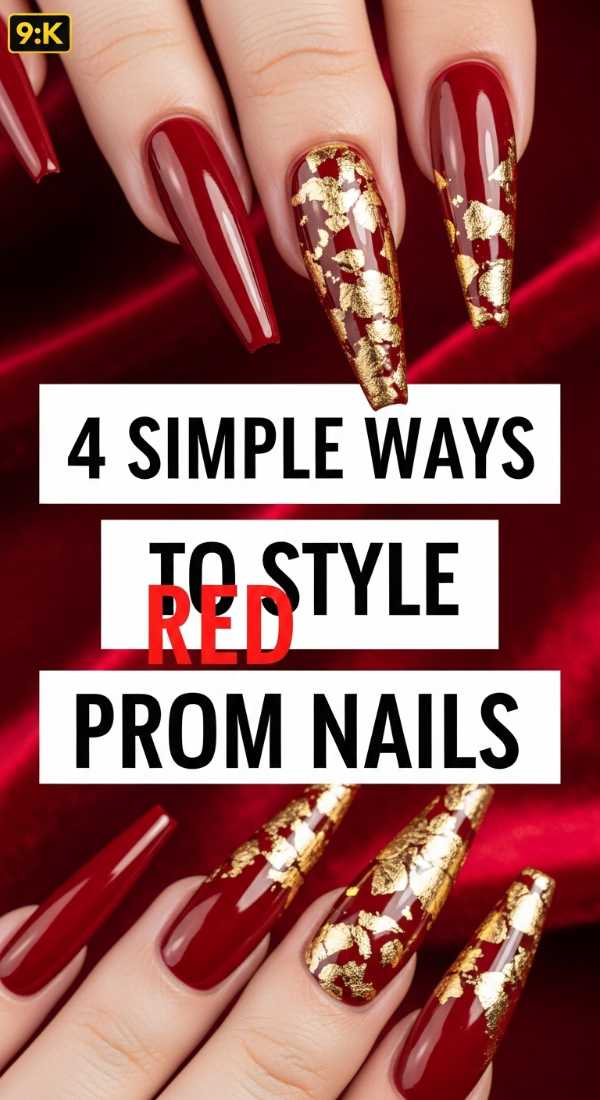
Classic Elegance: 4 Simple Ways to Style Red Prom Nails
Why to love this Design:
Red is never just red; it is a statement of power, passion, and timeless grace. For prom 2026, we are seeing a return to classic Hollywood glamour but with a modern, softer twist. It’s the kind of look that makes you feel like the main character of your own cinematic dream.
Essential Elements:
- Deep Crimson or True Red polish
- Gold foil flakes
- Matte top coat (optional)
- Shape: Long Almond or Coffin
How to Prepare:
- The Velvet Look: Apply red polish and finish with a matte top coat for a luxurious fabric feel.
- The Gilded Edge: Apply red polish and press gold foil onto the tips while still tacky.
- The Ombre Gradient: Sponge a deeper burgundy at the base fading into bright red at the tips.
- The Minimalist Stripe: A single vertical gold line down the center of a red nail.
Budget Range
- OPI ‘Big Apple Red’ – $11
- Nail Art Gold Foil – $5
- Sally Hansen Matte Finisher – $7
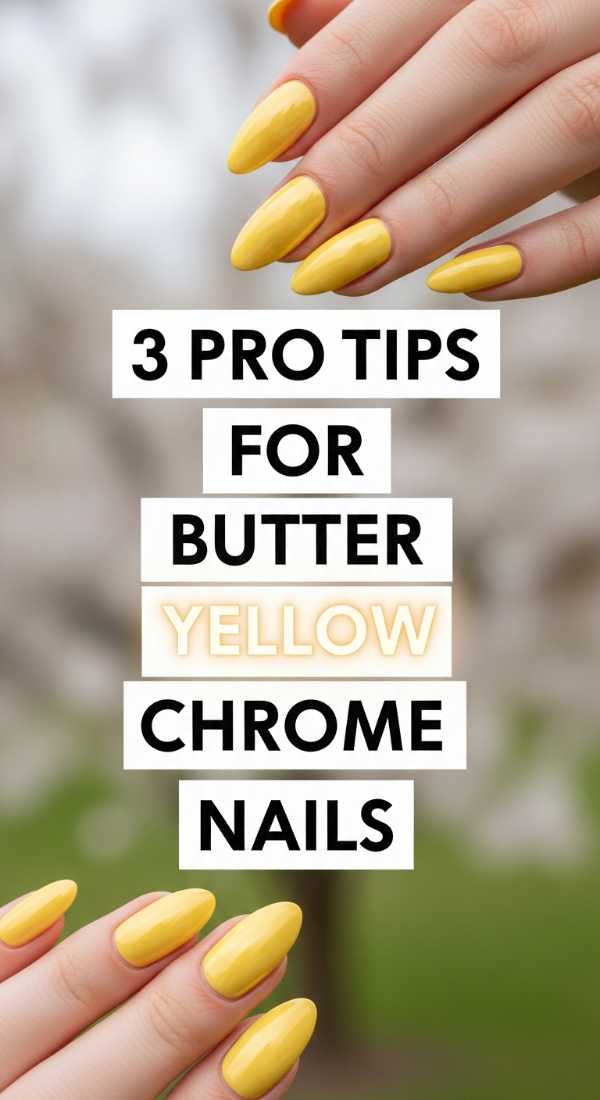
Sun-Kissed Glow: 3 Pro Tips for Butter Yellow Chrome Nails
Why to love this Design:
Butter yellow is the breakout star of 2026, offering a soft, creamy alternative to harsh neons. When you add a chrome finish, it transforms into something ethereal—like a pearl dipped in liquid sunshine. It’s sophisticated yet whisper-soft.
Essential Elements:
- Butter yellow gel polish
- White pearl or yellow chrome powder
- No-wipe top coat
- Silicon applicator
How to Prepare:
- Apply your butter yellow base and cure; it must be perfectly smooth to avoid chrome ‘clumping’.
- Apply a no-wipe top coat and cure for only 30 seconds (it should be slightly warm).
- Buff the chrome powder firmly into the nail using the silicon tool until it mirrors back at you.
Budget Range
- Gelish ‘Lemonade’ – $14
- Pearl Chrome Powder – $9
- LED UV Lamp – $25
Mystical Rebirth: 6 Steps to Create Gothic Spring Nails
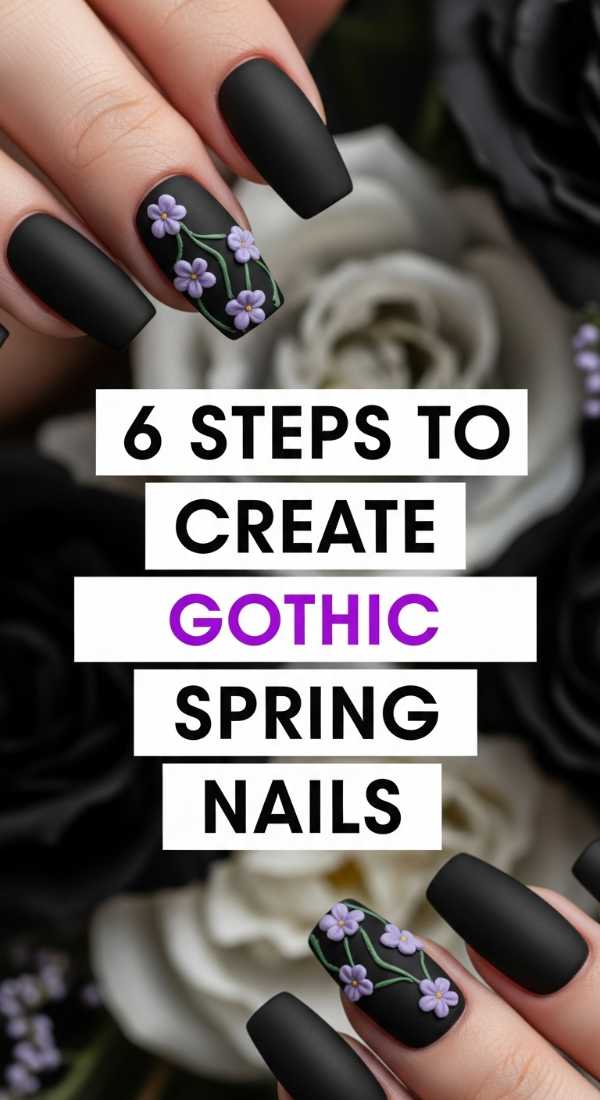
Why to love this Design:
Who says spring has to be all pastels? Gothic spring is about the contrast—the dark soil and the bright bloom. It’s for my loves who find beauty in the shadows and the mystery of a garden at midnight. It’s edgy, romantic, and deeply poetic.
Essential Elements:
- Sheer Black ‘Stocking’ polish
- Dried pressed flowers
- Black 3D gel
- Tweezers
How to Prepare:
- Apply a sheer black base to create a ‘smoky’ window effect.
- Carefully place a tiny dried flower in the center of the nail using tweezers.
- Outline the flower with a thin frame of solid black polish.
- Add small black dots to mimic vintage lace patterns.
- Encapsulate everything with a thick builder gel layer.
- Finish with a high-gloss top coat to give it a ‘glass’ depth.
Budget Range
- Zoya ‘Raven’ – $12
- Pressed Flower Kit – $7
- Ibd Builder Gel – $15
Island Escape: 5 Secrets to the Perfect Tropical Nail Set
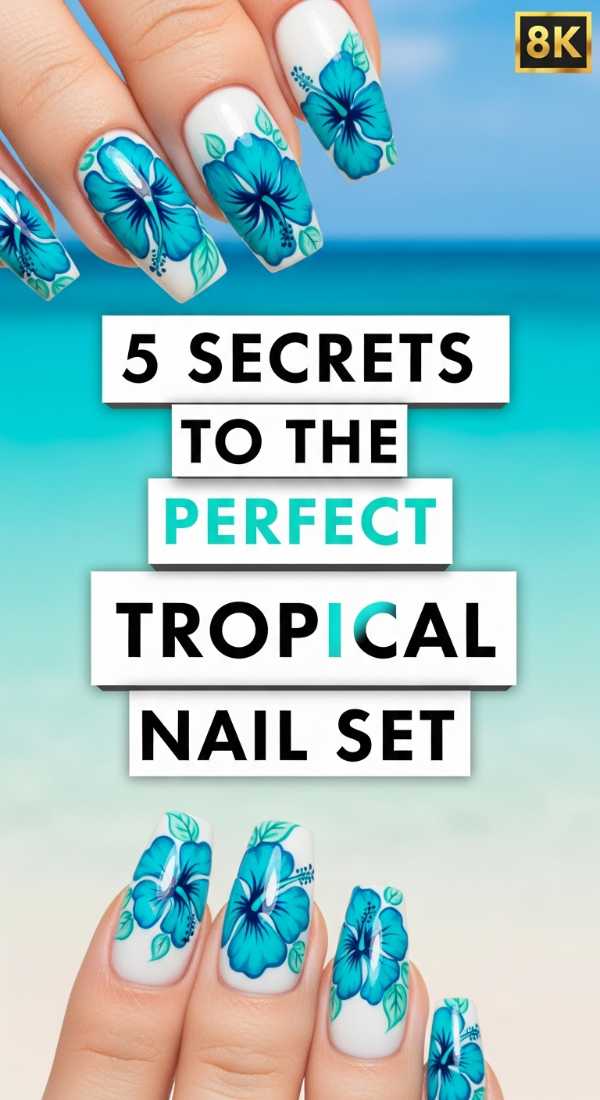
Why to love this Design:
Even if you aren’t at the beach, your nails can take you there. This set is all about lush textures and the vibrant hues of a hidden lagoon. It’s a vacation for your soul every time you look down at your hands.
Essential Elements:
- Hibiscus Pink and Palm Green polish
- Sponges for blending
- Fine glitter dust
- Nail decals (palm leaves)
How to Prepare:
- The Secret of the Gradient: Use a damp sponge to blend pink and orange for a sunset base.
- The Texture Secret: Use a matte base but keep the leaf decals glossy for a ‘rain-wet’ look.
- The Placement Secret: Only accent two fingers per hand to keep it from looking cluttered.
- The Depth Secret: Add a tiny bit of yellow at the base of your green leaves for realism.
- The Seal Secret: Use a UV-protectant top coat to keep the bright colors from fading in the sun.
Budget Range
- Orly ‘Summer’ Collection – $15
- Tropical Decal Pack – $4
- Sun-Shield Top Coat – $9
Whimsical Dreams: 8 Steps for Stunning Lavender Sparkle Nails

Why to love this Design:
Lavender is the color of peace, and sparkle is the language of magic. Combining them creates a look that is soft, feminine, and utterly dreamy. It’s perfect for those days when you want to feel like you’re walking on clouds.
Essential Elements:
- Soft Lavender cream polish
- Fine silver holographic glitter
- Chunky iridescent hexagonal glitter
- Clean-up brush
How to Prepare:
- Prep the nail bed and apply a base coat.
- Apply two coats of lavender cream.
- While the second coat is tacky, sprinkle fine glitter at the cuticle.
- Use a toothpick to place 3-4 chunky glitters near the tip.
- Create a ‘waterfall’ effect by dragging the fine glitter toward the middle.
- Wait for it to dry completely to avoid ‘dragging’ the glitter.
- Apply two coats of top coat to ensure a smooth, snag-free finish.
- Hydrate cuticles with lavender oil to match the vibe.
Budget Range
- Butter London ‘Lavender’ – $18
- Holographic Glitter Pot – $5
- Cuticle Oil Pen – $6
Sweet Dimension: 5 Quick Steps for 3D Strawberry Nails
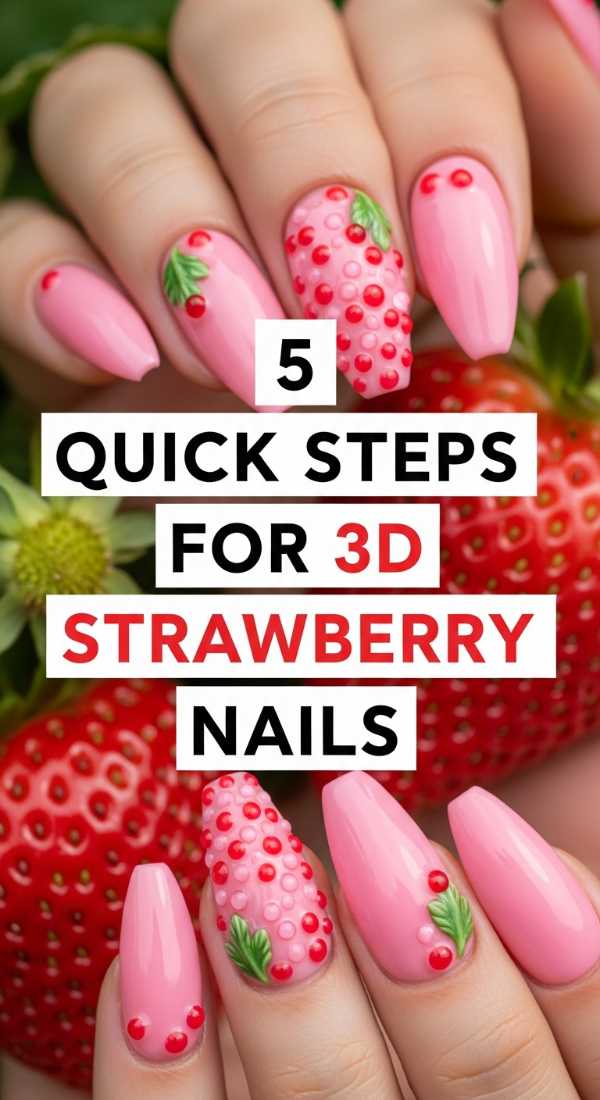
Why to love this Design:
3D nails are taking over 2026, and the strawberry motif is the absolute cutest way to try the trend. It adds a tactile, playful element that feels like wearable art. It’s kitschy, cottagecore-inspired, and totally viral-worthy.
Essential Elements:
- Bright Red gel polish
- Clear 3D builder gel or ‘Gummy’ gel
- Yellow detail paint (for seeds)
- Green gel (for the stem)
How to Prepare:
- Paint a red strawberry heart shape on a neutral base and cure.
- Use a dotting tool to add tiny yellow ‘seeds’ all over the red area.
- Take a dollop of clear 3D gel and place it over the red shape to create a ‘dome’.
- Carefully paint green ‘leaves’ at the top of the dome.
- Cure for 60 seconds and wipe with alcohol for a tack-free finish.
Budget Range
- Modelones 3D Gel – $8
- Beetles Red Gel Polish – $7
- Dotting Tool Kit – $5
The Perfect Pair: 4 Ways to Match Hands and Toes Nails

Why to love this Design:
There is a unique kind of satisfaction in a coordinated look. It feels polished, put-together, and intentionally chic. Matching your mani-pedi doesn’t mean they have to be identical—it means they should tell the same story.
Essential Elements:
- A primary ‘hero’ color
- A secondary ‘accent’ color
- Coordinated stickers or stamps
How to Prepare:
- The Inverse Method: Paint hands in the hero color with accent tips, and toes in the accent color.
- The Same-But-Different: Use the same color but do a matte finish on hands and glossy on toes.
- The Single Nail Tie-In: Use a completely different color for both, but use the same glitter on the ring finger and big toe.
- The Palette Match: Use different shades of the same family (e.g., sky blue hands, navy toes).
Budget Range
- Essie Mani-Pedi Duo Pack – $16
- Nail Art Stamp Kit – $12
Fruit Fusion: 7 Fun Steps to Lemon and Blueberry Nails

Why to love this Design:
Blue and yellow are a match made in color theory heaven. This ‘fruit salad’ look is fresh, vibrant, and perfect for spring picnics or summer garden parties. It’s a sophisticated take on fruity nail art.
Essential Elements:
- Lemon Yellow polish
- Royal Blue and White polish
- Ultra-fine liner brush
- Matte or glossy top coat
How to Prepare:
- Apply a nude or pale blue base coat.
- On one side of the nail, paint a yellow lemon slice.
- On the other side, paint two small blue circles for blueberries.
- Add tiny white ‘shimmer’ lines to the berries.
- Use green paint to connect them with a shared stem and leaf.
- Add tiny white ‘seeds’ to the lemon slice.
- Seal with a high-shine top coat for a fresh-picked look.
Budget Range
- OPI ‘Shore is Something’ – $11
- Yellow Liner Gel – $6
- Top Coat Pro – $12
Royal Romance: 6 Easy Steps for Pink and Gold Prom Nails
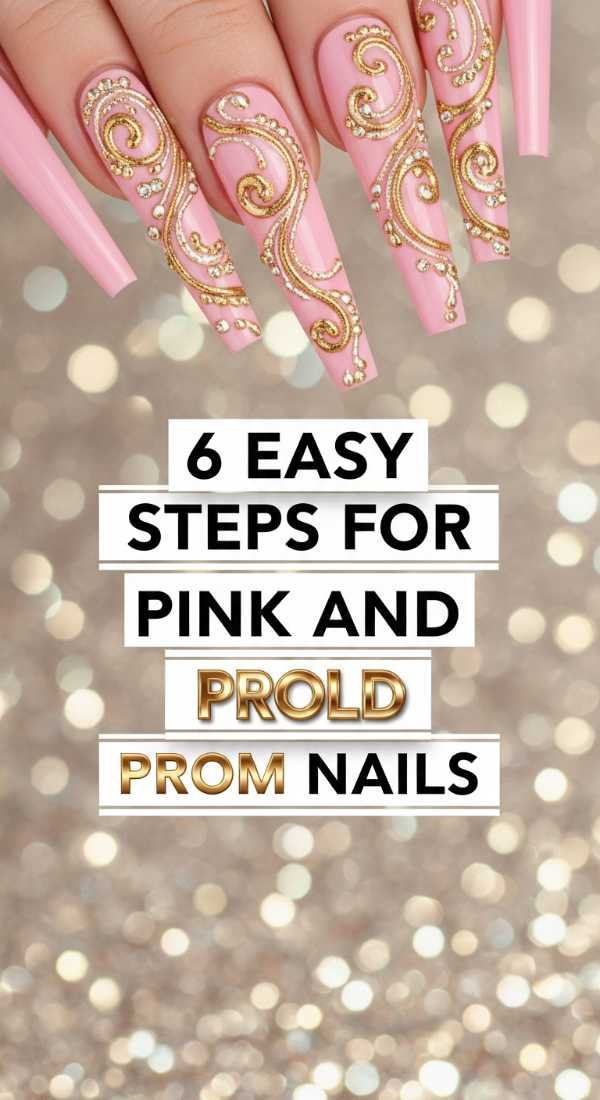
Why to love this Design:
For the loves who want to feel like royalty, pink and gold is the ultimate combination. It’s feminine, opulent, and radiates a soft warmth. This look catches the light beautifully on the dance floor and looks stunning in photos.
Essential Elements:
- Soft Blush Pink polish
- Metallic Gold paint or ‘Spider’ gel
- Small gold rhinestones
- Nail glue
How to Prepare:
- Apply two coats of blush pink and let dry completely.
- Using gold spider gel, create delicate ‘swirls’ across the nail.
- Place a single gold rhinestone at the base of the nail using glue.
- Add a thin gold line along the free edge (a French tip style).
- Use a sponge to lightly dab gold glitter at the base of the ring finger.
- Apply a thick top coat to level out the texture of the swirls and stones.
Budget Range
- CND Vinylux ‘Satin Slipper’ – $14
- Gold Spider Gel – $8
- Mixed Size Rhinestone Pack – $6
Embrace Your Inner Artist
My loves, as we wrap up this guide, I want you to remember that your nails are more than just a fashion choice—they are a form of self-expression and a little gift you give yourself every day. Whether you chose the bold red of a prom queen or the soft shimmer of lavender dreams, I hope these designs make you feel beautiful, confident, and ready to take on 2026 with grace. Don’t be afraid to get messy, to experiment, and to make these trends your own. After all, the best accessory you can ever wear is your own unique spirit. Stay soft, stay bright, and keep shining!
Frequently Asked Questions
Q: How can I make my DIY nail art last longer?
A: The secret is in the prep! Always dehydrate your nail bed with a little alcohol or acetone before your base coat, and never skip the top coat. Re-applying a thin layer of top coat every three days can double the life of your mani.
Q: What is the biggest nail shape trend for 2026?
A: We are seeing a huge shift toward ‘Soft Almond’ and ‘Squoval.’ People are moving away from sharp edges toward more natural, rounded shapes that elongate the fingers while remaining practical for daily life.
Q: I have short nails, can I still do these designs?
A: Absolutely! In fact, fruit designs like the lemons and strawberries look incredibly chic and ‘coquette’ on short, well-manicured nails. Just scale down the size of your art elements!