
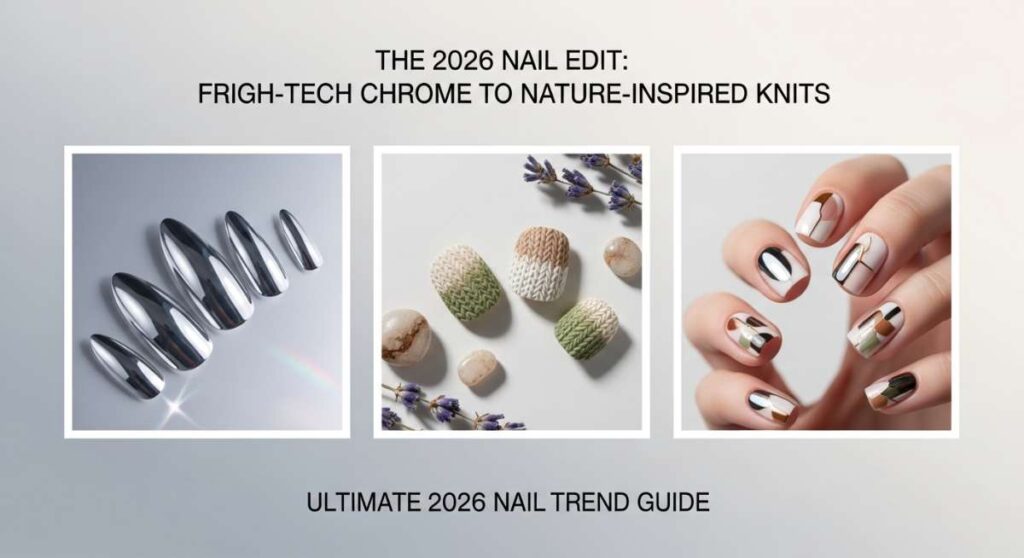
The 2026 Nail Edit: From High-Tech Chrome to Nature-Inspired Knits
Hello, my loves! Welcome back to my little corner of the internet where we talk about all things beauty, soul, and self-expression. As the sun begins to hold us in its warm, golden embrace this season, I’ve been thinking so much about how our hands tell our stories. There’s something so deeply meditative about sitting down, even for just thirty minutes, and painting a little bit of magic onto our fingertips. It’s not just a manicure; it’s a tiny ritual of self-love that we carry with us through every cup of coffee and every handwritten note.
This year, 2026 is giving us so much to play with. We’re seeing this beautiful dance between high-tech, futuristic finishes and the soft, tactile comfort of nature-inspired textures. Whether you’re celebrating a massive milestone like a graduation or just want to feel the zing of a lemon-scented afternoon on your nails, I’ve curated the ultimate guide to help you navigate the trends. Let’s dive into these looks together, shall we?
5 Easy Steps to Style Graduation Nails

Why to love this Design:
Graduation is such a bridge between who you were and who you are becoming. This design captures that soft, triumphant glow. It’s sophisticated enough for the ceremony but has enough shimmer to catch the light when you finally toss that cap into the air. It’s about celebrating your hard work with a touch of elegance.
Essential Elements:
- Sheer milky white base
- Micro-fine gold leaf accents
- High-gloss top coat
- Soft almond shape
How to Prepare:
- Cleanse your nail beds thoroughly to ensure a long-lasting finish for the big day.
- Apply two thin coats of a milky, translucent polish.
- Using tweezers, place tiny flakes of gold leaf near the cuticle area.
- Seal everything with a plump, gel-effect top coat.
- Hydrate your cuticles with a lavender-scented oil for a photo-ready look.
Budget Range
- OPI Mimosas for Mr. & Mrs. ($11.49)
- Generic Nail Gold Foil Flakes ($6.99)
- Seche Vite Dry Fast Top Coat ($9.95)
7 Ways to Design May Birthday Nails

Why to love this Design:
May is the heart of spring, loves! It’s all about the emerald greens of new leaves and the soft pastels of blooming peonies. These designs are meant to make you feel like a garden goddess, celebrating your trip around the sun with organic shapes and vibrant, life-affirming colors.
Essential Elements:
- Emerald green chrome powder
- Pressed flower decals
- Negative space moons
- Pearl embellishments
- Velvet magnetic finishes
- Hand-painted leaf vines
- Soft matte sage backgrounds
How to Prepare:
- Shape nails into a soft square to maximize the ‘canvas’ area.
- Apply a base of sage or emerald.
- If using decals, soak them in warm water for 10 seconds before applying.
- Use a magnet tool for the velvet effect while the polish is still wet.
- Add a tiny pearl at the base of the ring finger for a ‘royal’ touch.
- Cure under a UV lamp if using gel.
- Finish with a light floral hand cream.
Budget Range
- Essie ‘Win Me Over’ ($9.00)
- Daily Charme Emerald Mirror Powder ($12.00)
- Amazon Pressed Flower Kit ($8.50)
10 Secrets for Summer 2026 Nails

Why to love this Design:
Summer 2026 is all about ‘Digital Ethereal’—the secret is making your nails look like they are glowing from within. It’s that perfect mix of a beach vacation and a futuristic dreamscape. These secrets ensure your mani survives the salt, the sand, and the endless summer parties.
Essential Elements:
- Iridescent ‘Glass’ top coats
- Rubber base gels for flexibility
- Jelly polish layering
- UV-reactive pigments
- Sea-salt texture sprays (for matte parts)
- Holographic stripping tape
- Internal glitter placement
- Encapsulated dried seaweed
- Thermal color-changing tips
- Bio-sourced eco-polishes
How to Prepare:
- Start with a rubber base coat to prevent chipping in the heat.
- Layer a jelly color over a holographic base for depth.
- Apply a UV-reactive top coat for glow-in-the-dark nights.
- Use a lint-free wipe to clean the sticky layer.
- Buff the edges slightly for a ‘worn-in’ beachy feel.
- Keep a travel-sized cuticle pen in your beach bag.
- Seal the free edge (the tip) twice to lock out sand.
- Exfoliate hands with a sugar scrub before the first coat.
- Use a blue-light filter top coat to prevent yellowing in the sun.
- Always finish with an SPF 50 hand lotion.
Budget Range
- Bio Seaweed Gel ‘Unity’ ($18.00)
- Holler and Glow Jelly Polish ($8.00)
- Supergoop! Handscreen ($14.00)
4 Tricks for Sunset Aura Nails
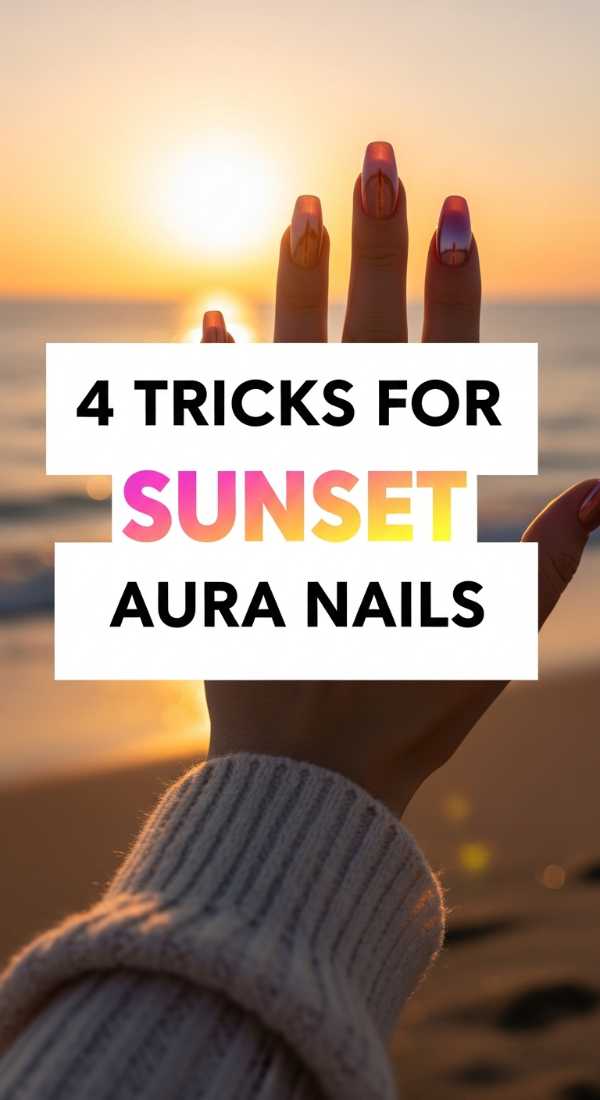
Why to love this Design:
Aura nails are like wearing your soul’s energy on your hands. The sunset palette—pinks, oranges, and purples—feels so incredibly warm and comforting. It’s like a hug for your eyes every time you look down at your keyboard.
Essential Elements:
- Airbrush tool (or a makeup sponge)
- Deep magenta and fiery orange polishes
- Blurring base coat
- White gel paint for ‘light’ centers
How to Prepare:
- Apply a neutral base to create a clean canvas.
- Sponge the orange in the center and magenta on the edges.
- Use a clean sponge to blur the lines while wet.
- Add a tiny dot of white in the very center to create that ‘glowing’ aura effect.
Budget Range
- Cirque Colors ‘Vice’ Collection ($12.50 each)
- BeautyBlender Micro Mini ($18.00)
- Beetles Gel Polish Starter Kit ($25.00)
6 Ways to Rock Lemon Nails
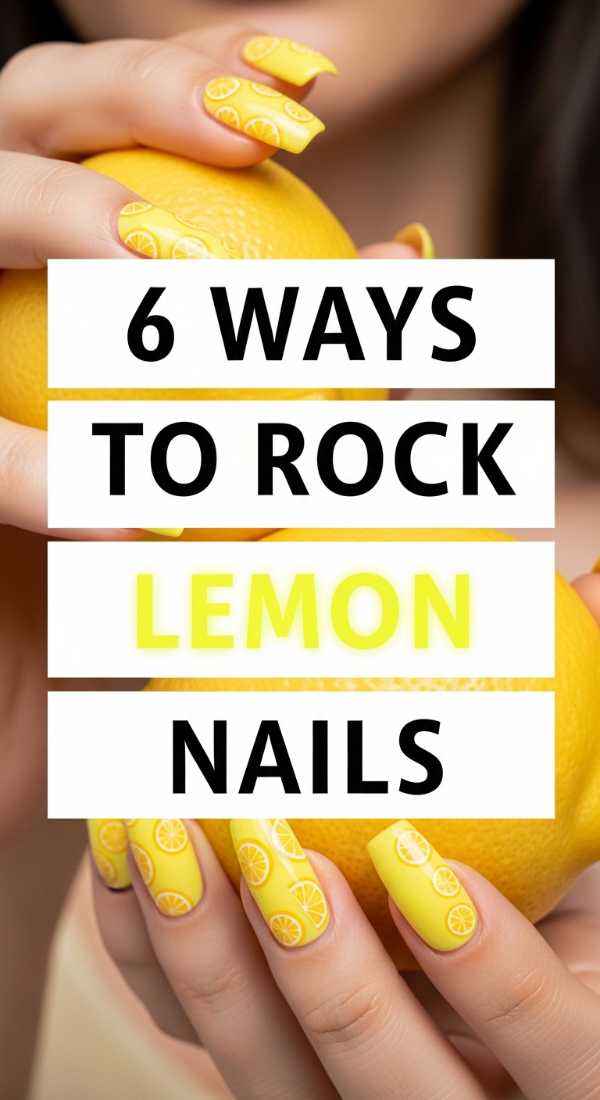
Why to love this Design:
Nothing says ‘zest for life’ like lemon nails! It’s a literal pop of sunshine. Whether you’re going for a Mediterranean tile vibe or a simple bright yellow, it’s an instant mood booster that smells like lemonade and summer breeze.
Essential Elements:
- Neon yellow pigment
- 3D ‘citrus skin’ texture
- Matte finish for the yellow areas
- Glossy green leaf accents
- White ‘pith’ detailing
- Tiny fruit slices (fimo clay)
How to Prepare:
- Paint nails a vibrant lemon yellow.
- Use a dotting tool to create white and green leaf details.
- Apply a matte top coat over the yellow.
- Use a thick builder gel to create 3D ‘droplets’ of water on the fruit.
- Apply fimo slices with a dab of nail glue.
- Seal the edges with a clear gloss.
Budget Range
- Lights Lacquer ‘Paper Planes’ ($13.00)
- Nail Art Dotting Tool Set ($5.00)
- Fimo Fruit Slices Bulk Pack ($7.00)
3 Steps for Teal and Coral Nails
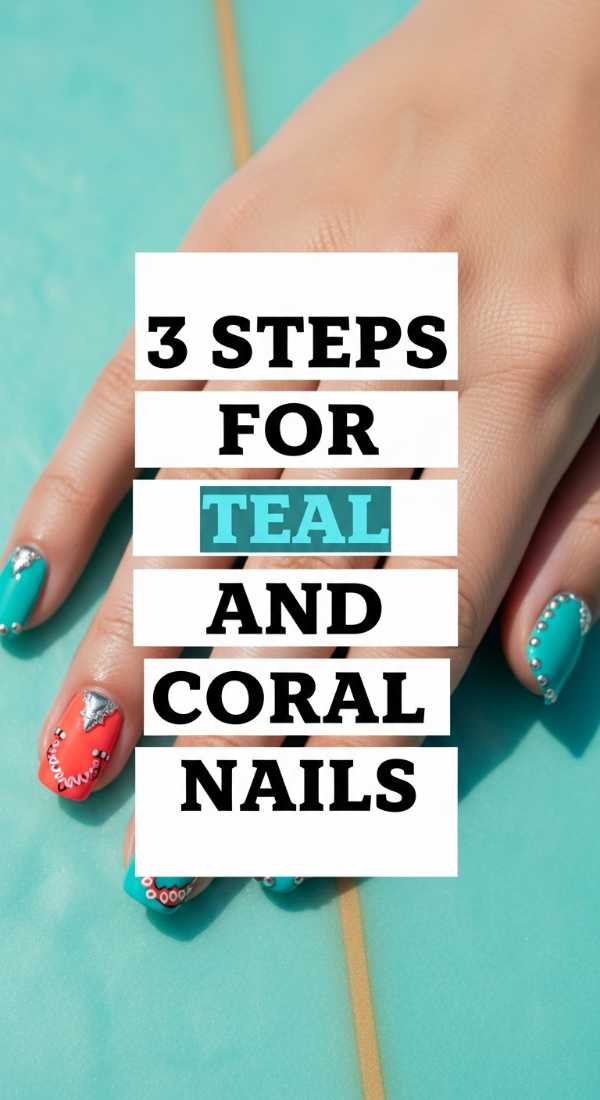
Why to love this Design:
This is the ultimate color theory dream! Teal and coral are complementary opposites, which means they make each other look even more vibrant. It’s very ‘tropical vacation at a boutique hotel’—sophisticated yet playful.
Essential Elements:
- Deep ocean teal
- Bright reef coral
- Gold accent striping
How to Prepare:
- Alternate colors on each finger or do a split-nail design using tape.
- Add a thin gold line where the two colors meet.
- Top with a high-shine finish to make the colors ‘pop’ like water.
Budget Range
- Orly ‘Danse With Me’ Teal ($15.00)
- Sally Hansen ‘Coral Reef’ ($7.00)
- Nail Tape Multi-pack ($4.50)
8 Ways to Wear Neon Cheetah Nails
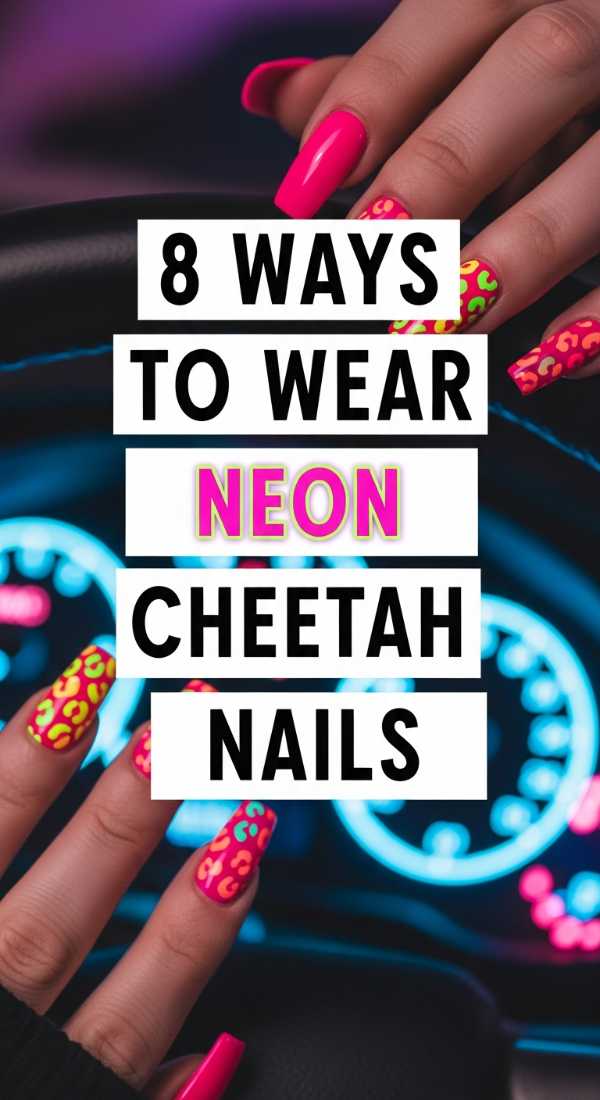
Why to love this Design:
Animal print never truly leaves us, but in 2026, we’re making it electric. Neon cheetah is for my loves who aren’t afraid to take up space. It’s fierce, it’s fun, and it says you’re ready for an adventure.
Essential Elements:
- Electric lime or hot pink base
- Black matte acrylic paint for spots
- Glow-in-the-dark pigments
- Iridescent glitter flakes
- V-shaped French tips
- Short stiletto shape
- Clear ‘jelly’ spots
- Mixed metal studs
How to Prepare:
- Apply your neon base and cure.
- Use a fine-liner brush to draw irregular ‘C’ and ‘U’ shapes for the cheetah print.
- Fill the centers of the spots with a different neon shade.
- Add a tiny bit of glitter inside some spots.
- Apply studs while the top coat is tacky.
- Cure for double the time to ensure the neon doesn’t fade.
- File into a sharp stiletto for maximum attitude.
- Finish with a high-gloss top coat.
Budget Range
- Kiara Sky Neon Collection ($14.99)
- Winstonia Fine Liner Brush Set ($8.00)
- Stud Embellishment Box ($9.00)
2 Rules for Matching Hands and Toes
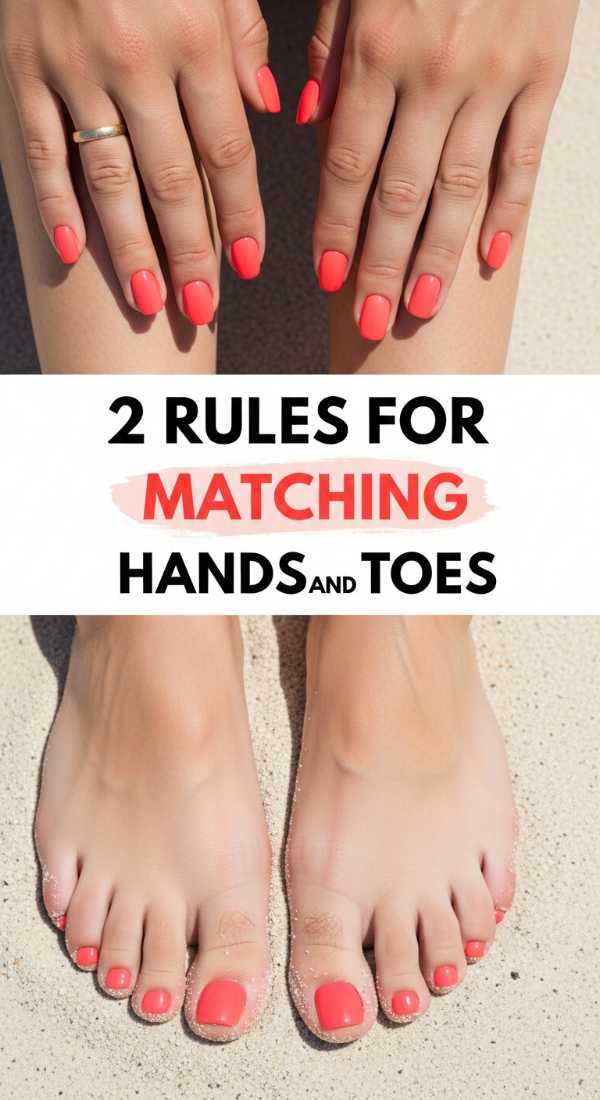
Why to love this Design:
The ‘matchy-matchy’ debate is over! In 2026, we’re looking for harmony rather than an identical twin look. It’s about creating a cohesive ‘vibe’ that makes your whole outfit feel intentional and polished.
Essential Elements:
- Consistent color family
- Matching textures (e.g., both matte or both glossy)
How to Prepare:
- Rule 1: Choose a ‘lead’ color for your hands and a ‘supporting’ shade for your toes from the same palette.
- Rule 2: Match your finishes—if you have chrome on your fingers, use a shimmer on your toes to tie them together.
Budget Range
- Zoya Professional Polish ($12.00)
- Deborah Lippmann Gel Lab Pro Pair ($36.00)
5 Tips for Summer Goth Nails
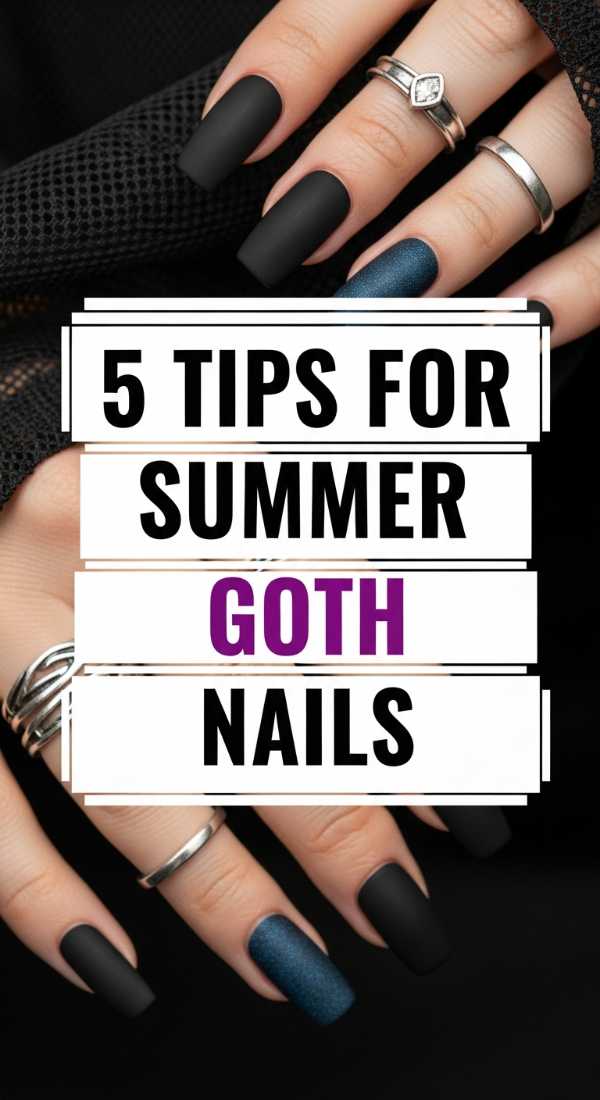
Why to love this Design:
Who says dark colors are only for winter? Summer Goth is such a vibe—it’s edgy, mysterious, and looks incredible against sun-kissed skin. It’s like a cool shadow in the middle of a hot July day.
Essential Elements:
- Sheer black ‘stocking’ base
- Chrome spiderwebs
- Deep burgundy accents
- Matte velvet top coat
- Silver hardware (piercings)
How to Prepare:
- Mix a drop of black polish with clear top coat for the sheer base.
- Use a silver spider-gel to create delicate, thin webs.
- Apply a matte top coat over the black areas.
- Use a nail drill for a small hoop piercing on the pinky nail.
- Moisturize with a dark-cherry scented balm.
Budget Range
- Cirque Colors ‘Spotted’ ($12.50)
- Maniology Silver Stamping Polish ($9.00)
- Nail Piercing Tool Kit ($11.00)
4 Steps to Create Pucci Nails
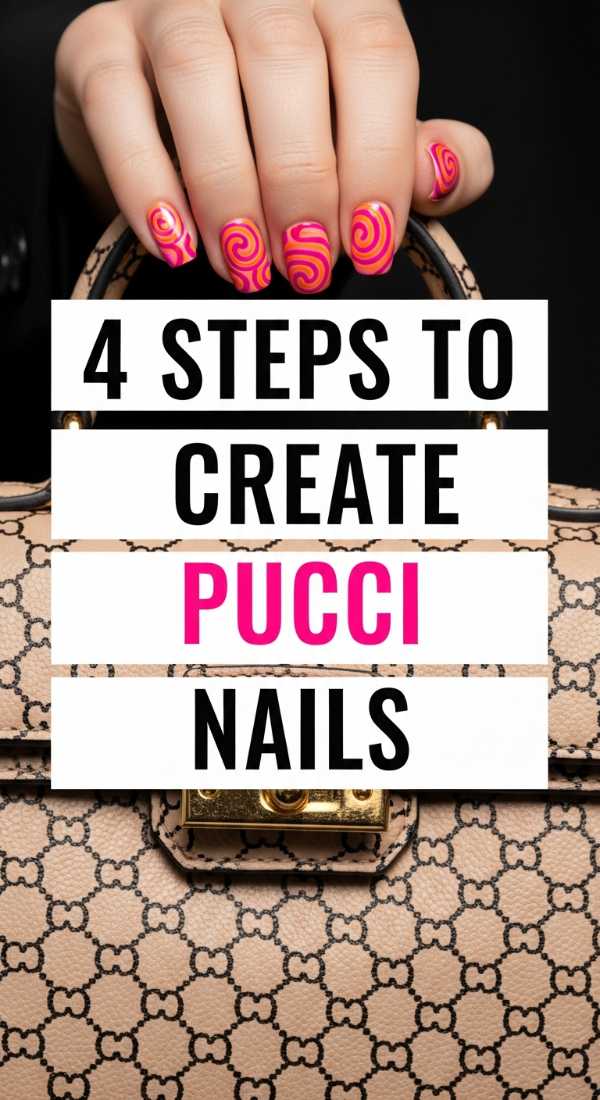
Why to love this Design:
Inspired by the iconic Emilio Pucci prints, this is pure luxury and retro-glam. It’s colorful, psychedelic, and looks like high fashion. It’s perfect for a poolside lounge or a summer wedding where you want to stand out.
Essential Elements:
- Pastel pink, blue, and yellow palette
- Black or gold outlining
- Swirling geometric shapes
- A steady hand
How to Prepare:
- Map out your swirls with a pencil or light nude polish first.
- Fill in each ‘zone’ with a different pastel color.
- Carefully outline the shapes with a thin black brush to define the print.
- Seal with a thick gel top coat for a smooth, porcelain-like finish.
Budget Range
- Kupa Mani-University Brushes ($20.00)
- Modelones Pastel Gel Set ($15.00)
- Glisten & Glow Top Coat ($9.00)
Embrace Your Inner Artist
As we wrap up this 2026 guide, I want you to remember that there are no real rules in beauty—only feelings. Whether you choose the fierce energy of neon cheetah or the soft, soulful glow of sunset aura nails, make sure it feels like *you*. Our nails are a playground for our creativity, a way to signal to the world how we’re feeling without saying a single word. So, go ahead, pick a color that makes your heart sing, and enjoy the process. I can’t wait to see what you create, loves!