

The 2026 Nail Bible: Every Shape, Color, and Style You Need to Know
Hi loves, welcome back to my little corner of the internet. Can you believe we’re already looking ahead to the magic of 2026? I was sitting on my porch yesterday, sipping tea and watching the light hit my fresh manicure, and I realized just how much our nails are like a soft, wearable diary of our souls. They carry our moods, our milestones, and our wildest dreams right on our fingertips.
This year, the trends are all about a cloud-soft embrace of who we are. It’s less about following rigid rules and more about finding that sparkle that makes your heart flutter every time you type on your keyboard or reach for a coffee. I’ve spent weeks gathering the most inspiring looks just for you, so grab a cozy blanket and let’s dive into the ultimate guide to your most beautiful year yet.
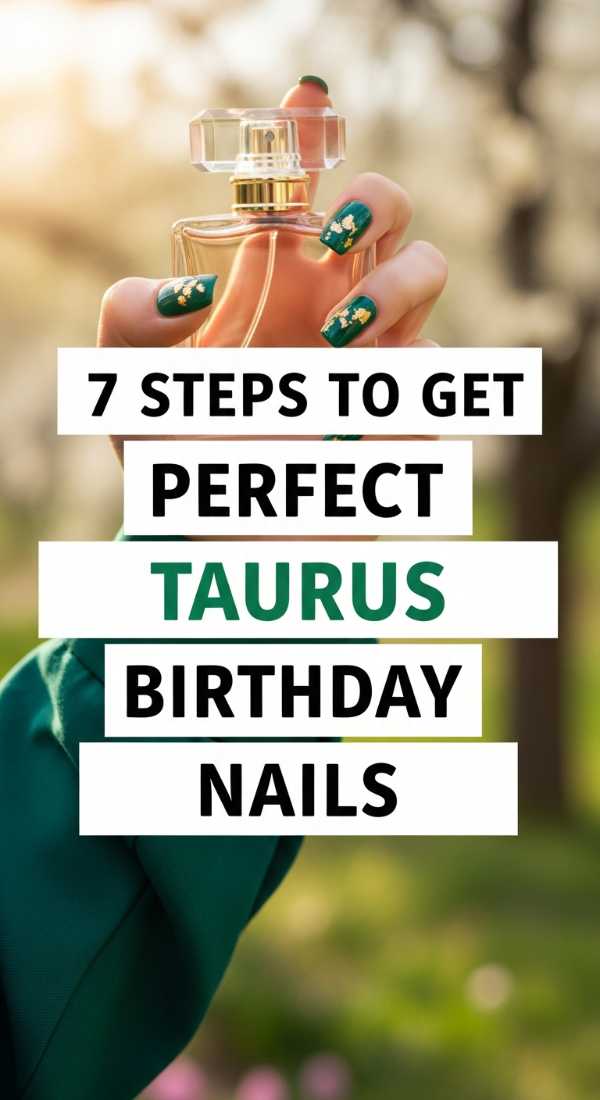
7 easy steps to get perfect Taurus birthday nails
Why to love this Design:
Oh, my earthy Taurus queens, this one is for you. This design celebrates your grounded, luxurious spirit with deep forest greens and touches of gold that feel like a walk through a sun-drenched garden. It’s sophisticated yet deeply connected to nature, perfectly mirroring your reliable and sensual energy.
Essential Elements:
- Deep forest green polish
- Gold leaf flakes or gold foil
- Matte top coat
- Fine detail brush for constellation art
How to Prepare:
- Clean and shape nails into a soft almond or square.
- Apply a nourishing base coat to protect the natural nail.
- Paint two thin layers of forest green.
- While slightly tacky, press small flakes of gold foil onto the ring finger.
- Use a detail brush to paint the Taurus constellation in white or gold.
- Apply a velvet matte top coat for that earthy texture.
- Finish with a rich rose-scented cuticle oil.
Budget Range
- Zoya Professional Lacquer in ‘Danica’ – $12
- Nail Art Gold Foil Flakes – $6
- Essie Matte About You Top Coat – $10
5 simple ways to style college graduation nails

Why to love this Design:
Graduation is such a breathtaking threshold, loves. These designs are meant to look timeless in your photos while still carrying that spark of ‘I did it!’ They are clean, professional, and filled with the quiet confidence of a woman ready to take on the world.
Essential Elements:
- Sheer ‘your nails but better’ nude
- School color accents
- 2026 gold decals
- High-shine gloss
How to Prepare:
- Opt for a classic oval shape for a sophisticated look.
- Apply a sheer pink or beige base for a clean canvas.
- Add a thin French tip in one of your university colors.
- Place a tiny ‘2026’ decal on your thumb for a subtle memory.
- Seal with a thick, high-shine gel top coat.
Budget Range
- Olive & June ‘BEB’ Polish – $9
- Custom Graduation Year Decals – $5
- Seche Vite Dry Fast Top Coat – $10
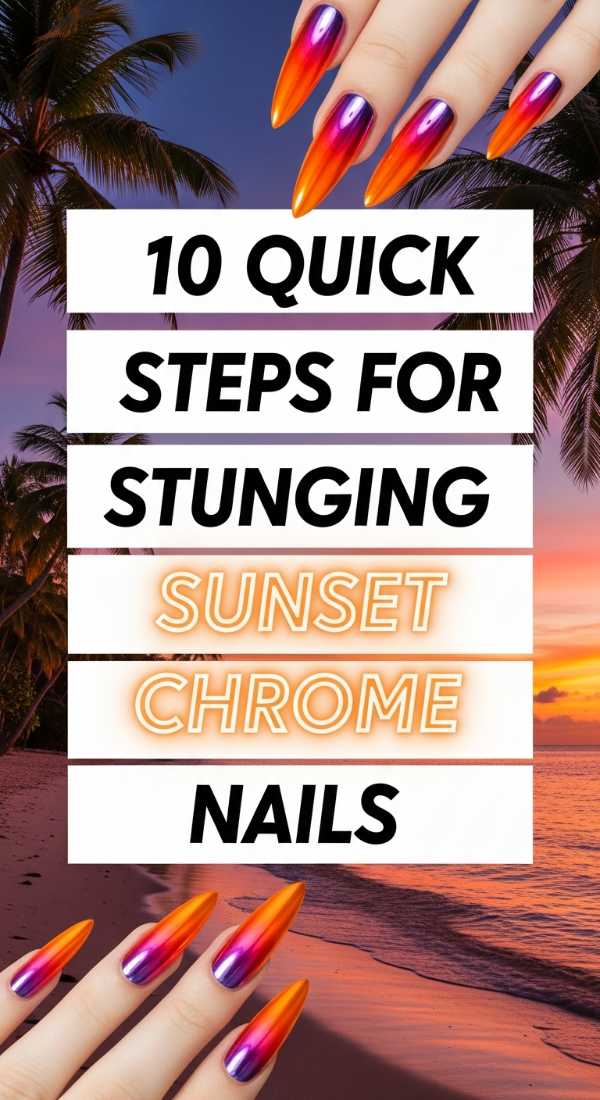
10 quick steps for stunning sunset chrome nails
Why to love this Design:
If you could bottle a beach vacation, it would look exactly like this. The way the chrome catches the light reminds me of those long, golden hours where everything feels possible. It’s vibrant, energetic, and absolutely mesmerizing to look at.
Essential Elements:
- Orange and pink gel polish
- Peach chrome powder
- Makeup sponge
- No-wipe top coat
How to Prepare:
- Apply a clear base coat.
- Paint the bottom half of the nail orange.
- Paint the top half vibrant pink.
- Dab the middle with a sponge to create a seamless gradient.
- Cure under a UV/LED lamp.
- Apply a no-wipe top coat and cure.
- Rub peach chrome powder over the entire nail until it glows.
- Dust off excess powder.
- Apply a final top coat to lock in the shimmer.
- Moisturize your hands with a citrus lotion.
Budget Range
- Modelones Gel Polish Set – $15
- Artdone Chrome Powder – $8
- SunUV LED Lamp – $25
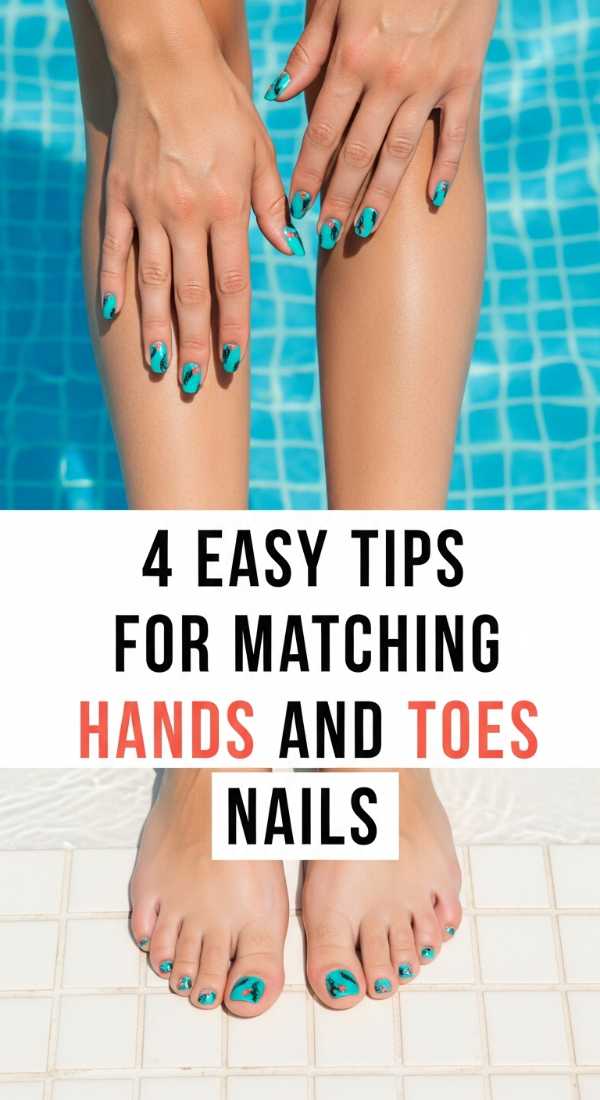
4 easy tips for matching hands and toes nails
Why to love this Design:
There is a quiet harmony in having a matching mani-pedi, isn’t there? It feels like your whole life is organized and peaceful. This approach isn’t about being perfectly identical, but about creating a soft, cohesive story between your hands and feet.
Essential Elements:
- Coordinating color palette
- Shared texture (all matte or all gloss)
- Matching metallic accents
- Complementary floral patterns
How to Prepare:
- Choose one primary color for your fingers and a lighter shade for toes.
- Use the same glitter accent on your ring finger and big toe.
- Ensure both sets are filed to a similar soft-round shape.
- Use a consistent top coat across both for a uniform finish.
Budget Range
- Essie ‘Gel Couture’ Duo Packs – $19
- Revlon Emery Boards – $4
- OPI ProSpa Foot Cream – $15
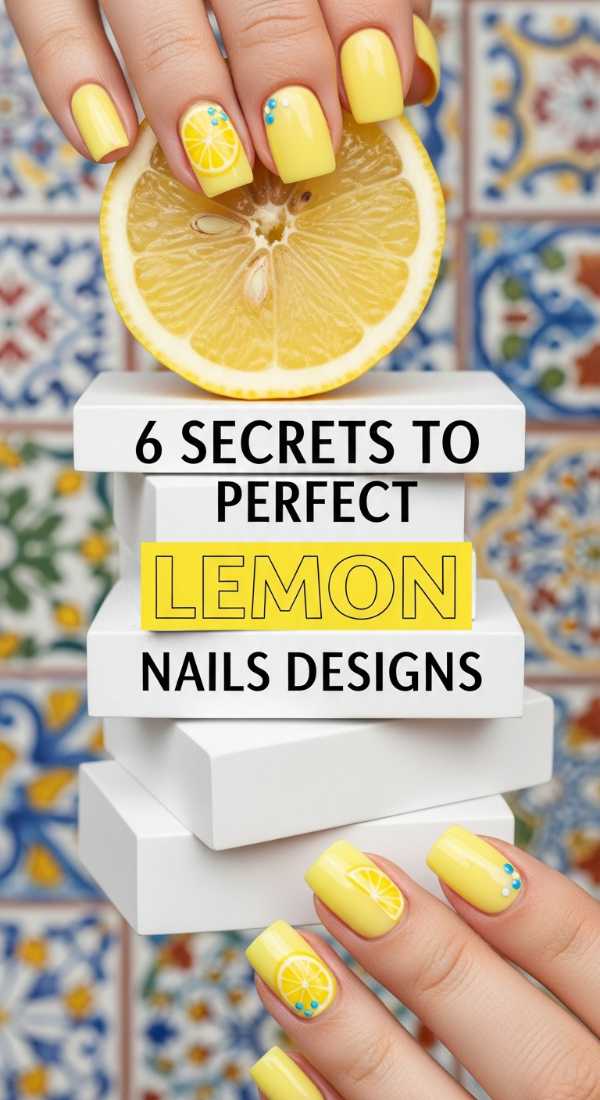
6 secrets to perfect lemon nails designs
Why to love this Design:
Loves, this is zest for life in a bottle! Lemon designs are so incredibly cheerful and fresh. They remind me of lemonade stands and bright summer mornings. It’s a playful look that instantly lifts your mood and adds a pop of sunshine to any outfit.
Essential Elements:
- Bright yellow polish
- White base for vibrancy
- Green leaf stickers
- Dotting tool
How to Prepare:
- Apply a crisp white base to make the yellow pop.
- Use a dotting tool to create two yellow circles for lemons.
- Add a tiny white ‘highlight’ line on each lemon.
- Use a toothpick to draw a small green leaf.
- Keep the rest of the nails a simple sheer nude to let the lemons shine.
- Seal with a glossy top coat.
Budget Range
- Orly ‘Lemonade’ Polish – $11
- Nail Art Dotting Tool Set – $7
- Sally Hansen Hard as Nails – $5
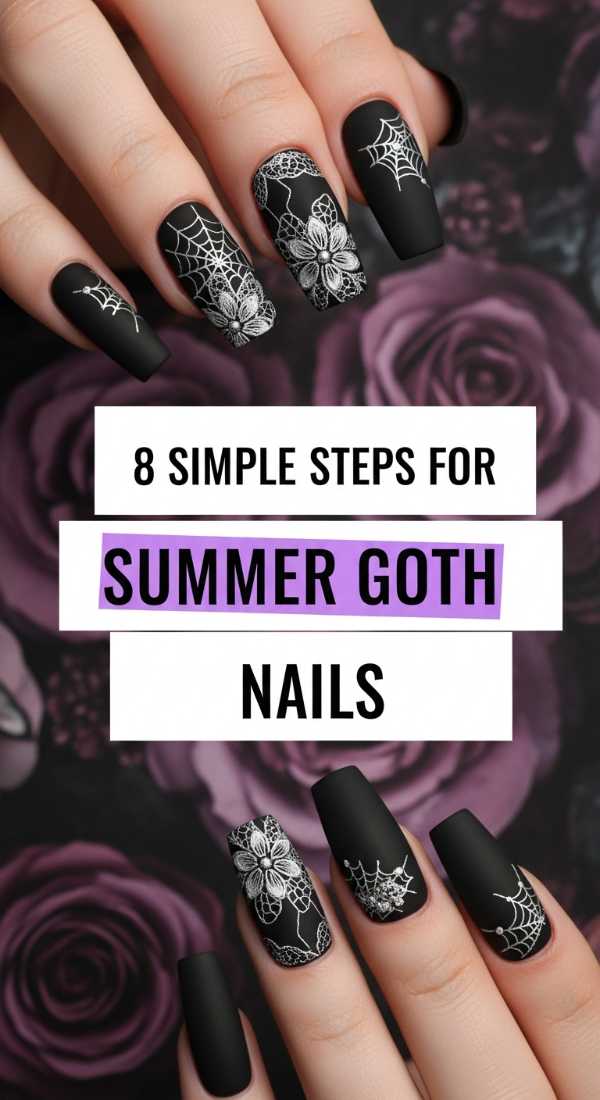
8 simple steps for summer goth nails
Why to love this Design:
Who says dark colors are only for winter? Summer goth is a mood, loves. It’s for the mysterious souls who love a bit of edge even when the sun is shining. It balances moody blacks with sheer textures and silver accents that glint like stars in a summer midnight sky.
Essential Elements:
- Sheer black ‘jelly’ polish
- Silver studs
- Stiletto shape nails
- Matte and gloss mix
How to Prepare:
- Shape nails into sharp stilettos.
- Apply a sheer black jelly base.
- Stamp a delicate black lace pattern on the index finger.
- Apply a matte top coat to the thumb and pinky.
- Apply a glossy top coat to the middle nails.
- Place a single silver stud at the base of each nail.
- Cure or dry thoroughly.
- Add a drop of lavender oil to your cuticles.
Budget Range
- Cirque Colors ‘Chiffon’ Jelly – $13
- Silver Nail Studs Pack – $6
- Maniology Stamping Kit – $20
5 ways to create teal western nails
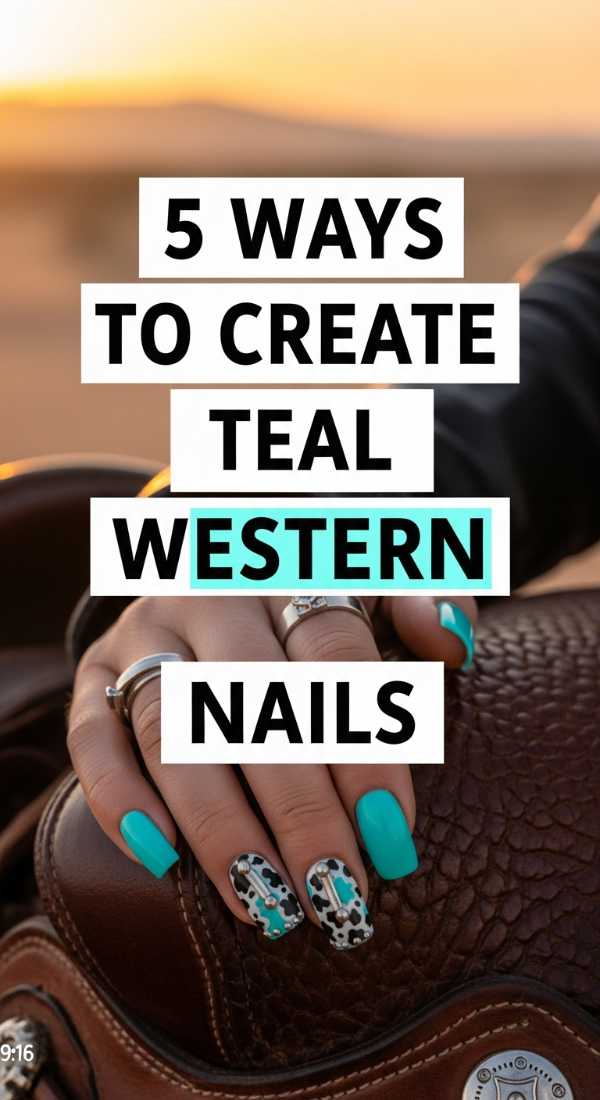
Why to love this Design:
This is for my wild-at-heart babes. Teal western nails bring together the spirit of the desert and the beauty of turquoise jewelry. It’s rugged yet refined, and it looks absolutely stunning paired with denim and silver rings.
Essential Elements:
- Turquoise or teal cream polish
- Cow print stamping plate
- Silver metallic polish
- Turquoise stone charms
How to Prepare:
- Paint three nails a solid, vibrant teal.
- Apply a white base to the remaining nails for cow print.
- Use black polish to create irregular ‘cow’ spots.
- Apply a silver ‘buckle’ stripe across the teal nails.
- Affix a tiny turquoise charm using nail glue.
Budget Range
- OPI ‘Mexico City Move-mint’ – $11
- Cow Print Nail Decals – $4
- Makartt Nail Glue – $7
9 easy steps for sunset aura nails
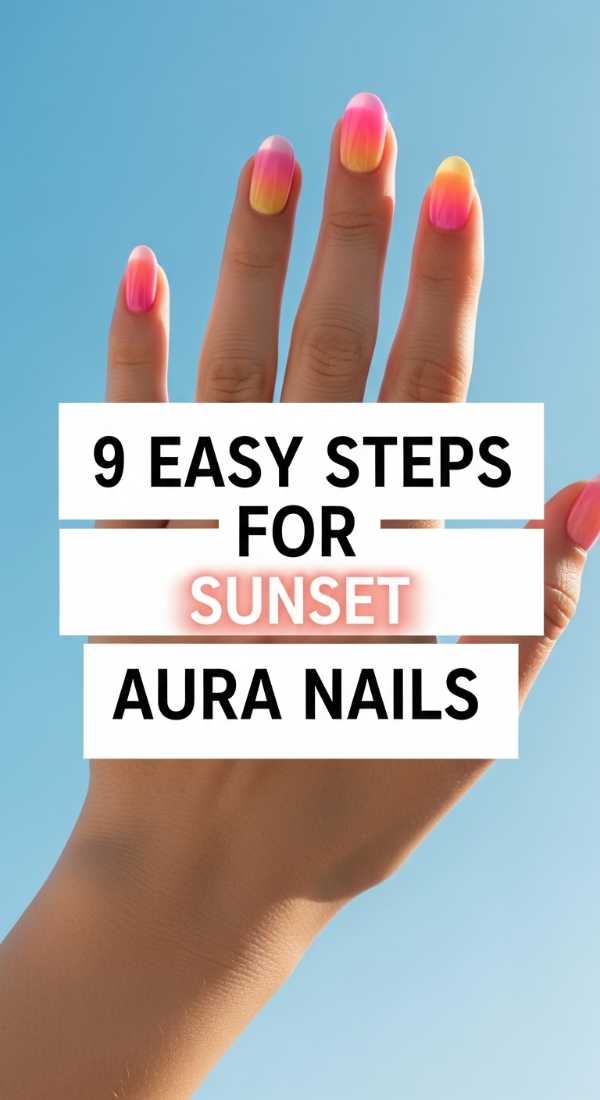
Why to love this Design:
Aura nails are like wearing your energy on your fingertips. This sunset version uses soft, blended circles of color that look like they’re glowing from within. It’s ethereal, dreamy, and so very ‘cloud-soft’ in its vibe.
Essential Elements:
- Airbrush tool or makeup sponge
- Pastel pink, orange, and purple
- White gel for the base
- Iridescent top coat
How to Prepare:
- Start with a solid white base.
- Apply a small dot of orange in the center of the nail.
- Sponge a ring of pink around the orange.
- Sponge a light purple on the very edges.
- Gently tap the colors to blur the lines into a soft haze.
- Cure or let dry.
- Apply an iridescent shimmer coat.
- Seal with a high-gloss top coat.
- Hydrate with a shimmering hand cream.
Budget Range
- Beetles Pastel Gel Set – $20
- Mini Makeup Sponges – $3
- Holo Taco ‘Aurora’ Shimmer – $13
3 simple tricks for hot pink nails with flowers
[ID:8]
Why to love this Design:
Sometimes we just need to lean into our most feminine, vibrant selves! Hot pink is a power color, and adding delicate flowers makes it feel like a modern-day fairytale. It’s bold, it’s sweet, and it’s unapologetically joyful.
Essential Elements:
- Neon or hot pink polish
- White floral stickers or stamps
- Clear glitter topper
How to Prepare:
- Paint two coats of your brightest hot pink.
- Place floral stickers diagonally across the tip of the nail.
- Apply a light layer of clear glitter over the flowers for a fairy-dust effect.
Budget Range
- China Glaze ‘Shocking Pink’ – $9
- Floral Nail Stickers – $5
- Sally Hansen ‘Invisible’ – $4
12 steps to master neon cheetah print nails

Why to love this Design:
For my loves who aren’t afraid to stand out, neon cheetah is the ultimate 2026 statement. It’s a fun, electric twist on a classic animal print that screams confidence and creativity. It’s your time to roar, darling!
Essential Elements:
- Neon lime or pink base
- Black detail liner polish
- Brown or darker neon for spot centers
- Long coffin nail shape
How to Prepare:
- Shape nails into a long, dramatic coffin shape.
- Apply a neon lime base coat.
- Let dry or cure.
- Use a dotting tool to place irregular ‘blobs’ of a darker green.
- Take a thin black liner brush.
- Draw two ‘C’ shapes around each blob.
- Don’t make them perfect—variety is key!
- Add tiny black dots in the empty spaces.
- Cure the design.
- Apply a thick top coat to level the surface.
- Buff the edges if any polish ran.
- Finish with a tropical-scented hand oil.
Budget Range
- Kiara Sky Neon Collection – $15
- Black Nail Art Liner – $8
- Professional Coffin Tips – $12
Embrace Your Inner Glow
Loves, I hope this guide feels like a warm hug for your creativity. Whether you choose the earthy tones of the Taurus garden or the electric energy of neon cheetah, remember that your nails are just an extension of your beautiful light. There is no ‘right’ way to do 2026—there is only your way. I can’t wait to see which look you choose to wear as you walk through your magic moments this year. Stay soft, stay bright, and keep shining!