

The 2024 Mani Manifesto: Your Guide to Perfect Spring & Summer Nails
Hello, my loves. There is something so deeply restorative about the shift in seasons, isn’t there? As we tuck away our heavy wool coats and let the sunlight dance on our skin again, I find myself craving a fresh start—right down to my fingertips. Our hands do so much for us; they hold our morning lattes, embrace our friends, and type out our dreams. They deserve to be treated like the tiny canvases they are.
This year, the 2024 Mani Manifesto is all about that cloud-soft embrace. We’re leaning into colors that feel like a warm hug and designs that spark a little bit of magic every time you look down. Whether you’re a minimalist who loves a clean natural look or someone who wants their nails to scream ‘summer vacation,’ I’ve curated this guide just for you. Let’s dive into this self-care ritual together, darling.
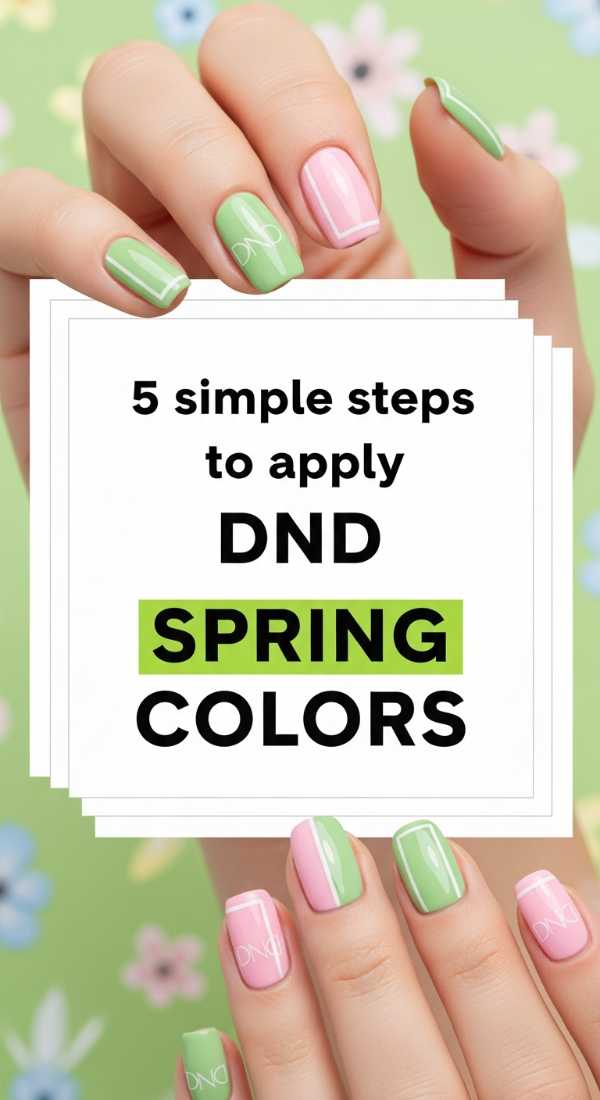
5 Simple Steps to Apply DND Spring Colors
Why to love this Design:
DND is the gold standard for that salon-quality finish at home. Their spring palette feels like a walk through a blooming botanical garden. It’s reliable, ultra-pigmented, and gives you that high-shine ‘glass’ look that makes you feel instantly put-together without the professional price tag.
Essential Elements:
- DND Daisy Gel Polish in ‘Soft Lilac’ or ‘Peach Tea’
- DND Top and Base Coat
- UV/LED Nail Lamp
- Isopropyl Alcohol
How to Prepare:
- Gently push back cuticles and buff the nail surface.
- Apply a thin layer of DND Base Coat and cure for 30 seconds.
- Apply the first thin layer of DND Spring color and cure for 60 seconds.
- Apply a second color coat for full opacity and cure again.
- Seal with DND No-Cleanse Top Coat and cure for final 60 seconds.
Budget Range
- DND Gel Polish Duo: $12.00
- SUNUV LED Lamp: $25.00
- Nail Prep Kit: $8.00
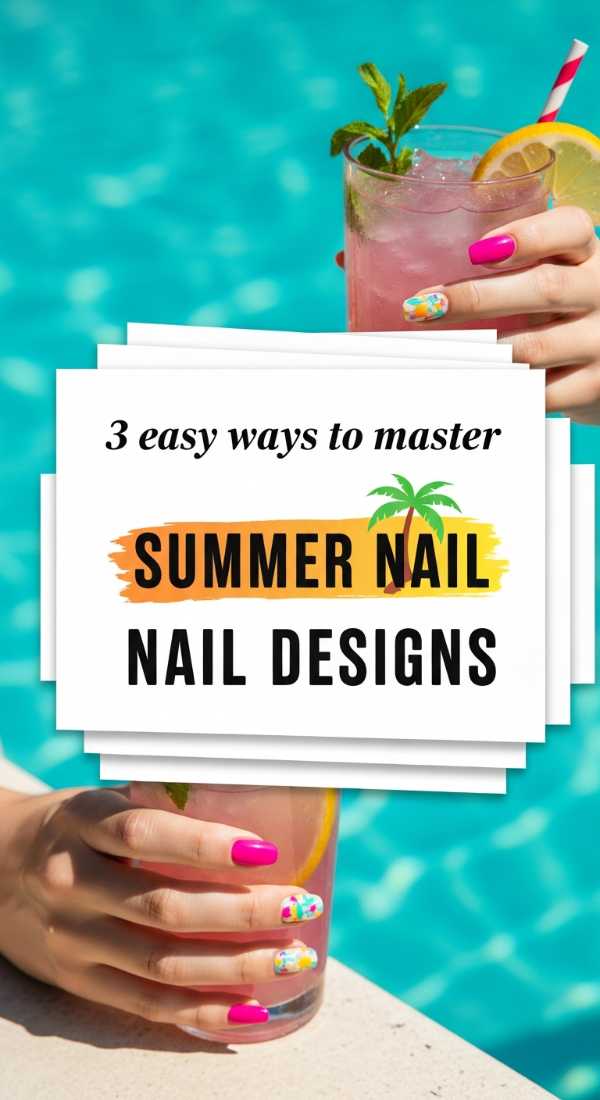
3 Easy Ways to Master Summer Nail Designs
Why to love this Design:
Summer is the time to be playful! Mastering simple designs like citrus slices, abstract waves, or tiny daisies allows you to carry the sunshine with you. These designs are forgiving and focus more on the ‘vibe’ than perfection, which is exactly how summer should feel.
Essential Elements:
- Fine detailing brushes
- Dotting tools
- Vibrant neons and pastel shades
- Matte top coat (optional)
How to Prepare:
- The Swirl Method: Use a thin brush to draw organic, curvy lines across a nude base.
- The Dotting Method: Use a tool to place five dots in a circle for instant flowers.
- The Gradient Sponge: Dab two colors onto a makeup sponge and press onto the nail for a sunset effect.
Budget Range
- Nail Art Brush Set: $7.00
- Essie Summer Collection: $10.00 per bottle
- Makeup Sponges: $3.00
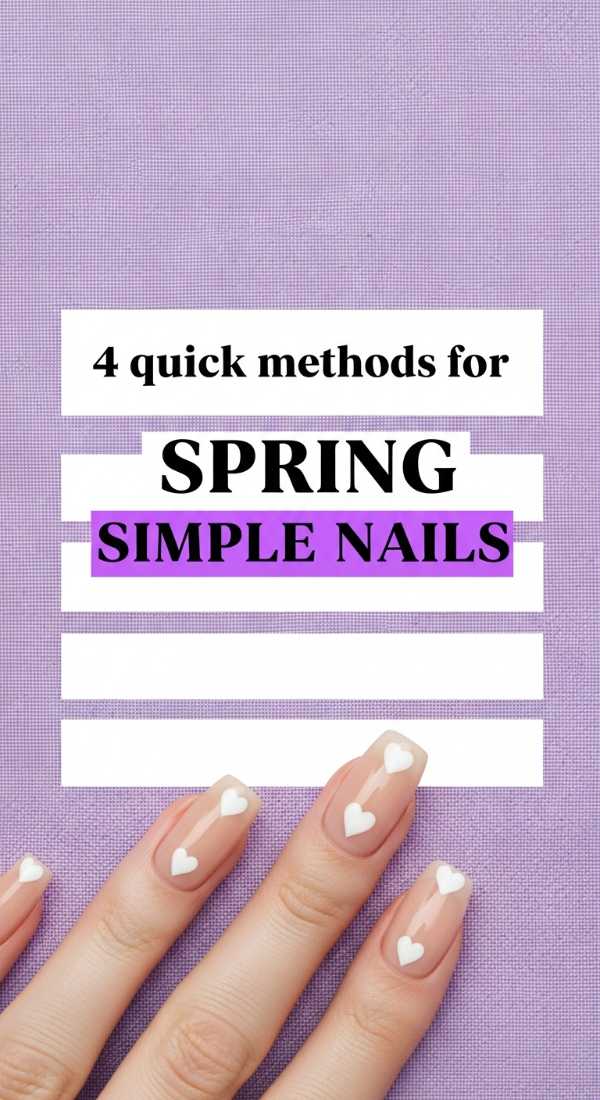
4 Quick Methods for Spring Simple Nails
Why to love this Design:
Sometimes, less is so much more. Simple spring nails focus on ‘your nails but better.’ Think milky finishes and sheer pinks that look incredibly chic with a white linen dress. It’s the ultimate ‘clean girl’ aesthetic that takes minutes to achieve but lasts all week.
Essential Elements:
- Sheer pink polish
- Milky white polish
- Glass nail file
- Nourishing cuticle oil
How to Prepare:
- Shape nails into a soft oval using a glass file for smooth edges.
- Apply one coat of sheer polish for a translucent glow.
- Add a tiny gold stud or a single white dot at the base of the ring finger.
- Finish with a high-gloss top coat to mimic a gel look.
Budget Range
- OPI Bubble Bath: $11.50
- Glass Nail File: $9.00
- Sally Hansen Top Coat: $6.00
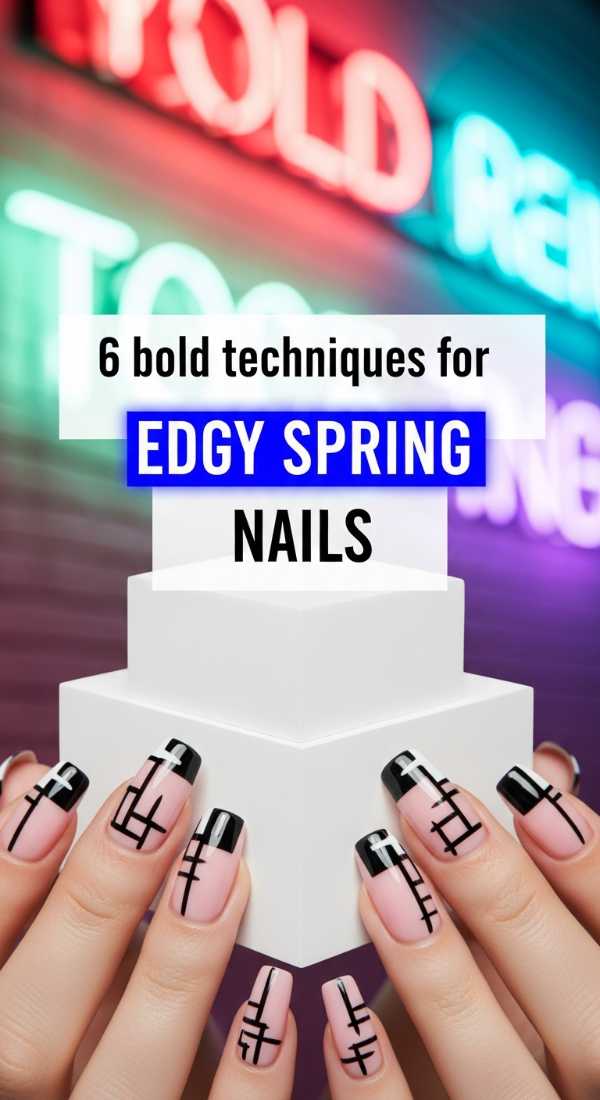
6 Bold Techniques for Edgy Spring Nails
Why to love this Design:
Who says spring has to be all soft pastels? If you have a bit of a rebellious soul, edgy spring nails mix floral motifs with dark accents or geometric harshness. It’s for the woman who loves a leather jacket just as much as a silk slip dress.
Essential Elements:
- Jet black polish
- Metallic silver striping tape
- Negative space stencils
- Contrast colors (e.g., Mint and Charcoal)
How to Prepare:
- Create a negative space ‘half-moon’ at the base using stencils.
- Apply a bold mint green to the rest of the nail.
- Use silver striping tape to create a sharp vertical line.
- Add a matte top coat to the black accents for texture.
- Use a toothpick to drag black polish into ‘marble’ swirls.
- Seal edges twice to prevent lifting of the tape.
Budget Range
- Holler and Glow Nail Tapes: $5.00
- Zoya Professional Lacquer: $12.00
- Matte Finish Top Coat: $8.00
7 Expert Tips for Spring Nail Inspo Almond
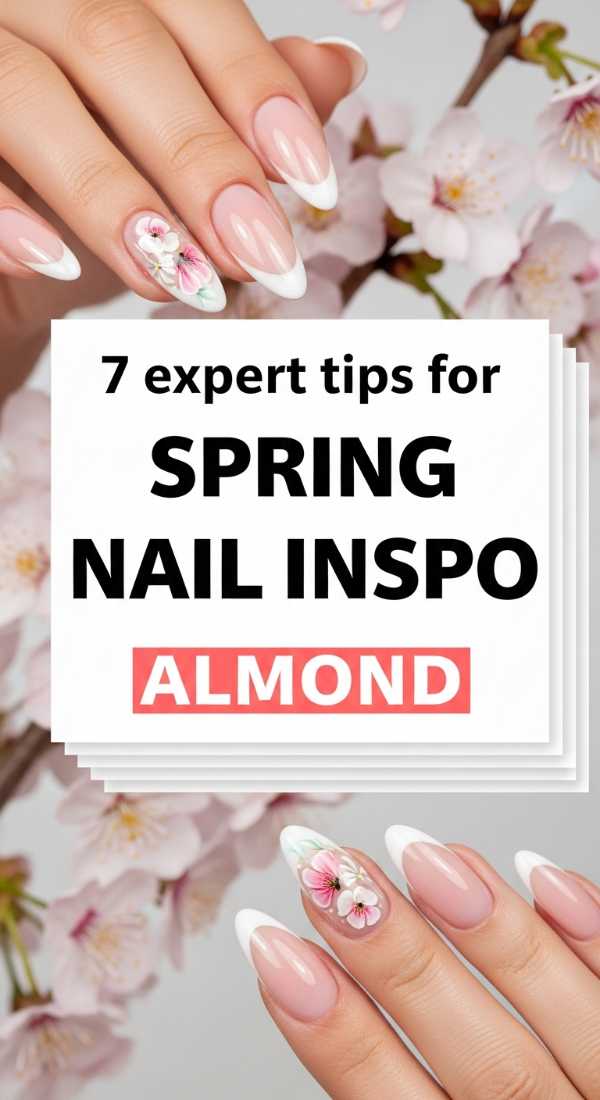
Why to love this Design:
The almond shape is the most flattering silhouette for the hands—it elongates the fingers and provides a sophisticated canvas. Spring almond nails are the epitome of grace. They look incredible with soft French tips or intricate floral vines crawling up the sides.
Essential Elements:
- Almond-shaped nail tips (if extending)
- Nail glue
- Pastel French tip guides
- Floral water decals
How to Prepare:
- File from the sides toward the center at an angle.
- Round off the peak to ensure it isn’t ‘stiletto’ sharp.
- Apply a nude base that matches your skin tone perfectly.
- Use a guide to paint a thin pastel tip.
- Apply a floral decal to the ‘smile line.’
- Buff the surface lightly before the top coat for better adhesion.
- Apply two layers of top coat for a plump, gel-like look.
Budget Range
- Beetles Almond Nail Tips: $10.00
- Modelones Nude Gel Set: $15.00
- Floral Decal Pack: $4.00
5 Secrets to Achieve Perfect Spring Nails White
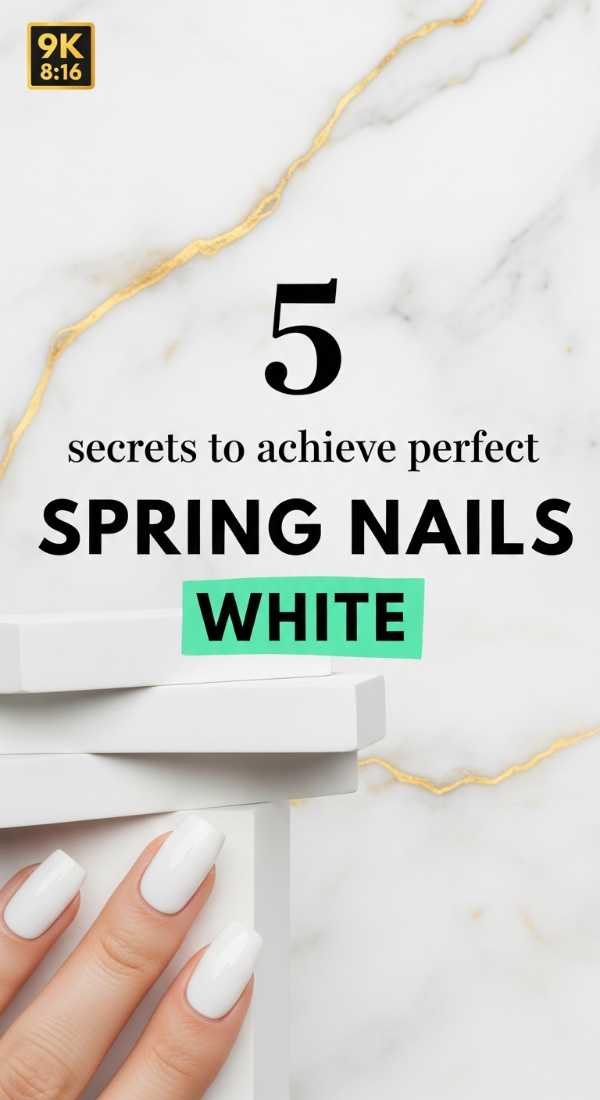
Why to love this Design:
White nails in spring are like a fresh canvas. They are crisp, clean, and make any tan (real or out of a bottle!) pop. The secret is getting that opaque, streak-free finish that looks like expensive porcelain rather than correction fluid.
Essential Elements:
- High-quality opaque white polish
- Ridge filler base coat
- Cleanup brush
- Acetone
How to Prepare:
- Start with a ridge filler to create a perfectly level surface.
- Apply white polish in three strokes: middle, side, side.
- Keep layers extremely thin to avoid bubbling.
- Use a cleanup brush dipped in acetone to crisp up the cuticle line.
- Finish with a UV-protective top coat to prevent yellowing in the sun.
Budget Range
- Essie ‘Marshmallow’ or ‘Blanc’: $10.00
- Ridge Filler Base: $8.00
- Clean-up Brush: $5.00
3 Steps to Finish Your Spring Nails Chrome
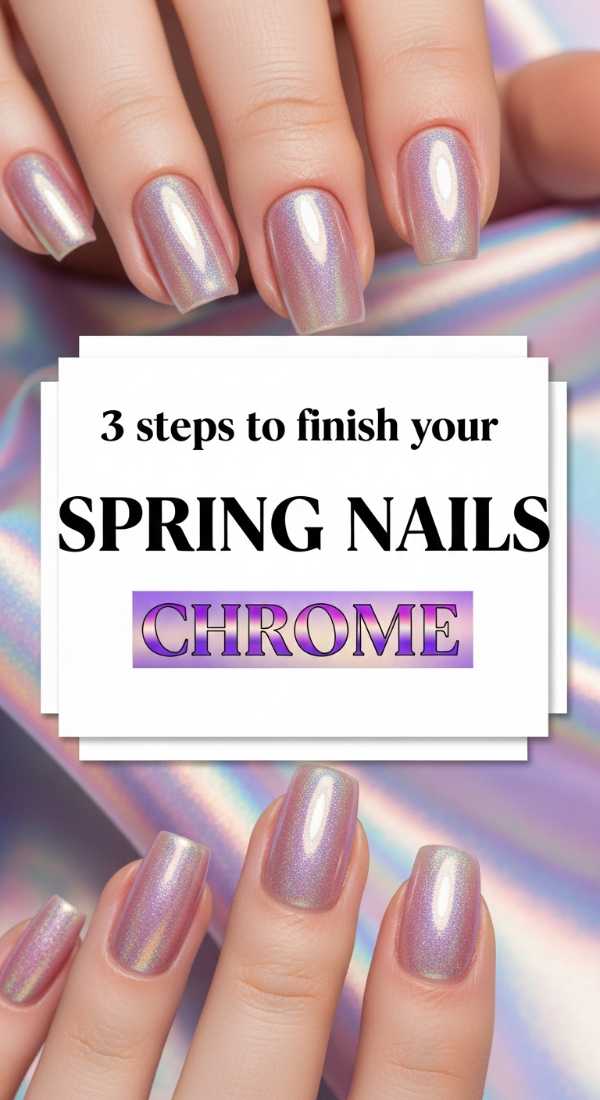
Why to love this Design:
The ‘Glazed Donut’ trend isn’t going anywhere, my loves. Chrome adds a celestial, ethereal glow to your spring mani. It catches the light beautifully during those golden hour walks and makes even the simplest outfit look high-fashion.
Essential Elements:
- Pearl or iridescent chrome powder
- Sponge applicator
- No-wipe gel top coat
How to Prepare:
- Apply your base color and a no-wipe top coat, then cure.
- Rub the chrome powder onto the cured top coat until it glows.
- Apply one final layer of top coat to lock in the shimmer.
Budget Range
- Artdone Chrome Powder: $9.00
- No-Wipe Gel Top Coat: $10.00
- Applicator Sponges: $2.00
4 Dark Styles to Create Goth Spring Nails
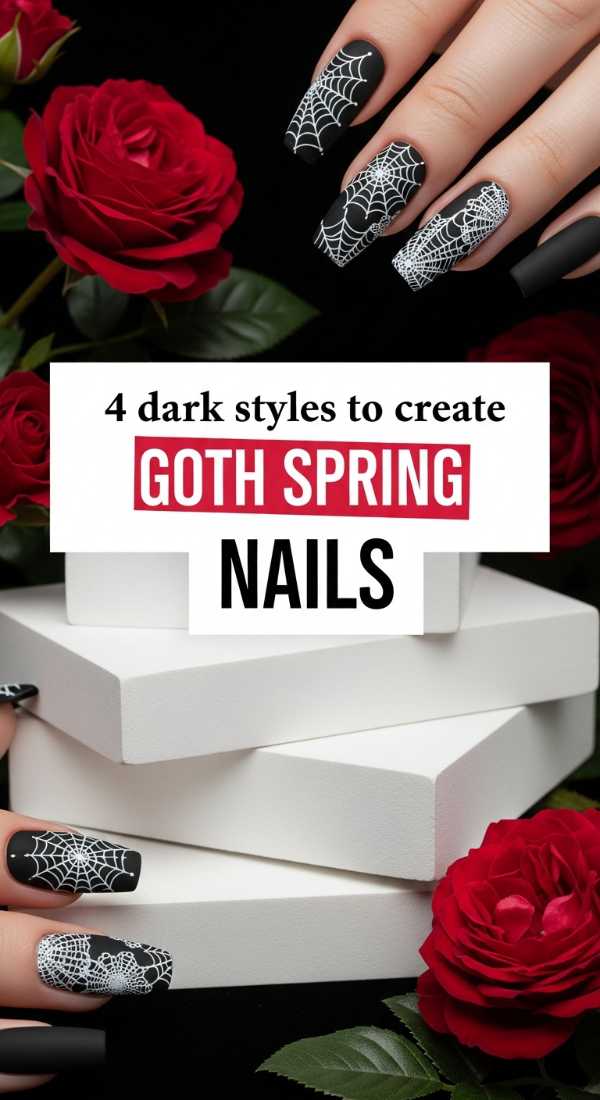
Why to love this Design:
For my moody babes, ‘Spring Goth’ is a vibe. It incorporates the darkness we love—deep plums, forest greens, and blacks—but lightens them up with sheer finishes or delicate lace patterns. It’s romantic, mysterious, and unexpected.
Essential Elements:
- Deep plum or ‘oxblood’ polish
- Lace nail stamp or stickers
- Dark glitter topper
How to Prepare:
- Apply a deep plum base.
- Layer a sheer black ‘jelly’ polish over it for depth.
- Stamp a white lace pattern over one accent nail.
- Add a single dark rhinestone at the cuticle.
Budget Range
- Revlon ‘Vixen’: $6.00
- Nail Stamping Kit: $12.00
- Rhinestone Wheel: $5.00
6 Healthy Habits for Spring Natural Nails
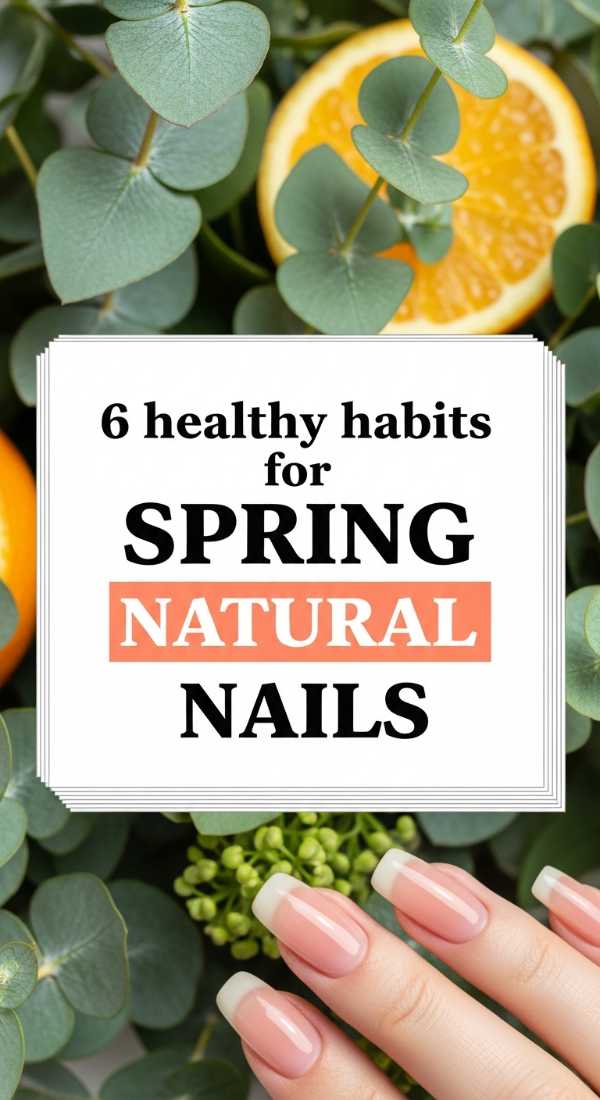
Why to love this Design:
The ultimate luxury is a healthy natural nail. Transitioning from winter often leaves our nails brittle. By focusing on health, you’re building a foundation that makes every polish look better. It’s the ultimate act of self-love for your hands.
Essential Elements:
- Jojoba-based cuticle oil
- Biotin supplements (optional)
- Keratin treatment
- Soft grit file
How to Prepare:
- Apply cuticle oil every single night before bed.
- Never use your nails as tools to open cans or boxes.
- Wear gloves while cleaning to avoid harsh chemicals.
- Take a ‘polish break’ for 3 days every month.
- File in one direction only to prevent splitting.
- Massage the nail bed to increase blood flow and growth.
Budget Range
- CND SolarOil: $9.00
- Hard as Hoof Cream: $8.00
- Biotin Gummies: $12.00
8 Pro Tricks to Shape Almond Nails Spring
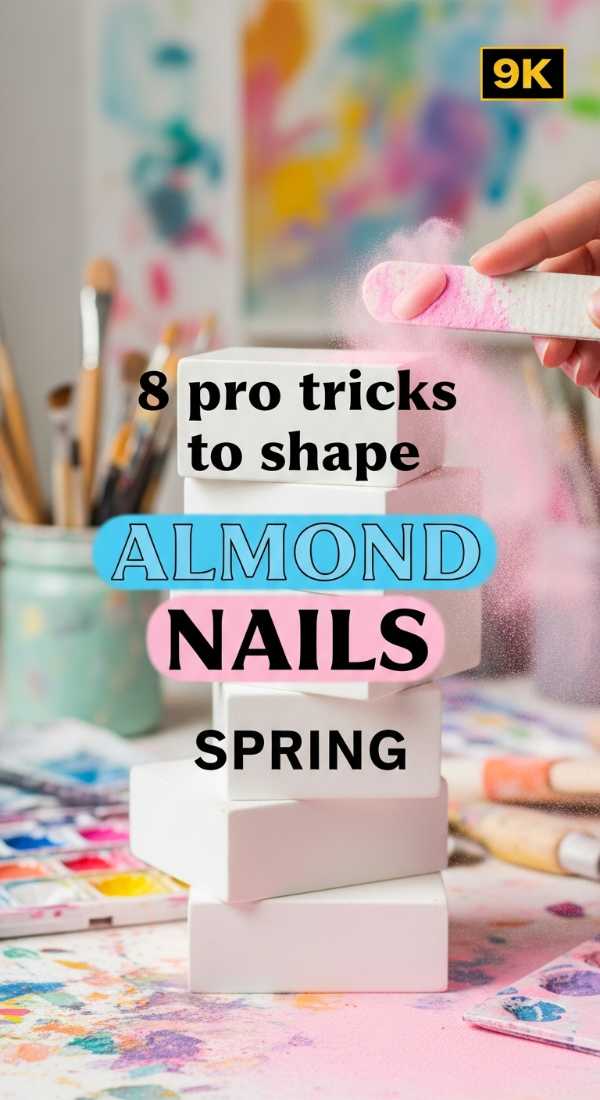
Why to love this Design:
Getting the perfect almond shape at home can be tricky, but it’s the most ‘pro’ look you can achieve. Once you master the geometry, your DIY manis will look like they cost $80. It’s about symmetry and patience, darling.
Essential Elements:
- 180/240 grit nail file
- Buffing block
- Alcohol wipes
How to Prepare:
- Mark the center of your nail tip with a tiny dot of polish.
- File the sides at a 45-degree angle toward that center dot.
- Check the symmetry from the ‘underside’ of your hand.
- Smooth the tip into a soft, tapered curve (not a point).
- Buff the edges to ensure no snags.
- Wash hands to remove dust before polishing.
- Apply a strengthening base coat immediately.
- Always file on dry nails, never after a shower.
Budget Range
- Professional Nail File Pack: $6.00
- Buffing Block: $3.00
- Orly Bonder Base: $12.00
Conclusion
As you step into the light of this new season, I hope you take these little moments for yourself. Painting your nails isn’t just about the color; it’s about the ten or twenty minutes where you get to be still, creative, and kind to yourself. Whether you choose a bold chrome or a healthy natural look, remember that your hands are beautiful because of everything they do. Stay glowing, my loves!