

There is something inherently magical about those first warm afternoons when the sun lingers a little longer on the porch and the garden starts whispering promises of a new season. For me, that magic has always been synonymous with the vibrant, ruby-red stalks of rhubarb. I remember my grandmother standing in her sun-drenched kitchen, her hands dusted in flour, transforming those tart stalks into something that felt like a hug in a pan. It’s that nostalgia—mixed with a modern, effortless flair—that led me to create the ultimate gathering centerpiece: the viral rhubarb-centric food board.
We’ve all seen the cheese boards and the charcuterie spreads, but there is a new obsession taking over my kitchen and my social feed. This 10-minute viral food board is a celebration of the ‘pie plant’ in all its glory, combining textures and temperatures that make every guest gasp when it hits the table. It’s not just about eating; it’s about the experience of dipping, layering, and discovering the perfect balance between tart and sweet. Whether you’re hosting a brunch or a late-night garden party, this board is the conversation starter you’ve been waiting for.
How to bake strawberry rhubarb?
Why we love this
This classic pairing is the undisputed queen of early summer desserts, offering a symphony of flavors that dance between the assertive tartness of the rhubarb and the jammy, honey-like sweetness of sun-ripened strawberries. When baked together, they create a gorgeous, ruby-hued syrup that is thick enough to coat a spoon but light enough to feel fresh. The aroma that fills your kitchen—a mix of caramelized sugar and bright fruit—is nothing short of intoxicating, evoking memories of country fairs and family picnics. It is the ultimate comfort food that looks as beautiful as it tastes.
Ingredients
- 2 cups fresh rhubarb, chopped into 1-inch pieces
- 2 cups fresh strawberries, hulled and halved
- 3/4 cup granulated sugar
- 2 tablespoons cornstarch
- 1 teaspoon vanilla extract
- A pinch of sea salt
How to make it
- Begin by preheating your oven to 375°F (190°C), ensuring the rack is in the center for even heat distribution.
- In a large glass mixing bowl, combine your rhubarb and strawberries; ensure the fruit is dry before starting to prevent excess wateriness.
- Sprinkle the sugar, cornstarch, and salt over the fruit. The cornstarch is vital here; it acts as a thickening agent that turns the fruit juices into a glossy, professional-grade glaze.
- Add the vanilla extract and toss everything gently with a silicone spatula until every piece of fruit is evenly coated in the white powdery mixture.
- Transfer the mixture to a buttered 9-inch baking dish, spreading it out so the fruit is in an even layer rather than a mound.
- Bake for 35 to 45 minutes. You are looking for the juices to be bubbling vigorously in the center, not just the edges, which indicates the cornstarch has reached its full thickening power. The rhubarb should be tender but still hold its shape when pierced with a knife.
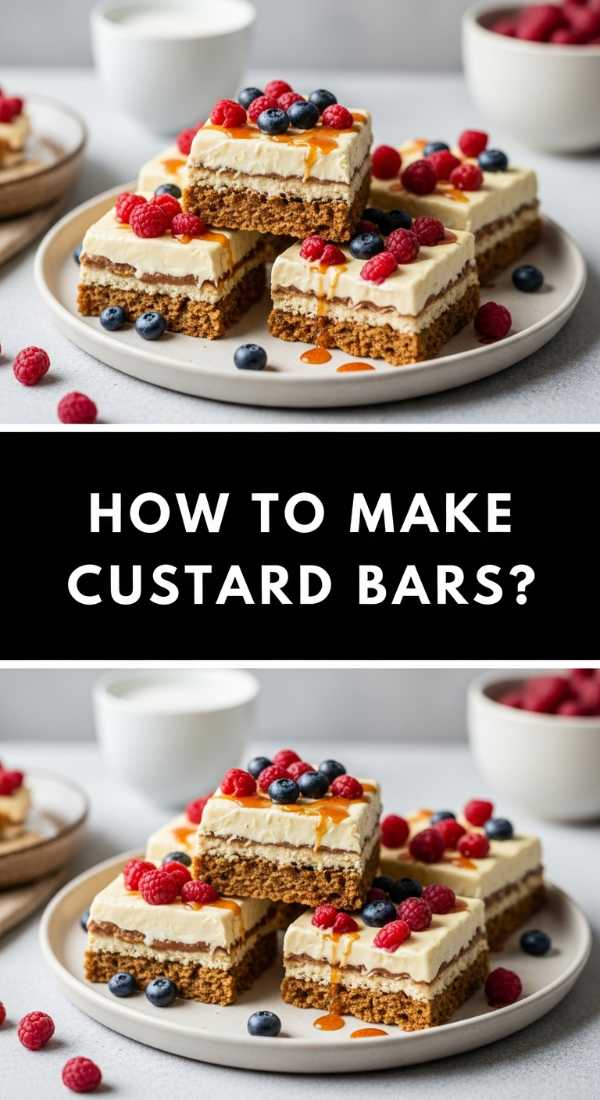
How to make custard bars?
Why we love this
There is a sophisticated elegance to custard bars that belies how simple they are to assemble for your viral board. The contrast between the shortbread-like crust and the silky, wobbling custard layer is a textural dream that melts away the moment it hits your tongue. These bars bring a creamy, mellow element to the board that perfectly offsets the more acidic fruit components. They feel indulgent and rich, yet the bright pop of rhubarb baked inside provides a refreshing counterpoint that keeps you reaching for ‘just one more’ piece.
Ingredients
- 1 1/2 cups all-purpose flour
- 1/2 cup cold salted butter, cubed
- 1/4 cup powdered sugar
- 3 large eggs
- 1 1/2 cups granulated sugar
- 1/2 cup sour cream
- 2 cups finely diced rhubarb
How to make it
- Preheat your oven to 350°F (175°C) and line an 8×8 inch baking pan with parchment paper, leaving an overhang on the sides for easy removal.
- Create the crust by pulsing the flour, powdered sugar, and cold butter in a food processor until it looks like coarse crumbs; press this firmly into the bottom of your pan.
- Bake the crust for 15 minutes until it is just barely golden at the edges; this ‘blind bake’ prevents the bottom from getting soggy once the custard is added.
- While the crust bakes, whisk the eggs and granulated sugar in a bowl until pale and slightly frothy, then fold in the sour cream and flour until smooth.
- Gently stir the diced rhubarb into the custard mixture, ensuring the pieces are distributed evenly so every bite has a bit of tartness.
- Pour the custard over the hot crust and return to the oven for 35-40 minutes. The bars are done when the center is set but still has a very slight jiggle. Let them cool completely in the pan before slicing with a hot, clean knife for perfect edges.
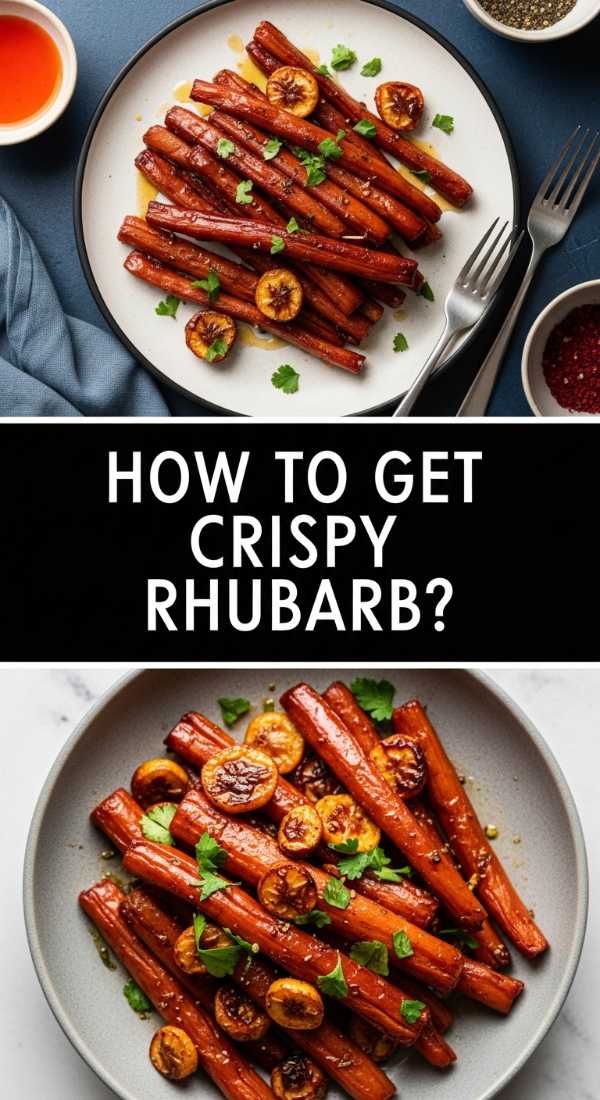
How to get crispy rhubarb?

Why we love this
Texture is the secret ingredient to a viral food board, and getting rhubarb to stay ‘crispy’ or structural rather than mushy is a total game-changer. These roasted stalks maintain a slight snap and a vibrant pink color that makes them look like jewels scattered across your platter. The high-heat roasting process caramelizes the exterior sugars while keeping the interior tender-crisp, creating a sophisticated garnish or a stand-alone snack that surprises everyone who thinks rhubarb only belongs in a pie. It’s modern, chic, and incredibly satisfying.
Ingredients
- 4 long stalks of rhubarb, sliced into 4-inch batons
- 3 tablespoons maple syrup
- 1 tablespoon melted coconut oil
- 1/2 teaspoon cinnamon
- A sprinkle of turbinado sugar
How to make it
- Preheat your oven to a high heat of 425°F (220°C); the high temperature is essential to sear the outside quickly before the inside collapses.
- In a small bowl, whisk together the maple syrup, coconut oil, and cinnamon to create a light, flavorful lacquer.
- Place the rhubarb batons on a baking sheet lined with a silicone mat or parchment paper, ensuring they are not touching each other so they roast rather than steam.
- Brush each stalk generously with the syrup mixture and then sprinkle with the turbinado sugar for that extra crunch and ‘sparkle’ effect.
- Roast for only 8 to 12 minutes. Watch them like a hawk; you want to see the edges start to brown and the sugar bubbling, but the stalks should still look straight and firm.
- Remove immediately from the tray and let them cool on a wire rack; this air circulation helps the exterior sugars harden into a crisp shell.
How to cook healthy rhubarb?

Why we love this
For those who want to enjoy the vibrant benefits of rhubarb without the sugar crash, this healthy preparation method is a revelation. By utilizing natural sweeteners and focusing on the fruit’s inherent brightness, you create a component for your board that feels light, energizing, and guilt-free. The result is a tender, poached-style fruit that retains all its antioxidants and fiber while providing a clean, tart flavor profile. It’s proof that you don’t need a mountain of butter to make this garden staple taste absolutely divine and sophisticated.
Ingredients
- 3 cups rhubarb, sliced into rounds
- 1/2 cup orange juice (freshly squeezed)
- 2 tablespoons honey or agave nectar
- 1 star anise
- 1 teaspoon fresh grated ginger
How to make it
- Place the sliced rhubarb in a wide, shallow skillet rather than a deep pot; this prevents the weight of the fruit from crushing the bottom pieces into mush.
- Add the orange juice, honey, star anise, and ginger to the skillet, stirring gently to combine the liquids.
- Turn the heat to medium-low. Do not let the liquid reach a rolling boil; you want a very gentle simmer, almost like a poach.
- Cover the skillet with a lid and cook for about 5 to 7 minutes. The ginger and star anise will infuse the rhubarb with a deep, complex warmth.
- Test a piece with a fork; it should be soft through the center but still holding its circular shape.
- Remove the rhubarb with a slotted spoon to your board and then turn the heat up on the remaining liquid to reduce it into a thick, healthy syrup that you can drizzle over the top.
How to make easy desserts?
Why we love this
The beauty of a 10-minute board lies in the ‘easy’ components that look like they took hours. These quick-fix rhubarb bites utilize store-bought shortcuts combined with fresh ingredients to create a professional finish with minimal effort. This approach is perfect for the busy host who wants to impress without the stress, focusing on assembly and presentation. The flavor is a bright mix of puff pastry butteriness and the sharp zing of fresh fruit, creating a light-as-air dessert that disappears from the board in seconds. It is the ultimate hack for modern entertaining.
Ingredients
- 1 sheet frozen puff pastry, thawed
- 1 cup rhubarb jam or preserves
- 1/4 cup sliced almonds
- 1 egg (for egg wash)
- Powdered sugar for dusting
How to make it
- Preheat your oven to 400°F (200°C) and unfold your thawed puff pastry onto a lightly floured surface.
- Use a pizza cutter to slice the pastry into 2-inch squares; this is the fastest way to get uniform pieces for your board.
- Place a small dollop (about a teaspoon) of rhubarb jam in the center of each square, leaving plenty of room at the borders for the pastry to rise.
- Brush the exposed edges of the pastry with a beaten egg; this is the secret to getting that deep, ‘bakery-style’ golden brown shine.
- Sprinkle a few sliced almonds over the jam for a nutty crunch and bake for 12 to 15 minutes until the pastry has puffed up into beautiful, flaky layers.
- Once cooled slightly, dust with a fine layer of powdered sugar to give them a finished, professional look before arranging them on your board.
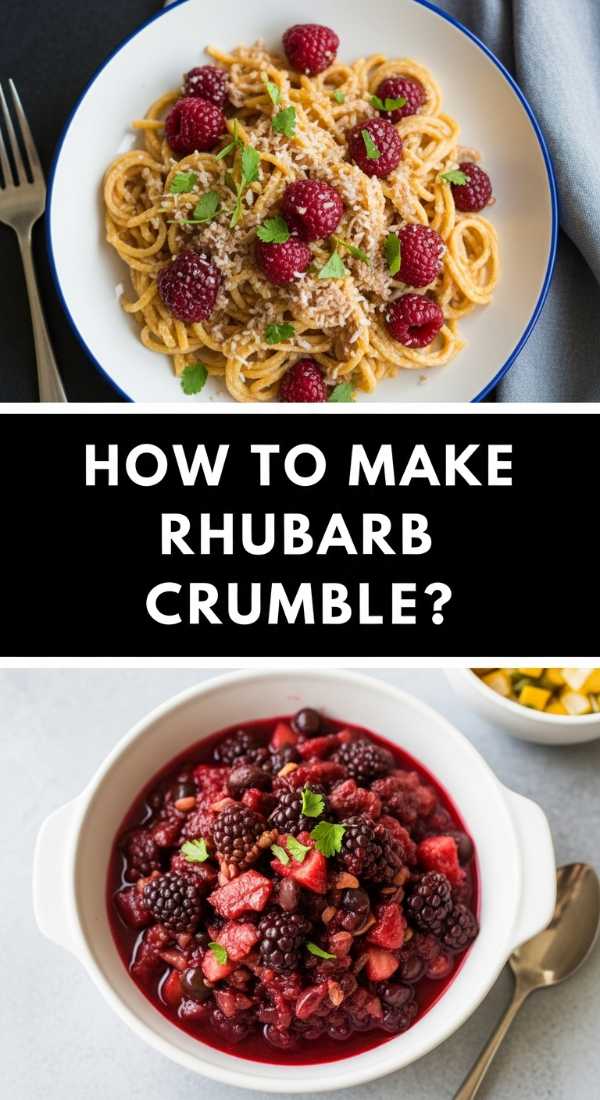
How to make rhubarb crumble?
Why we love this
Rhubarb crumble is the ultimate ‘messy-chic’ addition to a food board, offering a rustic texture that invites everyone to dig in with a spoon. The topping is a crunchy, buttery landscape of oats and brown sugar that provides a satisfying ‘thud’ against the soft, molten fruit underneath. It’s the contrast of the salty-sweet crust against the puckering tartness of the filling that makes this a perennial favorite. Serving it in small individual ramekins or as a large pile in the center of your board adds height and visual interest, making the whole spread feel abundant and homey.
Ingredients
- 4 cups chopped rhubarb
- 1/2 cup brown sugar
- 1 cup rolled oats
- 1/2 cup flour
- 1/2 cup cold butter, diced
- 1 teaspoon cinnamon
How to make it
- Preheat your oven to 375°F (190°C) and toss your chopped rhubarb with a tablespoon of flour and a sprinkle of sugar to help set the juices.
- In a separate bowl, combine the oats, flour, cinnamon, and the rest of the brown sugar, mixing well so the spices are distributed.
- Using your fingertips or a pastry cutter, work the cold butter into the oat mixture until it forms pea-sized clumps. Don’t overwork it; those clumps are what create the ‘crunch’ pockets.
- Transfer the rhubarb to a baking dish and cover it completely with the crumble topping, patting it down very lightly.
- Bake for 30 to 35 minutes until the fruit juices are bubbling up around the sides and the top is a deep, golden brown.
- For the best board presentation, let it sit for 10 minutes after baking to allow the juices to thicken slightly, then serve warm with a small bowl of clotted cream nearby.
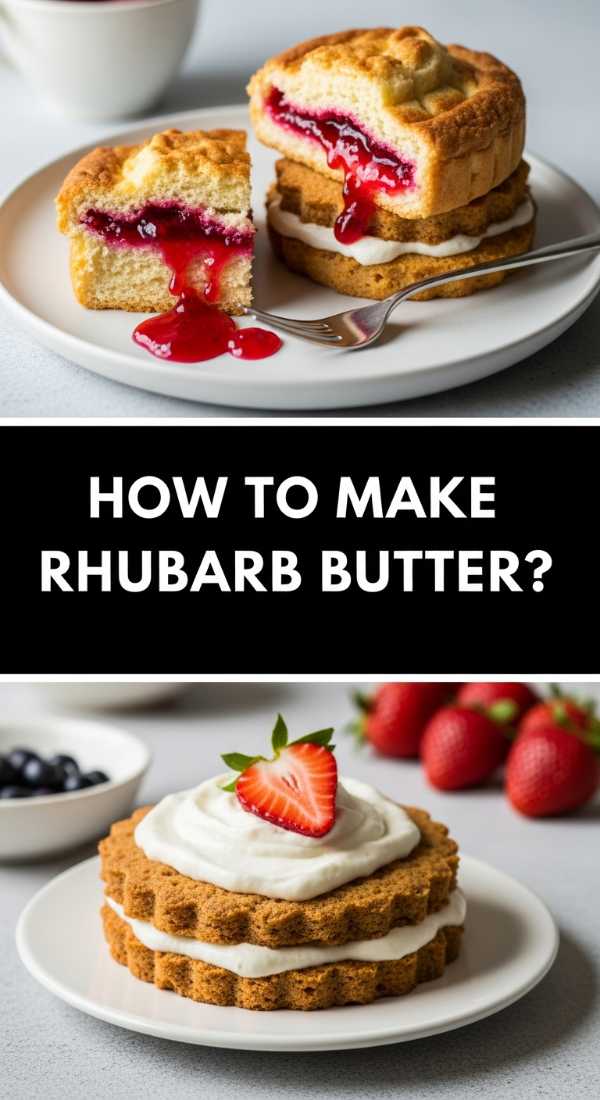
How to make rhubarb butter?
Why we love this
Rhubarb butter is the velvety, concentrated essence of the fruit, acting as the ‘anchor’ sauce for your viral board. It has a smooth, spreadable consistency that is much denser than a traditional jam, offering a rich, deep flavor profile that has been intensified through slow cooking. It’s incredibly versatile—spread it on crackers, dip your crispy rhubarb batons into it, or swirl it into yogurt. The color is usually a stunning, deep coral that provides a beautiful pop of pigment to your platter, making the whole board look curated and expensive.
Ingredients
- 6 cups chopped rhubarb
- 1/2 cup apple cider or water
- 2 cups granulated sugar
- 1 tablespoon lemon juice
- 1/2 teaspoon ground cloves
How to make it
- Combine the rhubarb and apple cider in a large heavy-bottomed pot and cook over medium heat until the rhubarb is completely soft and falling apart.
- Use an immersion blender to purée the mixture directly in the pot until it is perfectly smooth with no fibrous strands remaining.
- Add the sugar, lemon juice, and cloves. The cloves add a subtle, sophisticated warmth that cuts through the sugar.
- Lower the heat to the lowest possible setting. You want to cook this down slowly, stirring frequently with a wooden spoon to prevent the bottom from scorching.
- Cook for about 1 to 1.5 hours. The ‘butter’ is done when it is thick, shiny, and stays mounded on a spoon without running off.
- Spoon the hot butter into small decorative jars to place on your board; as it cools, it will set into a thick, luscious spread.
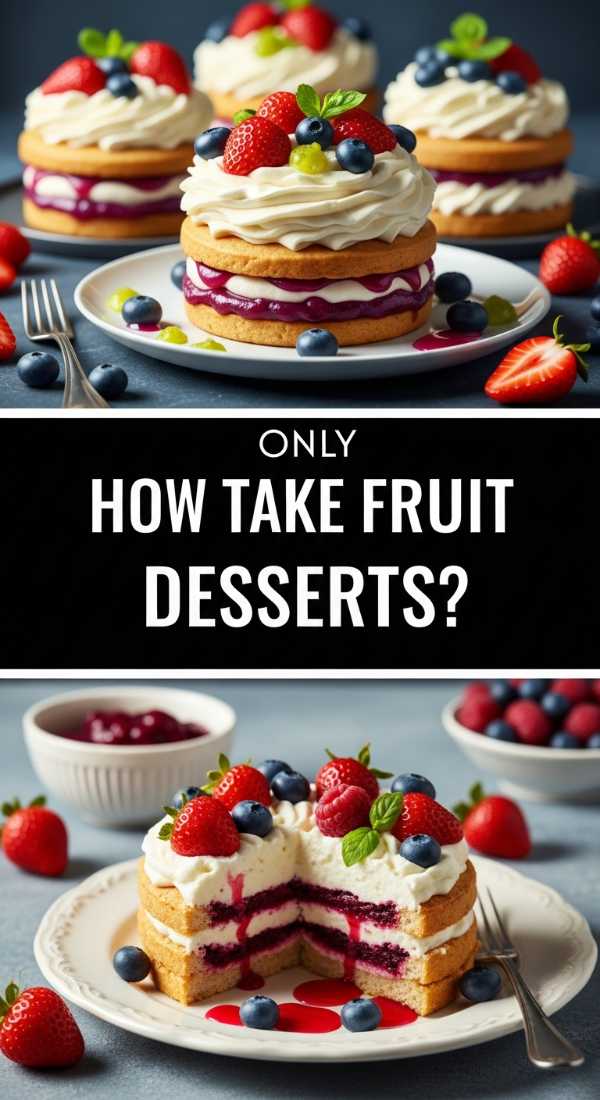
How to bake fruit desserts?
Why we love this
Mastering the general art of fruit desserts is what allows you to swap ingredients based on what’s in season, making your board-building skills timeless. Whether it’s rhubarb, peaches, or berries, the secret lies in balancing the natural water content of the fruit with the right amount of heat and thickener. These desserts are celebrated for their vibrancy and ‘fresh-from-the-earth’ feel. They bring a lightness to the table that chocolate-heavy desserts often lack, making them the perfect finale for a summer evening where you want to feel refreshed rather than weighed down.
Ingredients
- 4 cups of seasonal fruit (rhubarb, berries, stone fruit)
- 1/4 cup cornstarch or arrowroot powder
- 1/2 cup sugar (adjusted for fruit sweetness)
- Zest of one lemon
- Pinch of nutmeg
How to make it
- Always start by macerating your fruit: toss the cut pieces with sugar and lemon zest and let them sit for 15 minutes. This draws out the juices and allows you to see how much thickener you’ll actually need.
- Drain about half the liquid if the fruit is particularly watery (like strawberries or very ripe peaches) to prevent a ‘soup’ at the bottom of your dish.
- Whisk your thickener (cornstarch) with a little bit of the cold fruit juice before mixing it back into the main bowl; this prevents lumps.
- Choose your vessel carefully; shallow dishes allow for more evaporation and better caramelization, while deep dishes keep the fruit more poached and soft.
- Bake at 375°F (190°C). The visual cue for doneness in any fruit dessert is ‘the bubble’—the liquid must bubble in the center to ensure the starch has hydrated and thickened properly.
- Allow the dessert to rest at room temperature for at least 30 minutes before serving on your board; this ‘set time’ is crucial for the structure.
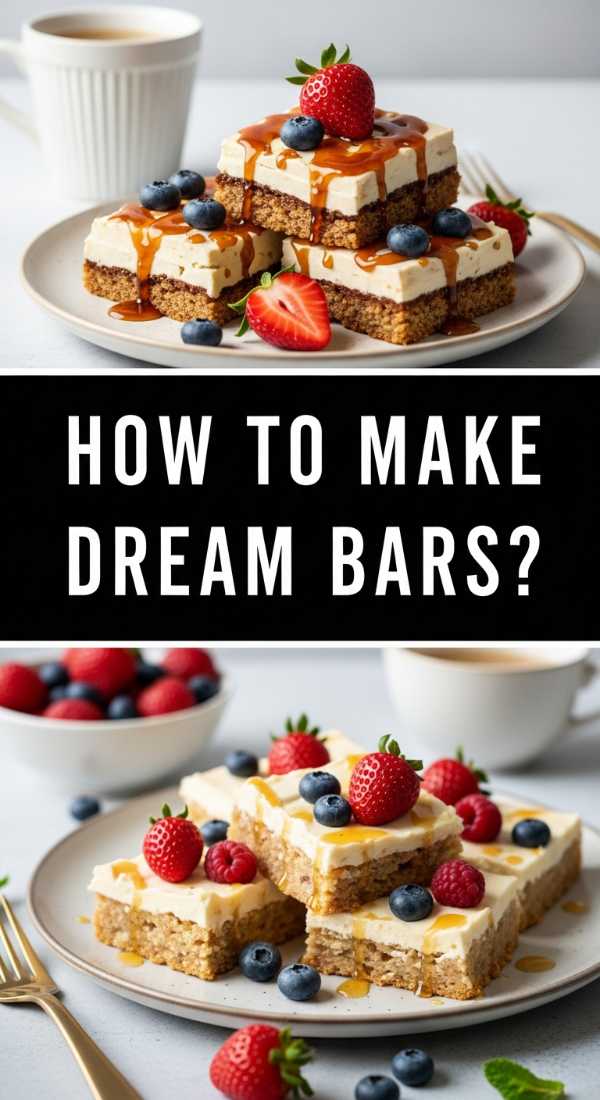
How to make dream bars?

Why we love this
Dream bars are the nostalgic, chewy, and slightly nutty cousin to the custard bar, adding a fantastic layer of complexity to your food board. With a buttery shortbread base and a topping filled with coconut, walnuts, and tangy rhubarb, they offer a ‘chew factor’ that is incredibly addictive. They are sturdy enough to be piled high on a board without breaking, and their toasted golden-brown tops provide a lovely earthy aesthetic. Every bite is a journey through different textures—from the snap of the crust to the soft fruit and the crunch of the toasted coconut.
Ingredients
- 1/2 cup butter, softened
- 1 cup all-purpose flour
- 1/2 cup brown sugar
- 2 eggs
- 1 cup shredded coconut
- 1/2 cup chopped walnuts
- 1 cup finely chopped rhubarb
How to make it
- Preheat your oven to 350°F (175°C). Cream together the softened butter, 1/2 cup of flour, and 1/4 cup of the brown sugar until smooth, then press into a 9×9 inch pan.
- Bake the base for 12 minutes. While it bakes, prepare the ‘dream’ topping by beating the eggs until light and foamy.
- Stir the remaining brown sugar, coconut, walnuts, remaining flour, and the chopped rhubarb into the beaten eggs.
- Spread this mixture carefully over the pre-baked base while it is still warm; this helps the layers fuse together so they don’t separate when sliced.
- Bake for an additional 20-25 minutes until the coconut on top is a deep golden brown and the center feels firm to a light touch.
- Cool these bars completely—ideally in the fridge—before cutting into small triangles. The triangles look especially ‘viral-worthy’ and modern on a circular board.
How to make rhubarb treats?
[IMAGE_10]
Why we love this
Small, handheld ‘treats’ are the soul of a viral food board, allowing guests to graze without needing a full set of cutlery. These bite-sized morsels—think mini galettes or rhubarb-filled cookies—are the perfect way to showcase the fruit’s versatility in a whimsical, approachable way. They are fun to look at, easy to grab, and provide that perfect hit of sugar and tang in just two bites. They make your board look abundant and meticulously prepared, even though they often come together with simple doughs and quick fillings. It’s the ultimate way to make rhubarb feel like a treat rather than just a side dish.
Ingredients
- 1 package refrigerated pie crust
- 1/2 cup rhubarb curd or thick jam
- 1 tablespoon coarse sanding sugar
- 1 egg white
- Fresh mint for garnish
How to make it
- Preheat your oven to 375°F (190°C) and unroll your pie crust onto a clean surface.
- Use a small round biscuit cutter (about 3 inches) to cut out circles. Place them on a parchment-lined baking sheet.
- Place a small spoonful of rhubarb curd in the very center of each circle. Do not overfill, or the treats will leak and burn on the pan.
- Gently fold the edges of the dough toward the center, overlapping them slightly to create a ‘mini galette’ look, leaving the center filling exposed.
- Brush the dough with egg white and sprinkle heavily with sanding sugar; this gives the treats a professional, sparkling finish.
- Bake for 15-18 minutes until the pastry is crisp and golden. Once cooled, tuck small mint leaves into the center for a pop of green that makes the red rhubarb truly sing on your board.
The Final Word on Your Rhubarb Board
Creating this viral food board isn’t just about following recipes; it’s about the joy of sharing something handmade and heartfelt with the people you love. The magic of rhubarb lies in its ability to be both rustic and refined, and when you lay it all out on a beautiful wooden board, it becomes a work of art. I hope these tips and techniques inspire you to get into the kitchen, embrace the tartness, and create your own obsession-worthy spread. Happy baking, friends!