
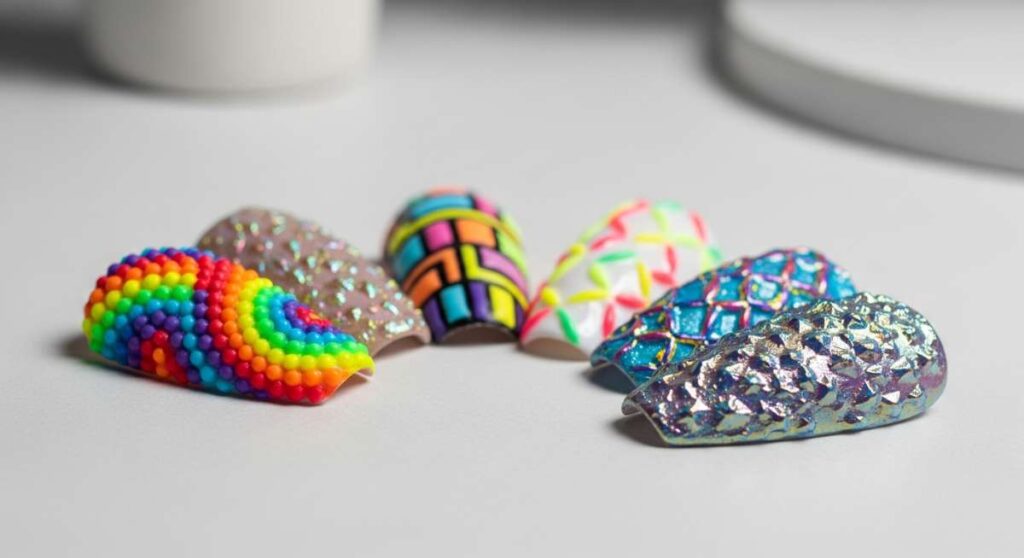
Texture in Technicolor: Your Master Guide to 3D Nail Designs
Hello, my loves. There is something so incredibly soul-soothing about looking down at your hands and seeing a tiny, vibrant world of art staring back at you. For me, nails have always been more than just a beauty routine; they are a soft embrace of self-expression, a tactile reminder that we can carry beauty with us throughout even the most mundane tasks. Lately, I’ve been falling deeply in love with the dimension and magic of 3D designs—the way a little bit of texture can make a color truly sing.
In this guide, I want to take your hand and walk you through the whimsical world of technicolor textures. We aren’t just painting nails today; we are sculpting dreams and layering joy. Whether you are a seasoned tech or a beginner looking for a creative outlet, I’ve poured my heart into these steps to make sure your journey into 3D nail art feels as dreamy and effortless as a Sunday morning. Let’s dive into the colors, shall we?
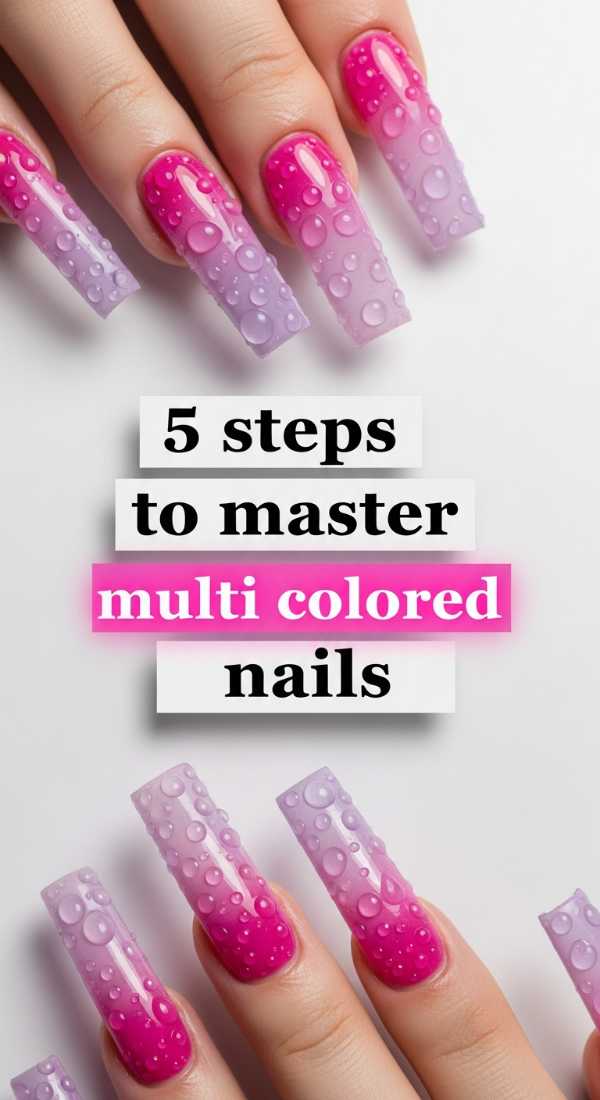
5 steps to master multi colored nails
Why to love this recipe:
This is like wearing a soft, pastel rainbow on your fingertips. It brings a sense of playful harmony to your day, ensuring that no matter what you wear, your spirit feels bright and coordinated.
Essential Ingredients:
- 5 complementary gel polish colors
- Fine liner brush
- Base and top coat
- UV/LED Lamp
- Lint-free wipes
How to Prepare:
- Nail Prep: Gently push back cuticles and buff the nail surface for a clean canvas.
- Base Layer: Apply a thin layer of base coat and cure for 60 seconds.
- The Color Map: Apply one unique color to each finger, keeping layers thin to prevent bulk.
- Refine: Use a liner brush to crisp up the edges near the cuticle for that salon-perfect finish.
- Seal the Joy: Apply a high-shine top coat, curing one last time to lock in the vibrance.
Budget Range
- Beetles Gel Polish Pastel Set ($15.99)
- Modelones Base and Top Coat Duo ($9.99)
Apply 3D charms for colorful junk nails in 4 steps

Why to love this recipe:
Junk nails are a maximalist’s dream! It’s about more-is-more, using little trinkets and charms to tell a story of whimsical chaos that somehow feels perfectly balanced.
Essential Ingredients:
- Assorted resin charms (gummy bears, bows, hearts)
- Thick rhinestone glue or builder gel
- Tweezers or a wax picker tool
- Sturdy top coat
How to Prepare:
- Foundation: Paint your base colors and cure completely.
- Placement: Dot a generous bead of builder gel where you want your largest charm to sit.
- Adhere: Place the charm with tweezers, pressing gently, and flash cure for 10 seconds to hold.
- Security: Use a fine brush to fill any gaps under the charm with gel, then do a full 60-second cure.
Budget Range
- Saviland 3D Nail Art Charms Kit ($12.00)
- Makartt Rhinestone Glue ($8.99)
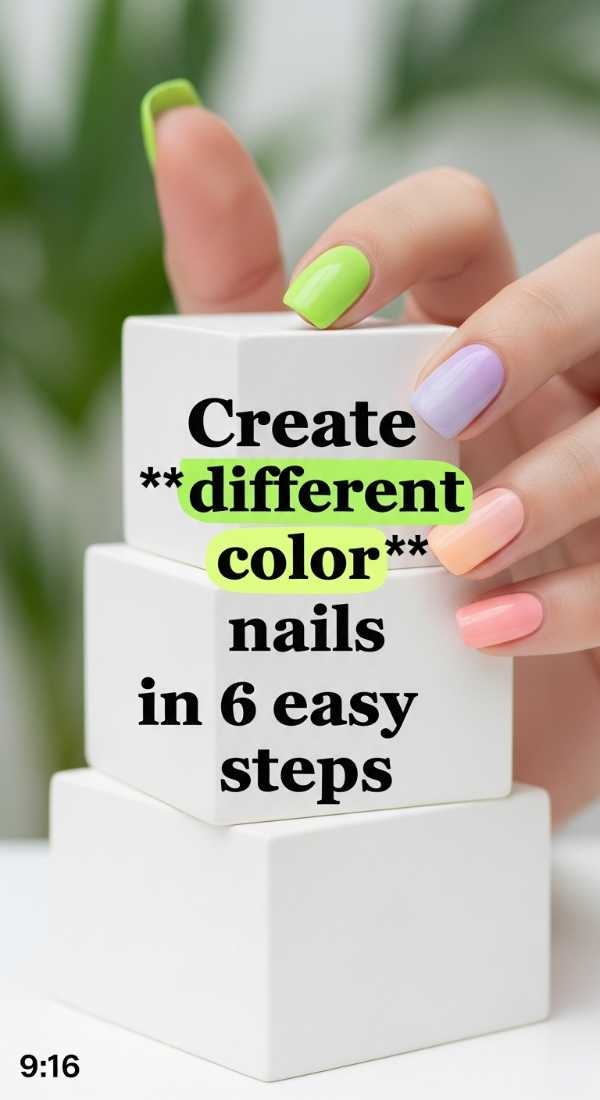
Create different color nails in 6 easy steps
Why to love this recipe:
The ‘Skittles’ mani is the ultimate way to cure indecision. It’s a soft gradient of emotion across your hand, making every gesture a little more interesting.
Essential Ingredients:
- A curated palette of 5 shades
- Nail file
- Buffer block
- Cuticle oil
- Glossy top coat
- Alcohol prep pads
How to Prepare:
- Shape: File your nails into a soft oval or almond shape to elongate the fingers.
- Prep: Dehydrate the nail plate with an alcohol pad to ensure the polish hugs the nail.
- Sequence: Arrange your bottles from darkest to lightest to visualize the flow.
- First Pass: Apply the first coat to all fingers and cure.
- Second Pass: Apply the second coat for full opacity and depth.
- Finish: Apply top coat and follow immediately with cuticle oil for that hydrated glow.
Budget Range
- OPI Infinite Shine Palette ($13.00 per bottle)
- Sally Hansen Vitamin E Nail & Cuticle Oil ($5.00)
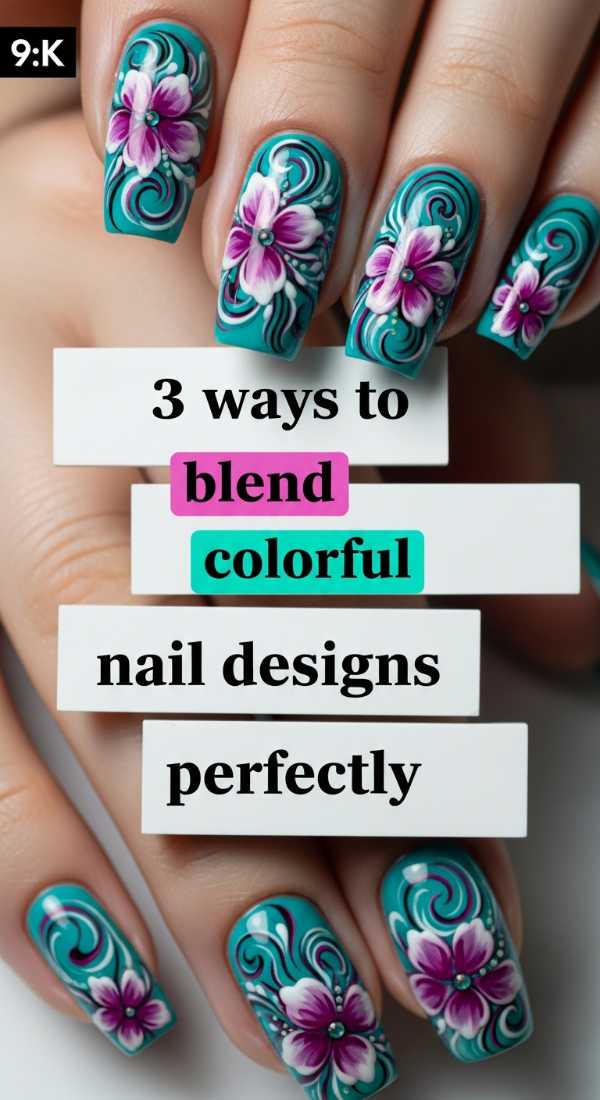
3 ways to blend colorful nail designs perfectly
Why to love this recipe:
Blending is where the magic happens. It softens the transitions between colors, creating a sunset-like effect that feels incredibly soothing to look at.
Essential Ingredients:
- Makeup sponges
- Ombre brush
- Mixing palette
- Liquid latex (optional)
How to Prepare:
- The Sponge Method: Paint strips of color onto a sponge and dab onto the nail for a diffused ombre.
- The Brush Blur: Use a fluffy ombre brush to gently ‘pull’ one wet gel color into another on the nail.
- The Palette Mix: Mix two colors on a palette to create a mid-tone ‘bridge’ color for a seamless transition.
Budget Range
- Wedge Makeup Sponges ($3.50 for a pack of 50)
- KADS Ombre Brush ($7.00)
Design two color nails with gradients in 4 minutes
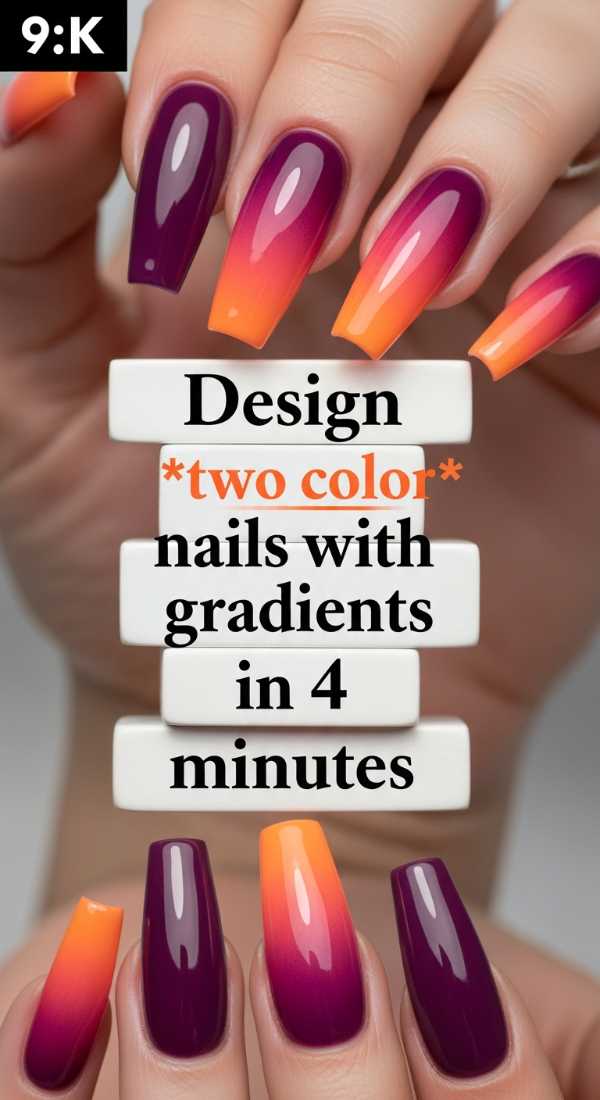
Why to love this recipe:
This is for my busy loves who still want that ethereal glow. It’s quick, effective, and looks like you spent hours at the salon.
Essential Ingredients:
- Two contrasting gel colors
- Small sponge applicator
- No-wipe top coat
How to Prepare:
- Base Color: Apply the lighter shade over the whole nail and cure.
- Dab: Apply the darker shade to the sponge and tap it onto the tip of the nail, working halfway up.
- Fade: Lighten your pressure as you move toward the center to create the fade.
- Lock: Apply top coat and cure for 60 seconds. Done!
Budget Range
- Gellen Gel Polish Duo ($10.00)
- Generic Mini Sponges ($4.00)
Get sharp colorful stiletto nails in 7 steps
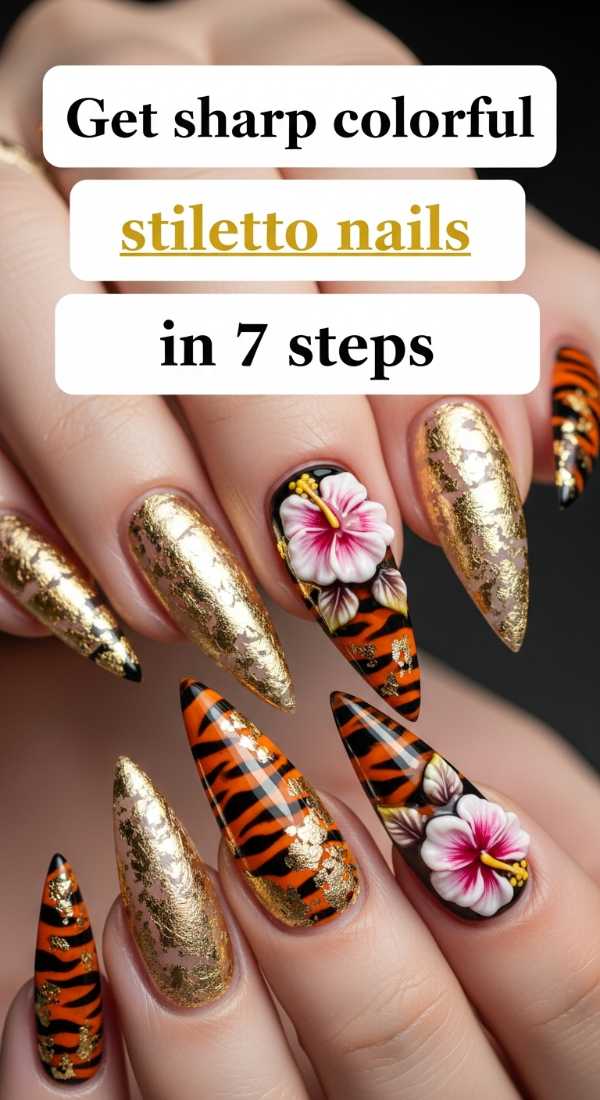
Why to love this recipe:
Stiletto nails are fierce yet elegant. When dipped in technicolor, they become a statement of strength and artistic flair.
Essential Ingredients:
- Stiletto nail tips or forms
- Builder gel or acrylic
- Coarse grit file (100/180)
- Bright pigments
How to Prepare:
- Extension: Apply the tip or form to the natural nail.
- Structure: Apply builder gel to create the length and strength.
- Shape: Use the coarse file to taper the sides into a sharp, centered point.
- Refine: Buff the surface until it’s as smooth as glass.
- Base Color: Apply your chosen vibrant base.
- Art: Add your 3D swirls or textures.
- Seal: Use a reinforced top coat for extra durability.
Budget Range
- Mia Secret Acrylic System ($22.00)
- Pana Professional Nail Files ($9.00 for 10)
Mix 10 patterns for stunning multicolor nails
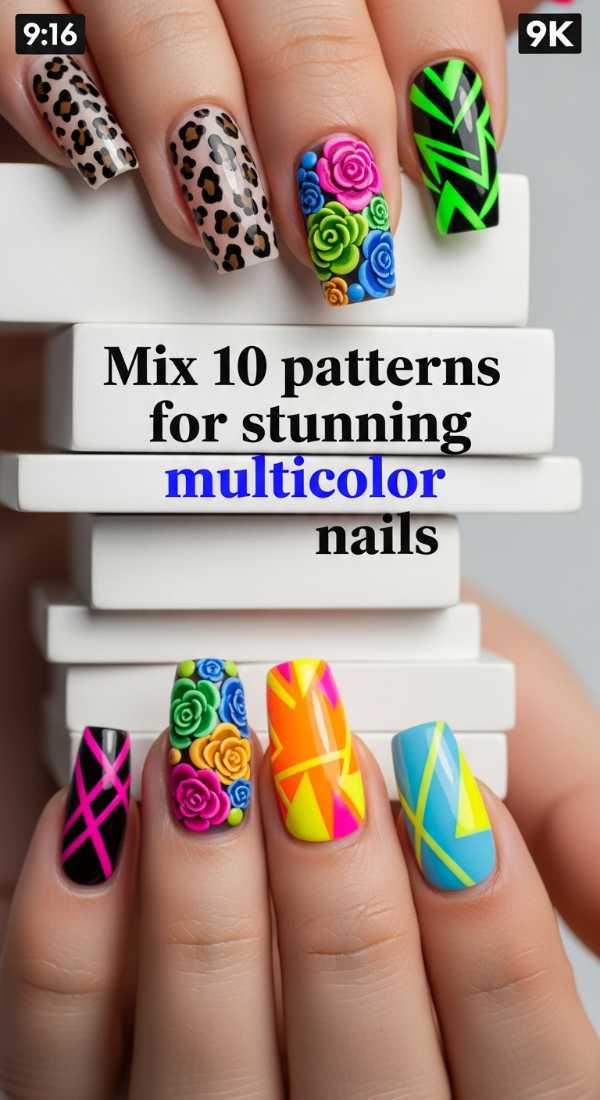
Why to love this recipe:
This is the ultimate creative challenge! It’s like a patchwork quilt of your favorite things, showcasing every facet of your personality.
Essential Ingredients:
- Dotting tools
- Striping tape
- Stamping plates
- Various gel colors
How to Prepare:
- Plan: Sketch out 10 mini designs (stars, dots, animal print, etc.).
- Execute: Work one finger at a time to ensure detail.
- Texture: Use 3D gel to add raised lines to your patterns for extra dimension.
- Cure: Ensure each complex pattern is flash-cured to prevent bleeding.
Budget Range
- Biutee Nail Stamping Kit ($16.00)
- Auger Dotting Tool Set ($6.00)
Layer 5 textures for colourful acrylic nails today
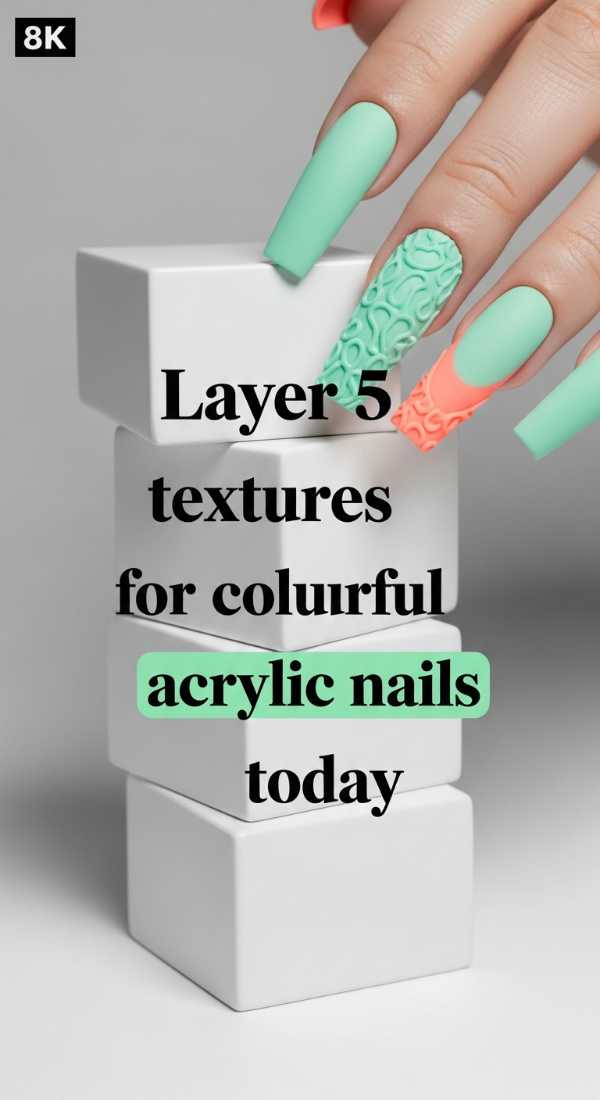
Why to love this recipe:
Texture is a love language. By layering matte, gloss, sugar, and gems, you create a sensory experience that is impossible to stop touching.
Essential Ingredients:
- Matte top coat
- Sugaring powder (glitter)
- Chrome powder
- Glossy gel
- 3D sculpting gel
How to Prepare:
- Base: Create your acrylic foundation.
- Matte Layer: Apply matte top coat to the thumb and index.
- Sugar Layer: Sprinkle fine glitter over wet top coat and cure.
- Chrome Layer: Rub chrome powder over a non-wipe top coat.
- Sculpt: Use 3D gel to create raised ‘bubbles’ or ‘snakes’ over the chrome.
Budget Range
- Born Pretty Chrome Powder ($8.00)
- Kupa Matte Top Coat ($12.00)
Achieve the color street nails look in 4 steps
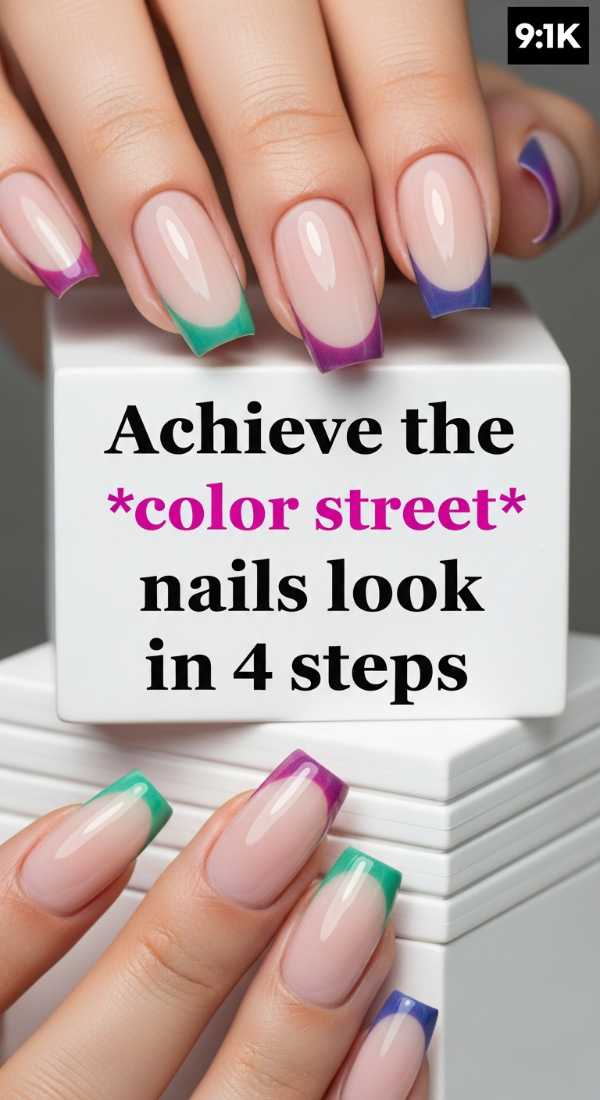
Why to love this recipe:
We love that salon-wrap look—perfectly uniform and incredibly glossy. It’s the standard of neatness and vibrant saturation.
Essential Ingredients:
- High-pigment cream polishes
- Precision cleanup brush
- Acetone
- Plumping top coat
How to Prepare:
- Thin Coats: Apply polish in three very thin, even strokes.
- The Gap: Leave a hair-thin gap between the polish and the cuticle for a clean look.
- Clean Up: Dip your brush in acetone to sweep away any tiny imperfections.
- The Plump: Use a thick, ‘gel-like’ top coat to give that professional wrap depth.
Budget Range
- Holo Taco Crème Polishes ($11.00)
- Seche Vite Dry Fast Top Coat ($9.00)
Style your colorful nail inspo in 3 unique ways
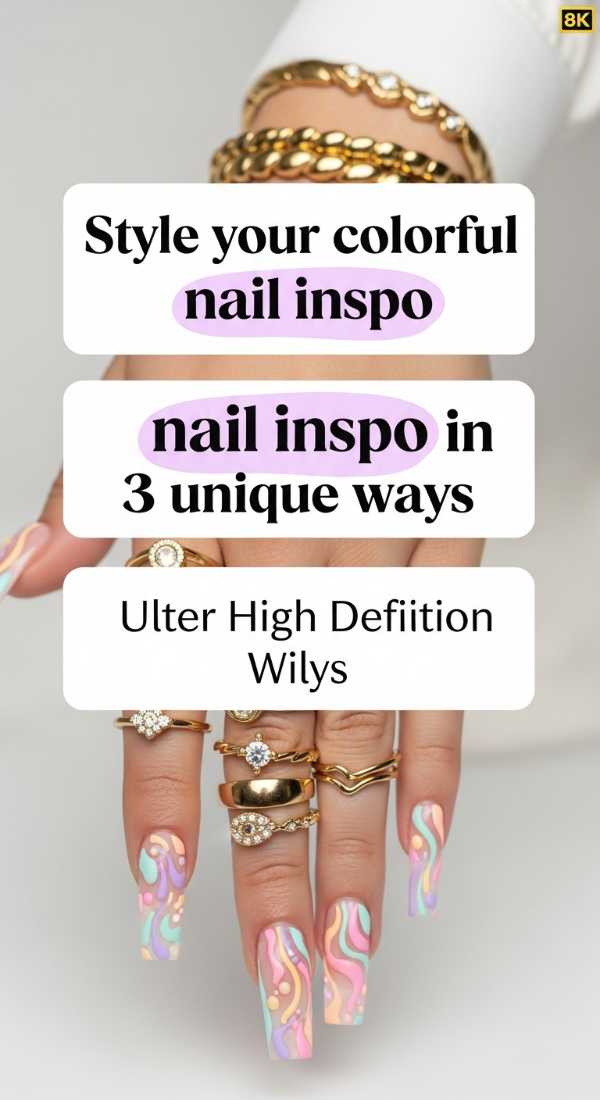
Why to love this recipe:
This is about how you wear the art. It’s the finishing touch that integrates your beautiful nails into your whole life.
Essential Ingredients:
- Stackable rings
- Coordinating accessories
- Confidence
How to Prepare:
- The Contrast: Pair your colorful nails with a monochromatic outfit to let them pop.
- The Complement: Wear rings that pick up the 3D gold or silver accents in your nails.
- The Mood: Style with a colorful handbag or scarf that matches at least one shade from your mani.
Budget Range
- H&M Ring Sets ($7.99)
- Target Accessory Scarves ($12.00)
Embrace Your Inner Artist
As we wrap up this journey through color and texture, I hope you feel inspired to get a little messy and a lot creative. Remember, my loves, there are no mistakes in art—only ‘happy accidents’ that lead to new techniques. Your hands do so much for you every day; treating them to these technicolor dreams is a beautiful way to say thank you to yourself. I can’t wait to see what you create!