
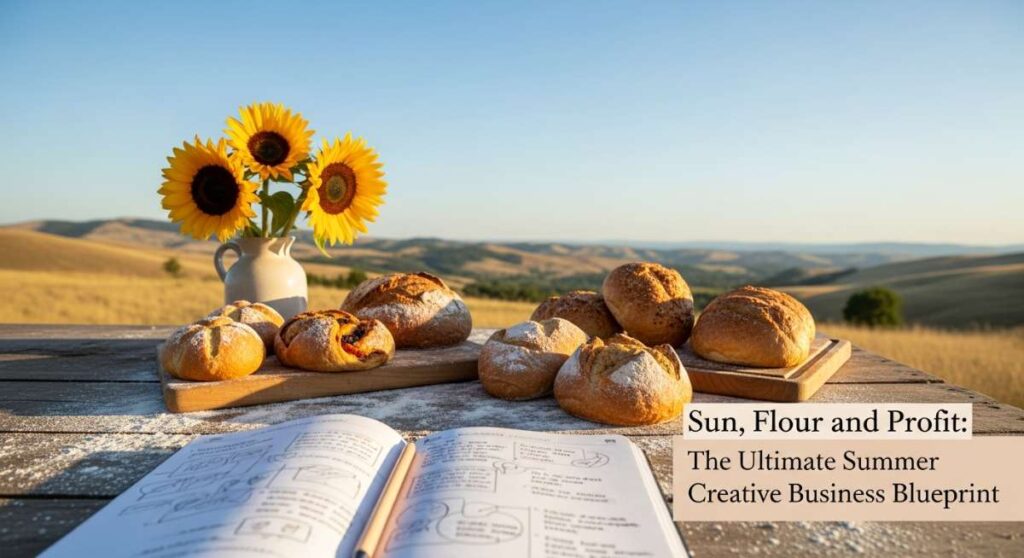
Sun, Flour, and Profit: The Ultimate Summer Creative Business Blueprint
Hello, my loves. Can you feel that? The air is shifting, turning thick with the scent of jasmine and the promise of long, honey-colored afternoons. There is a specific kind of magic that happens when the sun stretches its golden fingers across our kitchen counters, illuminating the fine dust of flour suspended in the air. For me, summer has always been a season of reimagining—a time to take those quiet dreams we’ve been kneading in the dark and finally let them rise in the warmth of the sun.
This guide is my heart poured out onto the page for you. Whether you are looking to master the art of the perfect lattice crust, turn your kitchen into a thriving little business, or even wear your passion for the craft on your sleeve forever, I’ve gathered every secret I know. We are building a life that tastes like sun-ripened peaches and feels like a soft linen apron. Let’s create something beautiful together, shall we?
7 Simple Steps to Bake a PEACH Pie
Why to Love This Recipe:
There is something inherently magical about the golden hour hitting a cooling peach pie. This recipe captures the essence of August—dripping with sweet, floral juice and encased in a crust so flaky it practically sighs when you cut into it. It’s nostalgia in every bite.
Required Ingredients:
- 6-8 large ripe peaches
- 1/2 cup granulated sugar
- 1/4 cup light brown sugar
- 3 tbsp cornstarch
- 1 tsp cinnamon
- 1 recipe for double pie crust
- 1 egg (for wash)
How to Prepare:
- Blanch the peaches in boiling water for 30 seconds, then shock in ice water to easily slip the skins off.
- Slice the peaches into even wedges, discarding the pits.
- Toss slices with sugars, cornstarch, and cinnamon; let sit for 15 minutes to macerate.
- Roll out your bottom crust and fit it into a 9-inch pie plate.
- Pour in the peach mixture, avoiding excess liquid if it’s too soupy.
- Top with a lattice-weave crust and brush with a simple egg wash.
- Bake at 400°F for 45-50 minutes until the crust is deep golden and the filling bubbles.
Estimate Time & Cost
- Time: 3 hours (including chilling)
- Cost: $15 – $20 for fresh organic peaches and butter
5 Easy Ways to START Your Home Bakery

Why to Love This Business Guide:
Taking that leap from ‘the friend who bakes’ to a business owner is a beautiful metamorphosis. It’s about more than just cookies; it’s about claiming your space in the world and sharing your unique flavor with your community. It’s a journey of courage wrapped in parchment paper.
Required Tools:
- Standardized recipe book
- Business registration forms
- Social media accounts
- Sturdy packaging materials
- A dedicated baking schedule
How to Prepare:
- Identify your ‘hero’ product—the one thing everyone begs you to make.
- Check your local cottage food laws to ensure you are baking safely and legally.
- Create a simple, cohesive menu with 3-5 star items to avoid overwhelm.
- Set up a professional Instagram or Facebook page to showcase your bakes.
- Start small by taking pre-orders for weekends to manage your workflow.
Estimate Time & Cost
- Time: 2-4 weeks to set up
- Cost: $100 – $500 for initial permits and bulk ingredients
4 Quick Tips to DESIGN a Cupcake Tattoo

Why to Love This Creative Process:
A cupcake tattoo is more than just ink; it’s a sweet badge of honor for the creators. It represents the sweetness you bring into the world. Designing it should feel like decorating the actual cake—thoughtful, whimsical, and uniquely yours.
Required Inspiration:
- Color palette swatches
- Reference photos of your favorite frosting styles
- A trusted fine-line tattoo artist
- Design sketches
How to Prepare:
- Decide on a ‘flavor’ for your tattoo—do you want soft pastels or bold, traditional colors?
- Choose the frosting style (swirled, piped roses, or smooth) to match your real-life aesthetic.
- Incorporate personal elements, like a sprig of lavender or a tiny ‘hidden’ initial in the sprinkles.
- Consider placement on areas that move naturally, like the inner forearm or ankle.
Estimate Time & Cost
- Time: 1 hour for design consultation
- Cost: $150 – $300 depending on artist and detail
3 Secret Steps for PERFECT Summer Macarons

Why to Love This Recipe:
Macarons are notorious little heartbreakers, but in the summer heat, they can be perfection if you know their secrets. These airy, almond-based shells are like biting into a cloud, especially when filled with light, seasonal ganaches.
Required Ingredients:
- 100g aged egg whites
- 110g almond flour (super fine)
- 200g powdered sugar
- 50g granulated sugar
- Food coloring gel
How to Prepare:
- The ‘Dry’ Secret: Sift your almond flour and powdered sugar three times to ensure a smooth, bump-free shell.
- The ‘Macaronage’ Secret: Fold the batter until it flows like slow lava; if you can draw a figure-eight without the ribbon breaking, stop immediately.
- The ‘Rest’ Secret: Let the piped shells sit in a cool, air-conditioned room for 45 minutes until a dull skin forms; this prevents cracking in the oven.
Estimate Time & Cost
- Time: 2.5 hours
- Cost: $12 per batch (almond flour is the main investment)
6 Smart Hacks to PRICE Your Cakes

Why to Love This Strategy:
Pricing your art is often the hardest part of the creative journey, loves. You aren’t just selling flour and sugar; you are selling your time, your years of practice, and the joy you provide. Finding that sweet spot of profit is an act of self-love.
Required Items:
- Spreadsheet software (Excel or Google Sheets)
- List of ingredient costs
- Monthly utility bill average
- Market research of local competitors
How to Prepare:
- Calculate the ‘Cost of Goods’ down to the penny for every egg and teaspoon of vanilla.
- Factor in your hourly wage—never pay yourself less than a living wage.
- Add a 20% ‘overhead’ fee for electricity, water, and wear on your equipment.
- Research local bakeries to ensure your pricing is competitive but premium.
- Don’t forget the ‘specialty’ tax for custom decorations or dietary restrictions.
- Review and adjust your prices every six months to account for inflation.
Estimate Time & Cost
- Time: 2 hours
- Cost: $0 (just your focus and a calculator)
5 Unique Ways to STYLE a Whisk Tattoo

Why to Love This Concept:
The whisk is the scepter of our kitchen kingdom, and wearing it on your skin is a poetic tribute to the labor of love. It’s a minimalist symbol that carries immense weight for those who find peace in the stir.
Required Inspiration:
- Fine-line tattoo references
- Floral illustration books
- Geometric design ideas
- Minimalist art portfolios
How to Prepare:
- The ‘Floral Wrap’: Have delicate wildflowers like chamomile or lavender intertwine with the whisk wires.
- The ‘Micro-Realism’: A tiny, 2-inch whisk on the side of the finger for a subtle nod to your craft.
- The ‘Watercolor Splash’: A simple black outline whisk with a soft ‘batter’ splash of pastel colors behind it.
- The ‘Chef’s Crest’: Placing the whisk crossed with a rolling pin in a traditional heraldic style.
- The ‘Infinity Whisk’: Integrating the handle of the whisk into a delicate infinity loop on the wrist.
Estimate Time & Cost
- Time: 1 hour
- Cost: $100 – $250
8 Easy Steps to MASTER Berry Tarts

Why to Love This Recipe:
Mastering the berry tart is like capturing a summer meadow on a plate. The contrast between the crisp, buttery shortcrust, the silky vanilla pastry cream, and the tart pop of fresh berries is truly the pinnacle of summer hosting.
Required Ingredients:
- 1.5 cups flour
- 1/2 cup cold butter
- 1/4 cup sugar
- 2 cups whole milk
- 4 egg yolks
- Assorted fresh berries (strawberries, blueberries, raspberries)
- Apricot jam (for glaze)
How to Prepare:
- Pulse flour, butter, and sugar until a dough forms; press into a tart pan.
- Blind bake the crust at 375°F until golden; let cool completely.
- Whisk egg yolks, sugar, and milk over medium heat until it thickens into a rich custard.
- Strain the custard and chill with plastic wrap touching the surface to prevent skin.
- Fill the cooled tart shell with the chilled pastry cream.
- Arrange your berries in concentric circles, starting from the outside.
- Warm the apricot jam and lightly brush over the berries for a professional shine.
- Chill for 1 hour before serving to let the flavors meld.
Estimate Time & Cost
- Time: 4 hours (includes chilling)
- Cost: $18 – $25 depending on berry seasonality
4 Simple Phases to BRAND Your Bakery
Why to Love This Process:
Your brand is the soul of your business, the melody that people hear before they even taste your treats. It’s about creating a feeling—whether that’s rustic and earthy or bright and modern—that makes people want to be part of your world.
Required Tools:
- Pinterest for mood boarding
- Canva or Adobe Express
- Brand voice adjectives
- Color palette generator (like Coolors)
How to Prepare:
- Phase 1 (The Vibe): Create a mood board of textures, colors, and fonts that feel like your baking style.
- Phase 2 (The Voice): Choose three words to describe your business (e.g., Warm, Whimsical, Honest).
- Phase 3 (The Visuals): Design a simple, memorable logo and choose a consistent set of 3 colors.
- Phase 4 (The Touchpoints): Apply your branding to your packaging, business cards, and social media icons.
Estimate Time & Cost
- Time: 1 week of creative brainstorming
- Cost: $0 – $100 (DIY via Canva)
7 Professional Tips for BREAD Tattoos

Why to Love This Art:
Bread is the staff of life, and a bread tattoo celebrates the raw, earthy beauty of fermentation and patience. It’s a tattoo for the soul who understands that the best things in life take time to rise.
Required Elements:
- Wheat stalk references
- Sourdough score pattern photos
- Artisan loaf sketches
- An artist skilled in shading and texture
How to Prepare:
- Focus on the ‘Score’: A tattoo of a sourdough loaf is all about the beautiful patterns cut into the crust.
- Add Texture: Use ‘stippling’ or dot-work to mimic the dusted flour on top of a boule.
- Incorporate Nature: Pair your bread with a sprig of rosemary or a stalk of golden wheat.
- Consider the ‘Crumb’: A cross-section slice can show off beautiful, airy fermentation bubbles.
- Placement Matters: The forearm is a classic choice, as it’s the ‘working’ muscle of a baker.
- Color Choice: Use warm sepia tones and golden ambers to capture the ‘baked’ look.
- Symbolism: Add a tiny ‘mother’ jar or a yeast molecule for a scientific touch.
Estimate Time & Cost
- Time: 2 hours
- Cost: $200 – $400
5 Refreshing Steps to BAKE Lemon Cookies

Why to Love This Recipe:
Lemon cookies are the culinary equivalent of a cool breeze on a humid July afternoon. They are bright, zesty, and have a melt-in-your-mouth quality that makes them dangerously easy to eat by the handful.
Required Ingredients:
- 2.5 cups all-purpose flour
- 1 cup softened butter
- 1 cup sugar
- 2 large lemons (zest and juice)
- 1 tsp baking soda
- Powdered sugar for dusting
How to Prepare:
- Cream the butter and sugar until very light and fluffy; this creates the softest texture.
- Add the lemon zest and juice, beating until the aroma fills your kitchen.
- Slowly mix in the dry ingredients until just combined—do not overmix!
- Chill the dough for at least 30 minutes; cold dough makes for thicker, softer cookies.
- Roll into balls, bake at 350°F for 10 minutes, and dust with powdered sugar while still warm.
Estimate Time & Cost
- Time: 1 hour
- Cost: $8 – $10
A Summer of Sweet Beginnings
My loves, as we close this guide, I want you to remember that every great venture starts with a single pinch of salt or a single stroke of a pen. Whether you are baking for your family or building an empire from your countertop, do it with your whole heart. This summer is yours to shape, to taste, and to celebrate. I can’t wait to see what you create under the glow of the sun. Go forth and bloom.
Frequently Asked Questions
- Do I need a professional kitchen to start a home bakery?
- In many places, ‘Cottage Food Laws’ allow you to bake non-perishable items like cookies and bread right in your home kitchen. Always check your local health department’s website for specific regulations in your area!
- How do I keep my fruit pies from getting soggy bottoms?
- The secret is a light dusting of flour and sugar on the bottom crust before adding the filling, or blind-baking the bottom crust for 10 minutes if the recipe allows.
- Are tattoo designs of food popular for professionals?
- Absolutely! In the culinary world, ‘food ink’ is a huge trend. It shows a deep commitment to the craft and serves as a beautiful conversation starter with customers.
- What is the best way to transport delicate tarts for a business?
- Invest in sturdy, flat-bottomed cake boxes and use non-slip mats in your vehicle. For berry tarts, keep them chilled until the very last second to ensure the pastry cream stays firm.