
There is nothing quite like the first true Saturday of summer, where the sun hangs high in a cloudless sky and the water in the pool looks like a shimmering sheet of sapphire. I remember the days when my backyard felt more like an obstacle course of deflating inflatable unicorns and soggy towels than a private oasis. The stress of the mess would often outweigh the joy of the dip, leaving me frazzled before I even had a chance to apply my SPF. That is why I am so obsessed with finding the perfect balance between high-functioning utility and that gorgeous, relaxed aesthetic we all crave.
Today, I’m sharing my ultimate guide to reclaiming your poolside peace. We are moving past the ‘throw it in a pile’ phase of life and stepping into a curated, organized summer experience that makes hosting—and relaxing—absolutely effortless. From DIY racks that look like they belong in a coastal magazine to the secret art of the towel roll, these tips are designed to turn your deck into a serene sanctuary where the only thing you have to worry about is whether your glass of rosé needs more ice.
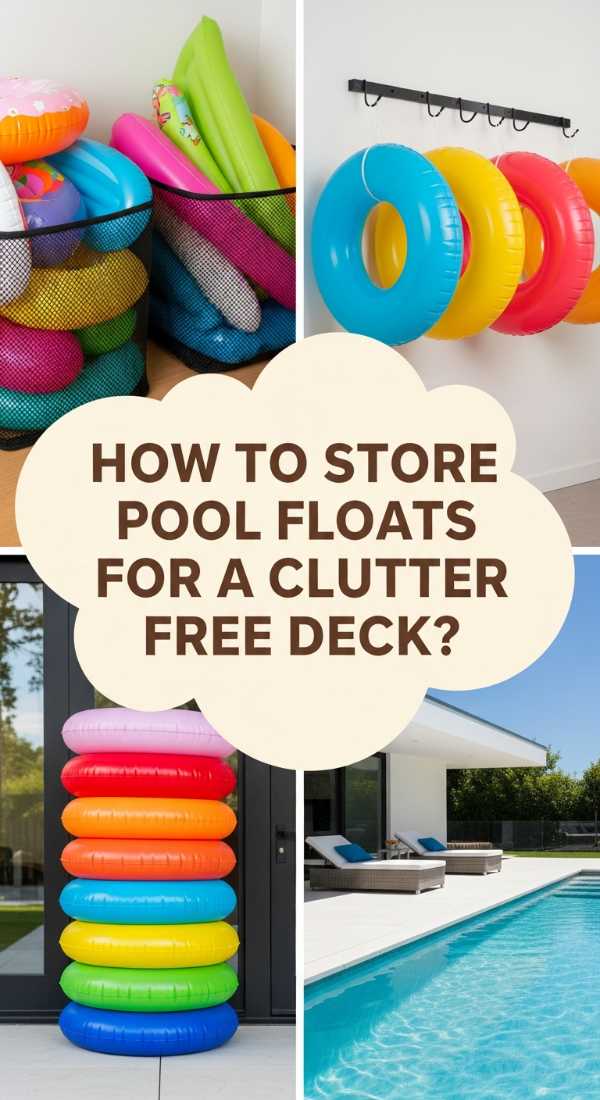
How to Store Pool Floats for a Clutter Free Deck
Why we love this
There is an undeniable sense of calm that washes over you when you walk onto a deck that isn’t littered with oversized plastic swans. We love this approach because it treats your outdoor space with the same respect as your living room, allowing the natural textures of your decking and the cool blue of the water to take center stage. Imagine the scent of salt air and blooming jasmine without the visual noise of neon PVC; it creates a grounding, high-end atmosphere that invites true relaxation and deep breaths under the summer sun.
Essential Elements:
- Large mesh storage bins or wall-mounted bungee systems
- Heavy-duty outdoor hooks
- A dedicated ‘deflation station’ with an electric pump
- UV-resistant storage bags for off-season
How to make it
- Assess your float inventory and sort them by size, discarding any that have slow leaks or sun-bleached brittle surfaces.
- Install a series of heavy-duty, weather-resistant hooks on a nearby fence or the side of a shed to hang larger, flatter floats out of the wind’s path.
- For the ‘daily drivers,’ set up a large, upright mesh bin that allows for airflow, preventing that dreaded mildew smell from trapped moisture.
- Position the storage near your inflation point so that it is just as easy to put them away as it is to pull them out for a swim.
- Train the family on the ‘dry before you fly’ rule: shake off excess water before placing floats in the bin to ensure the deck stays dry and the bin stays fresh.
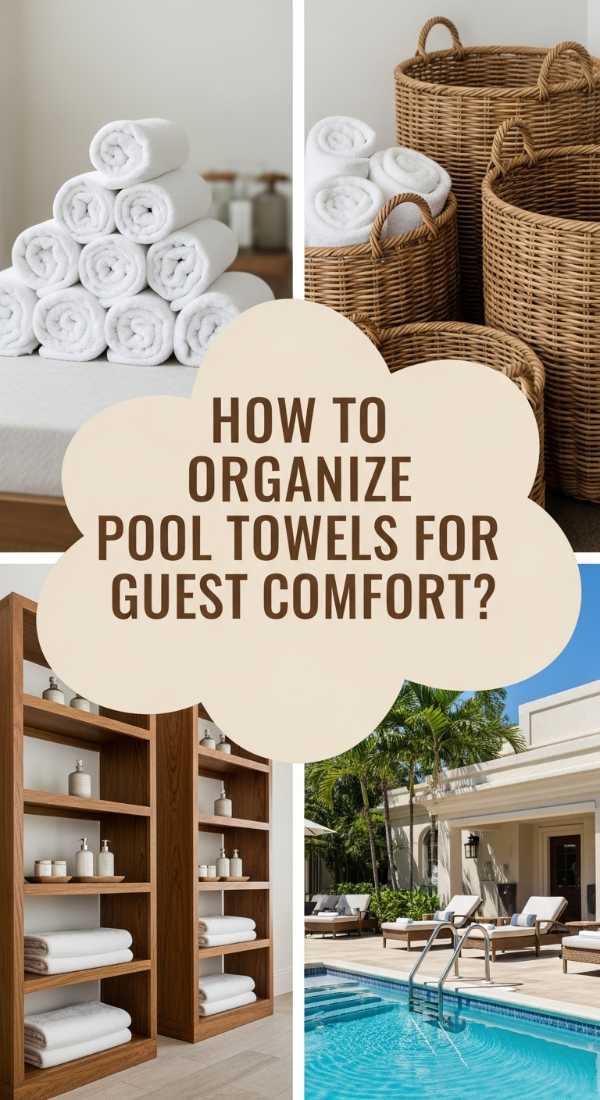
How to Organize Pool Towels for Guest Comfort
Why we love this
Nothing says ‘welcome’ quite like a stack of plush, sun-warmed towels waiting for you after a long soak. We love this organization style because it mimics the luxurious feel of a five-star Mediterranean resort, where every detail is considered for the guest’s sensory delight. The sight of neatly rolled terry cloth in soft whites or ocean blues provides a tactile promise of comfort, while the lack of damp piles means your outdoor furniture stays pristine and ready for lounging all afternoon long.
Essential Elements:
- Weatherproof wicker or resin baskets
- Extra-large, high-GSM cotton towels
- A dedicated ‘Dirty Towel’ hamper with a lid
- Lavender or citrus-scented linen spray
How to make it
- Start by laundering your towels with a cup of white vinegar to strip away old detergent buildup, ensuring they are at their maximum fluffiness.
- Use the ‘Hotel Roll’ technique: fold the towel in half lengthwise, then roll it tightly from one end to the other to create a uniform, space-saving cylinder.
- Place a decorative, waterproof basket on a raised side table or bench to keep the towels off the ground and away from splashing water.
- Lightly mist the towels with a refreshing linen spray to provide a subtle, spa-like aroma when guests dry off.
- Clearly label a second, contrasting basket for ‘Used Towels’ so guests aren’t left wondering where to put their damp laundry after the fun is over.
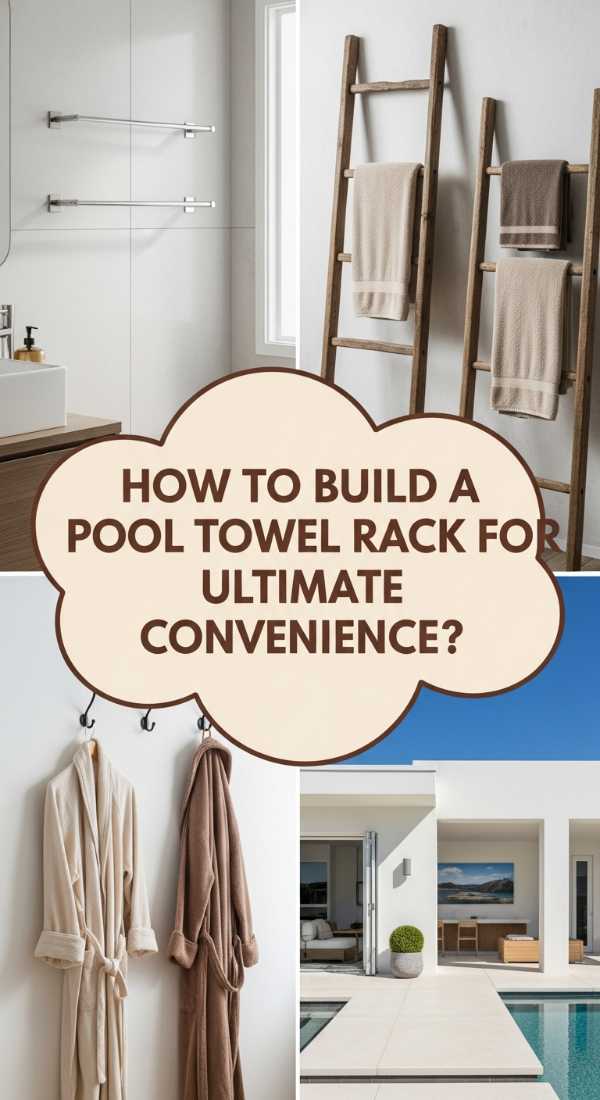
How to Build a Pool Towel Rack for Ultimate Convenience
Why we love this
This is the ultimate marriage of form and function, providing a dedicated architectural element that keeps towels organized and dry. We love this DIY approach because it adds a custom, handcrafted feel to your backyard that pre-made plastic racks simply can’t match. The sturdy wood or sleek metal finishes catch the golden hour light beautifully, and there is a profound satisfaction in seeing towels hanging in a neat, orderly row, swaying gently in the breeze like a piece of functional art.
Essential Elements:
- Pressure-treated 4×4 posts or heavy-duty PVC piping
- Outdoor-rated wood stain or spray paint
- Large decorative ‘S’ hooks or vintage-style wall hooks
- Quick-set concrete (if anchoring in the ground)
How to make it
- Measure a space on your deck or patio that receives plenty of direct sunlight to aid in the natural drying process of the towels.
- Construct a simple ‘T’ or ‘H’ frame using your chosen materials, ensuring all joints are reinforced with galvanized screws for weather resistance.
- Sand the entire structure down to a buttery smooth finish to prevent any snags on expensive towels or delicate swimwear.
- Apply two coats of high-quality outdoor sealant to protect the frame from chlorine splashes and intense UV rays.
- Attach hooks at varying heights—higher for adult towels and lower for kids’ goggles and life vests—to create a tiered, organized look.
How to Create DIY Pool Float Storage for a Personalized Backyard
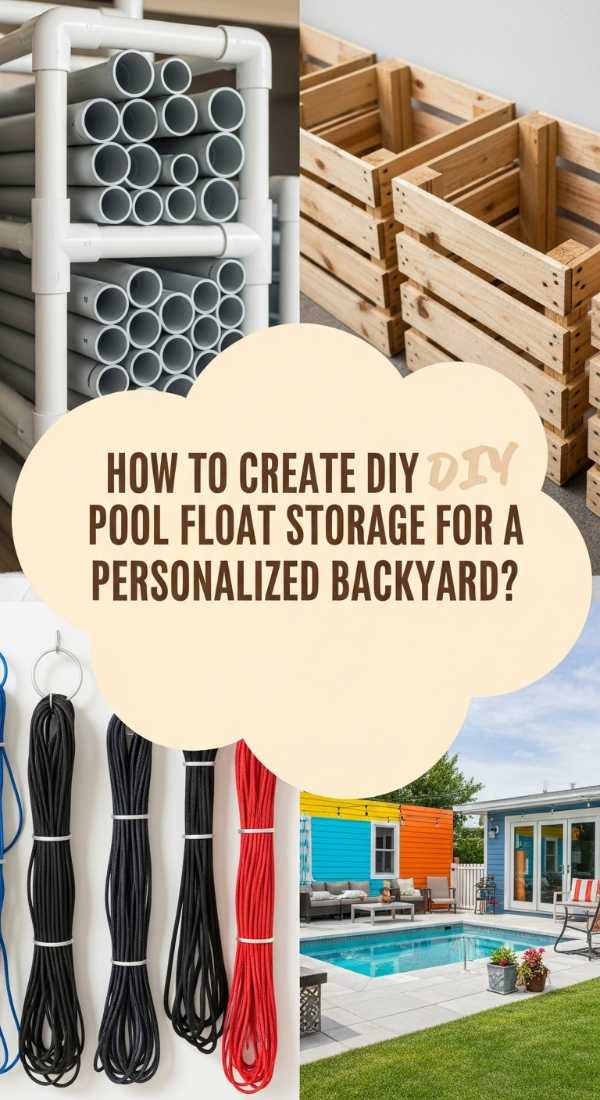
Why we love this
Customization is the heartbeat of a soulful home, and creating your own float storage allows you to match your backyard’s specific vibe perfectly. We love this because it solves the problem of those awkward, oversized inflatables that never seem to fit anywhere. By tailoring the storage to your exact needs, you create a sense of intentionality; the space feels designed rather than cluttered, and the vibrant colors of the floats become a playful accent rather than an eyesore.
Essential Elements:
- PVC pipes and connectors (for a lightweight frame)
- Bungee cords or cargo netting
- Rolling casters (optional, for mobility)
- Outdoor spray paint in a signature color
How to make it
- Map out the dimensions of your largest floats to determine the width and depth of your custom storage cage.
- Assemble a rectangular frame using PVC pipes, securing the joints with waterproof adhesive for a permanent, sturdy hold.
- Stretch cargo netting or a series of colorful bungee cords across the sides of the frame to create ‘walls’ that keep floats contained while allowing air to circulate.
- Paint the frame in a shade that complements your house trim or pool tile to make it feel like a built-in feature.
- If using casters, bolt them to the bottom corners so you can easily wheel the entire unit into the garage or shed during a summer storm.
How to Manage Pool Storage for Seamless Summer Days
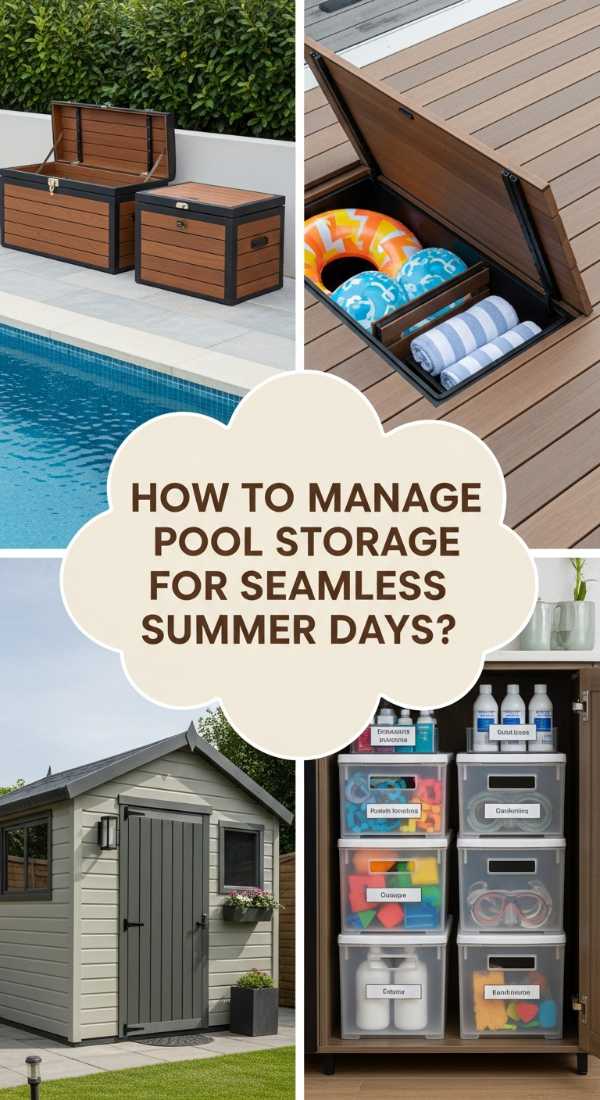
Why we love this
This is all about the ‘flow’ of summer—the ability to transition from a morning swim to an afternoon BBQ without a hitch. We love a managed storage system because it reduces the mental load of hosting. When every toy, chemical, and cleaning tool has a designated home, the backyard feels lighter and more expansive. It’s about creating a ‘system of ease’ where the texture of the day is smooth, predictable, and entirely focused on making memories rather than searching for the skimmer.
Essential Elements:
- A large, lockable deck box
- Clear, labeled bins for small toys (diving rings, goggles)
- A dedicated shelf for pool chemicals (out of reach of children)
- Wall mounts for the skimmer pole and vacuum hose
How to make it
- Empty your current storage areas completely and group items into ‘zones’: Cleaning, Playing, and Lounging.
- Clean out any debris or spiderwebs from your deck boxes and line the bottom with a moisture-wicking mat.
- Place small, loose items like diving sticks into clear, ventilated bins so kids can find exactly what they want without dumping everything out.
- Mount the long skimmer poles and hoses horizontally on a fence or wall using specialized clips to keep them off the ground and prevent tripping hazards.
- Schedule a ‘5-minute sweep’ at the end of every pool day to ensure everything returns to its zone, keeping the system running perfectly all season.
How to Master Pool Organization for a Serene Outdoor Space
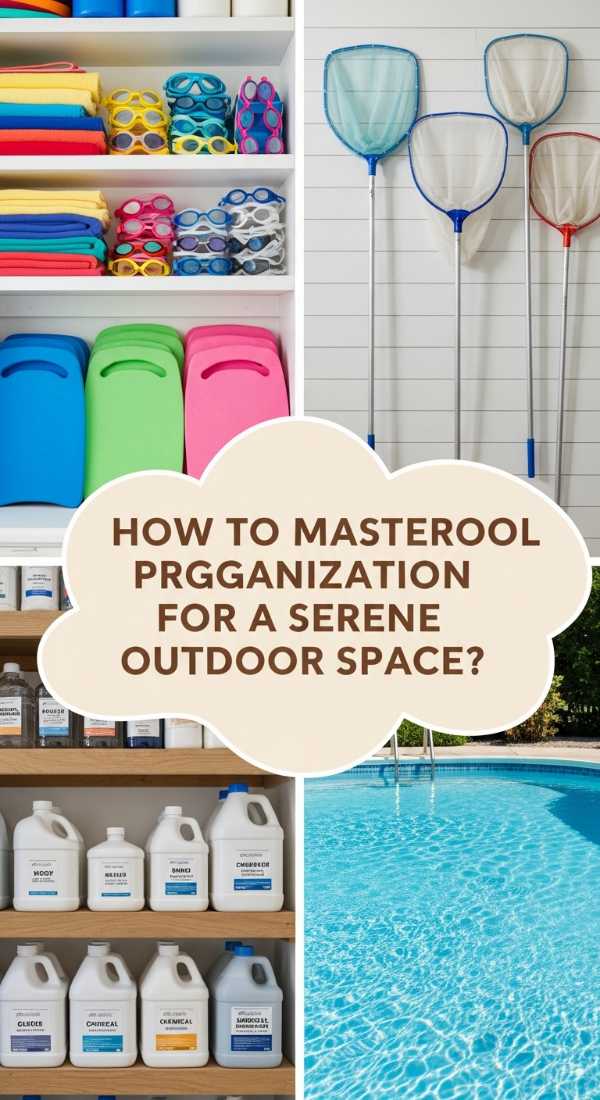
Why we love this
Mastery over your environment leads to mastery over your mood. We love this high-level organization because it treats the pool area as a holistic retreat. By incorporating natural elements like wooden trunks and stone-textured bins, the storage blends into the landscape. The result is a serene, visual poetry where the crisp lines of the architecture meet the fluid beauty of the water, creating a sensory experience that feels expensive, curated, and deeply restorative.
Essential Elements:
- High-quality teak or resin storage benches
- Coordinating outdoor cabinetry
- Hidden compartments for pool pumps and equipment
- Uniformly styled containers for sunscreens and snacks
How to make it
- Identify the ‘visual clutter’ hot spots—usually where the pump lives or where shoes are kicked off—and prioritize these for concealment.
- Invest in furniture that doubles as storage, such as a teak bench that opens up to reveal space for cushions and loungers.
- Use a consistent color palette for all storage items; sticking to neutrals like charcoal, sand, or navy creates a cohesive, high-end look.
- Incorporate greenery around your storage units, such as potted palms or tall grasses, to soften the edges and integrate them into the garden.
- Dedicate a ‘Refreshment Station’ with a stylish cooler and hidden trash bin to keep the area tidy during long afternoons of entertaining.
How to Hide Pool Accessories for a Luxe Backyard Aesthetic
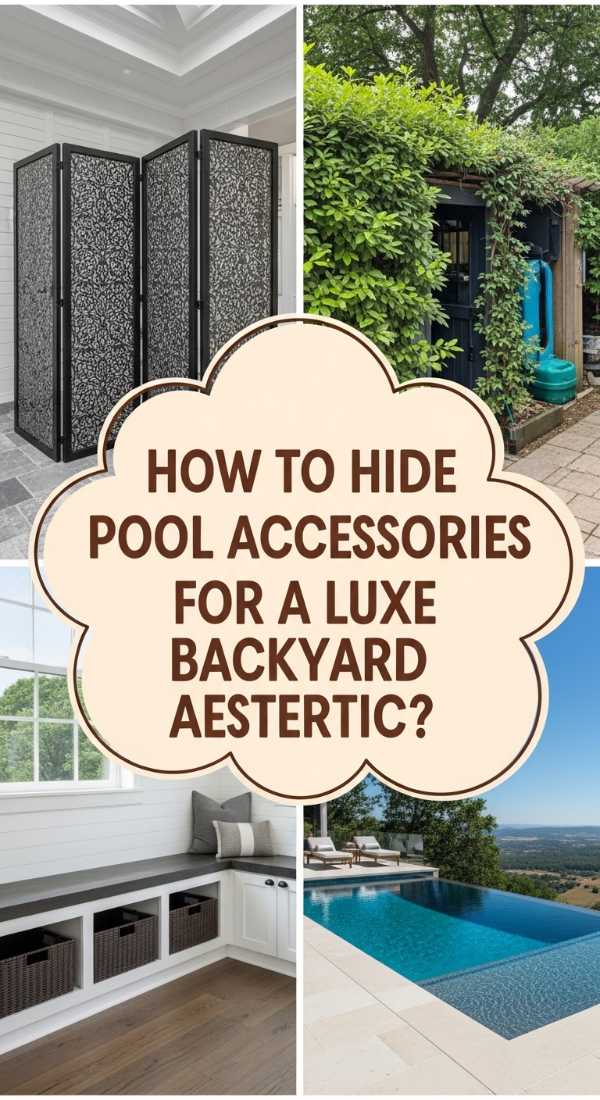
Why we love this
True luxury often lies in what you *don’t* see. We love the challenge of hiding the necessary but unsightly pool gear—like chemicals, hoses, and heavy-duty cleaners—because it allows the beauty of your landscaping to shine. There is something incredibly chic about a backyard where the mechanics are invisible, leaving only the sound of water and the warmth of the sun. It creates an atmosphere of effortless magic, as if the pool maintains itself by some invisible hand.
Essential Elements:
- Decorative lattice or privacy screens
- Artificial ivy or ‘living wall’ panels
- A small, stylized equipment shed
- Camouflaged storage boxes that match your siding
How to make it
- Build or buy a decorative privacy screen to place around the pool filter and pump to dampen the noise and hide the machinery.
- Use a ‘faux stone’ enclosure for small accessories like timers or outdoor outlets to blend them into the surrounding rockery or landscaping.
- Install a vertical garden on a shed wall to distract the eye and provide a lush, green backdrop for your storage area.
- Choose storage containers with a matte finish; shiny plastic tends to catch the light and draw the eye toward the clutter you are trying to hide.
- Keep the area around the ‘hidden’ zones neatly trimmed and mulched to maintain the illusion of a seamless, manicured landscape.
How to Arrange Floating Loungers for Effortless Cleanup
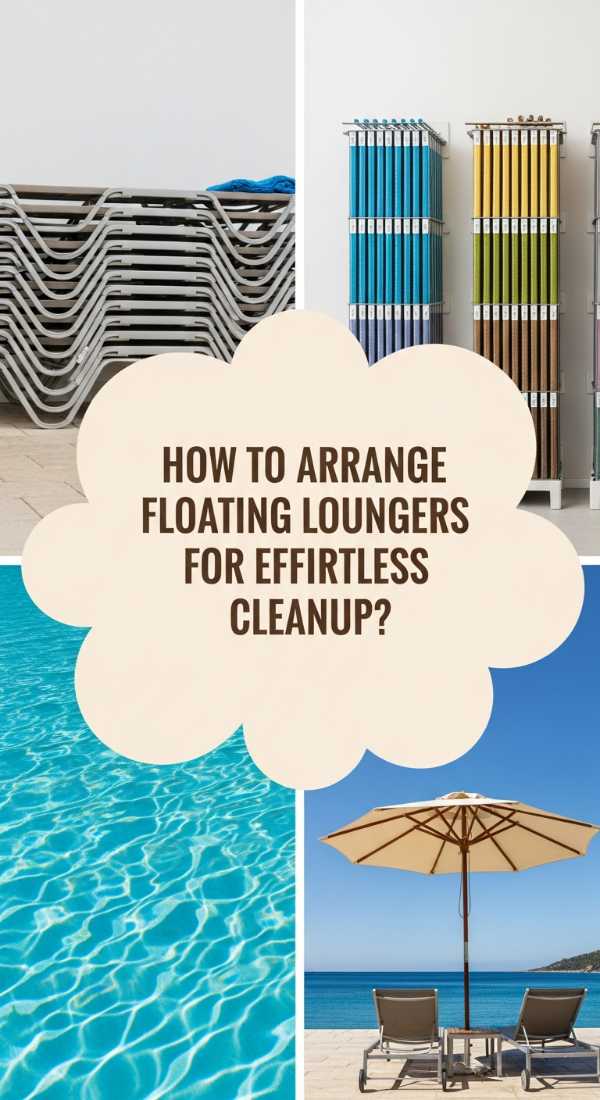
Why we love this
There is a specific kind of frustration that comes from chasing a drifting lounger across the pool while you’re trying to clean. We love this organizational hack because it brings order to the water itself. By creating a ‘docking’ system, the pool looks intentional and inviting even when not in use. It feels like a well-choreographed dance, where every piece of furniture has a place and the water remains clear and open for the morning’s first meditative lap.
Essential Elements:
- Pool-friendly weighted anchors or tether lines
- A designated ‘mooring’ corner of the pool
- Soft-touch clips that won’t scratch pool liners
- UV-protective spray for foam loungers
How to make it
- Determine the ‘calm corner’ of your pool where the wind naturally pushes items; this will be your designated docking station.
- Use clear, underwater-rated tethers to loosely secure floating loungers to a ladder or a dedicated hook on the pool’s edge.
- Arrange the loungers in a neat, overlapping ‘V’ formation when not in use to maximize water surface area for skimming.
- If you have foam mats, store them vertically against a shaded wall to prevent them from becoming waterlogged or sun-damaged.
- Teach guests the ‘docking procedure’ so that at the end of the day, the pool is clear of obstacles and ready for the robotic cleaner to do its job.
How to Style a Poolside Towel Station for Boutique Hotel Vibes
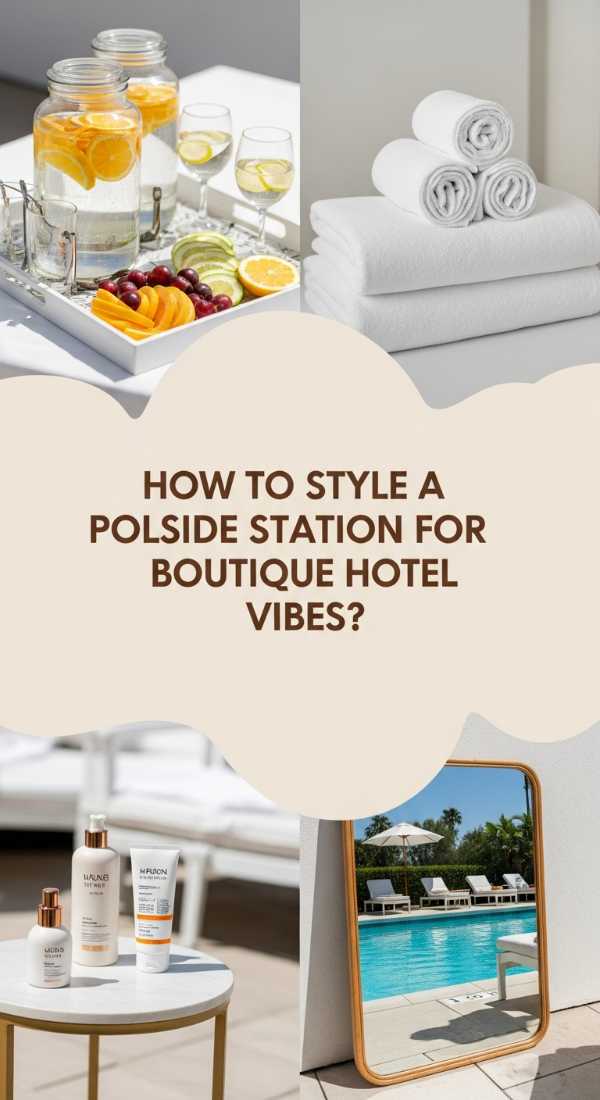
Why we love this
This is where organization meets pure, unadulterated style. We love styling a towel station because it’s the ultimate way to pamper yourself and your loved ones. The combination of soft textures, clean scents, and perhaps a small tray of infused water creates a sensory experience that rivals any boutique hotel in Tulum or Mykonos. It elevates the simple act of drying off into a moment of intentional self-care, surrounded by the beauty of a well-ordered life.
Essential Elements:
- A tiered bar cart or wooden console table
- Rolled towels in a monochromatic color scheme
- A tray with reef-safe sunscreen and cooling face mists
- A small vase of fresh, hardy greenery (like eucalyptus or monstera)
How to make it
- Position your console table or cart in a shaded area to keep the towels cool and the sunscreen from overheating.
- Layer your towels: place the largest beach towels on the bottom shelf and hand towels or face cloths on the top.
- Add a ‘Self-Care Tray’ featuring high-quality sun protection, a bowl of citrus slices, and perhaps a stack of fresh magazines or books.
- Use a heavy stone or decorative weight to keep the towels from blowing over in the afternoon breeze.
- Finish the look with a small Bluetooth speaker tucked discreetly behind a plant, playing soft, ambient lounge music to complete the vibe.
How to Design Poolside Storage for Lasting Family Fun

Why we love this
Designing for longevity means you can spend more time playing and less time replacing. We love this focus on durable, family-friendly design because it acknowledges the reality of wet footprints, heavy use, and the rough-and-tumble nature of childhood. Using materials that age gracefully—like cedar, stainless steel, and heavy-duty resin—ensures that your organization system stays beautiful year after year, providing a reliable backdrop for a decade of family summers.
Essential Elements:
- Industrial-grade storage bins with drainage holes
- Non-slip mats for the interior of storage areas
- Heavy-duty labels that won’t peel in the humidity
- A dedicated ‘lost and found’ basket for goggles and toys
How to make it
- Choose storage solutions with a high ‘impact rating’ to withstand the occasional stray kickball or heavy lid slam.
- Drill small drainage holes in the bottom of any solid bins to ensure that even if wet toys go in, the water has a way to escape.
- Involve the kids in the design process by letting them label the bins with ‘Diving,’ ‘Sports,’ and ‘Floating’ to encourage them to take ownership of the cleanup.
- Apply a fresh coat of UV-protectant to all plastic and resin surfaces every spring to prevent the sun from making them brittle.
- Designate a specific ‘End of Summer’ bin for items that need repair or replacement, so you’re ready to hit the ground running when the sun returns next year.
Conclusion
Stepping back and looking at a perfectly organized poolside is one of the most rewarding feelings a homeowner can have. It’s not just about the bins or the racks; it’s about the freedom that comes from knowing everything is in its place. When you simplify your summer, you create space for what actually matters: the laughter of friends, the quiet ripple of the water, and the bliss of a long, sun-drenched afternoon. I hope these tips help you reclaim your backyard and turn it into the boutique retreat you deserve. Happy swimming!
Frequently Asked Questions
Q: How do I prevent my outdoor storage bins from smelling like mildew?
A: The key is airflow and dryness. Always ensure towels and floats are mostly dry before storing them, and choose bins with mesh sides or drill small ventilation holes in solid plastic containers.
Q: What is the best material for a poolside towel rack?
A: For a natural look, cedar and teak are excellent because they are naturally rot-resistant. For a modern, low-maintenance option, PVC or powder-coated aluminum works wonders.
Q: How can I keep my sunscreen and lotions organized?
A: Use a dedicated ‘Sun Station’ tray or a small caddy with a handle. This makes it easy to move the products into the shade as the sun moves, preventing the formulas from breaking down in the heat.