
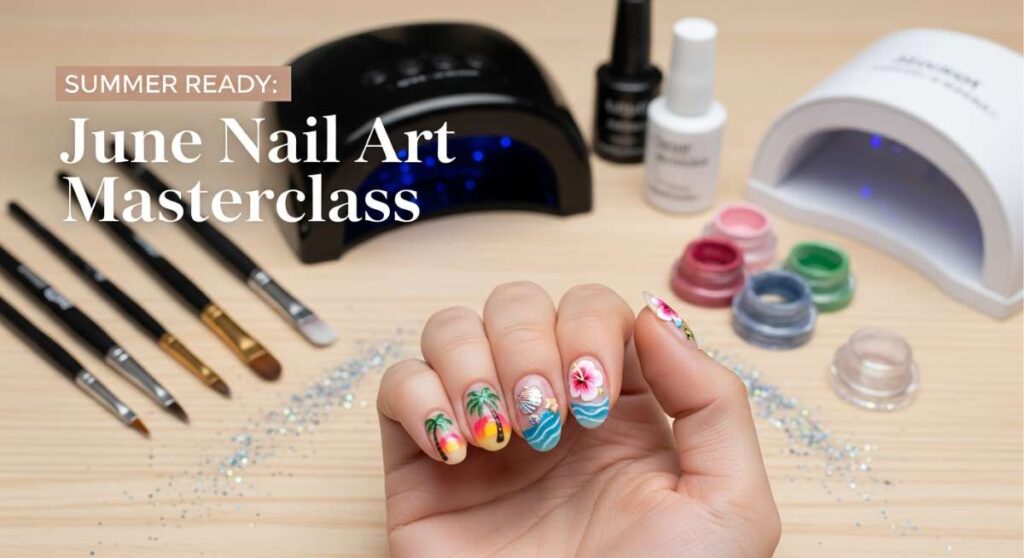
Summer Ready: Inside the June Nail Art Masterclass
Oh, my loves, can you feel it? The air has turned that sweet, honeyed shade of gold that only June can provide. It’s a time for barefoot walks on the grass, the scent of blooming jasmine, and finding little ways to express the magic living inside our souls. I’ve been spending my afternoons tucked away in my sun-drenched studio, playing with colors that feel like a soft cloud-soft embrace for your fingertips.
This month, I wanted to curate something truly special for us—a masterclass in self-expression. Our hands tell our stories; they hold our morning tea, they wave hello to neighbors, and they deserve to be adorned with the beauty of the season. Let’s dive into these designs together, like old friends sharing secrets over a chilled glass of elderflower lemonade.
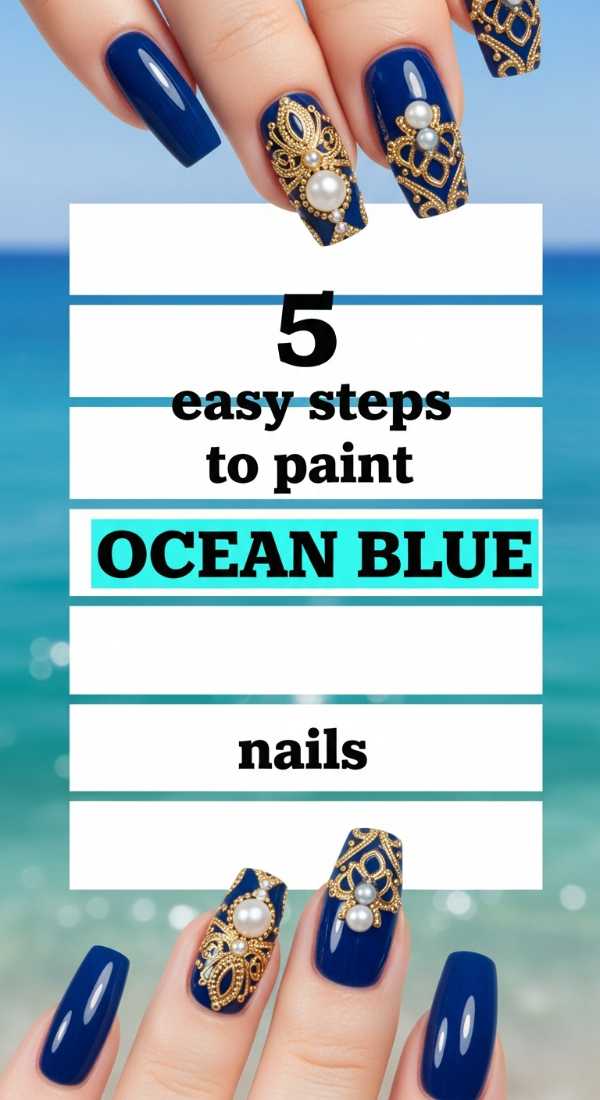
5 Easy Steps to Paint Ocean Blue Nails
Why to love these Nails:
There is something so deeply grounding about the rhythm of the sea. These nails are a love letter to the Pacific, capturing that transition from the frothy white surf to the deep, mysterious indigo of the horizon. They feel like a vacation in a bottle, a way to carry the serenity of the shoreline with you no matter how far inland you might be.
Essential Items:
- Sky blue cream polish
- Navy blue shimmer polish
- White stamping polish or acrylic paint
- A makeup sponge
- High-gloss top coat
How to Prepare:
- Apply a clear base coat to protect your natural nail.
- Paint two thin coats of the sky blue polish as your canvas.
- Dab a small amount of navy blue onto a sponge and press it onto the tips for a gradient.
- Use a thin brush to swirl white paint into the blue, mimicking sea foam.
- Seal the ocean spray with a thick, glossy top coat.
Budget Range
- Essie ‘Saltwater Happy’ – $10
- OPI ‘Russian Navy’ – $11
- Seche Vite Dry Fast Top Coat – $9
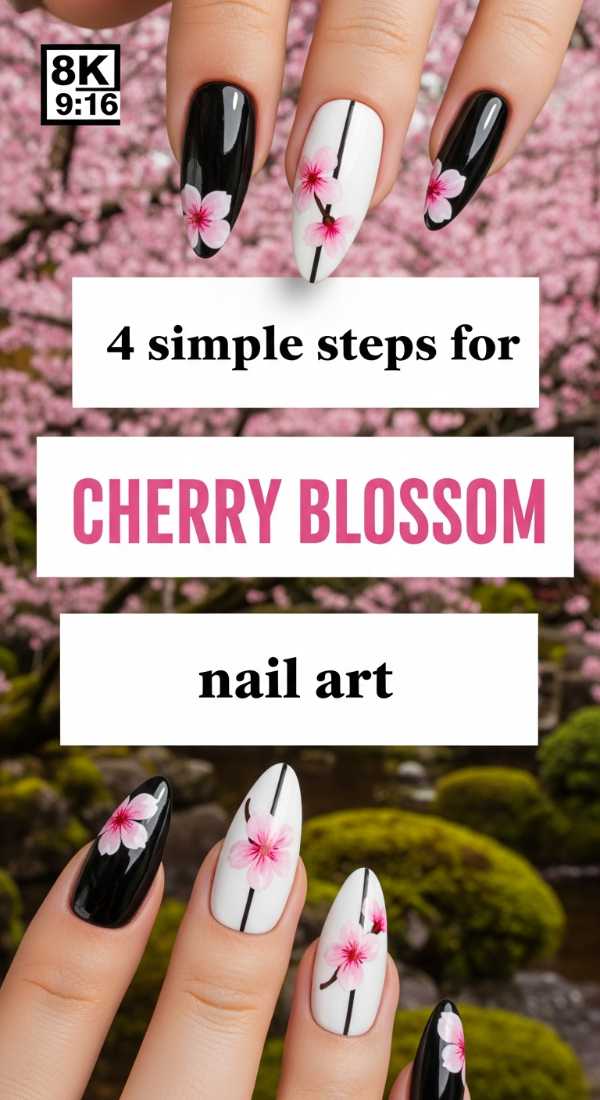
4 Simple Steps for Cherry Blossom Nail Art
Why to love these Nails:
Cherry blossoms are nature’s reminder that beauty is fleeting and precious. These nails are incredibly soft and feminine, evoking a sense of renewal and grace. They are the perfect accompaniment to a sundress and a picnic in the park, offering a delicate touch that feels like a whisper of spring lingering into the summer heat.
Essential Items:
- Sheer nude or pale pink base
- Dark brown striper pen
- Pastel pink polish
- Dotting tool
How to Prepare:
- Start with a clean, sheer nude base to keep the look airy and light.
- Draw thin, organic ‘Y’ shapes with the brown pen to create branches.
- Use the dotting tool to cluster three or four pink dots at the branch tips.
- Add a tiny white dot in the center of each blossom for depth.
Budget Range
- Zoya ‘Bela’ – $12
- Sally Hansen Nail Art Pen – $7
- Holler and Glow Dotting Tool Set – $5
3 Easy Ways to Blend Sunset Gradient Nails

Why to love these Nails:
Sunsets are the world’s way of saying ‘well done’ at the end of a day. This design captures that breathtaking transition from fiery orange to soft lavender. It’s a vibrant, high-energy look that celebrates the longest days of the year, making your hands look sun-kissed and glowing under the June light.
Essential Items:
- Peach, Mango, and Orchid polishes
- Latex-free makeup sponges
- Liquid latex or cuticle guard
How to Prepare:
- Paint three horizontal stripes of color directly onto your sponge.
- Bounce the sponge gently across the nail, overlapping the colors to blur the lines.
- Repeat the process once dry to intensify the pigment and smooth the blend.
Budget Range
- Orly ‘After Glow’ Collection – $15
- Pueen Liquid Latex – $9
- Wedge Sponges (Bulk) – $6
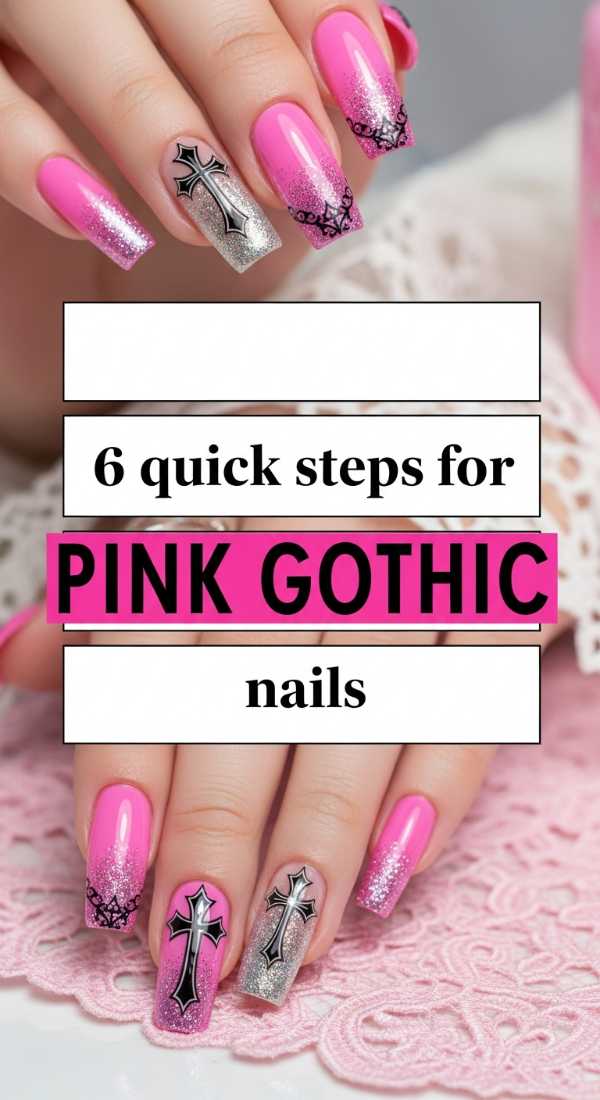
6 Quick Steps for Pink Gothic Nails
Why to love these Nails:
Who says summer has to be all sunshine and rainbows? This look is for my loves who have a bit of a rebellious spirit. It blends the sweetness of bubblegum pink with the sharp, edgy aesthetic of gothic lace and studs. It’s a beautiful contradiction—soft but strong, feminine but fierce.
Essential Items:
- Hot pink matte polish
- Black precision liner
- Small silver nail studs
- Matte top coat
How to Prepare:
- Apply two coats of hot pink and let them dry completely.
- Use the black liner to draw a delicate ‘V’ shape at the base of the nail.
- Add tiny ‘X’ marks inside the V to create a corset-lace effect.
- Place a single silver stud at the tip of the ‘V’ using nail glue.
- Apply a matte top coat over everything except the stud.
- Re-trace the black lines with a glossy top coat for a 3D texture.
Budget Range
- Manucurist ‘Pink Paradise’ – $14
- Beetles Black Gel Liner – $8
- Born Pretty Nail Studs – $5
5 Professional Tips to Apply Gold Foil Accents

Why to love these Nails:
There is a regal, vintage quality to gold foil that reminds me of old gilded mirrors and sun-drenched Italian villas. It adds an instant ‘expensive’ feel to even the simplest manicure. These accents catch the light in the most irregular, beautiful ways, making your nails look like wearable pieces of modern art.
Essential Items:
- Transfer gold foil sheets
- Foil adhesive or tacky base coat
- Tweezers
- Fan brush
How to Prepare:
- Apply your base color and wait until it is about 80% dry (still slightly tacky).
- Use tweezers to pick up small, irregular flakes of gold foil.
- Gently press the foil onto the nail in a scattered, organic pattern.
- Use a soft fan brush to smooth down any edges sticking up.
- Apply two layers of top coat to ensure the foil is fully encapsulated.
Budget Range
- Makartt Nail Foil Glue – $8
- Generic Gold Leaf Sheets – $6
- Tweezerman Point Tweezers – $12
4 Easy Methods to Secure Pearl Nail Charms
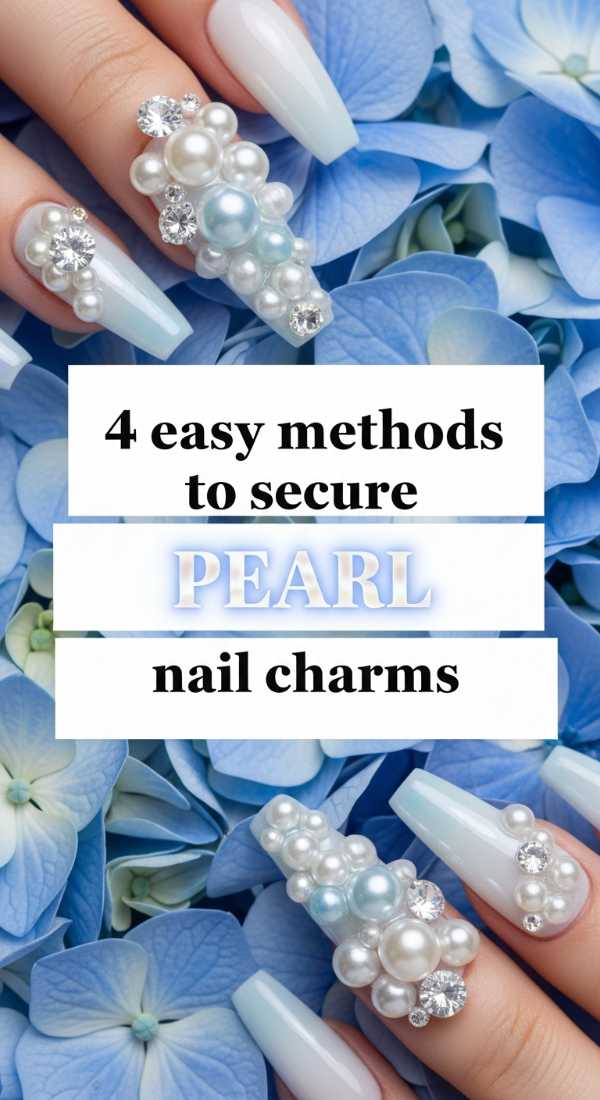
Why to love these Nails:
Pearls are the epitome of timeless elegance, my darlings. They feel so classic and refined, yet when placed on a modern nail shape, they become incredibly trendy. This look is perfect for June weddings or just those days when you want to feel a little more sophisticated while sipping your morning coffee.
Essential Items:
- Half-back pearl charms
- Resin-based nail glue
- Wax picker tool
- Clear builder gel (optional)
How to Prepare:
- Place a tiny drop of resin glue exactly where you want the pearl to sit.
- Use the wax picker to lift the pearl and press it firmly into the glue.
- For extra security, use a thin brush to apply a ‘moat’ of clear top coat around the base.
- Hold in place for 10 seconds to ensure it doesn’t slide.
Budget Range
- KiraSky Nail Glue – $10
- Assorted Pearl Charms (Amazon) – $7
- Wax Rhinestone Picker – $4
7 Steps to Paint a Midnight Sky Design
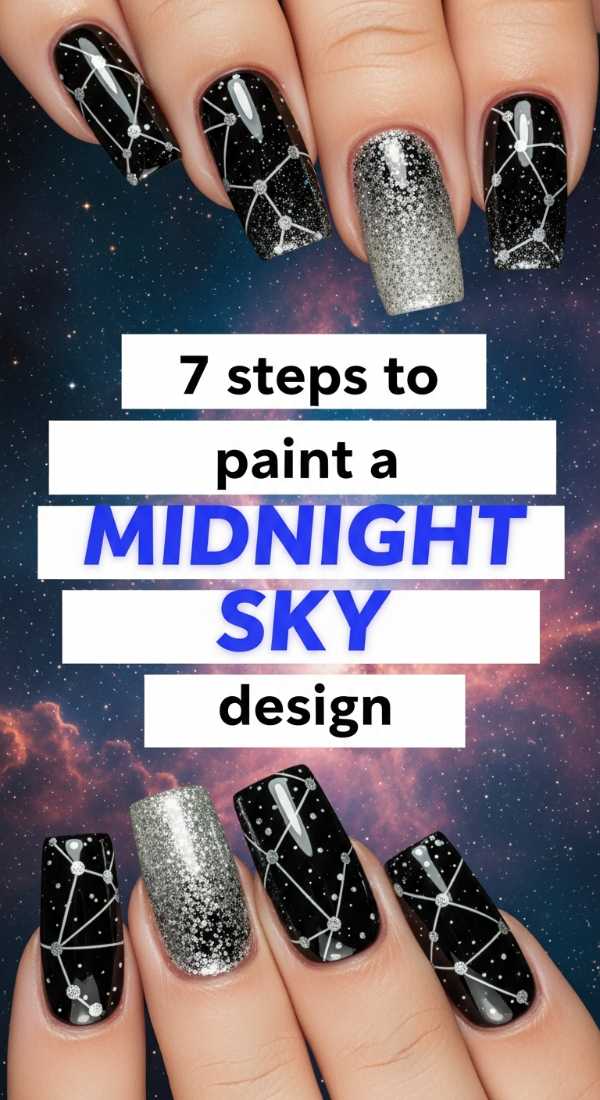
Why to love these Nails:
The June night sky is a velvet canvas of dreams. This design is for the stargazers and the dreamers. It uses deep purples and blacks to create a celestial depth that feels infinite. It’s a moody, magical look that pairs perfectly with silver jewelry and late-night bonfires under the stars.
Essential Items:
- Deep navy blue polish
- Holographic silver glitter
- Fine-point nail brush
- White acrylic paint
How to Prepare:
- Apply a dark navy base for the ‘infinite’ background.
- Sponge a tiny bit of purple shimmer in the center for a nebula effect.
- Flick a stiff brush dipped in white paint for a ‘starfield’ splatter.
- Paint a tiny crescent moon using the fine-point brush.
- Connect three dots with thin lines to create your favorite constellation.
- Add a touch of holographic glitter for twinkling stars.
- Finish with a high-shine gel-effect top coat.
Budget Range
- ILNP ‘Deep Space’ – $12
- Cirque Colors ‘Luxe’ – $13
- Winstonia Detail Brushes – $10
5 Easy Steps for Realistic Floral June Nails
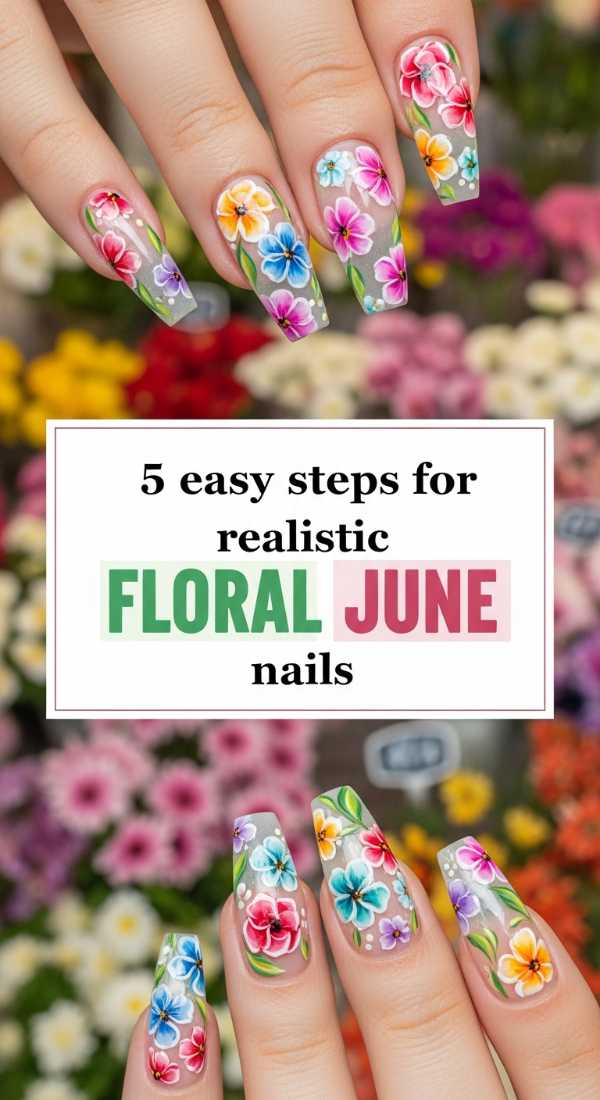
Why to love these Nails:
Every time I look at these, I feel like I’m walking through a botanical garden. The realism comes from layering different shades of the same color, creating a depth that looks like a hand-painted watercolor. It’s romantic, vintage-inspired, and brings a touch of nature’s poetry to your everyday life.
Essential Items:
- Soft sage green polish
- Rose pink and deep red polishes
- Detailing brush
- Matte top coat
How to Prepare:
- Start with a sage green base to represent the garden foliage.
- Use a light pink to create rough, circular ‘blob’ shapes.
- Add small, dark red curved lines inside the pink to define petals.
- Drag a tiny bit of green from the edges to create delicate leaves.
- Finish with a matte top coat to give it a soft, canvas-like texture.
Budget Range
- Olive & June ‘KMC’ – $9
- Lights Lacquer ‘Paper Snow’ – $13
- Deborah Lippmann ‘Bed of Roses’ – $20
3 Simple Ways to Upgrade Your French Tips

Why to love these Nails:
We all love a classic French, but June calls for a little more personality! These upgrades take a traditional look and give it a modern, playful twist. It’s about being subtle yet surprising—a little wink of style that shows you pay attention to the details without trying too hard.
Essential Items:
- Nude base polish
- Neon yellow or chrome powder
- Striping tape
How to Prepare:
- Try a ‘Double Tip’: Paint two thin parallel lines instead of one thick white block.
- Try a ‘Chrome Smile’: Rub gold chrome powder only onto the tips for a metallic pop.
- Try a ‘Sideways French’: Paint the tip vertically along one side of the nail instead of across the top.
Budget Range
- Modelones Chrome Powder – $7
- Line Art Gel Set – $15
- Butter London ‘Sheer Wisdom’ – $18
6 Steps to Design High-end Gem Nails

Why to love these Nails:
Sometimes, we just need to sparkle, my loves. These high-end gem nails are pure luxury. They feel heavy in the best way, like wearing a collection of fine jewels on your hands. They are the ultimate statement piece for a summer gala or an evening where you want to feel like the absolute queen you are.
Essential Items:
- Multi-sized glass crystals
- Strong UV-cure gem gel
- UV lamp
- Precision tweezers
How to Prepare:
- Apply a neutral base color and cure it under the lamp.
- Apply a generous bead of gem gel to the center of the nail.
- Place your largest crystal first to act as the ‘anchor’ of the design.
- Nestle smaller gems around the large one, following the curve of your cuticle.
- Fill small gaps with tiny silver caviar beads for a finished, professional look.
- Cure under the UV lamp for 60 seconds to lock everything in place.
Budget Range
- Swarovski Nail Crystals – $25
- SunUV LED Lamp – $30
- Ibd 5-Second Nail Glue – $6
Embrace Your Inner Artist
As we wrap up our June masterclass, I hope you feel inspired to pick up a brush and play. Remember, my loves, nail art isn’t about perfection; it’s about the joy of creating something that makes you smile every time you catch a glimpse of it. Your hands are beautiful because they are yours. Go forth, shine bright, and let your nails be the cherry on top of your gorgeous summer. I’ll be here, as always, cheering you on from my sunlit corner of the world.
Frequently Asked Questions
How do I make my nail art last longer in the summer heat?
The key is thin layers! Thick polish tends to bubble and peel when it gets hot. Always finish with a high-quality top coat and be sure to ‘cap the edge’ by running the brush along the very tip of your nail to seal the polish.
What is the best way to remove gems without damaging my nails?
Never peel them off! Soak a cotton ball in pure acetone, place it over the nail, and wrap it in foil for 10-15 minutes. The glue will soften, and the gems should slide off gently with a wooden cuticle stick.
Can I do these designs on short nails?
Absolutely, my loves! In fact, many of these designs, like the Cherry Blossom and the French Tip upgrades, look incredibly chic and modern on shorter, natural nails. Just scale down the size of your art to fit your canvas.