
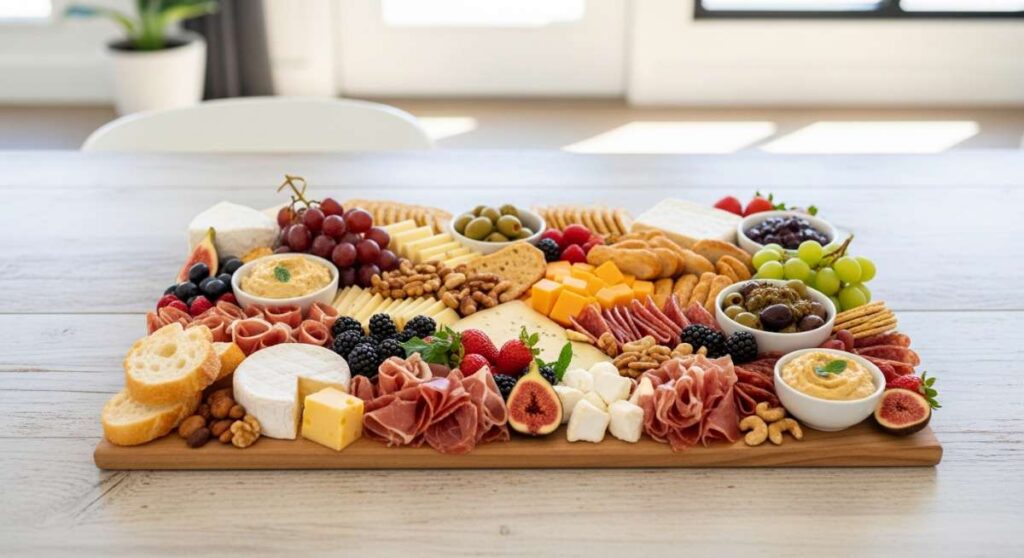
Stop Everything: This Simple Food Board Is the Ultimate Hosting Hack
We’ve all been there—the frantic kitchen clean-up, the beads of sweat forming on your forehead as you realize the main course is still twenty minutes out, and the doorbell just rang. Hosting used to feel like a performance, a high-stakes balancing act of timers and temperature probes. But what if I told you the secret to a stress-free evening isn’t a fancy oven or a catering crew, but a simple wooden board? The ‘Food Board’ movement has completely changed the way I entertain, turning the kitchen from a place of stress into the heart of the party.
There is something inherently magical about a spread that invites people to graze, linger, and build their own perfect bites. It breaks down the formal barriers of a seated dinner and encourages the kind of belly-laughing conversations that last long after the sun goes down. This isn’t just about cheese and crackers; it’s about curated, vibrant, and incredibly delicious components that look like a million bucks but take half the effort of a traditional meal.
Today, I’m pulling back the curtain on my favorite hosting shortcuts. From the smoky aroma of a backyard cookout to the refreshing zing of a summer salad, these recipes are designed to be served ‘board-style.’ Whether you are throwing a massive neighborhood bash or a quiet sunset picnic for two, these guides will help you master the art of the effortless host. Let’s dive into the ultimate collection of summer-ready recipes that will make you the star of every gathering.
10 Best Cookout Side Dishes (Step-by-Step Guide)
Why we love this
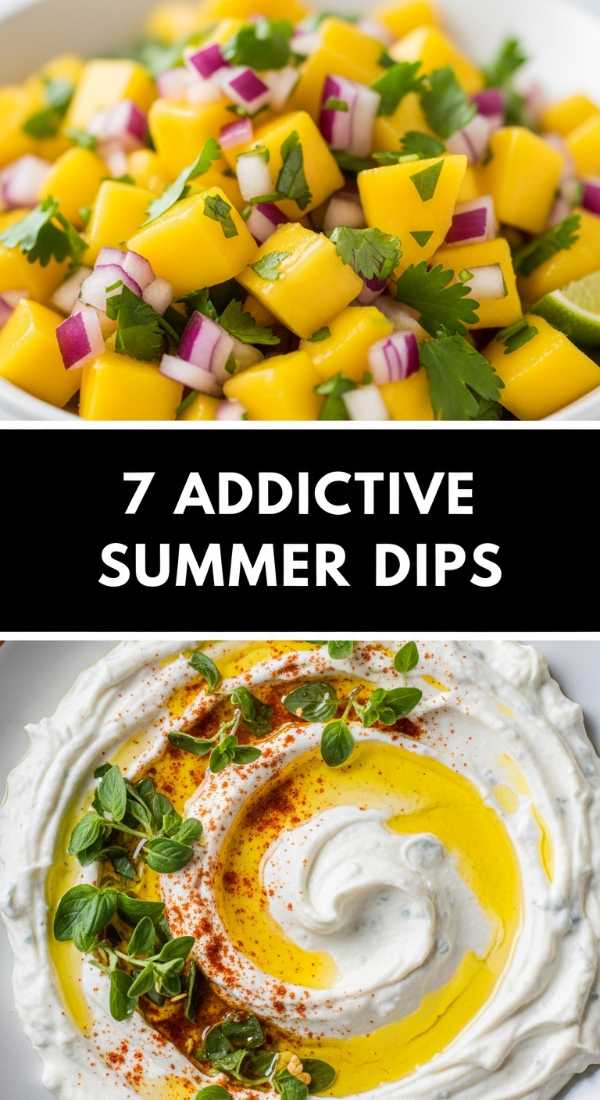
Nothing screams summer like the sweet, charred aroma of Honey-Glazed Corn on the Cob hitting the grill. This side dish is the ultimate crowd-pleaser because it balances the natural snap of fresh kernels with a sticky, buttery glaze that caramelizes under the flame. As you bite into it, the warmth of the honey mingles with a hint of smoky paprika, creating a sensory explosion that is both nostalgic and sophisticated. It’s messy, it’s golden, and it’s the perfect vibrant addition to any food board looking for a pop of color and texture.
Ingredients
- 8 ears of fresh sweet corn, husks removed
- 1/2 cup unsalted butter, softened
- 3 tablespoons local honey
- 1 teaspoon smoked paprika
- 1/2 teaspoon garlic powder
- Freshly cracked black pepper and sea salt
- Chopped cilantro for garnish
- Lime wedges
How to make it
- Preheat your grill to a medium-high heat, approximately 400°F (204°C). Ensure the grates are clean and lightly oiled to prevent sticking.
- In a small mixing bowl, combine the softened butter, honey, smoked paprika, garlic powder, salt, and pepper. Use a fork to whip the mixture until it is smooth and the honey is fully incorporated into the butter.
- Place each ear of corn on a large sheet of parchment paper and generously brush the honey butter mixture over every inch of the kernels. Use about half of the butter for this initial coating.
- Place the corn directly onto the hot grill grates. Close the lid and cook for about 2-3 minutes until you see distinct char marks forming on the bottom.
- Rotate the corn a quarter turn every 2-3 minutes. This ensures even cooking and prevents the sugars in the honey from burning too quickly. You are looking for a vibrant yellow color with scattered toasted brown spots.
- During the last 2 minutes of grilling, brush the remaining honey butter over the corn for a final, glossy finish.
- Remove from the heat once the kernels are tender but still have a slight ‘pop.’ Garnish immediately with chopped cilantro and a squeeze of fresh lime juice to cut through the sweetness.
7 Addictive Summer Dips (Step-by-Step Guide)
Why we love this
The Whipped Feta with Roasted Cherry Tomatoes is the dip that will have your guests asking for the recipe before they’ve even finished their first pita chip. The texture is incredibly airy and cloud-like, providing a cool, salty base that contrasts beautifully with the warm, bursting sweetness of oven-roasted tomatoes. As the tomatoes roast, they release a concentrated juice that swirls into the feta, creating a beautiful marbled effect that looks stunning on a central board. It’s a sophisticated, Mediterranean-inspired treat that feels light yet indulgent.
Ingredients
- 8 oz high-quality feta cheese, crumbled
- 1/2 cup Greek yogurt (full fat is best for creaminess)
- 1 clove garlic, minced
- 2 cups cherry tomatoes
- 3 tablespoons extra virgin olive oil
- 1 teaspoon dried oregano
- Fresh basil leaves for garnish
- Toasted baguette slices or pita bread
How to make it
- Preheat your oven to 400°F (204°C). On a small baking sheet, toss the cherry tomatoes with 1 tablespoon of olive oil, the dried oregano, and a pinch of salt.
- Roast the tomatoes for 15-20 minutes. You’ll know they are ready when the skins begin to blister and pop, releasing their deep red juices. Set aside to cool slightly.
- In a food processor or high-speed blender, combine the crumbled feta, Greek yogurt, minced garlic, and the remaining 2 tablespoons of olive oil.
- Pulse the mixture on high for about 2-3 minutes. Stop halfway to scrape down the sides with a spatula. Continue processing until the texture is completely smooth, light, and airy—almost like a thick whipped cream.
- Spread the whipped feta into a shallow bowl or directly onto your serving board, creating a ‘well’ in the center with the back of a spoon.
- Spoon the warm roasted tomatoes and all their pan juices into the center of the feta.
- Finish with a flourish of fresh basil and a final drizzle of olive oil. Serve immediately while the tomatoes are still warm against the cold cheese.
8 Fresh Summer Salads (Step-by-Step Guide)

Why we love this
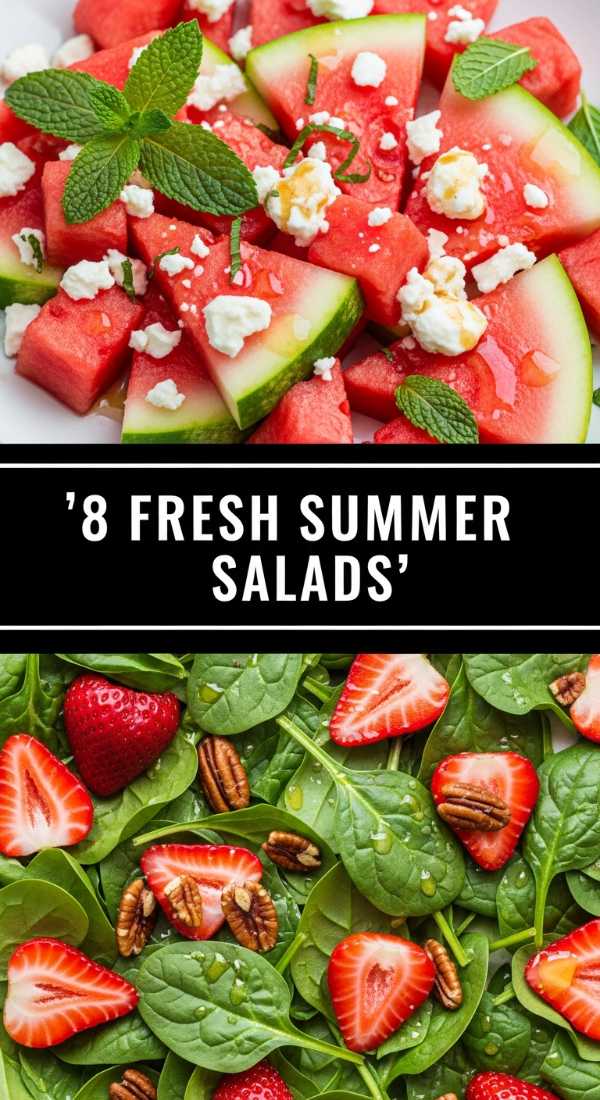
Watermelon, Feta, and Mint Salad is the ultimate refreshment for a sweltering July afternoon. This dish is a masterclass in balance: the icy, hydrating sweetness of the watermelon is punctuated by the sharp, salty tang of the feta and the cooling, herbaceous lift of fresh mint. It smells like a summer garden after a rainstorm—crisp and clean. The visual contrast of the deep red fruit against the white cheese and bright green herbs makes it a show-stopping center-piece for any picnic or board-style lunch.
Ingredients
- 1 small seedless watermelon, cubed into 1-inch pieces
- 6 oz block-style feta, cubed or crumbled
- 1/2 cup fresh mint leaves, chiffonade
- 1/2 small red onion, very thinly sliced
- Juice of 2 limes
- 2 tablespoons extra virgin olive oil
- Flaky sea salt to taste
How to make it
- Start by prepping your watermelon. Cut it into uniform 1-inch cubes, ensuring you remove any rind. For the best experience, chill the watermelon in the fridge for at least 2 hours before assembly so it is ice-cold.
- Place the thinly sliced red onions in a small bowl of ice water for 10 minutes. This trick removes the ‘bite’ and keeps them extra crunchy. Drain and pat dry before using.
- In a large, wide serving bowl (or on a rimmed board), spread out the chilled watermelon cubes in an even layer.
- Scatter the feta cheese and the soaked red onions over the watermelon. Do not toss yet, as the feta can become ‘muddy’ if over-mixed.
- In a small jar, whisk together the lime juice and olive oil. Pour the dressing evenly over the salad components.
- Sprinkle the fresh mint leaves generously over the top. The ‘chiffonade’ cut (thin ribbons) allows the aroma to release more effectively.
- Finish with a pinch of flaky sea salt. The salt actually draws out the sweetness of the watermelon. Serve immediately to prevent the fruit from releasing too much water.
12 Top Picnic Side Dishes (Step-by-Step Guide)
Why we love this
Pesto Pasta Salad with Sun-Dried Tomatoes is the workhorse of the picnic world because it actually tastes better as it sits. The aroma of fresh basil and toasted pine nuts is intoxicating, and the sun-dried tomatoes provide a chewy, umami-rich counterpoint to the tender pasta. It’s a hearty, satisfying side that doesn’t wilt in the sun, making it the perfect ‘anchor’ for a picnic board. Every bite feels like a trip to the Italian countryside, offering a dense, nutty, and vibrant flavor profile that pairs perfectly with cured meats and olives.
Ingredients
- 1 lb fusilli or rotini pasta
- 1 cup prepared basil pesto (homemade is best!)
- 1/2 cup sun-dried tomatoes in oil, chopped
- 1/2 cup pine nuts, lightly toasted
- 1 cup baby mozzarella pearls
- 2 cups fresh baby spinach
- 2 tablespoons balsamic glaze
How to make it
- Bring a large pot of heavily salted water to a rolling boil. Cook the pasta according to the package directions, but aim for ‘al dente’—it should have a firm bite.
- While the pasta cooks, toast the pine nuts in a dry skillet over medium-low heat for 3-5 minutes. Shake the pan constantly; they turn from golden to burnt very quickly. Set aside once they smell nutty and fragrant.
- Once the pasta is cooked, drain it and immediately rinse it under cold water. This stops the cooking process and prevents the pasta from getting mushy or sticking together.
- In a large mixing bowl, combine the cold pasta with the basil pesto. Stir thoroughly until every spiral is coated in the green sauce.
- Fold in the chopped sun-dried tomatoes, mozzarella pearls, and toasted pine nuts.
- Gently toss in the baby spinach. The residual moisture from the pasta will help the spinach wilt just slightly without losing its structure.
- Transfer to your serving container or board. Just before serving, drizzle with balsamic glaze for a sweet, acidic finish that brightens the entire dish.
6 Quick Spring Dinner Recipes (Step-by-Step Guide)

Why we love this
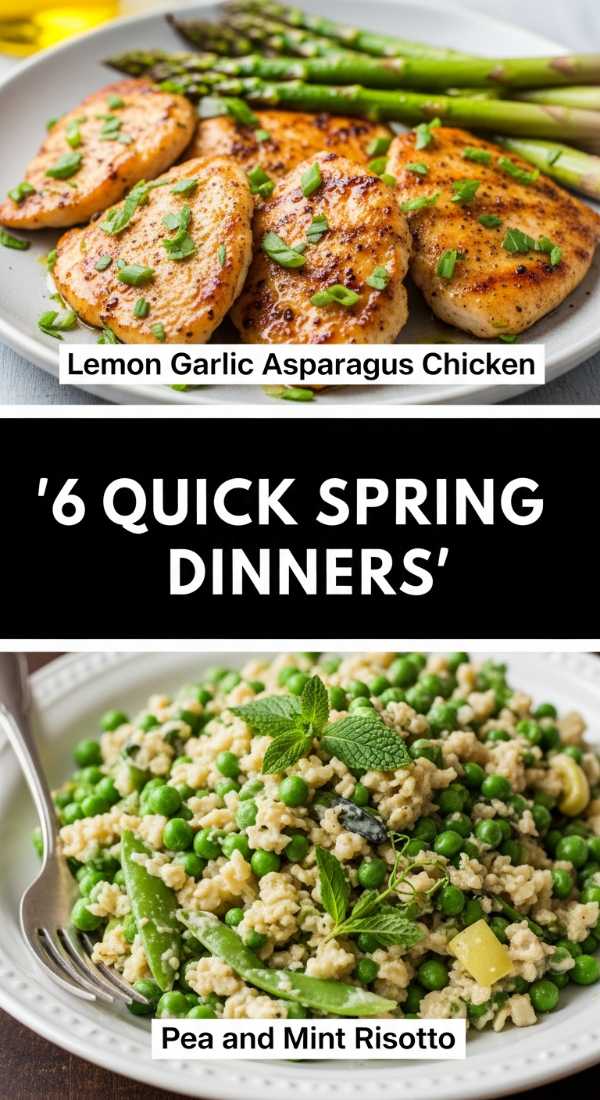
Pan-Seared Salmon with Asparagus is the epitome of fresh, light spring dining. There is nothing more satisfying than the sound of a salmon fillet hitting a hot pan, resulting in a crispy, golden skin while the center remains buttery and tender. The asparagus, cooked in the same pan, absorbs the savory juices and adds a bright, earthy crunch to the meal. It’s a 20-minute dinner that looks and tastes like five-star restaurant fare, focusing on the natural, clean flavors of the season.
Ingredients
- 2 salmon fillets (6 oz each)
- 1 bunch thin asparagus, woody ends trimmed
- 2 tablespoons butter
- 1 tablespoon olive oil
- 2 cloves garlic, smashed
- 1 lemon (half sliced, half for juice)
- Salt and pepper
How to make it
- Pat the salmon fillets completely dry with paper towels. This is the most important step for achieving a crispy skin. Season both sides generously with salt and pepper.
- Heat a heavy-bottomed skillet (cast iron is ideal) over medium-high heat. Add the olive oil and 1 tablespoon of butter. Wait until the butter stops foaming and starts to shimmer.
- Place the salmon fillets in the pan, skin-side down. Press down gently with a spatula for 10 seconds to ensure full contact with the pan.
- Cook undisturbed for 4-5 minutes. You will see the color of the fish change from opaque to pale pink moving up the side of the fillet.
- Carefully flip the salmon. Add the remaining tablespoon of butter, the smashed garlic cloves, and the asparagus spears to the empty spaces in the pan.
- Cook for another 3-4 minutes. While the salmon finishes, use a spoon to ‘baste’ the fish with the melting garlic butter. Toss the asparagus frequently so it chars evenly but stays crisp-tender.
- Remove from the heat when the salmon flakes easily with a fork and the asparagus is bright green. Squeeze fresh lemon juice over everything and serve with the lemon slices.
5 Easy Ways to Make Rotel Dip (Step-by-Step Guide)
Why we love this
The Ultimate Smoked Brisket Rotel Dip is a game-changer for anyone who thinks they’ve seen it all when it comes to cheese dips. By swapping standard ground beef for rich, smoky leftover brisket, you elevate a classic party staple into a gourmet experience. The aroma is deep and campfire-esque, with the spicy kick of diced tomatoes and green chilies cutting through the heavy, velvety melted cheese. It’s thick, indulgent, and absolutely impossible to stop eating once you start dipping a salty corn chip into it.
Ingredients
- 1 lb Velveeta or similar melting cheese, cubed
- 1 can (10 oz) Rotel (Diced Tomatoes and Green Chilies), undrained
- 1.5 cups chopped smoked brisket (leftover is perfect)
- 1/4 cup pickled jalapeños, chopped
- 1/2 teaspoon ground cumin
- Fresh cilantro for garnish
How to make it
- Cut the melting cheese into 1-inch cubes. This ensures the cheese melts evenly and doesn’t scorch in certain spots.
- If using a slow cooker (the easiest method), place the cheese cubes, the entire can of Rotel (including the liquid), the chopped brisket, and the cumin into the pot.
- Set the slow cooker to ‘Low.’ If you use ‘High,’ the cheese can sometimes separate or become grainy. Let it melt for about 1 hour, stirring every 20 minutes.
- If using a stovetop, use a heavy saucepan over low heat. Add the ingredients and stir constantly. Do not let the mixture boil; you want a slow, gentle melt to keep the texture silky.
- Once the cheese is fully liquid and the brisket is heated through, stir in the chopped pickled jalapeños for an extra hit of acidity.
- If the dip is too thick, add a splash of whole milk or heavy cream until you reach your desired ‘dippable’ consistency.
- Pour into a bowl on your food board and top with fresh cilantro. Serve with sturdy tortilla chips that can handle the weight of the brisket.
10 Simple Summer Dinner Ideas (Step-by-Step Guide)
Why we love this
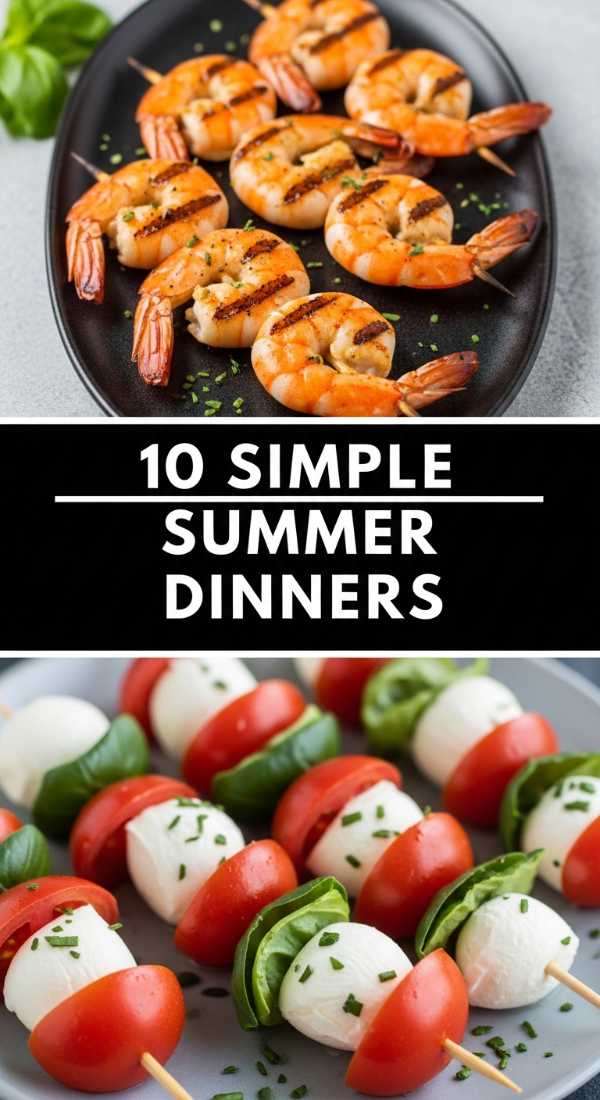
Sheet Pan Lemon Herb Chicken and Veggies is the ultimate ‘set it and forget it’ summer meal that still feels fresh and light. The combination of roasted zucchini, bell peppers, and juicy chicken thighs creates a rainbow of colors on a single tray. The aroma of roasting lemon and rosemary fills the house, signaling that dinner is ready without any heavy lifting. It’s the perfect way to feed a family while keeping the kitchen cool and the cleanup to a absolute minimum.
Ingredients
- 1.5 lbs boneless, skinless chicken thighs
- 2 medium zucchinis, sliced into rounds
- 2 bell peppers (any color), chopped into chunks
- 1 red onion, cut into wedges
- 3 tablespoons olive oil
- 2 tablespoons fresh rosemary, chopped
- 1 tablespoon garlic powder
- 1 lemon, thinly sliced
How to make it
- Preheat your oven to 425°F (218°C). A high temperature is crucial for getting those beautiful charred edges on the vegetables while keeping the chicken juicy.
- On a large, rimmed baking sheet, spread out the chicken thighs, zucchini, peppers, and onions. Avoid overcrowding the pan; if the ingredients are too close, they will steam instead of roast. Use two pans if necessary.
- Drizzle the olive oil over everything. Use your hands or tongs to toss the ingredients until they are thoroughly and evenly coated.
- Sprinkle the chopped rosemary, garlic powder, salt, and pepper over the tray. Toss one more time to distribute the herbs.
- Tuck the lemon slices in between the chicken and vegetables. As they bake, they will release juice that creates a natural sauce on the pan.
- Roast in the center rack of the oven for 20-25 minutes. At the 15-minute mark, use a spatula to flip the vegetables.
- Check the chicken with a meat thermometer; it should reach an internal temperature of 165°F (74°C). The vegetables should be tender with slightly blackened edges. Serve directly from the pan for a rustic, communal feel.
7 Perfect Summer Pasta Dishes (Step-by-Step Guide)

Why we love this
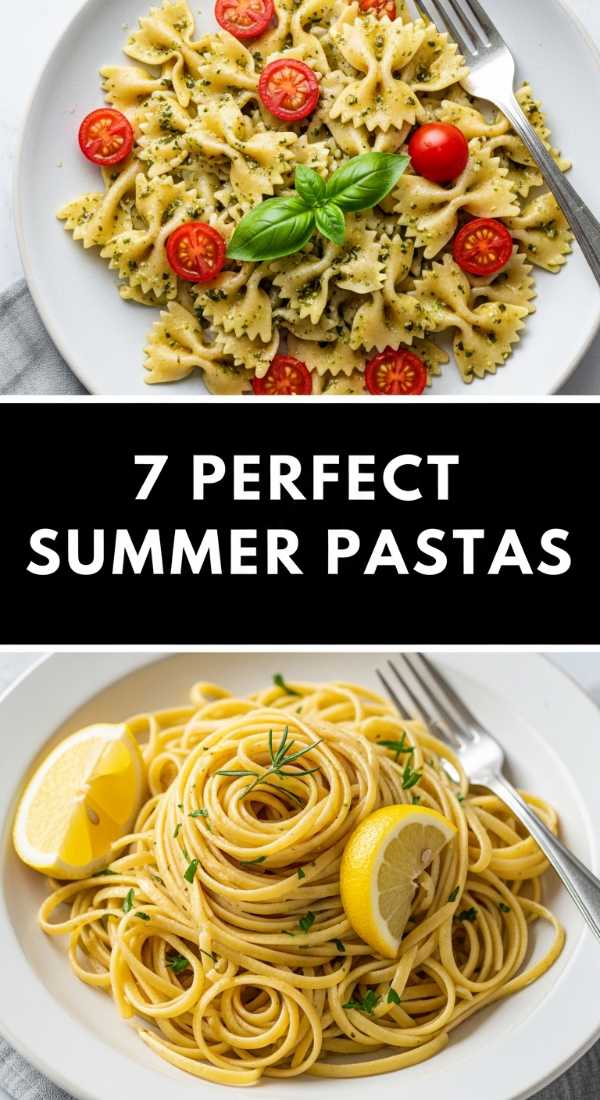
Classic Pasta Primavera with Garlic Butter is like a celebration of the harvest in a bowl. It’s light, vibrant, and packed with the snap of fresh peas and carrots, all coated in a silky, translucent garlic butter sauce that doesn’t feel heavy like a traditional cream sauce. The smell of sautéed garlic and fresh parsley is classic and comforting, making this a dish that appeals to both kids and adults. It’s the kind of meal that feels elegant enough for a garden party but simple enough for a Tuesday night.
Ingredients
- 12 oz linguine or spaghetti
- 2 cups mixed spring vegetables (peas, shredded carrots, sliced asparagus)
- 4 tablespoons unsalted butter
- 3 cloves garlic, thinly sliced
- 1/4 cup grated Parmesan cheese
- 1/2 cup pasta water (reserved)
- Handful of fresh flat-leaf parsley
How to make it
- Boil a large pot of water and add plenty of salt. Cook your pasta until it is just shy of al dente (about 2 minutes less than the package says).
- During the last 3 minutes of the pasta’s cooking time, throw the mixed vegetables (peas, carrots, asparagus) directly into the boiling pasta water. This blanches them perfectly without needing an extra pan.
- Before draining, dip a measuring cup into the pot and save about 1 cup of the starchy pasta water. Drain the pasta and veggies.
- In the same (now empty) pot, melt the butter over medium heat. Add the sliced garlic and cook for 1-2 minutes until the garlic is fragrant and just beginning to turn golden.
- Add the pasta and vegetables back into the pot with the garlic butter.
- Pour in half of the reserved pasta water and the Parmesan cheese. Toss vigorously with tongs. The starch in the water and the cheese will emulsify with the butter to create a creamy, glossy sauce.
- If it looks too dry, add more pasta water a tablespoon at a time. Finish with fresh parsley and extra Parmesan.
5 Refreshing Summer Coffee Drinks (Step-by-Step Guide)

Why we love this
The Vanilla Cold Foam Iced Shaken Espresso is the ultimate afternoon pick-me-up. It’s all about the contrast of textures: the dark, bold, slightly bitter espresso shaken until frothy, topped with a thick, velvety blanket of sweet vanilla cream. When you take a sip, the cold foam hits your lips first, followed by the icy rush of coffee. It looks like a professional craft cocktail with its beautiful cascading layers of brown and white, making it a stylish addition to any brunch board.
Ingredients
- 2 shots of hot espresso (or 1/2 cup very strong coffee)
- 1 tablespoon brown sugar or maple syrup
- 1 cup ice
- 1/4 cup heavy cream
- 2 tablespoons 2% milk
- 1 tablespoon vanilla syrup
How to make it
- Brew your espresso or strong coffee. While it’s still hot, stir in the brown sugar until it is completely dissolved. This creates a simple syrup base that mixes better than granulated sugar in cold drinks.
- Fill a cocktail shaker or a mason jar with a lid halfway with ice. Pour the sweetened coffee over the ice.
- Shake vigorously for 20-30 seconds. This is the ‘secret’ step—shaking aerates the coffee, creating a beautiful micro-foam and chilling the drink instantly.
- Strain the coffee into a tall glass filled with fresh ice.
- In a separate small bowl or frothing pitcher, combine the heavy cream, 2% milk, and vanilla syrup.
- Use a handheld milk frother to whisk the cream mixture for about 45 seconds until it doubles in volume and becomes thick and ‘spoonable’ like melted ice cream.
- Gently pour the vanilla cold foam over the top of the espresso. Watch the foam slowly bleed into the coffee for that perfect ‘viral’ look.
9 Must-Try Summer Desserts (Step-by-Step Guide)
[IMAGE_10]
Why we love this
No-Bake Strawberry Cheesecake Bars are the answer to every dessert craving when it’s too hot to turn on the oven. The base is a buttery, salty graham cracker crust that supports a thick, tangy, and impossibly smooth cream cheese filling. Topped with a vibrant, glistening strawberry compote, these bars smell like a fresh berry patch. They are cool, creamy, and provide the perfect sweet finale to a food board, offering a hand-held treat that feels much more indulgent than it is difficult to make.
Ingredients
- 2 cups graham cracker crumbs
- 1/2 cup unsalted butter, melted
- 16 oz cream cheese, softened to room temperature
- 1 cup powdered sugar
- 1 teaspoon vanilla extract
- 1 cup heavy whipping cream
- 2 cups fresh strawberries, sliced
- 2 tablespoons sugar (for the berries)
How to make it
- In a medium bowl, mix the graham cracker crumbs and melted butter until it feels like wet sand. Press this mixture firmly into the bottom of an 8×8 inch pan lined with parchment paper. Chill in the freezer for 15 minutes.
- In a large bowl, beat the softened cream cheese, powdered sugar, and vanilla until smooth and lump-free.
- In a separate cold bowl, whip the heavy cream until stiff peaks form. Gently fold the whipped cream into the cream cheese mixture using a spatula. This keeps the filling light and airy.
- Spread the cheesecake filling over the chilled crust, smoothing the top with an offset spatula.
- In a small saucepan, toss the sliced strawberries with 2 tablespoons of sugar. Cook over medium heat for 5-8 minutes until the berries break down and the liquid thickens into a syrup. Let this cool completely.
- Once cool, spread the strawberry topping over the cheesecake layer.
- Refrigerate the bars for at least 4 hours (overnight is better) to allow the filling to set firmly. Lift out by the parchment paper and slice into squares before serving.
Conclusion: The Art of the Effortless Board
Mastering the art of the food board isn’t about being a professional chef; it’s about being a curator of good vibes and great flavors. By utilizing these step-by-step guides, you’ve transformed individual recipes into a cohesive, interactive experience that your guests will remember long after the last crumb is gone. Remember, the best host is the one who actually gets to enjoy the party. So, lay out your board, pour yourself a drink, and let the food bring everyone together. Happy hosting!