
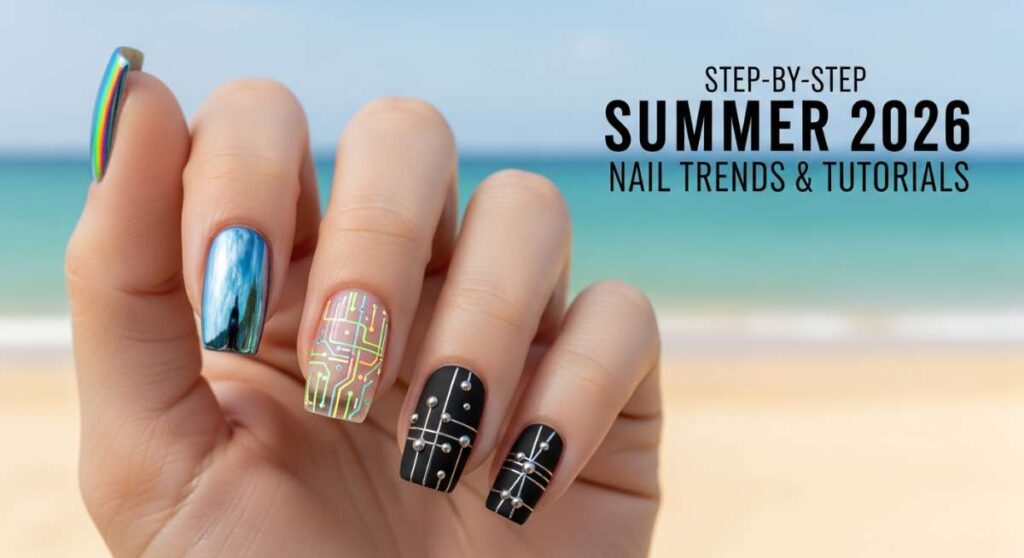
Step-by-Step Summer 2026: Master the Season’s Most Futuristic Nail Designs
Hello, my beautiful loves! Can you feel it? The air is getting lighter, the days are stretching out like a lazy cat in a sunbeam, and there’s a whisper of magic in the breeze. Summer 2026 isn’t just a season; it’s a whole mood, a soft-focus dream where technology meets the heart. I’ve been spending my mornings sipping lavender lattes and looking at how the light hits the horizon, and it inspired me to bring that same ethereal glow to our fingertips.
You know I believe that our nails are little canvases for our souls. This year, we’re moving away from the harsh lines of the past and embracing something more fluid, more futuristic, yet deeply human. It’s about that cloud-soft embrace of color and light. I’ve gathered ten of my absolute favorite looks to share with you, so we can walk into the sunshine feeling like the radiant masterpieces we are.
Grab your favorite cozy blanket, maybe a glass of sparkling water with a sprig of mint, and let’s dive into these tutorials together. I’ve made sure every step feels like a gentle hug for your creativity. Let’s make this summer truly unforgettable, one brushstroke at a time.
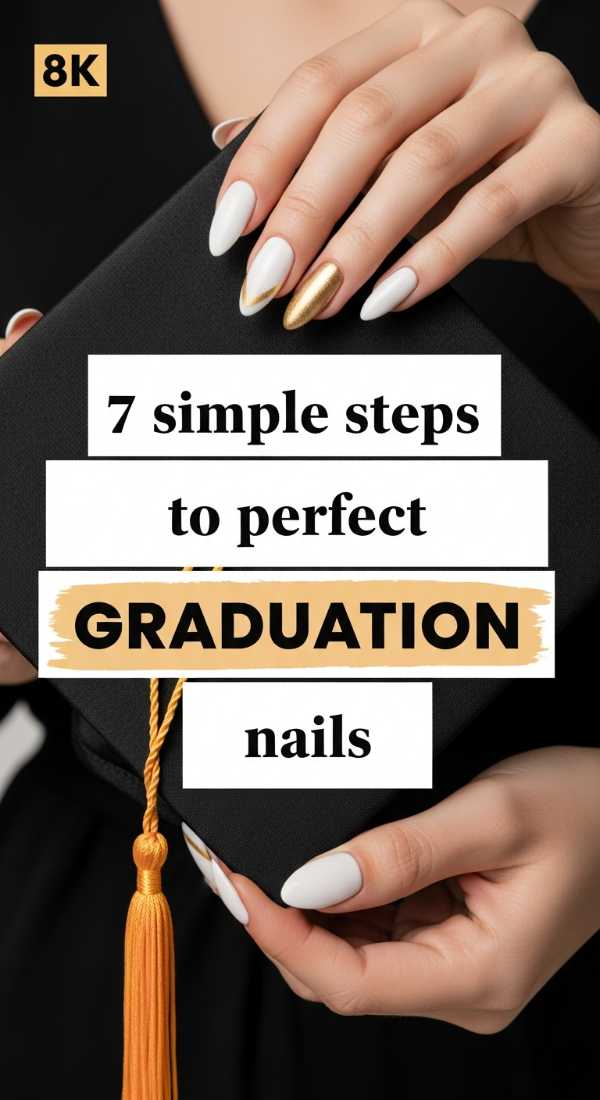
7 Simple Steps to Perfect Graduation Nails
Why to love this Design:
It’s that bittersweet glow of ending one chapter and floating into the next. These nails are designed to look like soft pearls catching the light of a new dawn—sophisticated, celebratory, and timelessly elegant for your big walk across the stage.
Essential Elements:
- Sheer iridescent base coat
- Micro-fine silver glitter
- Tiny adhesive seed pearls
- High-gloss top coat
How to Prepare:
- Cleanse your nails thoroughly to ensure a smooth, canvas-like surface.
- Apply a nourishing base coat to protect your natural nail.
- Sweep on two thin layers of sheer iridescent polish.
- Dab a tiny bit of silver glitter at the base of the nail for a soft gradient.
- Use a toothpick to place one or two seed pearls near the cuticle.
- Seal everything with a thick layer of high-gloss top coat for that ‘glass’ finish.
- Hydrate your cuticles with a drop of rose oil to make the look glow.
Budget Range
- Zoya Naked Manicure Base ($12)
- Essie ‘Iridescent Top Coat’ ($9)
- Nail Art Pearl Kit from Amazon ($6)
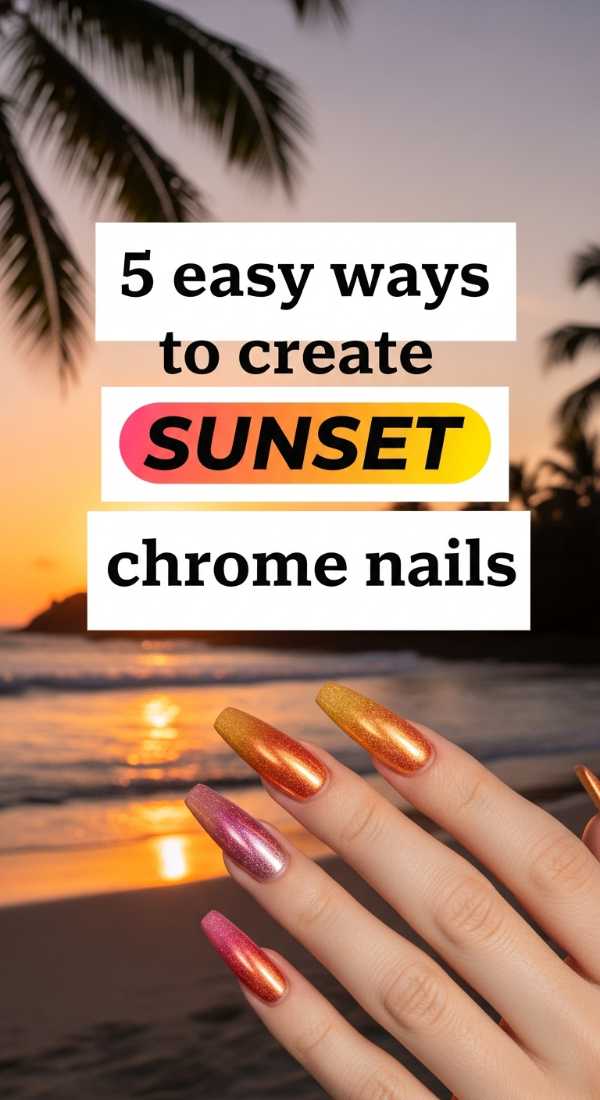
5 Easy Ways to Create Sunset Chrome Nails
Why to love this Design:
Imagine the sky at 8 PM, painted in molten golds and pinks, reflecting off the ocean. Sunset chrome is all about capturing that fleeting moment of peace and wearing it on your hands. It’s futuristic yet nostalgic all at once.
Essential Elements:
- Orange and Pink gel polish
- Gold chrome powder
- Sponge applicator
- No-wipe top coat
How to Prepare:
- The Gradient Sponge: Apply orange and pink side-by-side on a sponge and dab onto the nail for a soft transition.
- The Chrome Rub: Apply a no-wipe top coat, cure it, then rub gold chrome powder only on the tips.
- The Layered Sheer: Use a sheer pink over a solid orange to create a glowing peach effect.
- The Dotting Method: Place small dots of sunset colors and swirl them with a needle before curing.
- The Matte/Shiny Mix: Use a matte base with a shiny chrome tip for a high-dimension look.
Budget Range
- Artdone Chrome Powder Set ($15)
- Modelones Gel Polish Duo ($10)
- Makeup Sponges ($3)
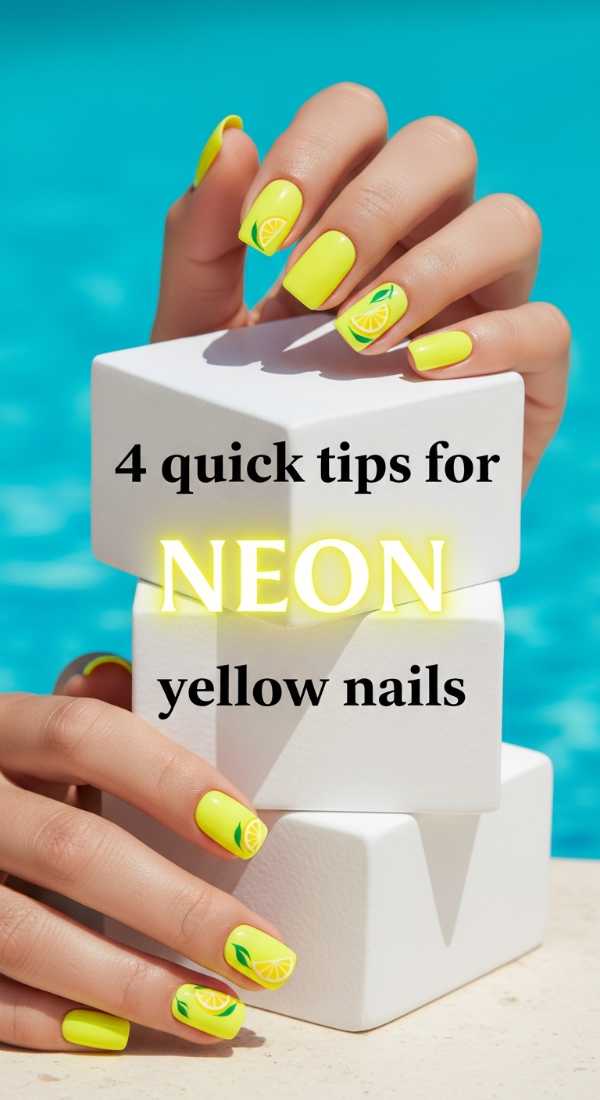
4 Quick Tips for Neon Yellow Nails Designs
Why to love this Design:
It’s like a burst of sunshine right on your fingertips! Neon yellow can feel intimidating, but in 2026, we’re wearing it with a soft, milky undertone that makes it look like glowing highlighter under a summer moon. It’s bold, brave, and so incredibly joyful.
Essential Elements:
- Milky white base polish
- Neon yellow ‘highlighter’ shade
- Matte top coat
- Precision detailing brush
How to Prepare:
- Always start with a white base to make the neon pop without needing five coats.
- Try a ‘negative space’ half-moon at the base to keep the neon from feeling too overwhelming.
- Apply a matte top coat to give the neon a futuristic, velvet-like texture.
- Use a detailing brush to add one tiny white line down the center for a ‘cyber-chic’ vibe.
Budget Range
- Orly ‘Electric Jungle’ ($15)
- OPI Matte Top Coat ($11)
- Beetles Precision Brush Set ($8)
6 Steps to Master Pucci Nails at Home
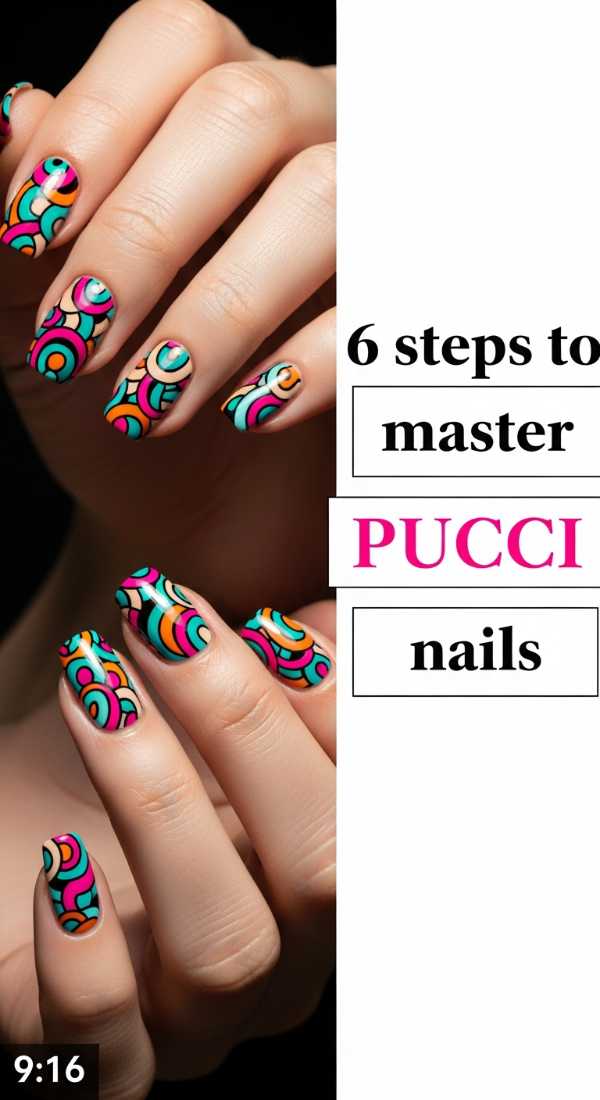
Why to love this Design:
Those swirling, rhythmic patterns are like a dance across your nails. Inspired by vintage Italian glamour but updated with neon-pastels for 2026, Pucci nails are for the loves who want to feel like they’re lounging on a yacht in the Mediterranean.
Essential Elements:
- Pastel lavender, mint, and coral polishes
- Black detailing liner
- Fine-tip nail art brush
- Steady hand!
How to Prepare:
- Paint your base in a soft, neutral cream color.
- Map out three ‘blob’ shapes in lavender, mint, and coral on different areas of the nail.
- Use your fine brush to connect the shapes with organic, flowing lines.
- Outline the shapes with a very thin black or dark navy line to give it that iconic retro look.
- Fill in any ’empty’ spots with tiny white dots to add movement.
- Finish with a long-wear top coat to protect your intricate art.
Budget Range
- Sally Hansen Insta-Dri Pastel Collection ($7 per bottle)
- Winstonia Fine Nail Art Brushes ($10)
3 Easy Ways to Style Summer Goth Nails
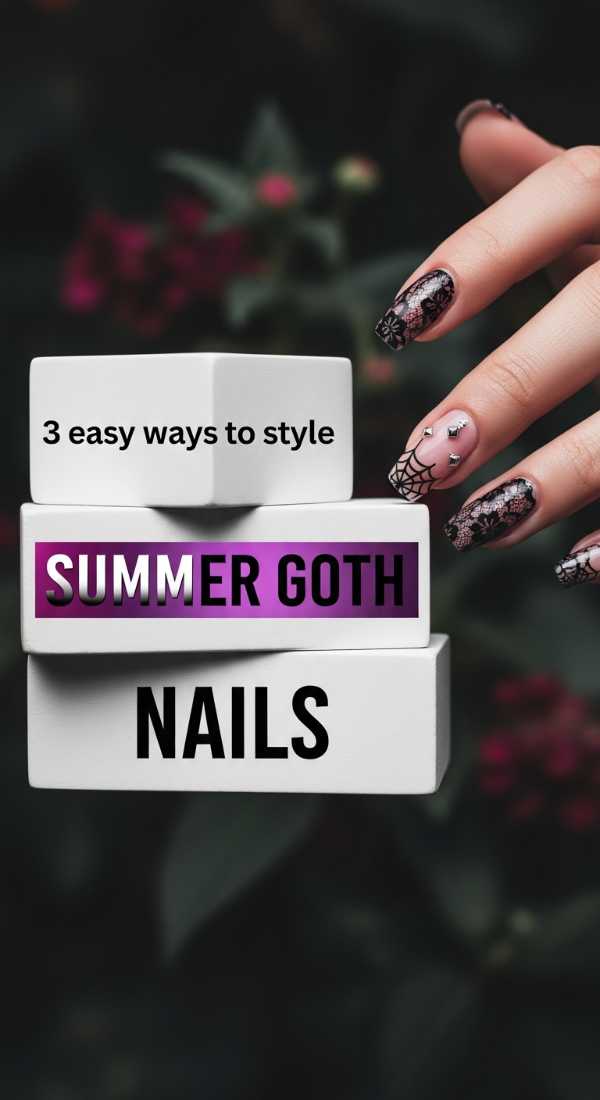
Why to love this Design:
For those of us who love the shadows even when the sun is high, Summer Goth is a delicate balance. It’s not heavy or dark; it’s moody, romantic, and sheer. Think ‘cemetery picnic’ but with lace and wildflowers.
Essential Elements:
- Sheer ‘jelly’ black polish
- Pressed dried flowers
- Silver micro-studs
How to Prepare:
- The Jelly Layer: Apply two coats of sheer black jelly polish to create a smoky, translucent ‘veil’ effect.
- The Floral Decay: Encapsulate a single dark-colored dried flower (like a deep purple) under a clear builder gel.
- The Pierced Look: Use tiny silver studs along the cuticle line to mimic a more edgy, industrial aesthetic while keeping the base soft.
Budget Range
- Cirque Colors ‘Jade Jelly’ Black ($12)
- Dried Flower Nail Decals ($5)
- Silver Nail Studs ($4)
8 Simple Steps for Lemon and Blue Nails
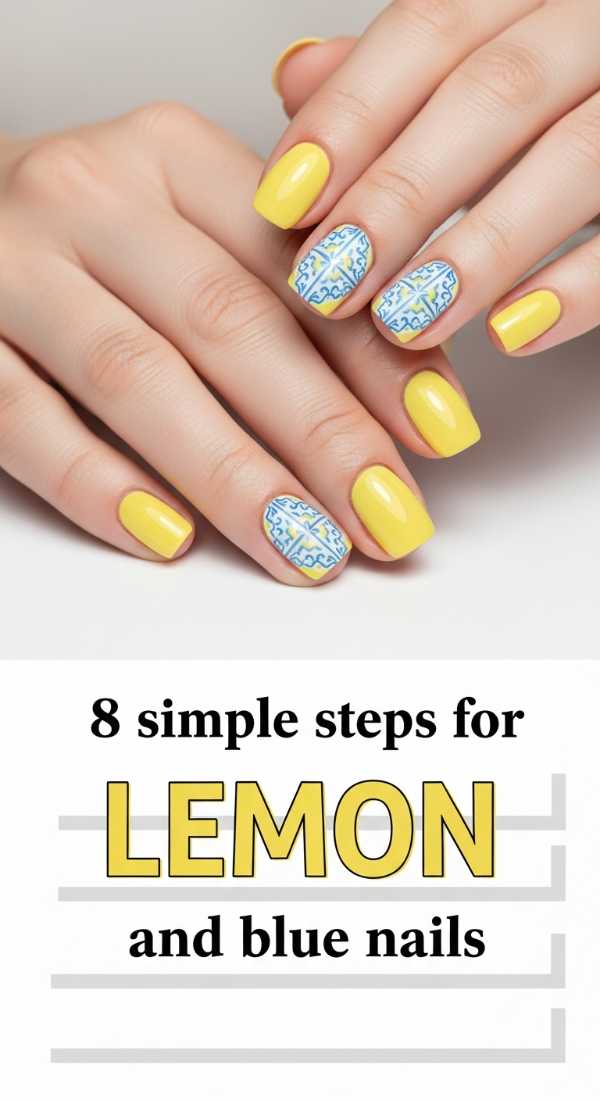
Why to love this Design:
It’s a picnic by the Amalfi coast in a bottle. The crispness of lemon yellow paired with the calm of a Mediterranean blue creates a harmony that is both refreshing and incredibly chic. It’s the ultimate ‘vacation mode’ manicure.
Essential Elements:
- Cornflower blue polish
- Lemon yellow polish
- White base for nail art
- Top coat
How to Prepare:
- Paint your thumb and ring finger cornflower blue.
- Paint your index and pinky fingers lemon yellow.
- On the middle finger, apply a white base coat.
- Using a dotting tool, create two small yellow circles for the ‘lemons’.
- Add a tiny green leaf to each yellow circle using a toothpick.
- Draw thin blue stripes around the lemons for a ’tile’ effect.
- Wait for the art to dry completely to avoid smearing.
- Seal the entire look with a glossy top coat.
Budget Range
- Essie ‘Butler Please’ Blue ($10)
- Olive & June ‘Lemonade’ ($9)
- Dotting Tool Set ($5)
5 Easy Steps to Match Hands and Toes Nails

Why to love this Design:
There is such a quiet peace in feeling perfectly put together. Matching your mani and pedi doesn’t have to be boring—it’s about a ‘color story’ that flows from your hands to your feet, making you feel polished from head to toe.
Essential Elements:
- A ‘bridge’ color (like soft peach)
- Matching glitter or foil
- Conditioning foot cream
How to Prepare:
- Choose one primary color for your hands and use it as an accent on your big toe.
- Apply the same shimmer top coat to both your fingernails and toenails to unify the texture.
- Keep the shapes consistent (e.g., squoval for both) to create visual harmony.
- Use a matching ‘feature nail’ on both—perhaps the ring finger and the big toe.
- Hydrate both hands and feet with the same scented lotion to tie the sensory experience together.
Budget Range
- Butter London Patent Shine 10x ($18)
- L’Occitane Shea Butter Foot Cream ($30)
4 Ways to Design Your May Birthday Nails
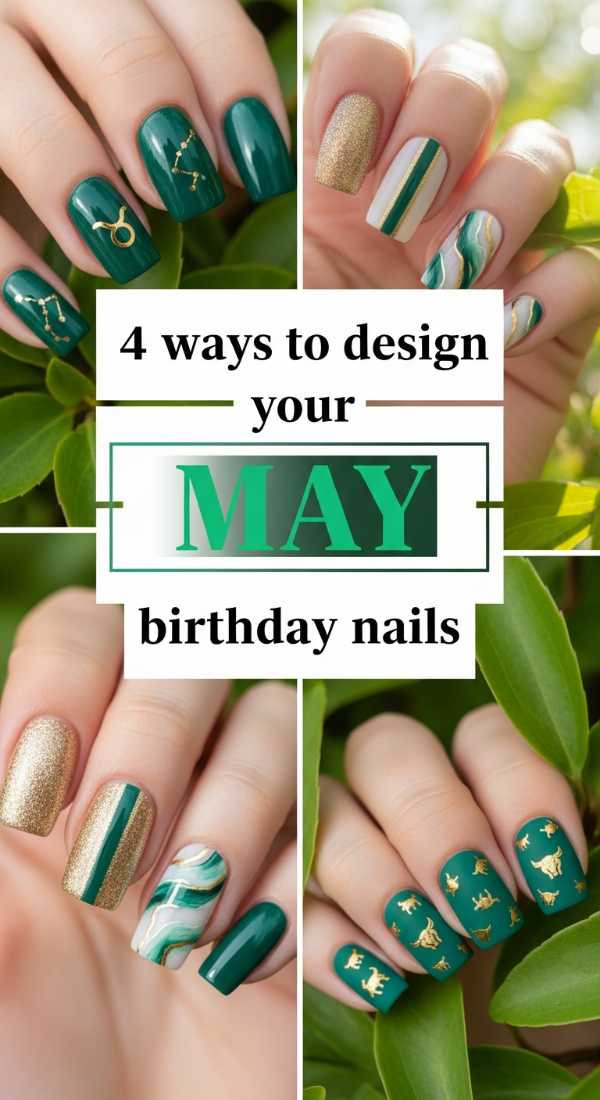
Why to love this Design:
Being a May baby means you’re blooming alongside the world. These designs focus on the Emerald—May’s birthstone—but with a 2026 twist of holographic depth and botanical softness.
Essential Elements:
- Deep emerald green polish
- Holographic ‘unicorn’ powder
- Floral nail stickers
How to Prepare:
- The Emerald Geode: Layer green glitter over a dark base and add white ‘veins’ with a thin brush.
- The Holographic Bloom: Apply emerald polish and rub a tiny bit of holo powder just in the center of the nail.
- The Minimalist Stem: A nude base with a single, long green vine climbing up the side of the nail.
- The Birthday Sparkle: A full emerald glitter nail on the ring finger, with soft sage green on the others.
Budget Range
- ILNP ‘傳說’ (Legend) Emerald ($12.50)
- Holographic Powder ($8)
- Sage Green Polish ($9)
6 Quick Steps for Hot Pink Nails with Flowers
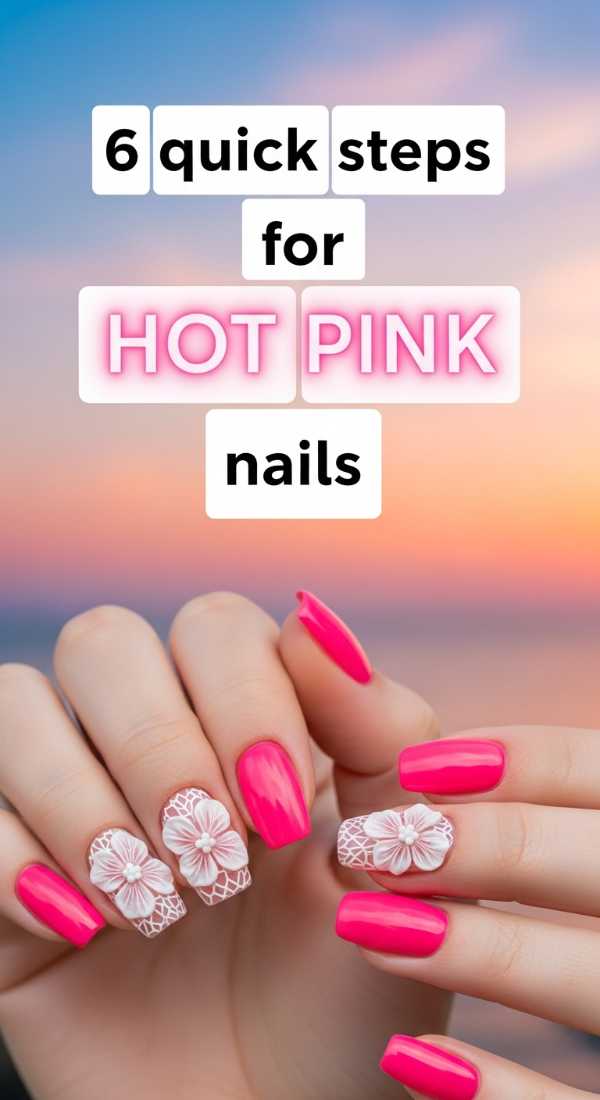
Why to love this Design:
This is pure, unadulterated joy. It’s the Barbie-core evolution we’ve all been waiting for—vibrant, unapologetic, and softened by delicate floral details. It’s like wearing a bouquet of summer roses in a neon garden.
Essential Elements:
- Hot pink ‘electric’ polish
- White and yellow acrylic paint (or polish)
- Small round brush
How to Prepare:
- Apply two coats of your brightest hot pink polish.
- Let it dry completely so the flowers don’t bleed into the base.
- Dot five white petals in a circle using your small brush.
- Add a tiny yellow dot in the center of the white petals.
- Repeat the flower pattern on just the tips for a ‘French floral’ look.
- Apply a ‘plumping’ top coat to give the flowers a 3D embossed feel.
Budget Range
- China Glaze ‘Shocking Pink’ ($8)
- Nail Art Acrylic Paint Set ($12)
- Seche Vite Dry Fast Top Coat ($10)
7 Simple Ways to Get Teal Western Nails
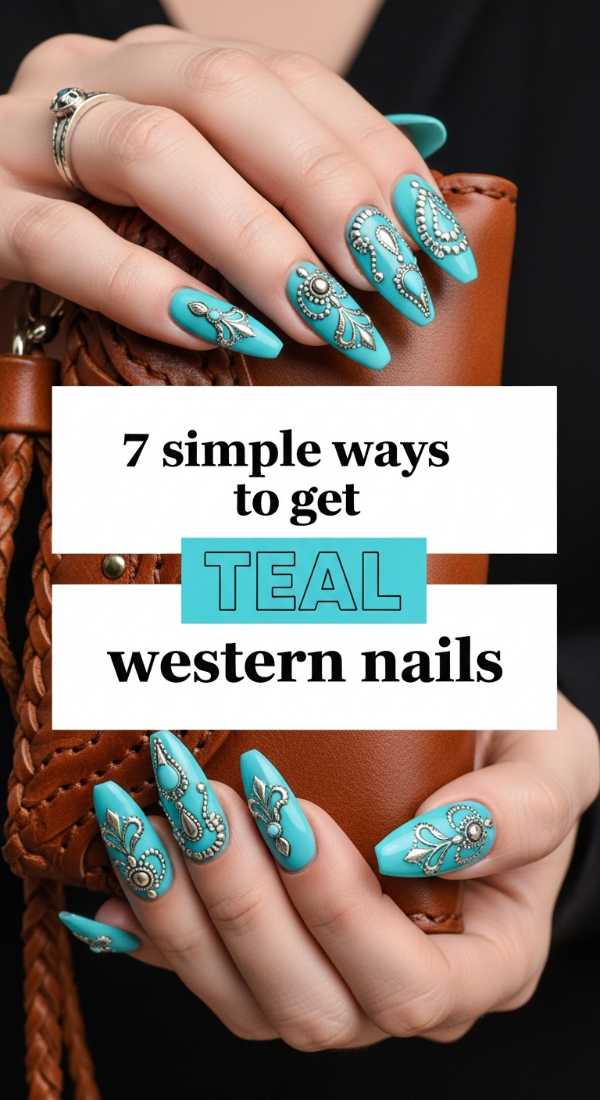
Why to love this Design:
It’s the soul of the desert meeting the refreshment of an oasis. Teal Western is all about turquoise stones, dusty roads, and futuristic silver accents. It’s rugged yet refined, perfect for a summer festival or a desert getaway.
Essential Elements:
- Turquoise/Teal creme polish
- Silver metallic polish
- Matte finish top coat
How to Prepare:
- The Turquoise Stone: Use the ‘plastic wrap’ method—dab black and silver over teal with crumpled plastic to create a stone texture.
- The Silver Tip: Paint a sharp, metallic silver ‘V’ shape at the tips like a cowboy boot toe.
- The Cow Print Accent: Teal spots over a white base for a whimsical ‘Space Cowgirl’ vibe.
- The Matte Desert: Apply a matte top coat over the teal to mimic the flat finish of dry turquoise.
- The Studded Border: Place silver micro-beads around the edge of one nail.
- The Cactus Silhouette: A tiny dark green cactus over a teal sunset background.
- The Gradient Sand: Blend teal into a sandy nude at the base of the nail.
Budget Range
- Essie ‘In the Cab-ana’ ($9)
- Revlon ‘Silver Screen’ ($6)
- Matte Top Coat ($8)
Conclusion
As the sun sets on our little nail chat, I hope you feel inspired to bring some of this 2026 magic into your own life. Remember, my loves, there are no rules in beauty—only feelings. Whether you choose the bold glow of neon yellow or the quiet romance of summer goth, the most important thing is that you feel like the most radiant version of yourself. Your hands do so much for you—they create, they comfort, they hold—so give them a little extra love this season. I can’t wait to see which of these futuristic designs you choose to make your own. Stay soft, stay bright, and keep glowing!