
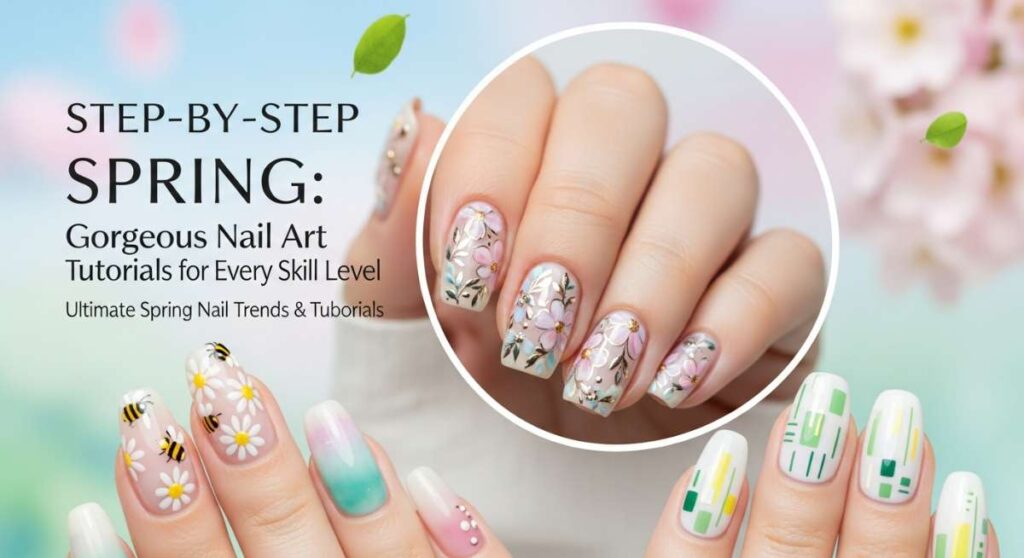
Step-by-Step Spring: Gorgeous Nail Art Tutorials for Every Skill Level
Hello, my loves! There is something so magical about this time of year, isn’t there? As the frost melts away and the first tiny crocuses peek through the soil, I feel this sudden, beautiful urge to shed the heavy layers of winter and embrace something lighter, softer, and more vibrant. It’s like the world is giving us a fresh canvas, and what better way to celebrate that renewal than with a little bit of self-care at our fingertips?
Settle in with a warm cup of herbal tea, perhaps a sprig of lavender nearby, and let’s talk about our hands. They do so much for us—holding mugs, typing messages to loved ones, and planting new life in the garden. This spring, I want us to treat our nails like the tiny works of art they are. Whether you’re a seasoned pro or just starting your DIY journey, I’ve curated these tutorials to feel like a cloud-soft embrace for your soul and your style.
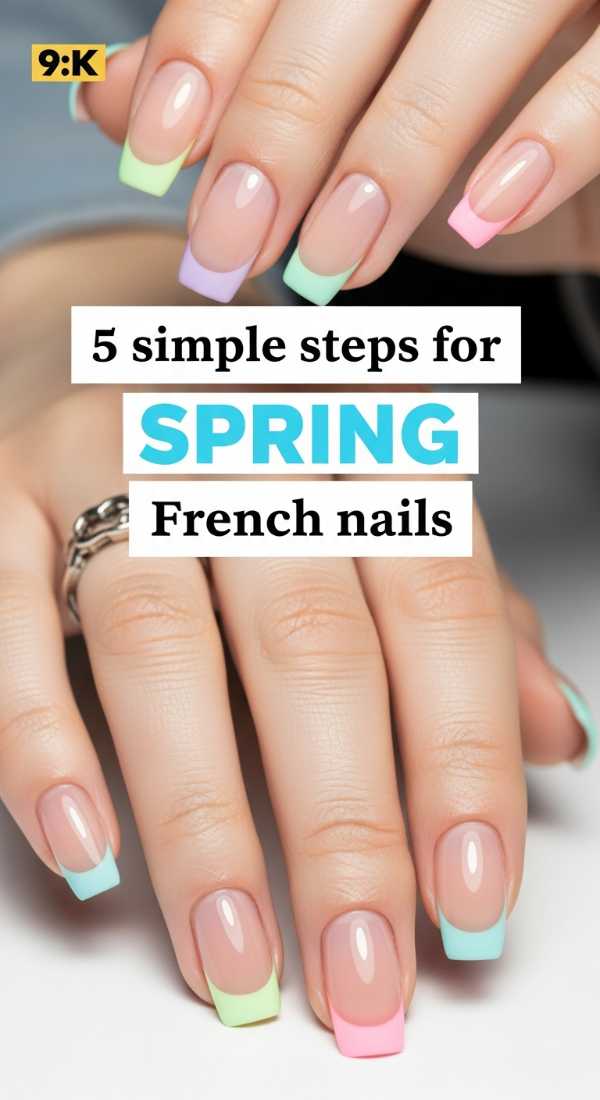
The Pastel Micro-French: 5 Simple Steps
Why to love this Design:
There is an understated elegance to a micro-French tip that feels like a whispered secret. By swapping the traditional white for a soft spring lilac or mint, you’re giving a classic look a modern, playful heart. It’s clean, professional, yet wonderfully whimsical.
Essential Elements:
- Sheer pink base coat
- Pastel gel liners
- Ultra-thin detailing brush
- Top coat
How to Prepare:
- Cleanse the nail bed with alcohol to ensure a smooth canvas.
- Apply one thin coat of your favorite sheer pink or nude base.
- Dip your thin brush into a pastel shade and draw a hairline-thin curve at the very edge.
- Refine the ‘smile’ line with a clean brush dipped in remover if needed.
- Seal with a high-shine top coat for that glass-like finish.
Budget Range
- Essie ‘Sugar Daddy’ ($10)
- Beetles Pastel Gel Liner Set ($15)
- Zeva Glass Nail File ($8)
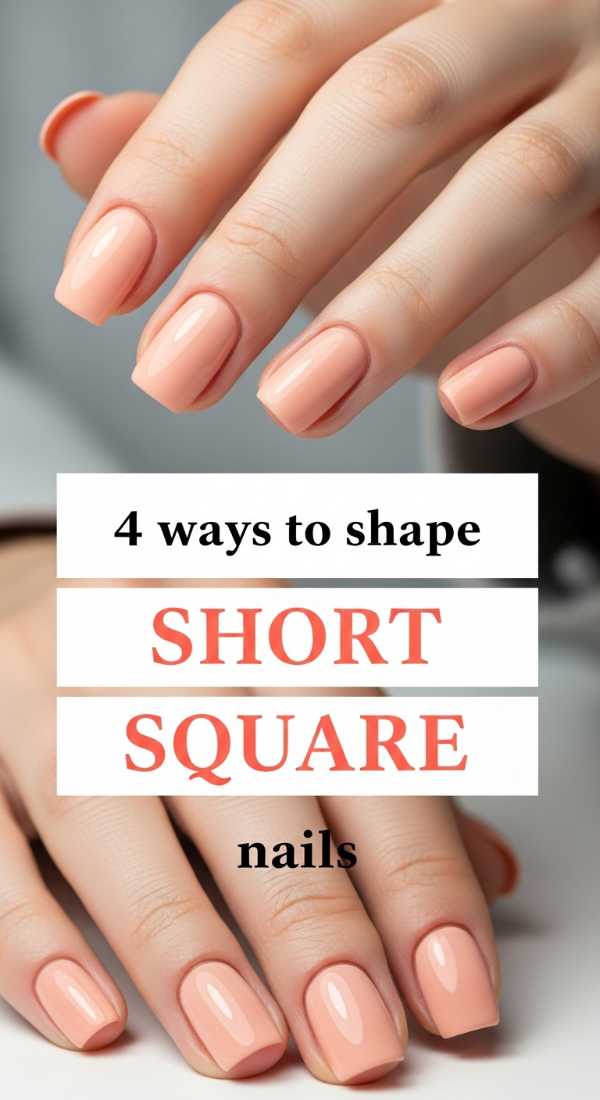
Sculpting the Perfect Short Square: 4 Ways to Shape
Why to love this Design:
Short square nails are the epitome of ‘quiet luxury.’ They are incredibly practical for our busy lives while looking exceptionally polished and ‘put together.’ It’s the perfect shape for showing off bold pigments without feeling overwhelmed.
Essential Elements:
- High-grit nail file
- Buffing block
- Nail clippers
How to Prepare:
- Clip the nails straight across in one clean motion to establish the flat top.
- File in one direction only (no sawing!) to flatten the free edge perfectly.
- Softly round just the very corners to prevent snagging on your spring knits.
- Buff the edges to remove any lingering ‘burrs’ for a silky smooth touch.
Budget Range
- Olive & June Nail Clipper ($5)
- Flowery Blue Center Large Sanding Files ($6)
- OPI Brilliance Buffer ($4)
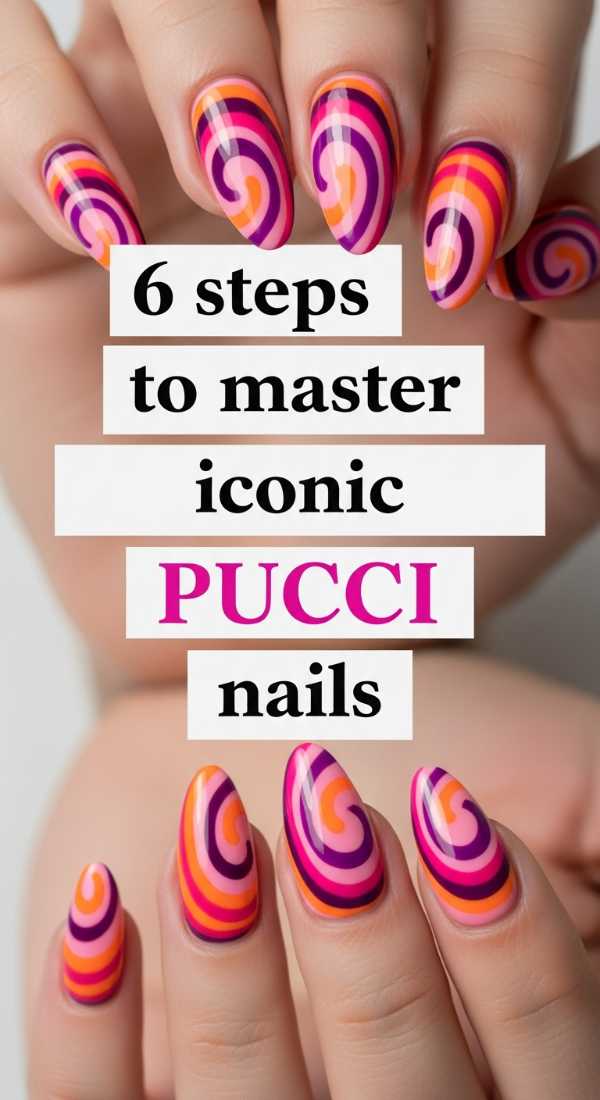
The Iconic Pucci Swirl: 6 Steps to Master
Why to love this Design:
Oh, my loves, the Pucci-inspired nail is pure 1970s sunshine! It’s for the days when you feel bold, artistic, and ready to take on the world. The flowing, organic lines mimic the movement of a spring breeze, and the color combinations are truly endless.
Essential Elements:
- Three contrasting spring shades (e.g., orange, cream, teal)
- Long striping brush
- Dotting tool
How to Prepare:
- Apply two coats of a neutral cream base and let dry completely.
- Using your striping brush, draw a large ‘S’ curve across the nail.
- Fill in one section of the curve with your second bright color.
- Add a thinner line of the third color following the edge of the first curve.
- Use a dotting tool to add tiny accents where the lines meet for visual interest.
- Wait five minutes before applying a thick top coat to prevent smearing.
Budget Range
- DND ‘Sunset Orange’ ($9)
- Modelones Nail Art Brushes ($7)
- Sally Hansen Insta-Dri in ‘White’ ($6)
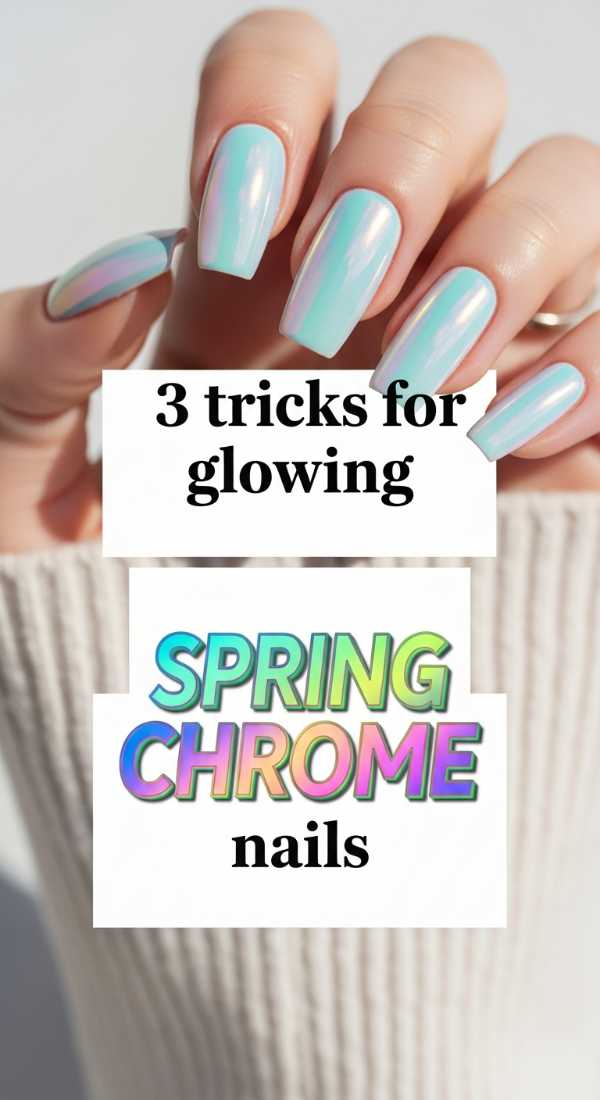
Glowing Spring Chrome: 3 Tricks for Success
Why to love this Design:
Chrome isn’t just for winter, darlings! When done over a soft peach or a sheer white, it creates a ‘glazed donut’ effect that captures the spring morning light beautifully. It feels ethereal, almost like you’ve dipped your fingers in stardust.
Essential Elements:
- No-wipe top coat
- Pearl or iridescent chrome powder
- Sponge applicator
How to Prepare:
- Apply your base color and a no-wipe top coat, curing it for only 30 seconds (it needs to be slightly ‘tacky’).
- Gently rub the chrome powder onto the nail using a circular motion until it mirrors.
- Use a soft dust brush to remove excess powder before the final top coat seal.
Budget Range
- Artdone Pearl Chrome Powder ($8)
- Kiara Sky No Wipe Top Coat ($15)
- Disposable Eyeshadow Applicators ($4)
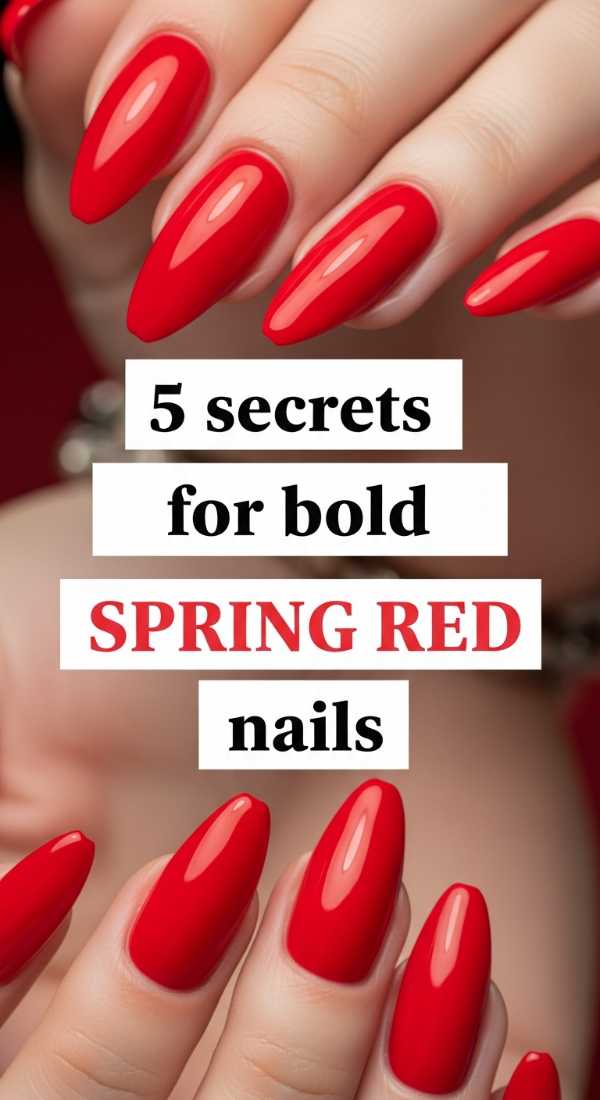
The Bold Spring Red: 5 Secrets for Depth
Why to love this Design:
Who says red is only for the holidays? A poppy, orange-leaning red is the ultimate spring power move. It’s confident, warm, and looks incredible against the backdrop of fresh green leaves. It’s a classic that never loses its soul.
Essential Elements:
- Poppy red lacquer
- Ridge-filling base coat
- Clean-up brush with acetone
How to Prepare:
- Always start with a ridge-filler to ensure the red doesn’t emphasize nail texture.
- Apply the first coat in three strokes: middle, left, then right.
- Keep the second coat slightly thicker to build that juicy, jelly-like depth.
- Use a tiny brush dipped in acetone to trace the cuticle line for a salon-perfect edge.
- Cap the free edge with polish to prevent early chipping.
Budget Range
- OPI ‘Cajun Shrimp’ ($11)
- Orly Ridgefiller ($12)
- Pure Acetone ($5)
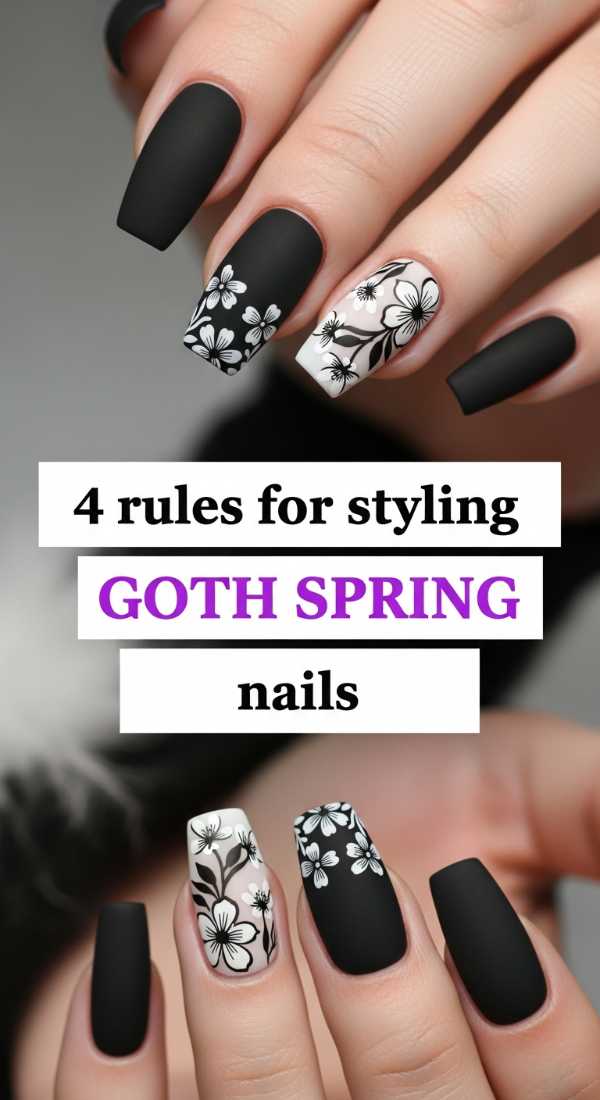
Goth Spring: 4 Rules for Edgy Florals
Why to love this Design:
For my loves who prefer the shadows even when the sun is out, ‘Spring Goth’ is a mood. Think moody violets and sheer blacks paired with delicate floral stamps. It’s romantic, mysterious, and perfectly rebellious.
Essential Elements:
- Sheer black ‘jelly’ polish
- Floral stamping plate
- Deep plum lacquer
How to Prepare:
- Layer a sheer black over a nude base to create a ‘smoke’ effect.
- Select a delicate floral design to contrast the dark color.
- Stamp the floral design in a metallic silver or white to make it pop against the dark base.
- Finish with a matte top coat to give it a velvet-like, moody texture.
Budget Range
- Cirque Colors ‘Spotted’ ($13)
- Maniology Stamping Plate ($9)
- NYX Matte Top Coat ($7)
Elegant Almond: 7 Ideas for Shape and Style

Why to love this Design:
The almond shape is the most flattering silhouette for the fingers—it elongates the hand and adds an instant touch of grace. It feels feminine and soft, much like the petals of a cherry blossom. It is truly the ‘ballet slipper’ of nail shapes.
Essential Elements:
- Glass file
- Soft nude polish
- Nail strengthener
How to Prepare:
- Mark the center of your nail tip with a tiny dot of polish to keep your filing symmetrical.
- File the sides at a 45-degree angle toward that center point.
- Taper the tip into a soft peak, avoiding any sharp points.
- Apply a coat of strengthener to support the new, narrower edges.
- Choose a soft, translucent nude to emphasize the length.
- Add a single tiny rhinestone at the base for a touch of sparkle.
- Moisturize the cuticles immediately to frame the new shape.
Budget Range
- NailTek Intensive Therapy 2 ($10)
- Essie ‘Ballet Slippers’ ($9)
- Swarovski Nail Crystals ($12)
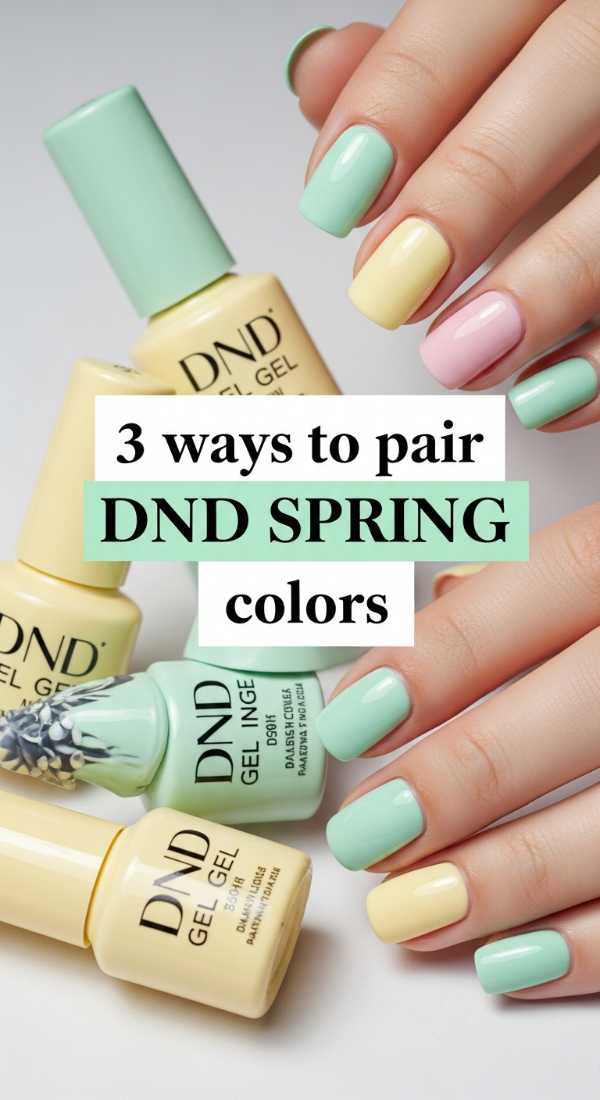
DND Color Magic: 3 Ways to Pair Palettes
Why to love this Design:
DND (Daisy Nail Design) is a cult favorite for a reason—the pigment is unmatched! Mixing their spring shades creates a cohesive, professional look that lasts for weeks. It’s like having a professional garden on your fingertips.
Essential Elements:
- DND Duo sets (Gel & Lacquer)
- UV/LED Lamp
- Cuticle oil
How to Prepare:
- Pair a ‘cool’ pastel (like DND 456) with a ‘warm’ accent (like DND 712) for visual balance.
- Try a tonal gradient: use three shades of the same color family across your fingers.
- Use the matching lacquer on your toes for a perfectly synchronized spring ensemble.
Budget Range
- DND Gel Duo Sets ($13 each)
- SUNUV LED Lamp ($25)
- Cuccio Milk & Honey Cuticle Oil ($10)
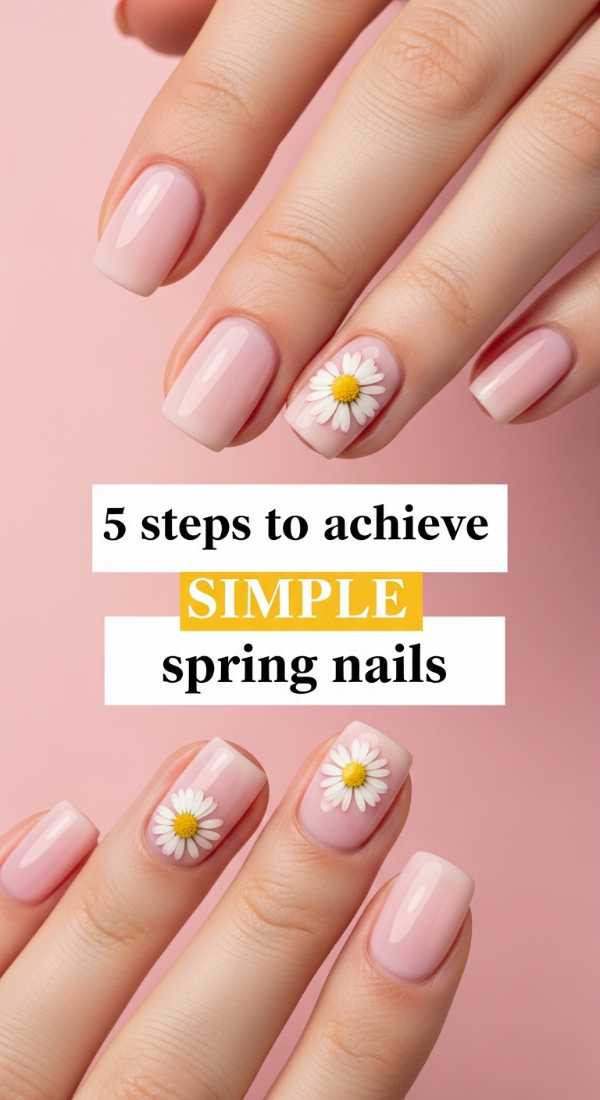
Simple Minimalist Spring: 5 Steps to Chic
Why to love this Design:
Sometimes, the quietest designs speak the loudest. A single dot or a solitary gold line on a naked nail is modern, fresh, and takes less than ten minutes. It’s for the minimalist who finds beauty in the space between things.
Essential Elements:
- Clear gloss or matte base
- Gold stripping tape or metallic polish
- Dotting tool
How to Prepare:
- Apply two coats of clear, healthy-shine base coat.
- Place one single dot of a bright spring color (like daisy yellow) at the center of the lunula (the half-moon).
- Alternatively, place a vertical strip of gold tape down the center of the ring finger.
- Seal the edges of the tape carefully with two layers of top coat.
- Finish with a quick-dry spray to set the look instantly.
Budget Range
- Seche Vite Fast Dry Top Coat ($9)
- Nail Art Gold Tape ($5)
- Zoya ‘Honey’ Yellow ($12)
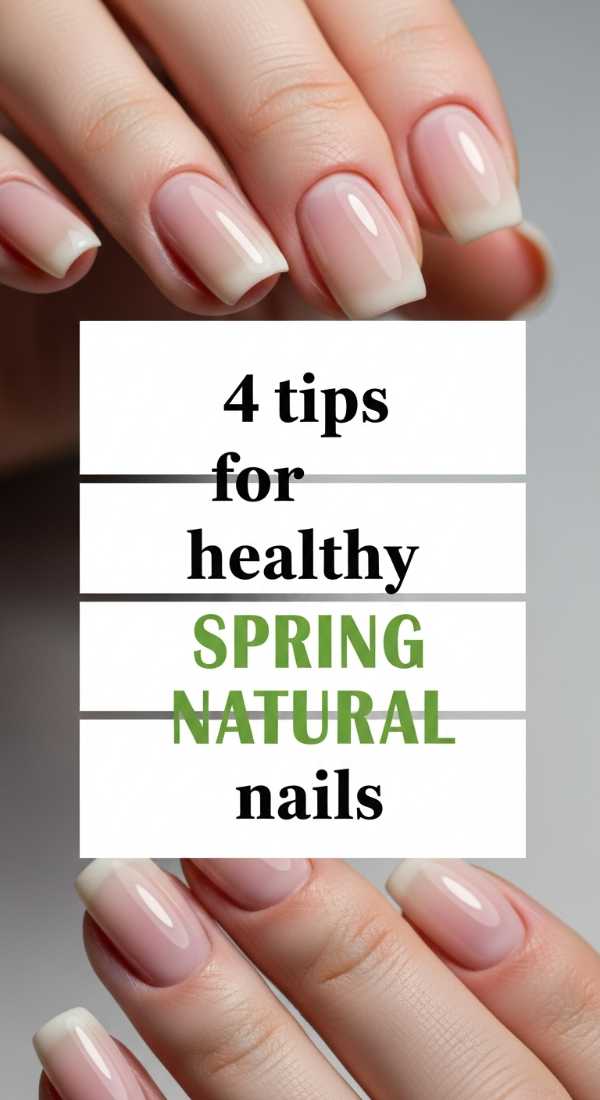
Healthy Natural Foundations: 4 Tips for Vitality
Why to love this Design:
The most beautiful thing you can wear is health, my loves. Before the polish, we must honor the foundation. Spring is the time for growth, and that includes your natural nails. A healthy nail is a happy nail!
Essential Elements:
- Biotin-infused oil
- Gentle buffer
- Non-acetone remover
How to Prepare:
- Massage cuticle oil into the matrix (the base of the nail) every single night.
- Avoid using your nails as tools to prevent micro-fractures in the keratin.
- Take a ‘polish break’ for 3 days every month to allow the nail plate to hydrate.
- Always wear gloves when gardening or cleaning to protect against harsh chemicals.
Budget Range
- CND SolarOil ($12)
- Ella + Mila Soy Polish Remover ($11)
- Vital Proteins Collagen ($25)
A Soft Farewell to Winter
I hope these tutorials bring a little bit of that soft, spring sunshine into your homes and onto your beautiful hands. Remember, nail art isn’t about perfection; it’s about the joy of creating something that makes you smile every time you look down. Whether you choose a bold Pucci swirl or a simple, healthy glow, do it with love for yourself. You deserve this moment of peace and beauty. Until next time, stay blooming!
Spring Nail FAQ
Q: How can I make my spring manicure last longer?
A: The secret is in the prep! Ensure your nails are completely free of oils by wiping them with alcohol before the base coat. Also, remember to ‘cap’ the free edge of your nail with polish to prevent lifting.
Q: What is the most popular nail color for Spring 2024?
A: We are seeing a huge move toward ‘Peach Fuzz’ (the Pantone Color of the Year) and soft, buttery yellows that mimic spring wildflowers.
Q: Can I do these tutorials with regular polish instead of gel?
A: Absolutely! Most of these designs work beautifully with traditional lacquer. Just be sure to give each layer plenty of time to dry to avoid smudging those gorgeous details.