
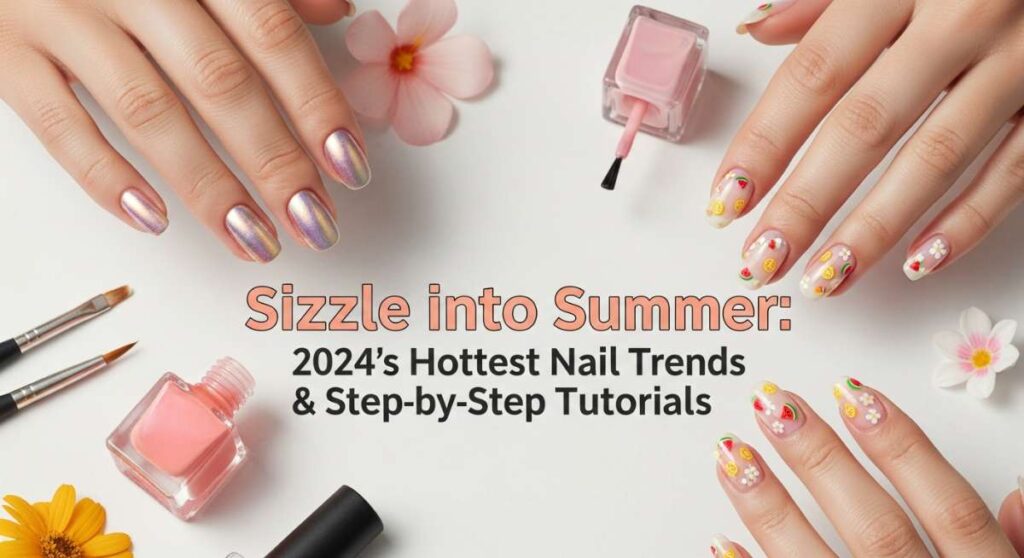
Sizzle into Summer: 2024’s Hottest Nail Trends & Step-by-Step Tutorials
Hi loves! Can you feel it? The air is getting warmer, the days are stretching longer, and there is that unmistakable magic in the breeze that says summer is finally here. For me, summer has always felt like a fresh start—a chance to shed the heavy layers of winter and embrace everything vibrant and light. It’s about sun-drenched afternoons, the smell of coconut sunscreen, and that deep, soul-soothing feeling of the sand between your toes.
One of my favorite ways to welcome the new season is by treating myself to a fresh manicure. There’s just something so empowering about looking down at your hands and seeing colors that reflect the joy in your heart. Whether you’re lounging by the pool or heading out for a sunset dinner, your nails are the ultimate accessory to your summer glow. Today, I’m so excited to share my favorite trends for 2024 with you, curated like a soft embrace for your creative spirit.
10 Steps to Create June Ombre Nails
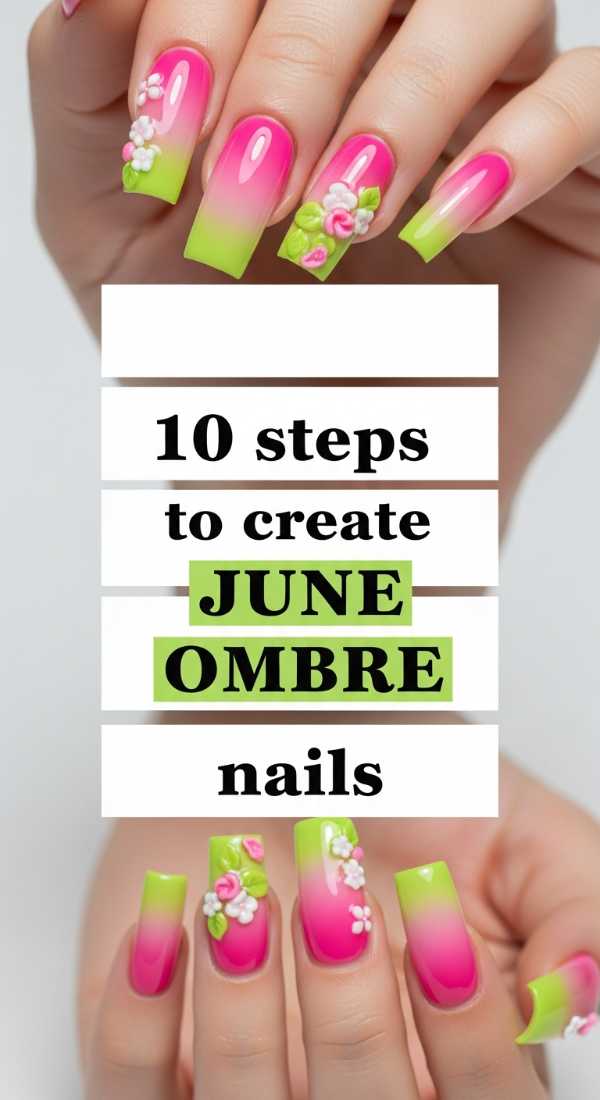
Why to love this Design:
This design is like wearing a June sunset right on your fingertips. The soft transition from a warm peach to a soft lavender captures that magical golden hour glow that we all wish could last forever. It’s feminine, dreamy, and perfectly transitions from a day at the office to a rooftop cocktail hour.
Essential Elements:
- Peach cream polish
- Lavender pastel polish
- Makeup sponge wedges
- Liquid latex or cuticle guard
- High-gloss top coat
How to Prepare:
- Clean and shape nails into a soft oval.
- Apply a clear base coat.
- Paint nails with two coats of the peach polish and let dry completely.
- Apply liquid latex around the skin of your nails.
- Paint a stripe of peach and a stripe of lavender onto the makeup sponge.
- Dab the sponge onto the nail repeatedly to blend.
- Repeat for a second layer of ombre depth.
- Peel off the liquid latex.
- Clean up edges with a brush dipped in acetone.
- Seal with a thick layer of top coat to smooth the gradient.
Budget Range
- Essie ‘Tart Deco’ ($10)
- OPI ‘You’re Such a BudaPest’ ($11)
- Generic Wedge Sponges ($5/pack)
Apply 5 3D Floral Accents Easily
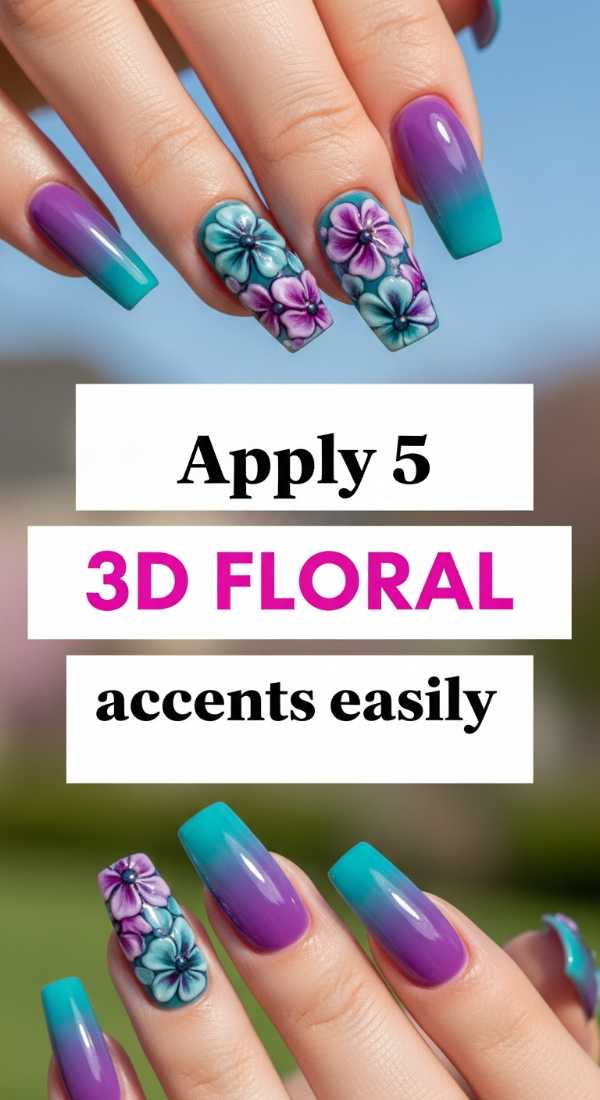
Why to love this Design:
There is something so incredibly romantic about 3D florals. It’s like having a tiny, blooming garden at your disposal. These accents add a touch of luxury and texture that makes your manicure look like a high-end salon creation, yet they are surprisingly simple to master with the right tools.
Essential Elements:
- 3D sculpting gel (white or pink)
- Silicone nail tool
- Tiny gold caviar beads
- Nail glue or resin
- Matte top coat (for the base)
How to Prepare:
- Apply your base color and a matte top coat.
- Take a tiny bead of sculpting gel on your silicone tool.
- Place the bead on the nail and press gently to form a petal.
- Repeat 5 times in a circular motion to create a flower.
- Use a dotting tool to place a tiny drop of glue in the center.
- Drop a gold bead into the center.
- Cure under a UV lamp if using gel.
Budget Range
- Saviland 4D Sculpture Gel ($8)
- Silicone Tool Set ($7)
- Beetles Matte Top Coat ($9)
7 Tips for Perfect Summer Trip Nails
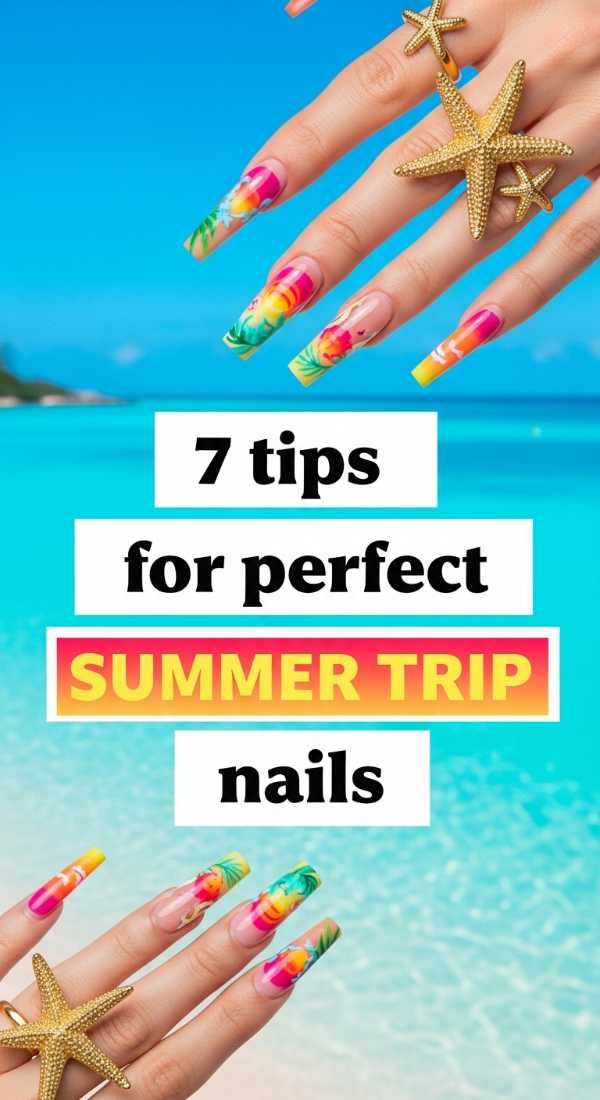
Why to love this Design:
When you’re traveling, the last thing you want to worry about is a chipped nail while you’re exploring a new city or swimming in the ocean. This approach focuses on durability and timeless style so you can stay present in your precious holiday moments.
Essential Elements:
- Gel polish kit
- Cuticle oil pen
- Short-medium almond shape
- Neutral or ‘milky’ base color
- UV protectant top coat
How to Prepare:
- Opt for a shorter length to prevent snagging on luggage.
- Choose a ‘Milky’ color to hide growth during long trips.
- Apply two thin coats of gel for maximum strength.
- Cap the free edge of the nail with polish to prevent lifting.
- Use a UV-resistant top coat to prevent yellowing in the sun.
- Pack a mini file for emergencies.
- Apply cuticle oil every night to combat salt water dryness.
Budget Range
- Gelish Mini Starter Kit ($35)
- SolarOil Cuticle Pen ($12)
- DND Milky White Gel ($9)
Master 4 Vibrant Gradient Nail Techniques
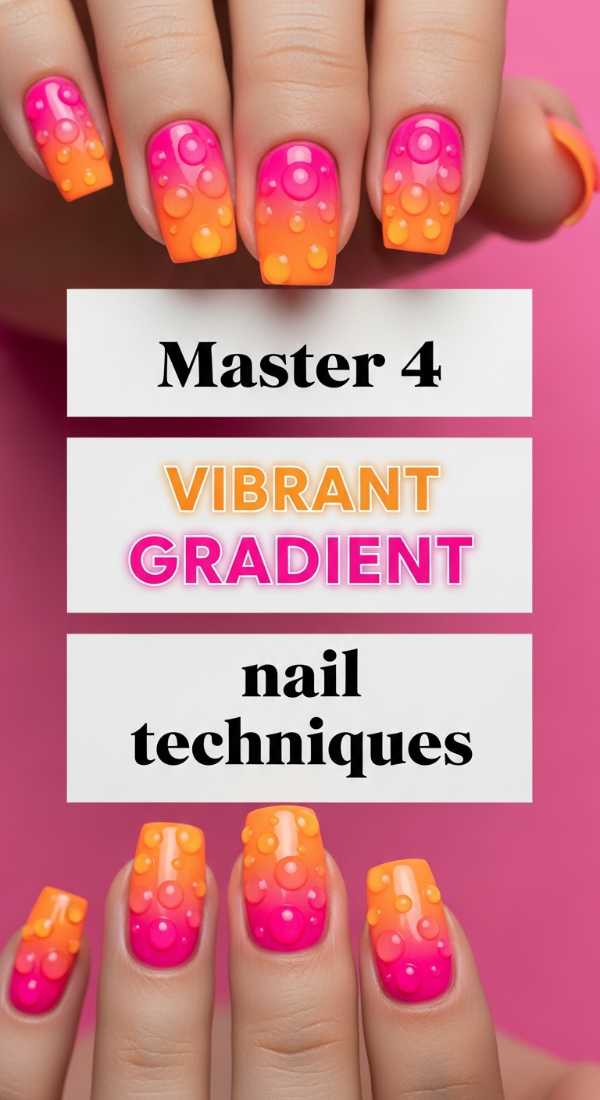
Why to love this Design:
Gradients are the cool, edgy cousin of the ombre. They allow you to play with high-contrast neon colors that scream summer energy. Mastering these four techniques ensures you’ll never have a boring manicure again, allowing your personality to shine through every flick of your hand.
Essential Elements:
- Neon yellow, pink, and orange polishes
- Fan brush
- Stippling brush
- Dry blending sponge
- Clean-up brush
How to Prepare:
- Horizontal Sponge Method: Classic side-to-side blending.
- Vertical Fan Brush Method: Dragging colors vertically for a streaked effect.
- The ‘Dry Brush’ Method: Using very little polish for a textured, artsy look.
- The Radial Blend: Blending from the center out using a small sponge.
Budget Range
- Orly Neon Earth Collection ($12/bottle)
- Nail Art Brush Set ($10)
- Acetone ($4)
Design 6 Holiday Nails for Your Vacation

Why to love this Design:
Holiday nails are all about storytelling! These six designs—ranging from nautical stripes to palm leaf silhouettes—are curated to match your vacation wardrobe perfectly. They evoke the feeling of ‘out of office’ mode the moment you look at them.
Essential Elements:
- Fine liner brushes
- Nail decals (palms/shells)
- Gold foil flakes
- Turquoise and white polish
- Coral cream polish
How to Prepare:
- Select your theme (Tropical, Nautical, or Desert).
- Apply your base holiday color.
- Use a liner brush for thin palm fronds.
- Apply gold foil to the ‘shoreline’ of a blue nail.
- Place a shell decal on the ring finger for an accent.
- Seal everything with a long-wear top coat.
Budget Range
- Amazon Nail Decal Variety Pack ($6)
- Holo Taco Gold Flake Skinny ($11)
- Zoya Coral Polishes ($12)
Get 8 Trendy June Nail Looks Fast
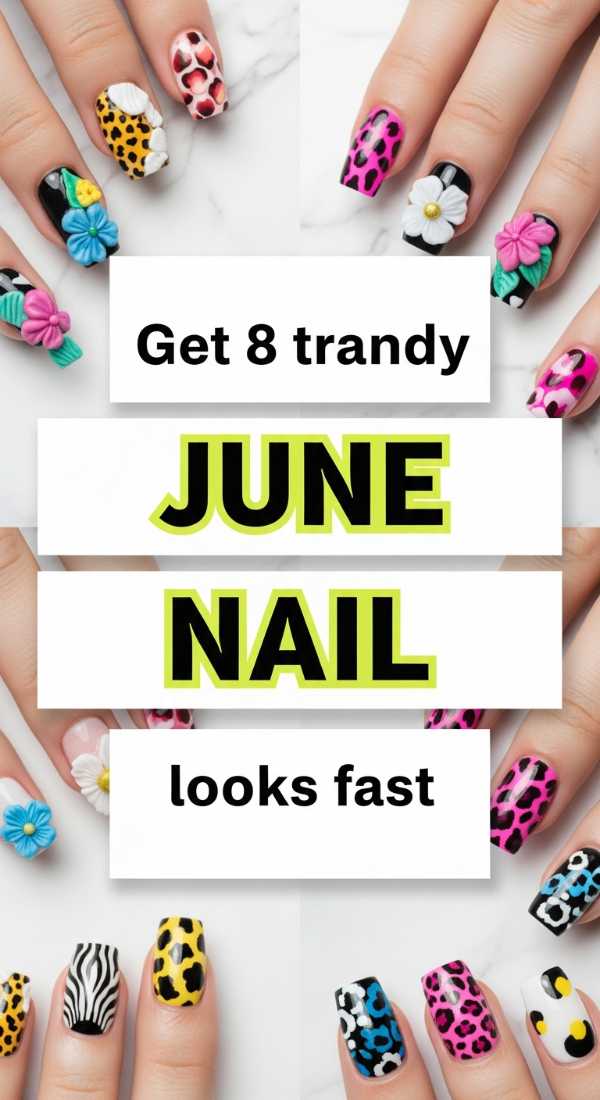
Why to love this Design:
Life is busy, but we still want to look chic! These eight looks are designed for the girl-on-the-go. They use ‘cheats’ like press-ons and stickers to achieve high-fashion results in under 20 minutes, giving you more time to soak up the sun.
Essential Elements:
- High-quality press-on nails
- Nail wraps
- Chrome powder pens
- Fast-dry drops
How to Prepare:
- Buff the natural nail surface for better adhesion.
- Apply trendy chrome powder over a dark base for instant shine.
- Use press-ons for an instant ‘coffin’ or ‘stiletto’ shape.
- Apply fast-dry drops to finish a traditional mani in seconds.
- Try mismatched ‘Skittle’ nails using colors you already own.
Budget Range
- Olive & June Press-ons ($10)
- Sally Hansen Insta-Dri ($6)
- Chrome Pen by Artdone ($9)
Create 3 Water Drop Nail Effects Perfectly
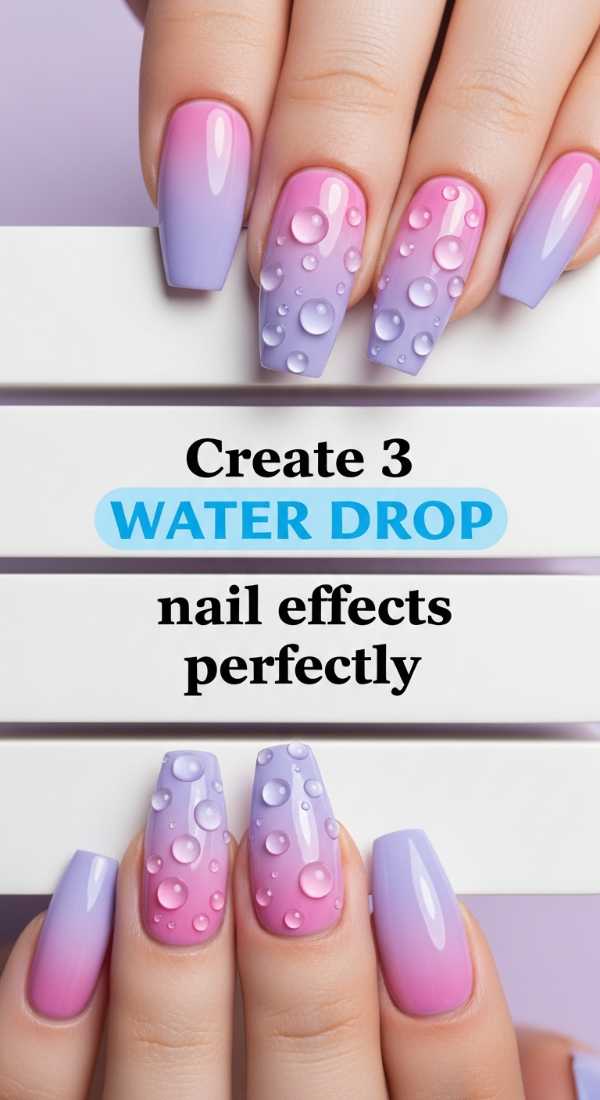
Why to love this Design:
This is arguably the coolest trend of 2024. It looks like actual droplets of morning dew or pool water are sitting on your nails. It’s a conversation starter that feels fresh, modern, and incredibly artistic.
Essential Elements:
- Matte top coat
- Clear builder gel or thick top coat
- Dotting tool
- UV/LED Lamp
How to Prepare:
- Paint your nails a solid ‘pool blue’ or ‘sea glass green’.
- Apply a matte top coat and cure.
- Dip your dotting tool into the clear builder gel.
- Carefully place various sized ‘drops’ onto the matte surface.
- Cure immediately so the drops don’t flatten out.
Budget Range
- Ibd Hard Gel Clear ($14)
- Dotting Tool Set ($5)
- Modelones Matte Top Coat ($7)
5 Ways to Style Neon Summer Nails
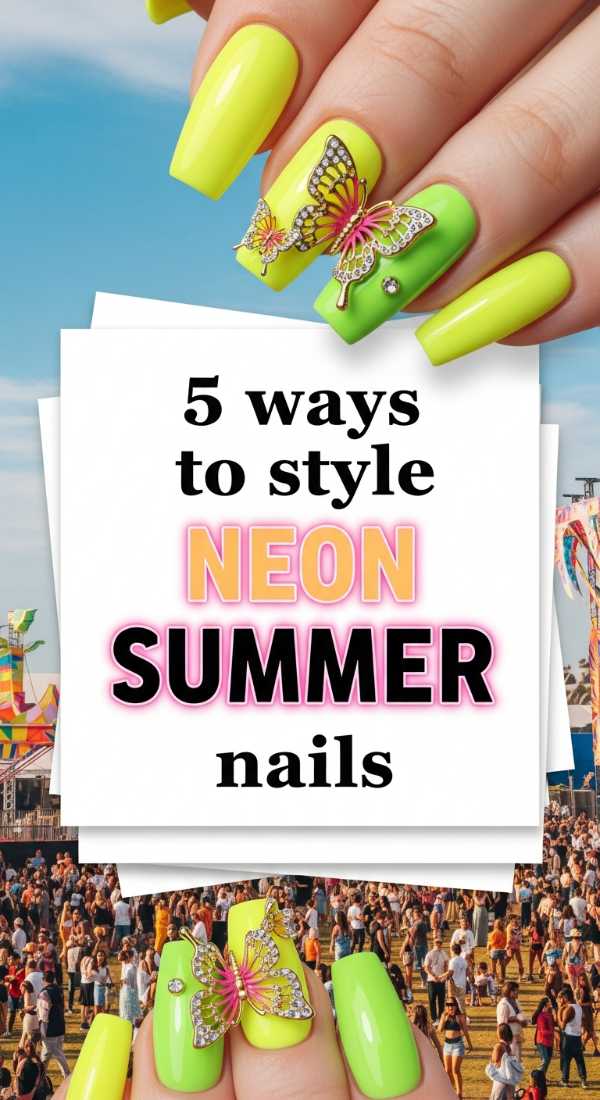
Why to love this Design:
Neons can be intimidating, but when styled correctly, they are the ultimate summer vibe. These five styling tips help you wear neon in a way that feels sophisticated rather than ‘middle school,’ balancing the brightness with modern design elements.
Essential Elements:
- Electric Lime polish
- Hot Pink polish
- White base coat (to make neons pop)
- Negative space tape
How to Prepare:
- Neon French Tips: Keep the base nude, only color the tips.
- Negative Space: Leave a half-moon at the base unpainted.
- Matte Neons: Gives a ‘velvet’ high-fashion look.
- Accent Finger: One neon nail, four neutral ones.
- Geometric Lines: Neon stripes over a clear base.
Budget Range
- China Glaze Neon Collection ($8/bottle)
- Striping Tape ($5)
- OPI Alpine Snow ($11)
Finish 9 Gorgeous Summer Holiday Nail Designs
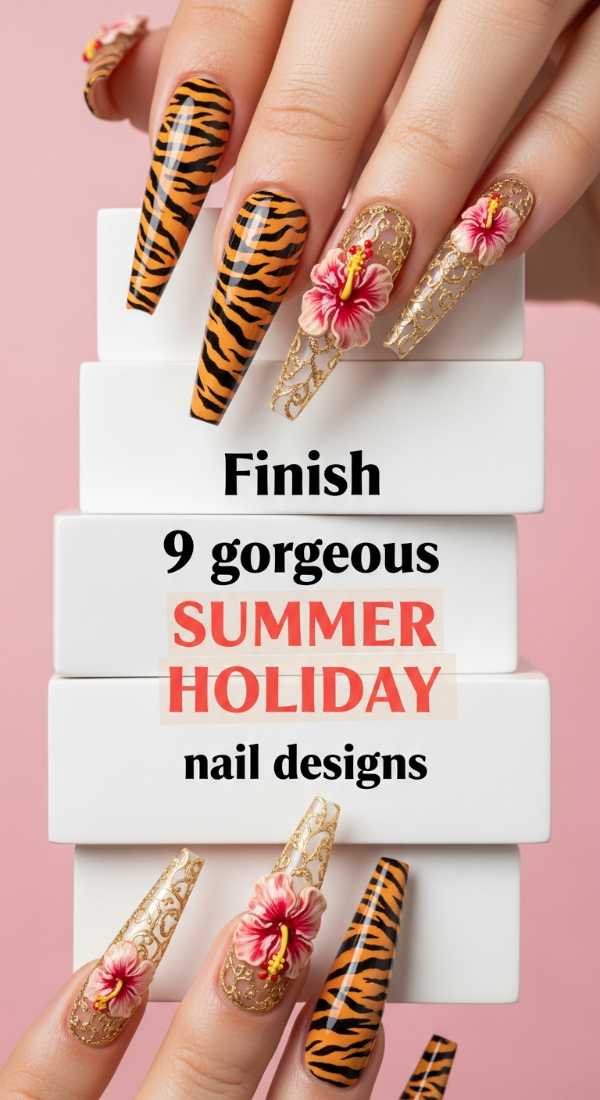
Why to love this Design:
This is the ultimate collection for the true nail enthusiast. These nine designs combine all the elements we’ve talked about—gradients, florals, and textures—to create a festive holiday look that celebrates the abundance of summer. It’s your summer bucket list, but for your nails!
Essential Elements:
- Glitter toppers
- Iridescent flakes
- Mermaid powder
- A variety of summer brights
How to Prepare:
- Start with a clean canvas.
- Layer iridescent flakes over a light blue.
- Create a ‘sand’ texture using tan polish and a sponge.
- Mix and match glitter on different fingers for a party vibe.
- Ensure each nail tells a part of the summer story.
Budget Range
- ILNP Summer Collection ($10/bottle)
- Born Pretty Mermaid Powder ($7)
- Seche Vite Dry Fast Top Coat ($9)
A Summer Farewell to Your Fingertips
I hope these designs inspire you to play, create, and embrace your most vibrant self this summer, my loves. Remember, your nails are just another way to express the beautiful light you carry inside. Whether you choose a simple neon tip or a complex 3D floral garden, wear it with confidence and a smile. You are a work of art, from your heart right down to your fingertips. Happy summer painting!
Frequently Asked Questions
Q: How can I make my summer manicure last longer in pool water?
A: Chlorine can be harsh! Always apply a fresh layer of top coat every 2-3 days and rinse your hands with fresh water after swimming to remove chemicals.
Q: Which nail shape is best for summer activities?
A: I recommend a ‘Squoval’ or a short ‘Almond.’ They are stylish but less prone to breaking during outdoor activities like hiking or beach volleyball.
Q: Can I do 3D nail art on natural nails?
A: Absolutely! Just ensure you use a strong nail glue or a thick builder gel to secure the accents so they don’t pop off during your daily adventures.