
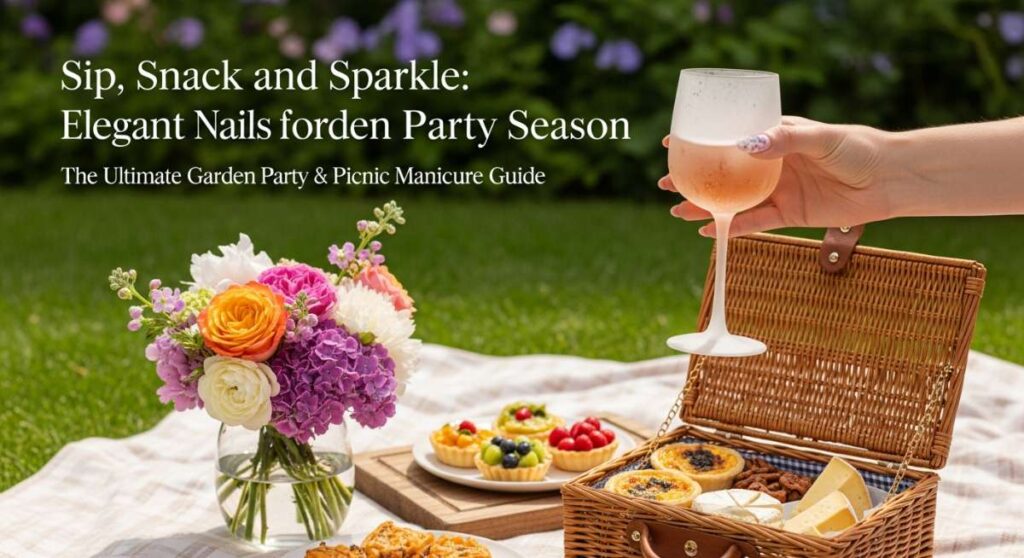
Sip, Snack, and Sparkle: Elegant Nails for Garden Party Season
Hello, my loves! Can you feel it? That first, gentle whisper of summer tickling the air, carrying the scent of blooming jasmine and freshly cut grass. There is something so magical about garden party season—the clink of ice in vintage glassware, the soft ruffles of a sundress, and the way the golden hour light makes everything seem like a dream. It’s a time for slow afternoons and making memories with the people who fill our hearts with sunshine.
When we gather under the shade of a willow tree or share a picnic blanket in the park, every little detail adds to the romance of the moment. I always find that a fresh, whimsical manicure is the ultimate finishing touch to my garden party ensemble. It’s like carrying a little piece of art on your fingertips while you reach for a strawberry or sip your elderflower spritz. Today, I’m so excited to share my favorite ways to bring that garden magic to your nails.
Grab a cup of tea, settle into your favorite cozy chair, and let’s explore these dreamy nail looks together. From sweet cherries to delicate bows, we’re going to make sure your hands are just as sparkling as your conversation. Here is your ultimate guide to picnic-perfect nails that feel like a warm, cloud-soft embrace for your soul.
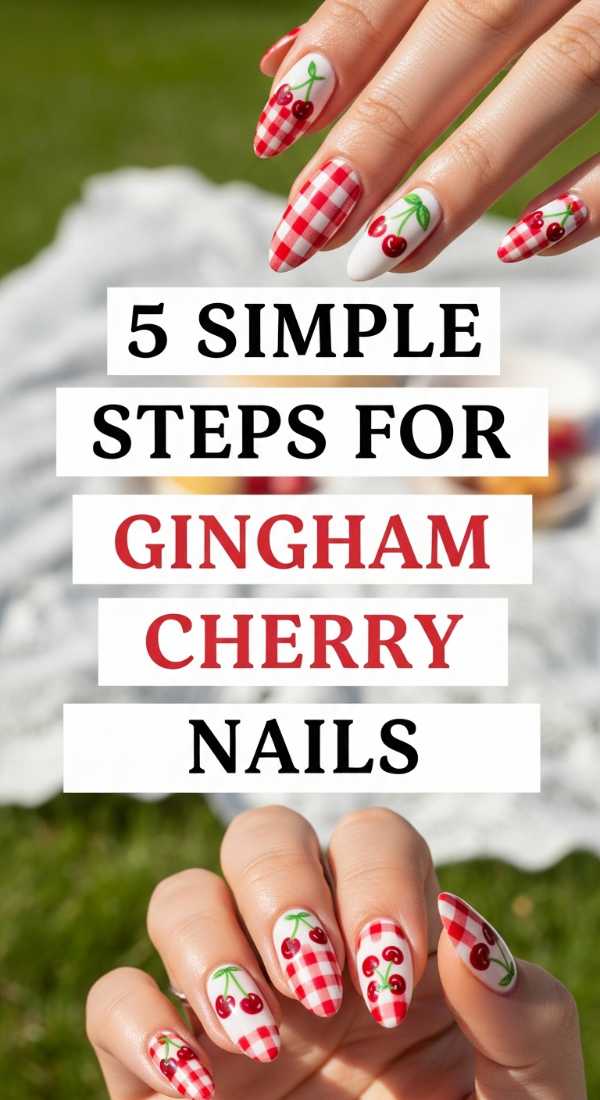
5 simple steps for gingham cherry nails
Why to love these Nails:
Oh, my darlings, is there anything more iconic than gingham for a picnic? This look is pure nostalgia, wrapped in a modern, chic bow. It feels like a sunny afternoon in the countryside, reminding us of simpler times and sweet laughter.
Essential Items:
- Soft white polish
- Cherry red polish
- Fine detail brush
- Pale pink or light red for the grid
- Glossy top coat
How to Prepare:
- Paint your base with two coats of creamy white.
- Use your detail brush to draw thin horizontal lines in pale pink.
- Add vertical lines to create your gingham check pattern.
- Place two small red dots for the cherries at the intersection of lines.
- Finish with a tiny green stem and a high-shine top coat.
Budget Range
- Essie ‘Marshmallow’ – $10.00
- OPI ‘Big Apple Red’ – $11.50
- Holo Taco Detail Brush Set – $15.00
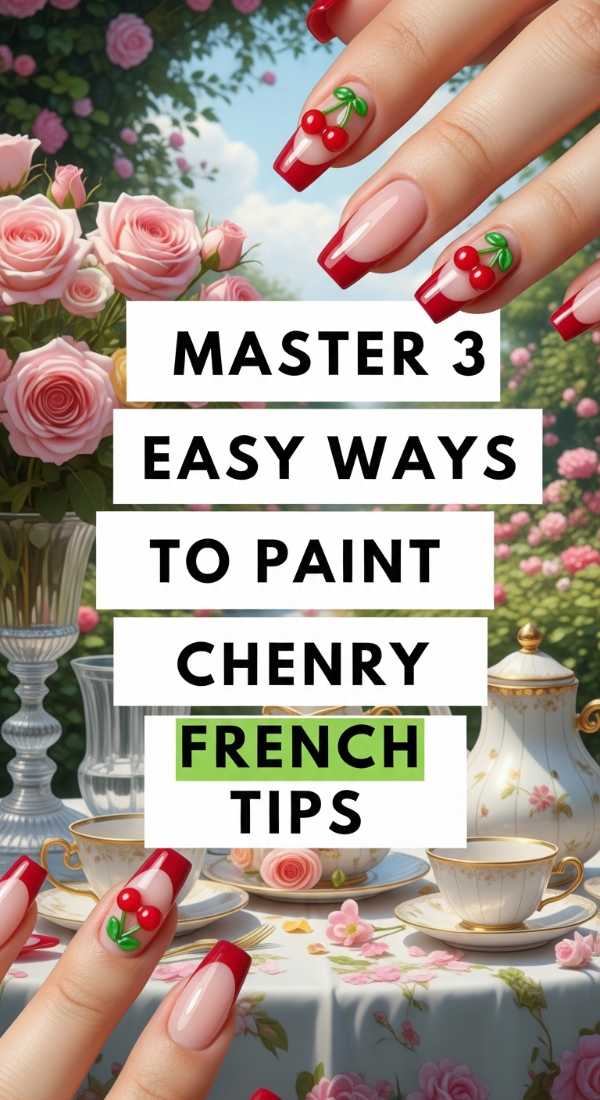
Master 3 easy ways to paint cherry french tips
Why to love these Nails:
This is for my loves who adore a classic French tip but want a playful, fruity twist. It’s sophisticated enough for a garden wedding yet whimsical enough for a backyard BBQ. It’s the perfect balance of elegance and fun.
Essential Items:
- Nude or sheer pink base polish
- Bright red polish
- Leaf green polish
- Dotting tool
How to Prepare:
- Apply your sheer base and paint a classic red tip across the edge.
- Using a dotting tool, place two red circles slightly below the tip line.
- Connect them with a delicate ‘V’ shaped green stem using a toothpick or thin brush.
Budget Range
- Olive & June ‘CCT’ Base – $9.00
- Sally Hansen Insta-Dri Red – $7.00
- Nail Art Dotting Tools – $5.00
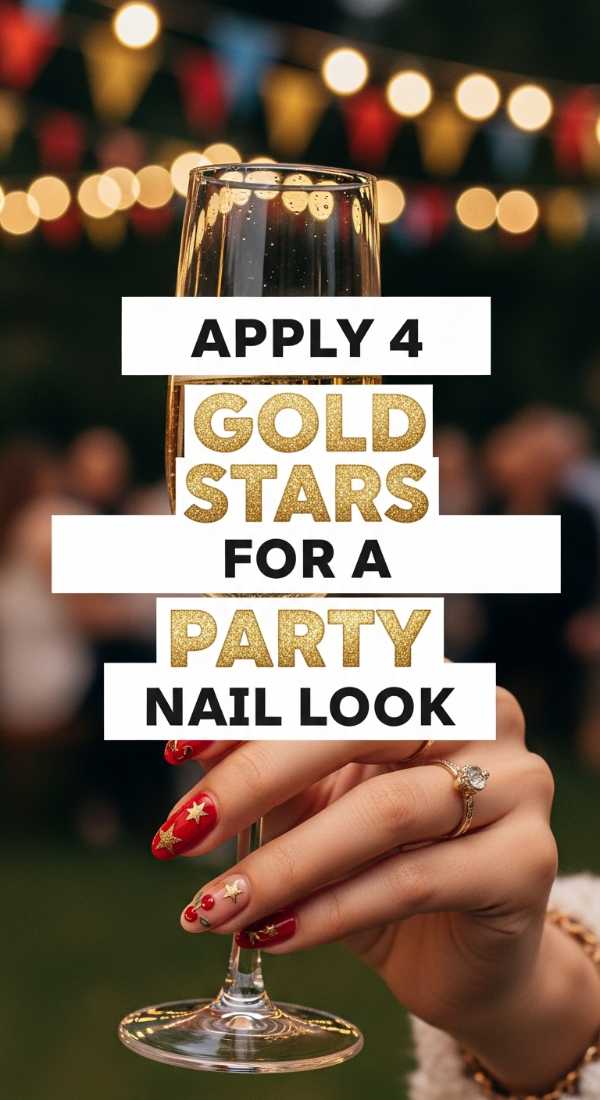
Apply 4 gold stars for a party nail look
Why to love these Nails:
Imagine your nails catching the afternoon sun as you toast to good friends! These gold stars add a touch of celestial magic to your garden party look. It’s effortless glamour that feels like bottled starlight on your fingers.
Essential Items:
- Clear or nude base polish
- Gold star decals or sequins
- Tweezers
- Strong adhesive top coat
How to Prepare:
- Prep with a clean, buffed nail and a clear base coat.
- Use tweezers to carefully pick up a gold star.
- Press the star onto the center or corner of the nail while the base is tacky.
- Seal with two thick layers of top coat to ensure the edges don’t snag.
Budget Range
- Deco Miami Nail Decals – $8.00
- Zoya Anchor Base Coat – $12.00
- Amazon Star Sequin Set – $6.00
Draw 6 cute bows for a garden party style
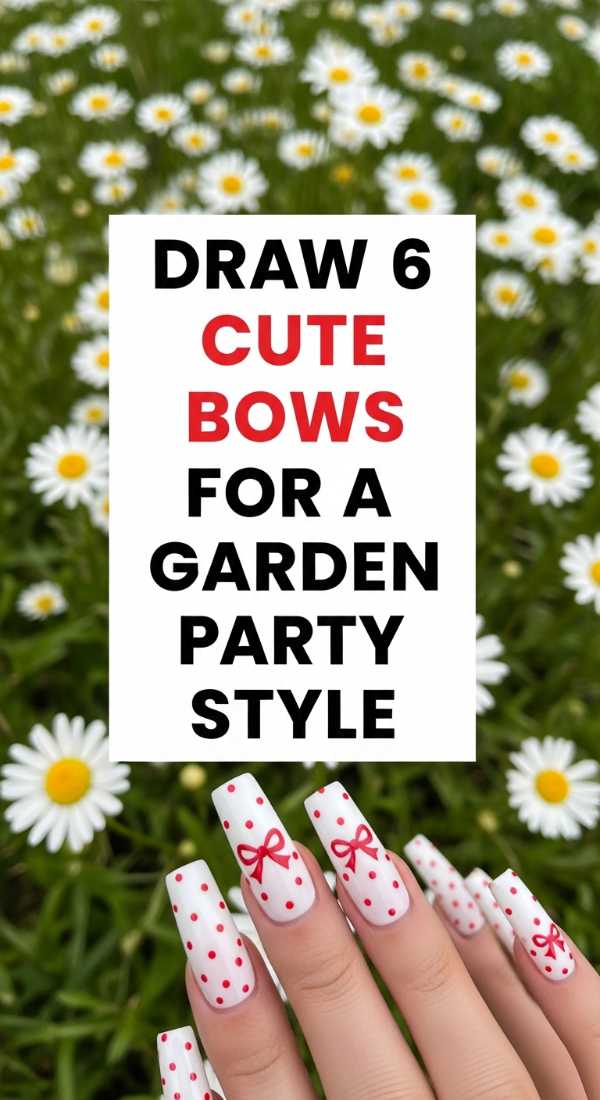
Why to love these Nails:
The coquette aesthetic is just perfect for the garden, isn’t it? These tiny bows look like they’ve been plucked right off a vintage tea dress. They are incredibly feminine and add a soft, romantic touch to your overall vibe.
Essential Items:
- Pastel base (lilac or mint)
- White or cream liner polish
- Ultra-fine detail brush
- Matte or glossy top coat
How to Prepare:
- Apply your pastel base color and let it dry completely.
- Paint a tiny dot in the center of your nail.
- Draw two small triangles pointing toward the dot for the loops.
- Add two soft, flowing lines coming down for the tails.
- Fill in the loops gently.
- Seal with your preferred finish.
Budget Range
- Orly ‘Bonder’ Base – $15.00
- Lights Lacquer ‘Paper Snow’ – $13.00
- Nail Art Liner Pen – $9.00
Create 7 edgy designs with cherries and 8-balls
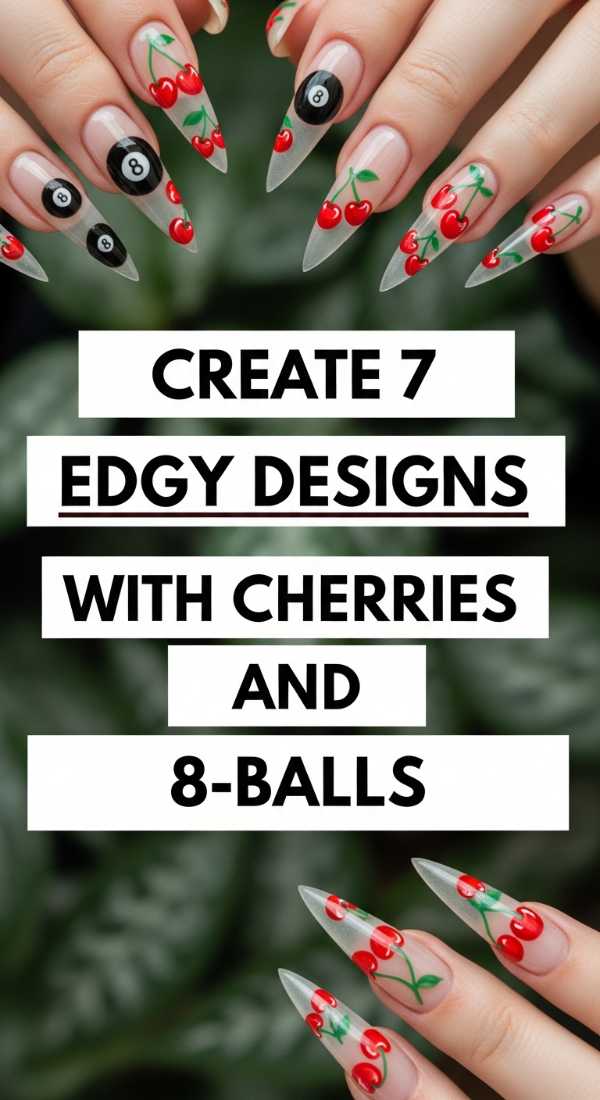
Why to love these Nails:
For my loves who like a bit of spice with their sweetness! This design mixes the soft cherry motif with an edgy 8-ball element. It’s unexpected, cool, and perfect for a garden party that turns into a moonlit dance session.
Essential Items:
- Jet black polish
- Crisp white polish
- Cherry red polish
- Precision brush
How to Prepare:
- Paint one accent nail black for the 8-ball.
- Create a white circle in the center of the black nail.
- Once dry, paint a black ‘8’ inside the white circle.
- On the other nails, paint classic cherry duos.
- Add tiny white ‘reflection’ dots to both the cherries and the 8-ball.
- Add green stems.
- Finish with a high-gloss coat.
Budget Range
- Mooncat ‘Emo For Life’ – $14.00
- Cirque Colors ‘Carpe Diem’ – $12.50
- Maniology Nail Art Brushes – $12.00
Get 4 picnic ready red nail looks today
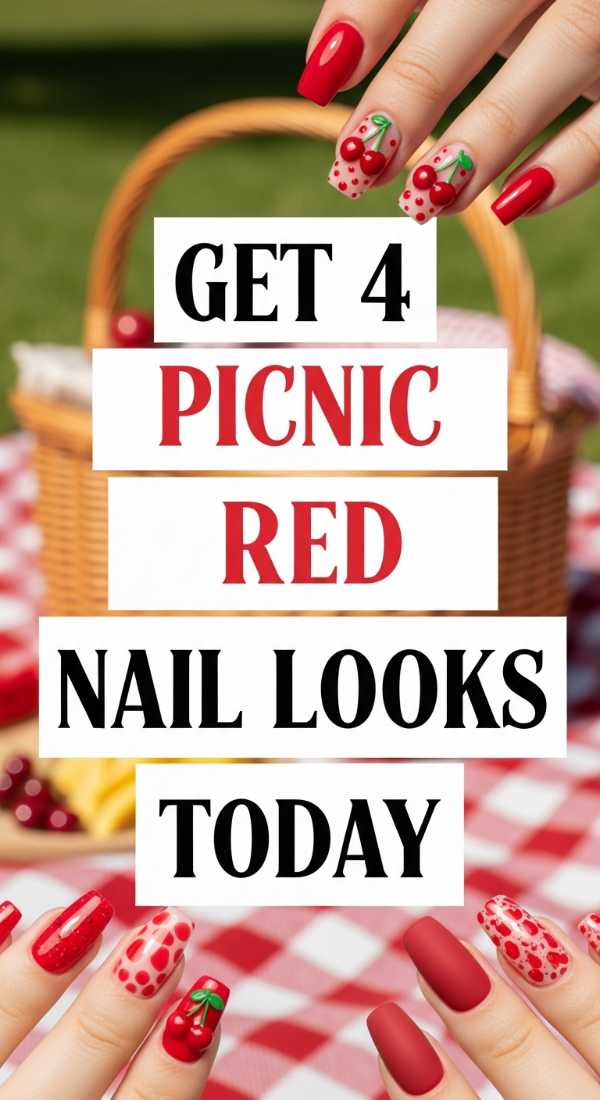
Why to love these Nails:
Sometimes, a classic red is all you need to feel powerful and beautiful. These variations on the red theme are designed to pop against the green grass and white picnic linens. It’s a timeless choice that never goes out of style.
Essential Items:
- Classic red cream polish
- Red glitter topper
- Matte top coat
- Red jelly polish
How to Prepare:
- Choose one finger for a ‘jelly’ finish (sheer red).
- Paint two fingers in a solid, high-pigment cream red.
- Apply a subtle glitter topper to the pinky nail.
- Use a matte top coat on the thumb for a modern contrast.
Budget Range
- Revlon ‘Cherries in the Snow’ – $6.00
- Chanel ‘Le Vernis’ in Pirate – $32.00
- Essie Matte About You – $10.00
Try 3 heart and cherry combos for summer
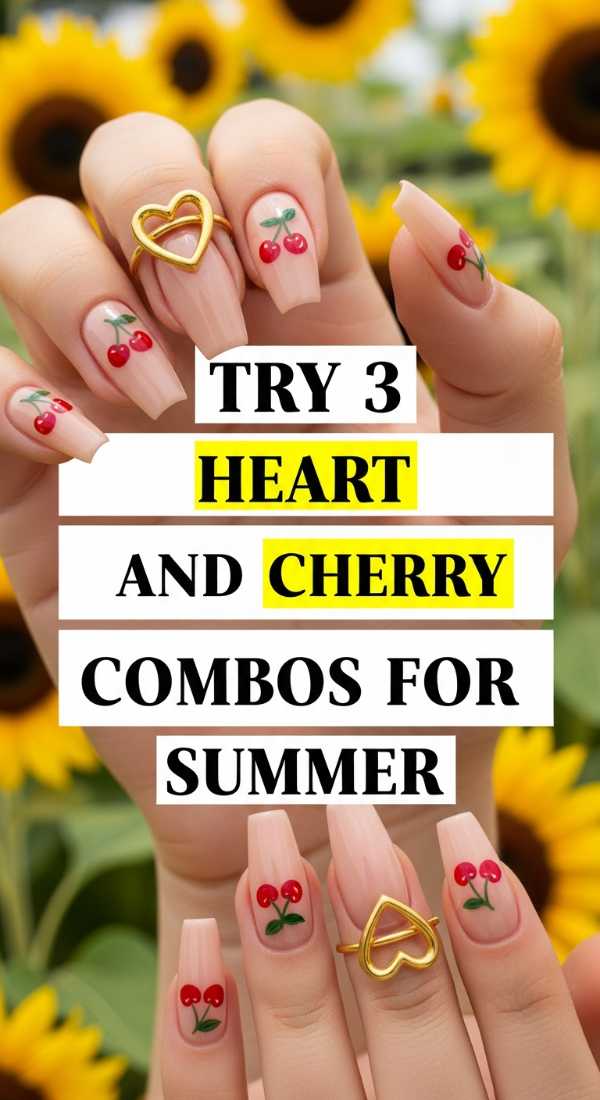
Why to love these Nails:
This look is all about love, sweetness, and the joy of summer. By combining tiny hearts with cherries, you’re creating a manicure that feels like a love letter to the season. It’s absolutely precious and so easy to admire.
Essential Items:
- Soft pink base
- Red polish
- Green polish
- Fine tip brush
How to Prepare:
- Apply a soft pink base to all nails.
- Paint a small red heart on your ring finger.
- On the middle finger, turn two red hearts into the base of cherries by adding stems.
Budget Range
- Butter London ‘Piece of Cake’ – $18.00
- Deborah Lippmann Red – $20.00
- Nail Art Stickers (Hearts) – $4.00
Paint 5 white base nails with cherry patterns
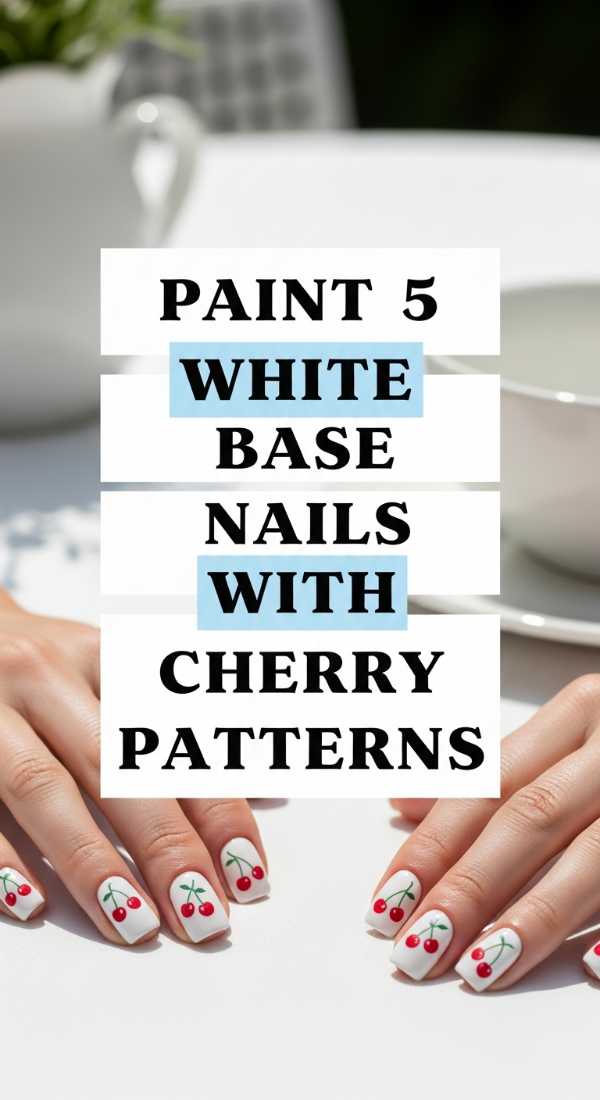
Why to love these Nails:
There is nothing cleaner or more refreshing than a crisp white base. It makes the red of the cherries look so juicy and vibrant! This look is like a bowl of fresh fruit served on a porcelain plate—elegant and appetizing.
Essential Items:
- Opaque white polish
- Red dotting tool or polish
- Green liner polish
How to Prepare:
- Apply two coats of opaque white (ensure it’s streak-free!).
- Randomly scatter pairs of red dots across each nail.
- Connect the pairs with delicate green ‘cherry’ stems.
- Add a tiny leaf to a few of the stems.
- Seal with a UV-protectant top coat to keep the white bright.
Budget Range
- Londontown ‘Lakur’ White – $16.00
- Nails Inc. Gel Effect – $15.00
- Seche Vite Dry Fast Top Coat – $9.00
Follow 2 steps for a high gloss party finish
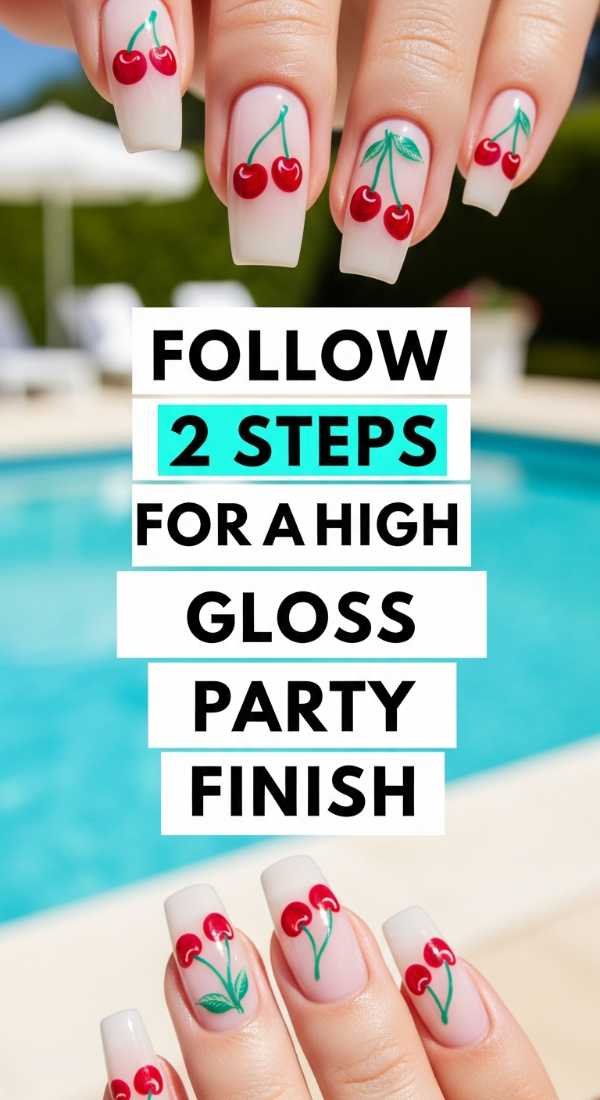
Why to love these Nails:
The secret to a professional-looking DIY manicure is the finish! A high-gloss, glass-like shine makes even the simplest design look expensive and polished. It reflects the light beautifully as you move your hands.
Essential Items:
- Plumping top coat
- Cuticle oil
How to Prepare:
- Apply a thick layer of a ‘plumping’ or ‘gel-effect’ top coat over your design.
- Once dry, massage a drop of rose-scented cuticle oil into each finger for that healthy, hydrated glow.
Budget Range
- CND SolarOil – $13.00
- Essie Gel Couture Top Coat – $13.00
Use 3 stickers for instant garden party nails
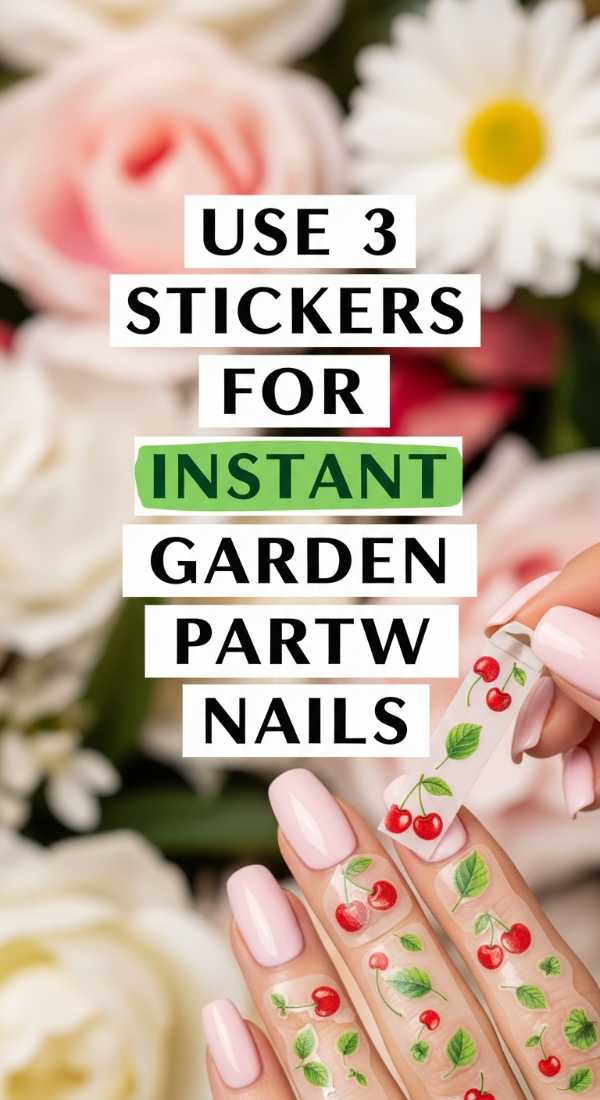
Why to love these Nails:
For my loves who are short on time but still want to sparkle! Nail stickers have come such a long way; they look painted on but take only seconds. They are the perfect ‘cheat code’ for a flawless garden party look.
Essential Items:
- Neutral base polish
- Garden-themed nail stickers
- Top coat
How to Prepare:
- Apply your base color and let it dry completely (this is key!).
- Peel and place your sticker using tweezers.
- Smooth it down and seal it with a clear top coat.
Budget Range
- ManiMe Gel Stickers – $15.00
- Deco Miami Stickers – $8.00
- Amazon Floral Decal Pack – $5.00
Embrace the Summer Magic
As you prepare for your next garden gathering, remember that the most beautiful thing you can wear is your joy. These nail designs are just a little way to celebrate the season and express your lovely self. Whether you choose the bold cherries or the soft, twinkling stars, I hope your day is filled with laughter, delicious treats, and a heart full of peace. You deserve to sparkle, my loves, inside and out. Until next time, keep shining!