

Serene Sanctuaries: Elevating Your Home Aesthetic into a Dreamscape
There is a profound, soul-stirring magic in arriving home to a space that feels like a deep exhale. We often spend our days navigating a world that is loud, hurried, and chaotic, which makes the sanctity of our personal environment more vital than ever. Transforming your home into a dreamscape isn’t just about following the latest trends; it’s about curating a sensory experience that reflects your inner peace and sparks joy every time you catch the golden hour light hitting your favorite corner.
In this guide, we are diving deep into the art of the sanctuary. From the tactile warmth of a retro-inspired bedroom to the soft rustle of a vertical garden providing a private green screen for your morning coffee, we’re exploring how to elevate every inch of your property. Whether you have a sprawling backyard or a modest suburban plot, these transformations are designed to turn the ‘ordinary’ into the ‘ethereal,’ creating a home that feels like a permanent vacation for the spirit.
How to Design Dreamy Front Yard Flower Beds for Instant Curb Appeal

Why we love this
There is something undeniably romantic about a front yard that looks like a watercolor painting come to life. We love this approach because it replaces the monotonous green lawn with a tapestry of textures—the soft, pillowy plumes of lavender, the structural elegance of foxgloves, and the honeyed aroma of creeping thyme. Walking up your driveway becomes an immersive sensory journey where the sweet scent of blooming jasmine greets you, and the sight of hummingbirds dancing between perennials reminds you that life is vibrant and beautiful right at your doorstep.
Essential Elements:
- High-quality organic compost and nutrient-rich topsoil
- Tiered perennials (delphiniums, coneflowers, salvia)
- Natural stone edging or cedar borders
- Hardwood mulch in a dark, natural tone
- A focal point shrub (like a Hydrangea Paniculata or a Japanese Maple)
How to make it
- Begin by outlining your bed shape using a garden hose to create fluid, organic curves rather than rigid straight lines; this mimics the natural flow of a meadow.
- Examine your soil texture; if it’s heavy clay, mix in a 4-inch layer of compost and expanded shale to ensure drainage is impeccable—waterlogged roots are the enemy of a dreamy garden.
- Arrange your plants according to the ‘Thriller, Filler, Spiller’ method, placing your tallest specimens at the back (or center if it’s an island bed) and tapering down to low-growing groundcovers at the edge.
- Dig holes twice as wide as the root ball, ensuring the crown of the plant sits exactly level with the soil surface; firm the earth gently to remove air pockets without compacting the soil.
- Apply a 3-inch layer of mulch, keeping it a few inches away from the stems of the plants to prevent rot, then water deeply until the soil is saturated but not muddy to help the roots establish.
How to Create Modern Rock Landscaping for a Sophisticated Garden Look

Why we love this
Modern rock landscaping is the epitome of ‘quiet luxury’ for the outdoors. We adore the clean lines and the stark, beautiful contrast between the rugged, cold texture of grey river stones and the soft, feathery movement of ornamental grasses. It provides a structured, low-maintenance aesthetic that feels incredibly grounded and timeless. When the rain hits the stones, they deepen in color, creating a dark, moody landscape that looks just as stunning in the dead of winter as it does in the height of summer, all while being eco-friendly and water-wise.
Essential Elements:
- Washed river rocks or Mexican beach pebbles
- Large structural basalt boulders
- Professional-grade landscape fabric
- Steel or aluminum landscape edging
- Architectural plants like Blue Fescue or Yucca
How to make it
- Excavate the area to a depth of 4 inches, ensuring a slight slope away from your home’s foundation to manage water runoff effectively.
- Install heavy-duty weed barrier fabric, overlapping the seams by at least 6 inches and pinning them down securely with landscape staples to prevent any rogue green shoots from breaking the minimalist look.
- Place your large boulders first, ‘burying’ the bottom third of the stone in the ground; this makes them look like they have been there for centuries rather than just sitting on top of the soil.
- Install your metal edging along the perimeter, ensuring it sits about an inch above the final rock level to keep the pebbles perfectly contained within their designated zones.
- Distribute your smaller stones evenly across the surface, using a rake to level them out, and then spray them down with a hose to wash away any dust, revealing their true, vibrant colors.
How to Modernize a Ranch Exterior for a Chic Suburban Upgrade

Why we love this
Ranch homes have such incredible bones, and modernizing them feels like unlocking a hidden treasure. We love the transformation from a dated, 1970s brick facade to a sleek, contemporary masterpiece using high-contrast colors and natural wood accents. It’s about celebrating the long, low profile of the home while adding vertical elements to create visual intrigue. The result is an exterior that feels grounded in history but looks forward with sophisticated materials, making your home the undisputed jewel of the neighborhood with its clean lines and warm, inviting entrance.
Essential Elements:
- Matte black or charcoal exterior paint
- Vertical cedar slat siding or accents
- Modern gooseneck or cylinder outdoor lighting
- A bold, minimalist front door (think walnut or vibrant orange)
- Clean-lined black window frames
How to make it
- Start with a thorough pressure wash of all exterior surfaces to remove chalking paint and mildew; this is critical for the new paint to bond permanently to the brick or siding.
- Apply a high-quality masonry primer if you are painting brick, using a thick-nap roller to ensure every crevice and mortar line is completely sealed and uniform in appearance.
- Install vertical cedar slats over a portion of the porch or as a decorative screen; ensure you use stainless steel screws to prevent rust streaks and finish with a UV-resistant clear coat to keep the wood from greying.
- Replace old, ornate hardware with oversized, matte black address numbers and a sleek mailbox; the visual cue for ‘modern’ is often found in these small, sharp details.
- Update your lighting fixtures to 3000K LED bulbs; this temperature provides a warm, sophisticated glow that highlights the architectural lines without feeling clinical or harsh.
How to Build an Outdoor Play Sanctuary for Endless Summer Fun
Why we love this
Forget the primary-colored plastic eyesores; a modern play sanctuary is a wooden wonderland that blends seamlessly into the landscape. We love this because it encourages ‘slow play’ and imagination—think mud kitchens where kids ‘bake’ with flower petals and sturdy wooden climbing frames that feel like a forest adventure. It’s a space where the air is filled with laughter and the earthy scent of cedar wood, designed to be so beautiful that the adults want to hang out there too. It turns a backyard into a childhood dreamscape that grows with your family.
Essential Elements:
- Pressure-treated timber or cedar beams
- Rubber mulch or pea gravel for a soft landing
- Canvas bell tent or wooden playhouse
- Interactive elements like a chalkboard wall or sandpit
- Solar-powered fairy lights for evening magic
How to make it
- Select a level, well-drained area of the yard and mark a perimeter that allows for a 6-foot ‘fall zone’ around all climbing equipment for safety.
- Construct a sturdy frame using 4×4 cedar posts, ensuring they are sunk at least 2 feet into the ground and anchored with quick-set concrete for absolute stability.
- Sand all wooden surfaces with 120-grit sandpaper until they are buttery smooth to the touch; this prevents splinters and allows the natural grain of the wood to shine through.
- Install a heavy-duty landscape fabric base and fill the area with 4 inches of certified play-grade wood chips; the visual cue for safety is a consistent depth that feels bouncy underfoot.
- Add ‘lifestyle’ touches like a small wooden bench for reading and a weather-proof bin for toys to ensure the sanctuary stays organized and inviting throughout the season.
How to Construct a Vertical Garden Trellis for Ultimate Backyard Privacy
Why we love this
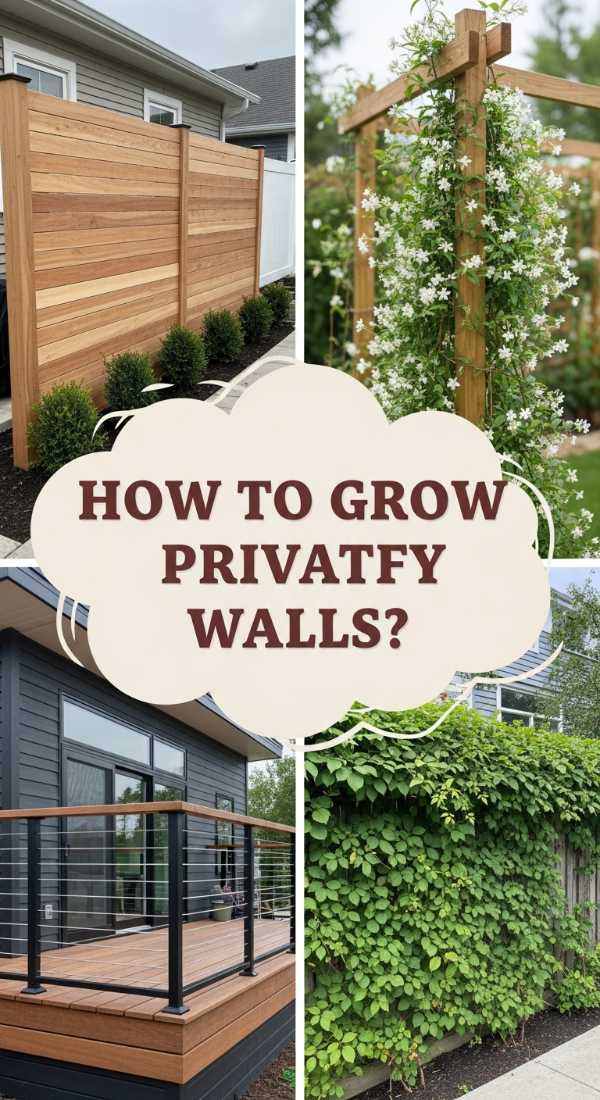
There is nothing quite like the feeling of being cocooned in greenery. We love a vertical garden trellis because it’s a living, breathing wall that offers privacy without the ‘fortress’ feel of a tall fence. As the vines—be it fragrant honeysuckle or lush clematis—climb upward, they create a shimmering curtain of leaves that dances in the breeze. It filters the sunlight, creating dappled shadows on your patio and infusing the air with the freshness of a forest glade, making your outdoor space feel like a secret garden hidden away from the rest of the world.
Essential Elements:
- Cedar or redwood 2×2 slats
- Heavy-duty galvanized wire mesh or cattle panels
- Exterior grade wood stain
- Climbing plants (Star Jasmine, Wisteria, or Hops)
- Deep planter boxes or direct ground soil
How to make it
- Build a rectangular frame using 4×4 posts and 2×4 cross-beams, ensuring the structure is tall enough to block unwanted views but matches the scale of your patio.
- Attach the wire mesh to the back of the frame using galvanized staples every 6 inches; ensure the mesh is pulled taut so it doesn’t sag under the weight of heavy vines.
- Stain the wood with a rich ebony or natural oak finish to protect it from moisture; wait at least 24 hours for the stain to be completely dry to the touch before planting.
- Plant your climbers at the base, spaced about 12 inches apart; use soft garden twine to gently ‘train’ the first few runners onto the mesh, looping them in a figure-eight pattern.
- Prune any wayward stems every two weeks during the growing season to encourage lateral growth; the goal is to fill the mesh gaps until you have a solid wall of verdant foliage.
How to Refresh a Boring Patio for a Budget Friendly Backyard Oasis

Why we love this
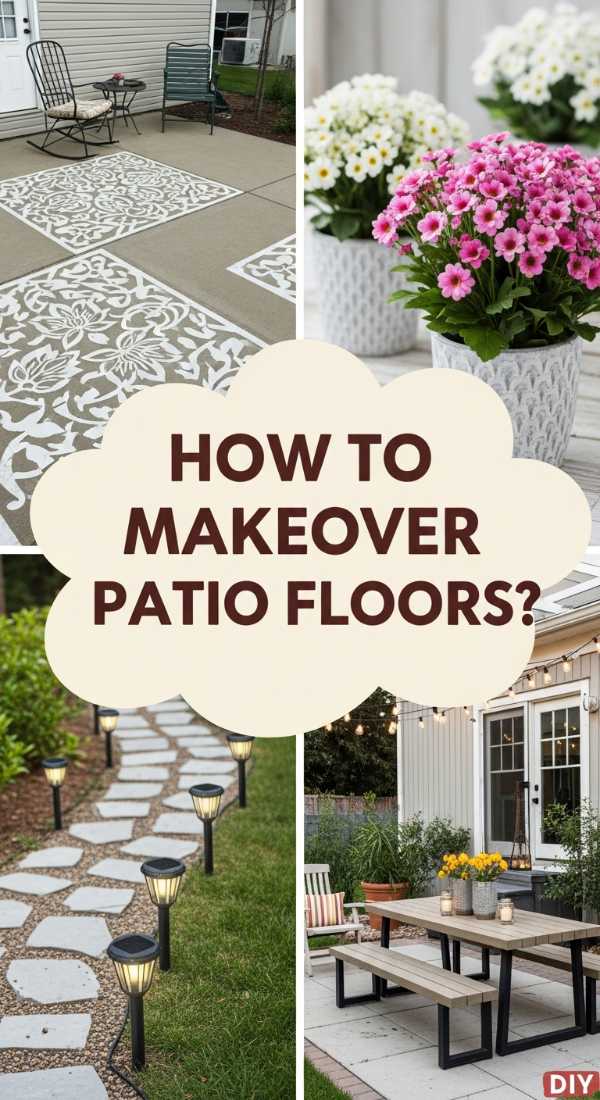
You don’t need a massive renovation budget to create a space that feels like a boutique hotel terrace. We love a patio refresh because it’s all about the power of styling and small DIY wins. By layering an outdoor rug over tired concrete and adding a fleet of terracotta pots filled with architectural plants, you transform a flat surface into a multi-dimensional retreat. The glow of string lights against a freshly painted floor creates an evening ambiance that is undeniably cozy, proving that luxury is a feeling you can create with a little paint and a lot of imagination.
Essential Elements:
- Concrete porch paint or a large outdoor rug
- Strand globe lights (Edison style)
- Assorted planters in varying heights
- Weather-resistant floor pillows and cushions
- A small bistro set or repurposed pallet sofa
How to make it
- Clean the patio surface thoroughly with a degreaser and a stiff brush; if painting, use a concrete etch to ensure the surface is porous enough for the paint to ‘bite.’
- Apply two coats of anti-slip concrete paint in a modern neutral like greige or slate grey, allowing 24 hours of dry time between coats to ensure a durable, professional finish.
- String globe lights overhead in a ‘zig-zag’ pattern, using eye-hooks and a guide wire to prevent the lights from sagging too low or blowing around in the wind.
- Group your planters in odd numbers (sets of 3 or 5) at the corners of the patio; vary the heights to create a ‘nested’ look that draws the eye upward.
- Layer an outdoor rug that is large enough for all furniture legs to sit on; this ‘anchors’ the space and creates the visual illusion of a defined outdoor room.
How to Arrange a Clean Duck Enclosure for a Happy Farm Life

Why we love this
Living the cottagecore dream often involves a few feathered friends, and a clean duck enclosure is the key to a harmonious backyard farm. We love this setup because it balances functionality with aesthetic charm—think a crisp white coop surrounded by soft clover and a sparkling water feature. Ducks are incredibly joyful creatures to watch, and when their space is designed with proper drainage and fresh straw, it becomes a peaceful focal point rather than a chore. The sight of happy ducks splashing in clean water brings a sense of lively serenity to any garden.
Essential Elements:
- Hardware cloth (not chicken wire) for predator proofing
- A dedicated drainage pit for the pool area
- Hemp bedding or pine shavings
- A secure, ventilated wooden coop
- Nipple waterers for mess-free drinking
How to make it
- Dig a 1-foot deep pit where the duck pool will sit and fill it with coarse gravel; this allows the daily splash-out to drain into the ground rather than creating a muddy bog.
- Construct the run using 2×4 framing and wrap it entirely in 1/2-inch hardware cloth, burying the mesh 6 inches into the ground to deter digging predators like foxes.
- Inside the coop, use the ‘deep litter method’ with hemp bedding, which is highly absorbent and keeps the aroma earthy and fresh rather than damp.
- Provide a shallow pool (like a heavy-duty resin stock tank) with an easy-to-use drain valve; the visual cue for a healthy environment is crystal clear water every morning.
- Install a wide ramp with small wooden ‘cleats’ every 4 inches to help the ducks enter the coop easily without slipping on wet feet.
How to Curate Whimsical Glass Yard Art for a Colorful Garden Space

Why we love this
Glass yard art acts like jewelry for your garden. We love it because it captures and refracts the sunlight, casting dancing rainbows across your lawn and flowers. It adds a touch of whimsy and personality that feels curated and artistic. Whether it’s hand-blown glass mushrooms tucked under a hosta or a towering glass spire reflecting the blue of the sky, these pieces provide year-round color, even when the flowers have faded. It’s a way to inject your personal style into the landscape in a way that feels playful yet sophisticated.
Essential Elements:
- Hand-blown glass globes or sculptures
- Sturdy copper or iron stakes
- Clear silicone adhesive (if DIY-ing)
- Strategically placed spotlights
- Vintage glassware for upcycling
How to make it
- Choose a focal point in your garden that receives direct sunlight for at least 6 hours a day to maximize the light-catching potential of the glass.
- If upcycling, stack vintage glass bowls and vases of varying colors; bond them together using a weather-proof, clear-drying industrial adhesive and let cure for 48 hours.
- Mount your glass pieces on copper pipes; copper develops a beautiful green patina over time that looks stunning against the vibrant colors of the glass.
- Place the art at varying heights—some low to the ground near creeping thyme, others at eye level—to create a sense of discovery as you walk through the garden.
- Angle a low-voltage LED spotlight toward the glass from below to ensure your ‘dreamscape’ continues to shimmer and glow long after the sun goes down.
How to Style a Luxurious Hot Tub Area for the Perfect Relaxation Spot
Why we love this
A hot tub area shouldn’t feel like an appliance sitting on a deck; it should feel like a private spa retreat in the mountains. We love styling this space with natural elements—potted palms for a tropical vibe, soft outdoor towels rolled in wicker baskets, and the gentle steam rising into the cool evening air. It’s the ultimate destination for decompressing. The combination of warm water, ambient lighting, and the privacy afforded by smart landscaping creates a sanctuary that invites you to leave your phone behind and simply exist in the moment.
Essential Elements:
- Non-slip cedar decking or stone pavers
- Privacy screens (wood slats or tall planters)
- All-weather storage for towels and robes
- Dimmable outdoor lighting or lanterns
- A side table for herbal tea or infused water
How to make it
- Ensure your base is a reinforced concrete pad at least 4 inches thick; a full hot tub can weigh over 5,000 pounds, and any shifting will cause mechanical issues over time.
- Surround the tub with a ‘wrap-around’ step system made of weather-resistant composite decking to make entry and exit feel seamless and safe.
- Position tall, ‘clumping’ bamboo or potted arborvitae around the perimeter to create a natural green wall that blocks wind and prying eyes.
- Install a low-heat towel warmer or a nearby weather-proof chest to keep robes dry and warm; the visual cue for luxury is having everything you need within arm’s reach.
- Use battery-operated flickering candles on the edge of the tub to create a soft, fire-like glow that is safe and incredibly relaxing for late-night soaks.
How to Master a Retro Aesthetic Bedroom for a Nostalgic Vibe
[IMAGE_10]
Why we love this
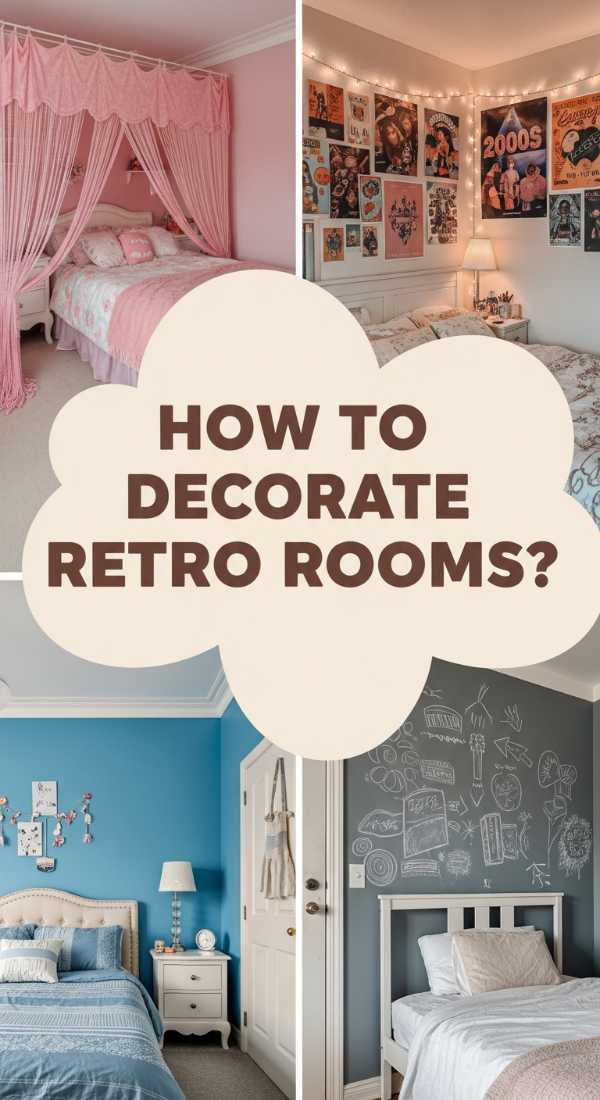
There is a unique, soulful warmth in the retro aesthetic that modern minimalism often lacks. We love this look because it’s a celebration of texture and personality—velvet headboards in burnt orange, the tactile curve of a rattan chair, and the groovy rhythm of geometric patterns. It feels like a hug from the past, updated for today. A retro bedroom is a nostalgic sanctuary where the colors are rich, the lighting is soft and amber-hued, and every object has a story to tell. It’s about creating a space that feels lived-in, loved, and vibrantly creative.
Essential Elements:
- A statement velvet headboard (mustard, olive, or rust)
- Mid-century modern nightstands with tapered legs
- Macramé wall hangings or woven tapestry
- A mushroom lamp or globe pendant light
- Bold, patterned area rug (shag or low-pile geometric)
How to make it
- Choose a ‘hero’ color palette from the late 60s or 70s—think earthy tones like avocado green, harvest gold, and terracotta—and use it for your largest pieces of furniture.
- Incorporate various wood tones, but prioritize walnut or teak finishes; the warmth of these woods is essential for that authentic mid-century feel.
- Layer your bedding using a mix of linen and velvet; a heavy, textured duvet in a solid color allows patterned accent pillows to pop without overwhelming the room.
- Install ‘warm-dim’ light bulbs in your fixtures to mimic the amber glow of vintage incandescent lighting; this is the key to creating that sunset-at-home atmosphere.
- Add a ‘listening corner’ with a vintage record player and a few indoor plants like a Monstera or a Snake Plant, which were staples of the era and add a burst of life to the corner.
Conclusion
Building a serene sanctuary is a journey of intentionality. It’s about looking at your home not just as a property, but as a canvas for your well-being. Whether you’re planting a flower bed that sings with color or styling a bedroom that whispers of nostalgic comfort, these changes ripple through your life, providing a grounding force against the busyness of the world. Start small, focus on the details that move you, and watch as your home transforms into the dreamscape you’ve always imagined. Your sanctuary is waiting.